
Printing Image Resolution Guide for Sharp Results


Set files to 300 DPI at final size, design in CMYK, and match resolution to viewing distance. Get those three right and every card, flyer, and banner comes out crisp instead of blurry.
To print sharp, set your file to 300 DPI at the final size and design in CMYK so colors do not shift. PPI describes your digital file and DPI describes the printed dots, so matching 300 to 300 keeps detail crisp. Handheld pieces like business cards and postcards always need 300 DPI, while banners viewed from a distance can drop to 150 DPI. Start from a high-resolution source, because upscaling a small image never adds real detail.
Quick tips
Quick tips for print-ready image resolution
Print resolution decides whether your finished piece looks sharp or blurry. The standard for professional printing is 300 DPI at the final print size, and anything under 200 DPI starts to show visible pixelation. 4OVER4.COM recommends 300 DPI files in CMYK color mode for the best results. This guide covers DPI basics, file formats, color modes, and product-by-product requirements so your next job comes out clean.
Why image resolution makes or breaks your print
Image resolution is the single biggest thing separating a professional print from an amateur one. A logo that looks perfect on your phone can turn into a blurry mess on a business card, because screens display at 72 DPI while commercial presses need 300 DPI at final size. That gap is enormous, and it decides whether your finished piece reads sharp or soft.
This printing image resolution guide walks through DPI, PPI, file formats, and color modes so you know exactly what to set before you upload. 4OVER4.COM has printed 10 billion+ cards and serves 150,000+ businesses, so we have seen every resolution mistake in the book. Whether you build artwork in the Online Designer or upload your own files, getting resolution right is step one.
Want a head start? Our Design Templates already have the correct dimensions and resolution built in, and our Price Match guarantee helps when you are comparing print shops. If you work with stamps too, the guide on how to clean rubber stamps covers the kind of maintenance that protects quality on every job.
DPI, PPI, and resolution: what each term means
People swap the terms DPI and PPI constantly, but the difference matters the moment you prepare a file. PPI (pixels per inch) describes your digital file, how many pixels are packed into each inch on screen. DPI (dots per inch) describes the physical print, how many ink dots the press lays down per inch of paper.
The practical takeaway is simple. Set your file to 300 PPI at the exact print dimensions, and when the 4OVER4.COM presses print it, the output lands at 300 DPI. Match those numbers and your print stays sharp.
What 300 DPI looks like next to 72 DPI
At 72 DPI, an image 720 pixels wide prints at 10 inches. At 300 DPI, that same 720-pixel image prints at just 2.4 inches. Stretch it to 10 inches and you get a blocky, pixelated result, because the pixels are simply not there to fill the space.
300 DPI is the industry standard for commercial printing. Large-format pieces like banners can get away with 150 DPI because people view them from a distance, but for business cards, postcards, brochures, and flyers, 300 DPI is non-negotiable. If you are designing a brochure, our guide on how to fold a brochure covers layout and folds alongside resolution.
How to check and set your image resolution
Before you export, confirm the resolution in whatever tool you use. A two-minute check saves an expensive reprint.
Checking resolution in Adobe Photoshop
Open your image and go to Image then Image Size. You will see pixel dimensions, document size, and resolution. The resolution field should read 300 pixels/inch. If it reads 72, do not simply type 300, because that does not add pixels, it only shrinks the print size. To truly raise resolution you have to resample, which makes the software invent new pixels. That works for small bumps like 250 to 300 DPI, but not for big jumps like 72 to 300 DPI, so always start from a high-resolution source.
Checking resolution in Illustrator and InDesign
In Illustrator, vector artwork is resolution-independent, so logos, text, and pen-tool shapes print sharp at any size. The risk is placed raster photos. Select the image, open the Links panel, and check the effective PPI, which should sit at or above 300. In InDesign, set the Preflight panel to flag any image below 300 PPI, so low-res files surface before you export a catalog or multi-page layout.
Free tools for checking resolution
No Adobe software? On Windows, right-click the file and open Properties then Details to read horizontal and vertical resolution. On Mac, open the image in Preview and choose Tools then Show Inspector. GIMP shows resolution under Image then Canvas Size. For quick projects, our Blank Templates come pre-sized with the correct dimensions and bleed already set, so you just place your artwork inside the guides.
File formats and color modes for print
Best file formats for high-resolution printing
PDF is the gold standard for print files. It packages fonts, images, and vector elements together, and exporting as PDF/X-1a or PDF/X-4 gives you the best compatibility with commercial presses. TIFF is a strong choice for photo-heavy work because it supports CMYK and does not compress the way JPEG does. JPEG uses lossy compression, so it loses a little quality on every save. If you must use it, export at maximum quality and save only once.
PNG files are built for screens, not print, because they do not support CMYK color. The same goes for GIF, and while SVG vectors can be converted, they are not a print format on their own. EPS still works but feels dated, so stick with PDF or TIFF.
CMYK vs RGB and why it matters
RGB (red, green, blue) is how screens show color, and CMYK (cyan, magenta, yellow, black) is how presses mix ink. Submit an RGB file and the printer converts it to CMYK automatically, but some RGB colors have no CMYK match. Bright neons, electric blues, and vivid greens shift and look duller once they hit paper.
Convert to CMYK before you export. In Photoshop go to Image then Mode then CMYK Color, and in Illustrator go to File then Document Color Mode then CMYK, so you can see the shift on screen and adjust first. For a deeper walkthrough, read CMYK vs RGB for printing and how to choose the best color profile for printing. Setting up a specific product? Our guide on how to make flyers covers file prep end to end.
Resolution requirements by print product
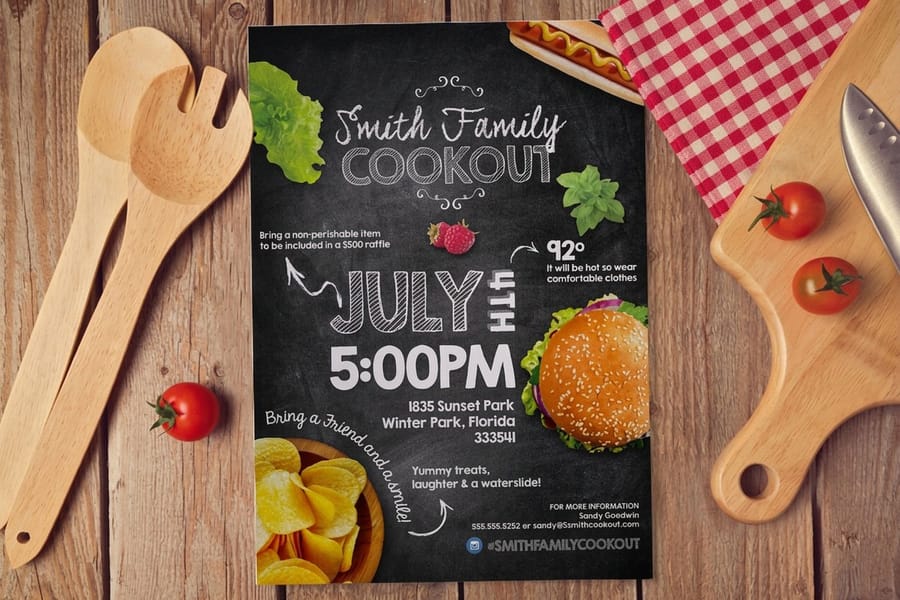
The right resolution depends on how close people get to the finished piece. Small prints held in the hand demand the most detail, while large prints viewed from across a room can relax.
Business cards, postcards, and small formats
Small prints demand the highest resolution. People hold a business card 8 to 12 inches from their face, so every flaw shows. Use 300 DPI minimum. A standard 3.5 by 2 inch card needs a source of at least 1,050 by 600 pixels before bleed, and a 4 by 6 inch postcard needs at least 1,200 by 1,800 pixels. Specialty pieces like 3D lenticular postcards can need even more, because the lenticular process interlaces several images at once.
Brochures, flyers, and envelopes
Brochures and flyers follow the same 300 DPI rule. An 8.5 by 11 inch flyer works out to roughly 2,625 by 3,375 pixels with bleed, which is a big file, so never upscale a web image to fill it. Envelope printing is no different. Our guide on how to make envelopes covers sizing and file prep, and for promotional magnets, custom magnets has resolution notes specific to magnetic stock.
Banners, posters, and large format
Large-format prints are viewed from farther away, so a banner hanging 10 feet overhead does not need 300 DPI. 150 DPI works well for most banners and posters, and very large pieces like billboards can look clean at 25 to 50 DPI because the viewing distance is so great. The rule stays steady, the farther the viewer, the lower the DPI you need.
| Print product | Viewing distance | Recommended DPI | Minimum source pixels |
|---|---|---|---|
| Business cards (3.5 x 2 in) | 8 to 12 inches | 300 DPI | 1,050 x 600 |
| Postcards (4 x 6 in) | Handheld | 300 DPI | 1,200 x 1,800 |
| Flyers (8.5 x 11 in) | Handheld | 300 DPI | 2,550 x 3,300 |
| Posters | About 3 feet | 200 to 300 DPI | Scale to size |
| Banners | 6 feet or more | 150 DPI | Scale to size |
| Billboards | Across the street | 25 to 50 DPI | Scale to size |
How to get sharp images from stock photo sites
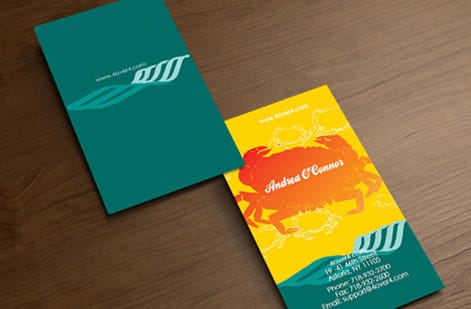
Stock libraries offer several download sizes, and the right move is always the same. Download the largest size available. You can scale an image down without losing quality, but you can never scale it up without losing sharpness.
Check the pixel dimensions before you buy. Divide the pixel width by 300 to find the widest sharp print in inches. A 3,000-pixel-wide image prints cleanly at 10 inches, while a 1,500-pixel image maxes out at 5 inches. Free stock sites often cap images at web-friendly sizes of 1,200 to 2,000 pixels wide, which is fine for social media but too small for most print. When you need large prints, invest in the high-resolution download.
For more file-prep help across every product, the 4OVER4.COM guide hub covers everything from paper selection to finishing options.
Resolution mistakes that ruin print jobs
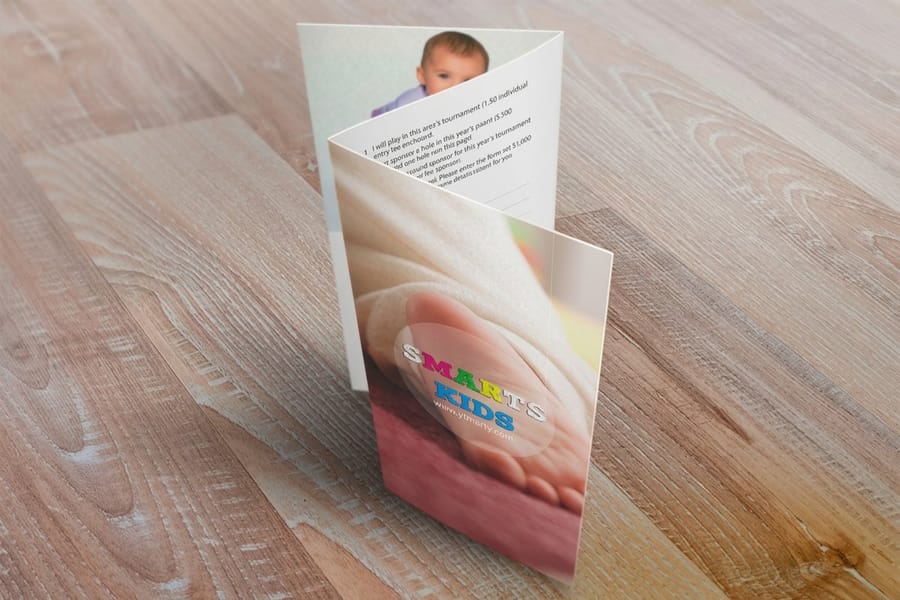
Even seasoned designers hit these traps. Avoid them and your files print the way you intended.
- Upscaling low-res images. Changing a 72 DPI image to 300 DPI in the settings does not create detail, it only makes the existing pixels bigger, so the print still looks blurry. Always start from a high-resolution source.
- Designing at screen size. A layout that fills a 1920 by 1080 monitor is only about 6.4 by 3.6 inches at 300 DPI. Print an 11 by 17 poster and you need a far larger file.
- Forgetting bleed. Bleed is the extra 0.125 inches of artwork past the trim line. Skip it and you get thin white edges on the finished piece. Our guide on bleed and trim explained shows exactly how to set it.
- Resaving as JPEG again and again. Every JPEG save sheds a little quality. Work in PSD or AI and export to PDF once, right before upload, to keep maximum detail.
Your pre-flight checklist should always read the same: 300 DPI, CMYK color, 0.125 inch bleed, and fonts outlined or embedded. Hit those four and most print problems never happen.
Put your high-resolution files to work
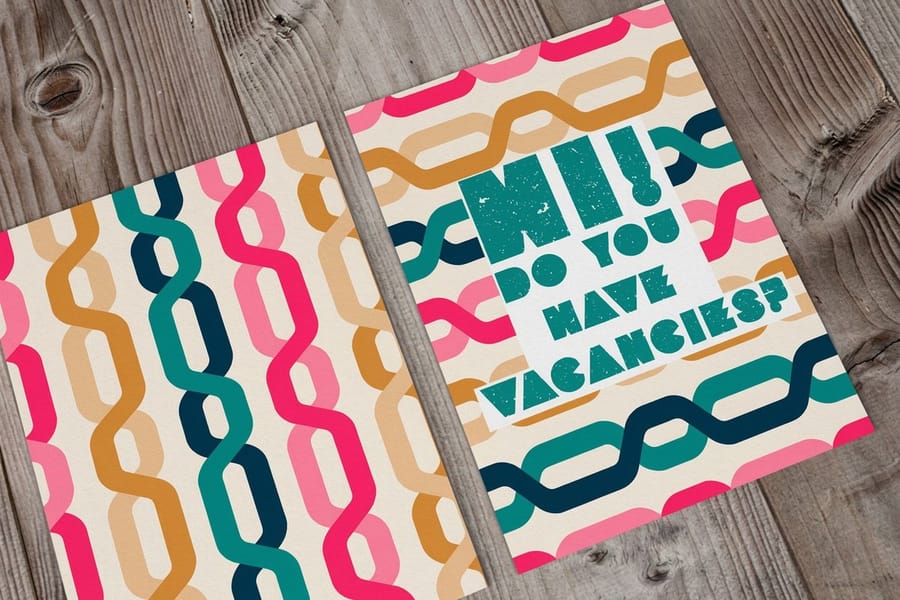
Once your file is dialed in, it is time to print something. 4OVER4.COM offers 1,000+ products across every category, all built for high-resolution artwork, so sharp files turn into sharp results on real stock.
Planning an event? Take your perfectly prepped artwork straight to invitations printing and put it to use right away. Want to see how a design translates to paper first? Order a small run, check the color and detail in your hand, then scale up with confidence.
Specs and pricing
Custom business card specs and pricing
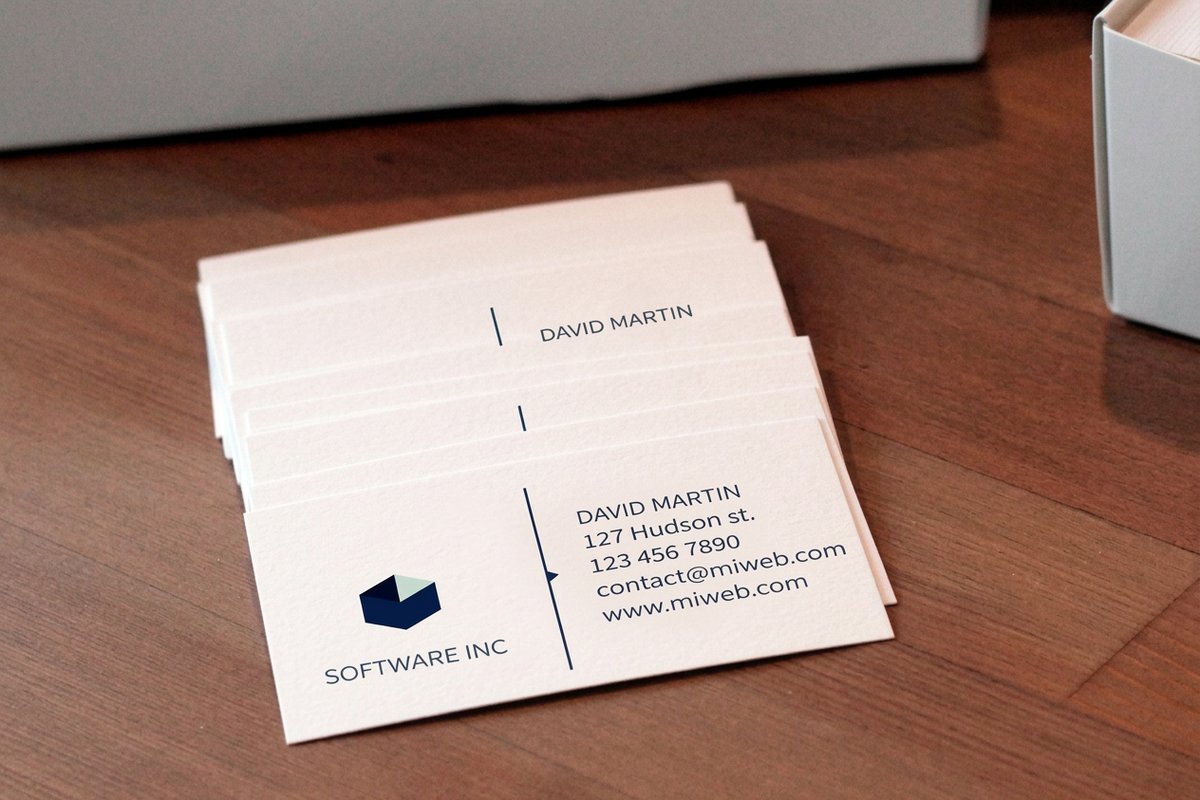
Once your file is print-ready at 300 DPI, here is what a made-to-order business card gives you at 4OVER4.COM, with live specs and price-per-unit straight from the configurator.
| Quantity | Price Per Unit | Total |
|---|---|---|
| 100 | 17.6¢ | $17.57 |
| 200 | 11.5¢ | $23.07 |
| 300 | 9.15¢ | $27.46 |
| 400 | 7.96¢ | $31.86 |
| 500 | 7.25¢ | $36.26 |
| 600 | 6.77¢ | $40.64 |
| 700 | 6.43¢ | $45.04 |
| 800 | 6.18¢ | $49.43 |
Print it
Order print built for high-resolution files at 4OVER4
Wally explains image resolution
Sharp print starts with a high-resolution file
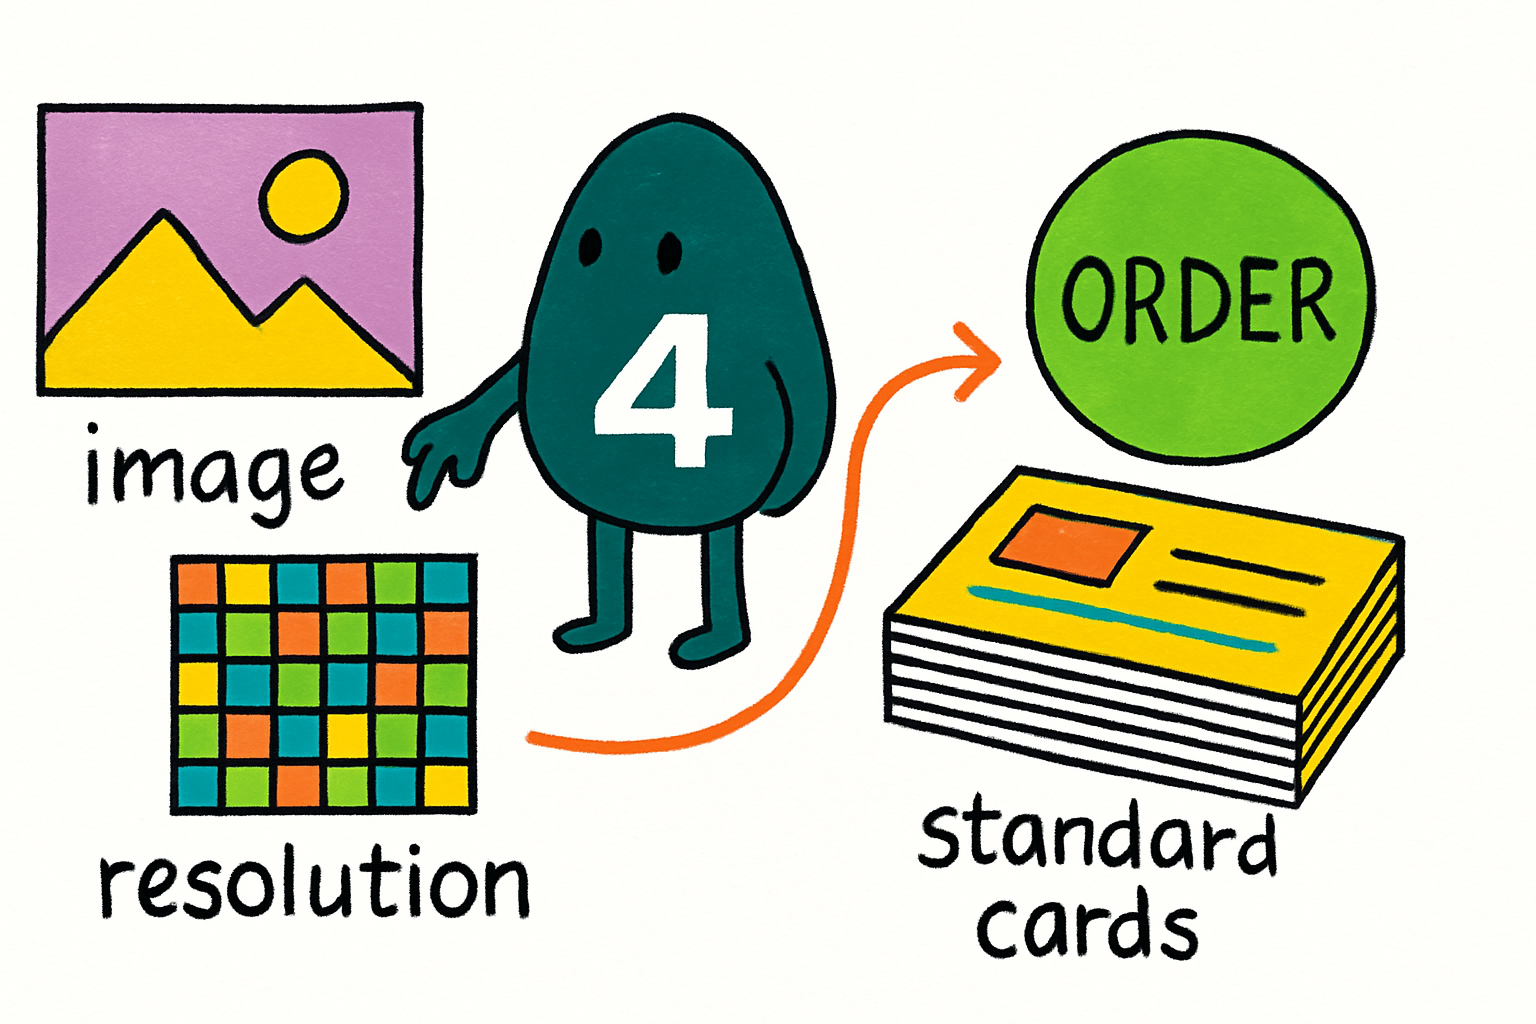
Wally checks one thing before every job: is the file 300 DPI at final size in CMYK? Get that right and the press prints crisp, true-to-brand detail. Feed it a small web image blown up to fit, and the press faithfully prints every soft, blocky pixel. Nail the resolution, then let 4OVER4 handle the rest across 60+ papers and 1,000+ products.
Order business cards →See it in use
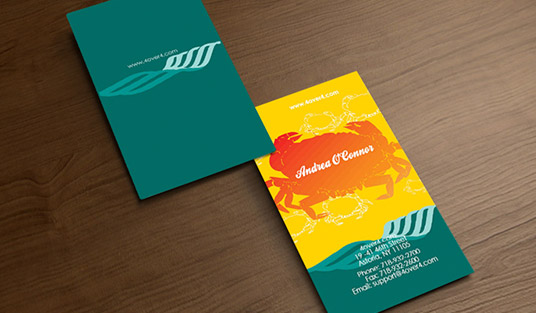
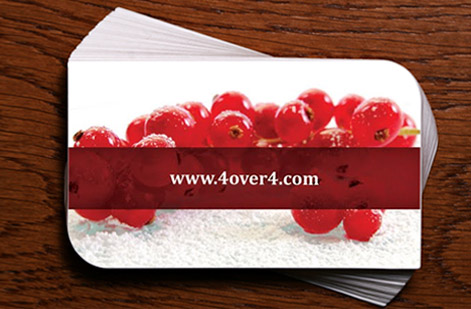
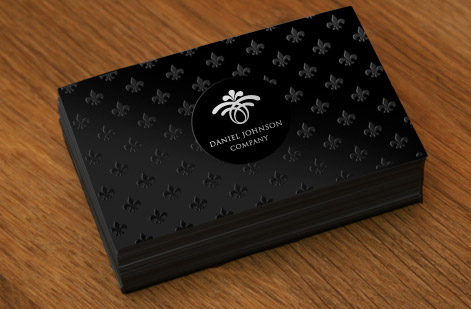
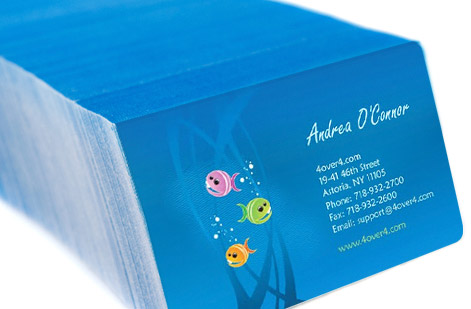
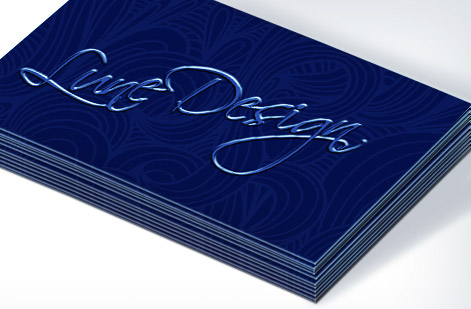
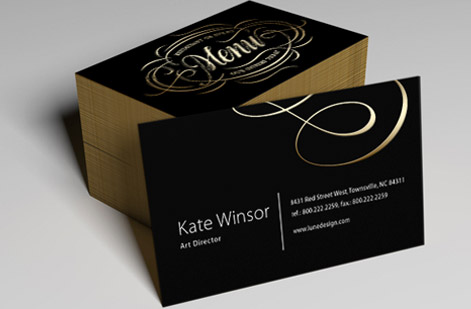
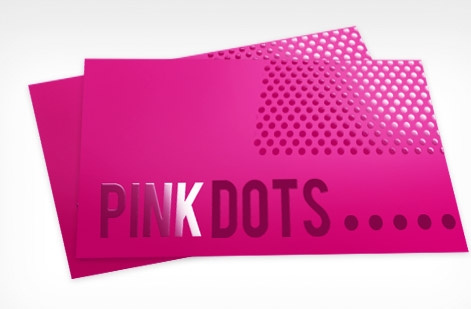
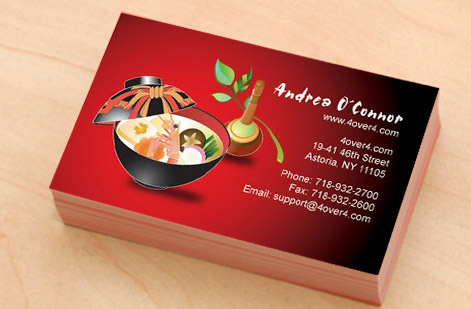
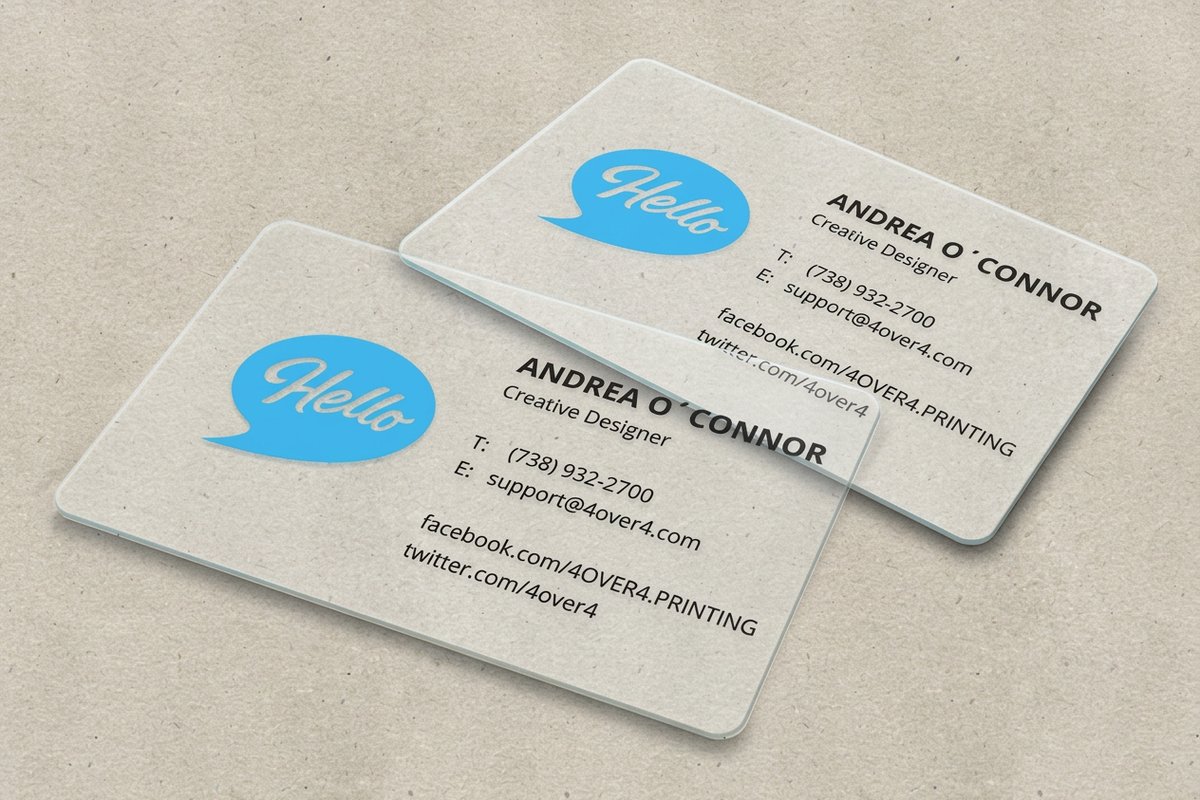
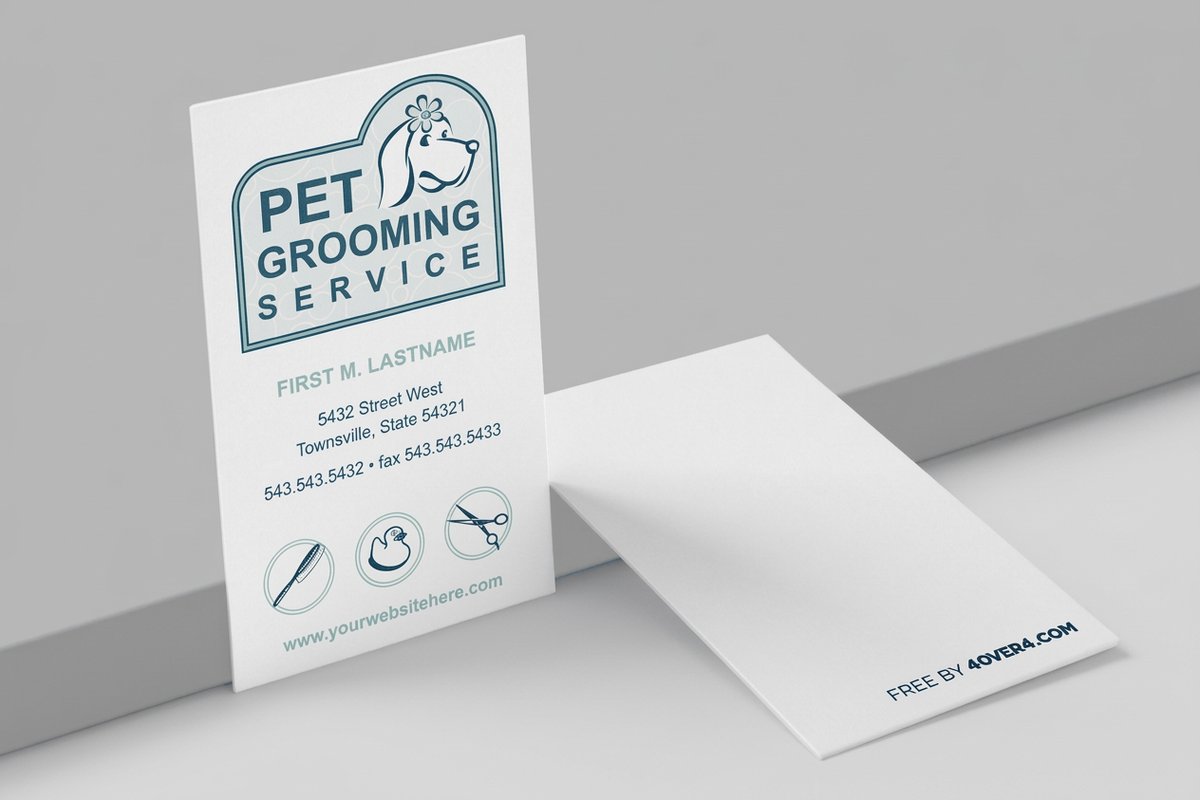
Real business card work, printed in-house
Explore more
Where to go next

By the numbers
Printing you can count on at 4OVER4
Common Questions
Common questions about print image resolution
What DPI should I use to print business cards?
Use 300 DPI at the final print size for business cards. A standard 3.5 by 2 inch card needs a source image of at least 1,050 by 600 pixels before you add bleed. Because people hold cards close to their face, anything under 300 DPI shows visible softness or pixelation in photos and fine detail.
Can I convert a 72 DPI image to 300 DPI for printing?
Technically yes, but the result will not look good. Changing the DPI number does not add real detail, it only stretches the existing pixels into a soft, blurry image. You need to start with a high-resolution source file. If a 72 DPI image is all you have, it will print sharply only at a much smaller size.
What file format gives the best print quality?
PDF/X-1a or PDF/X-4 gives the best results for commercial printing, because these formats preserve vector elements, embed fonts, and support CMYK color. TIFF is a solid alternative for photo-heavy files. Avoid PNG and GIF for print since they do not support CMYK color mode.
Does resolution matter for large banners and posters?
It matters, but the requirement is lower. Banners viewed from 6 feet or more look sharp at 150 DPI, and posters viewed from about 3 feet need 200 to 300 DPI. The rule is simple, greater viewing distance means a lower DPI requirement, so a billboard can look clean at 50 DPI from across the street.
How do I know if my image is high enough resolution before ordering?
Divide the image pixel width by 300 to find the widest it can print sharply in inches. A 3,000-pixel-wide image prints at 10 inches, so a 20-inch print needs a 6,000-pixel source. Check resolution in Photoshop under Image then Image Size, or right-click the file and read its properties.
What happens if I submit a low-resolution file to 4OVER4.COM?
The 4OVER4.COM system flags files that fall below the recommended resolution during upload, so you get a warning and a chance to swap the file before printing. If you proceed with a low-res file, the print matches what you submitted, which can look blurry or pixelated in photos and gradients.
Get Started
Ready to print something sharp?
Upload a print-ready 300 DPI file or build one in the browser, pick your stock and finish, and we deliver crisp, color-accurate print every time.
Legal Disclaimer
Gold Standard guarantees apply to all standard orders placed through 4over4.com. Price match requires verifiable proof of a competitor's published price for an equivalent product with matching specifications and turnaround time. Satisfaction guarantee covers manufacturing defects and print quality issues. Contact support with order number and documentation. On-time delivery rate based on tracked orders 1999 to 2026. Individual results may vary based on shipping carrier performance.
