
What Is Full Bleed Printing and How Much Bleed Your File Needs


Ink cannot reach the edge of a sheet, so edge to edge printing is done oversized and cut down. The exact bleed and safety numbers below come with where to set them in each design tool, and how to check the PDF before you upload it.
Full bleed printing means the ink runs off the edge of the paper. Because presses cannot print to the extreme edge and cutting varies slightly, the piece is printed oversized and trimmed down. Add 0.125 inches of bleed to all four sides on small format work, keep live text 0.125 to 0.25 inches inside the trim, and export a PDF with Use Document Bleed Settings switched on plus offset crop marks.
Start here
Why bleed exists at all
The blade cuts through your artwork, not around it. Full bleed pieces are printed larger than their finished size and trimmed down, so background color has to extend past the cut line. Add 0.125 inches on every side for small format work, keep anything readable at least 0.125 inches inside the trim, and make sure the exported PDF actually contains the bleed rather than only the document having it configured.
The method
Set up a bleed correctly in six steps
Six steps take a file from a blank page to an upload: trim size first, 0.125 inches of bleed on every side, a 0.125 or 0.25 inch margin, edge art pushed to the bleed line, a press ready PDF, and a two minute check of that PDF. The sequence works in any design tool that supports bleed, and the last step catches problems while they are still free to fix.
- 1
Start the document at the final trim size
Set the page to the size the printed piece will be when it is done, such as 3.5 by 2 inches for a business card or 8.5 by 11 for a flyer. Do not build the document oversized and plan to shrink it later.
- 2
Add 0.125 inches of bleed on all four sides
Use the bleed field in the new document dialog rather than enlarging the page. That keeps the trim size correct in the file while giving your artwork somewhere legitimate to extend to.
- 3
Set a margin the same distance inside the trim
Pull a margin at 0.125 inches inside the cut line, or 0.25 inches if the piece is text heavy. Nothing that has to be read or scanned goes outside that line, on any side.
- 4
Push every edge element out to the bleed line
Background colors, photographs and any shape meant to run off the page must reach the outer bleed boundary, not stop at the trim. Anything that stops exactly at the trim is guaranteed to show white on some copies.
- 5
Export a press ready PDF with bleed switched on
Choose a print preset, then in the Marks and Bleeds panel tick Use Document Bleed Settings, or enter 0.125 inches by hand. Add crop marks with an offset so the marks sit outside the bleed rather than inside the art.
- 6
Open the exported PDF and check it before you upload
The artwork should extend visibly past the crop marks on all four sides, and no text should sit near the cut. Two minutes here prevents the file being sent back and the schedule slipping by a day.
What Full Bleed Printing Actually Means
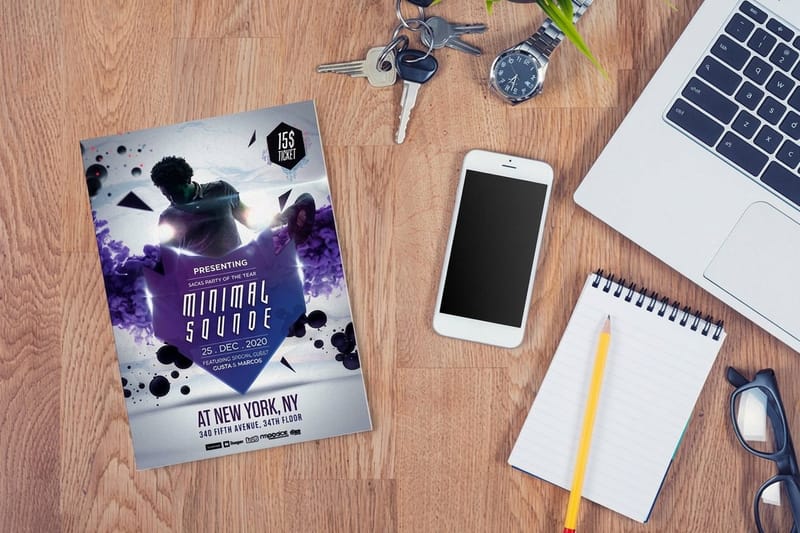
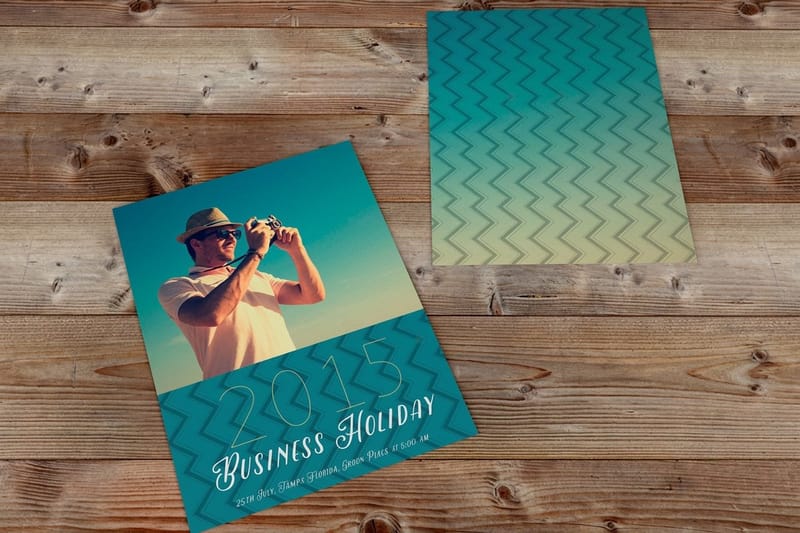
Full bleed is the printing term for a piece where the ink reaches the physical edge of the paper with no white border. A postcard with a photograph covering the whole front is full bleed. A business card with a solid color background running off all four sides is full bleed. A flyer with a white margin around the outside is not.
It sounds like it should be the simplest thing in the world, and on screen it is: you drag a rectangle to the corners of the page and you are done. On paper it is not, for two mechanical reasons. First, a press needs to grip the sheet, and it cannot lay ink perfectly onto the extreme edge of the paper it is holding. Second, no cutting process is perfect to the thousandth of an inch, especially through a stack of hundreds of sheets at once.
So full bleed is produced the only way it can be: the piece is printed larger than its finished size, and then it is cut down through the artwork. The blade passes through the middle of your ink rather than at the boundary of it. That is what gives you a clean colored edge on the finished piece.
Everything else in this guide follows from that single fact. If the cut goes through the artwork, the artwork has to be bigger than the finished piece. The amount by which it is bigger is the bleed. And because the cut can land a fraction of an inch to either side of where it was aimed, anything important has to be kept away from that line too. Those two rules, applied properly, are the difference between a flyer that looks intentional and one with a hairline white stripe down one side.
Bleed, Trim and Safety: The Three Lines That Matter
Every print template has three concentric boundaries, and understanding what each one does removes almost all of the confusion around file setup.
- The bleed line is the outermost boundary. It sits 0.125 inches outside the finished size on small format work. Background artwork must reach this line. Nothing important should be here, because all of it gets cut away.
- The trim line is the middle boundary and it is the actual size of the finished piece. This is where the blade is aimed. It is a target, not a guarantee.
- The safety line, also called the safe zone or live area, sits inside the trim, usually 0.125 inches in and ideally 0.25 inches on text heavy pieces. Everything that has to be read, scanned or seen lives inside this line.
The two outer bands do opposite jobs. The bleed band covers the case where the cut lands slightly outside the intended line: instead of exposing white paper, the blade finds more of your background. The safety band covers the case where the cut lands slightly inside: instead of shaving the top off your phone number, the blade finds empty space you deliberately left.
Together they give you roughly a quarter inch of total tolerance around the design, which is comfortably more than the movement any well run cutting operation will produce. Skip one of them and you have removed half the protection. That is why files arrive with bleed but no safety margin and still come back with clipped text, and why files with generous margins but no bleed still show white slivers. The two are not alternatives.
How Much Bleed to Add, Product by Product
The working number for small format printing is 0.125 inches, one eighth of an inch, on every side. Here is what that looks like on the pieces people order most, expressed as trim size and then as the total document size once bleed is added.
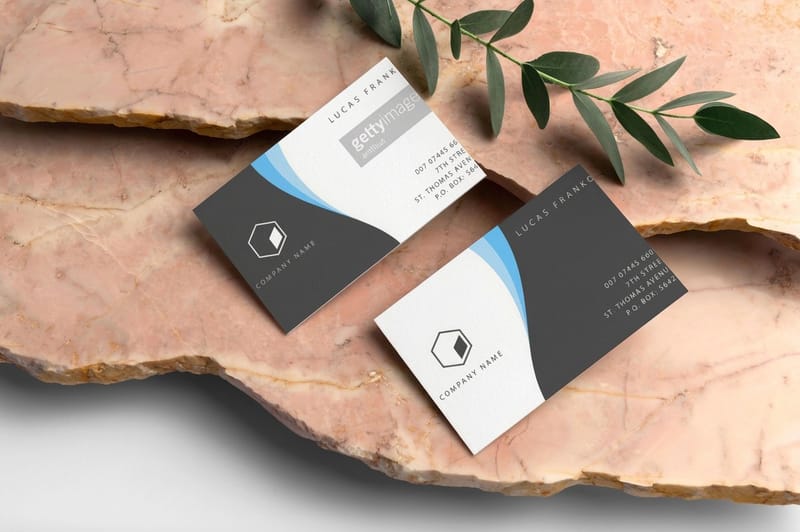
- Business cards. Trim 3.5 by 2 inches. Document with bleed 3.75 by 2.25 inches. Keep live text 0.125 to 0.25 inches inside the trim, which is tighter than it sounds on a card this small.
- Postcards. Trim 4 by 6 inches. Document with bleed 4.25 by 6.25 inches. If the card is going in the mail, the address side has its own clear area requirements on top of the safety margin.
- Flyers. Trim 8.5 by 11 inches. Document with bleed 8.75 by 11.25 inches. The same eighth of an inch applies regardless of how much larger the page is.
- Brochures and folded pieces. Bleed applies to the flat size, not the folded size. An 11 by 17 sheet folded in half is built at 11.25 by 17.25 with bleed, and the fold positions are marked separately.
- Booklets. Bleed on all outside edges of every page, plus extra care on inner margins because creep pulls artwork toward the trim as the book gets thicker.
Large format work is the exception worth checking rather than assuming. Posters, banners and anything with hems, grommets or pole pockets need more material at the edges, because part of the printed area is folded over or wrapped rather than simply cut. Always start from the product template for those, since the required allowance depends on the finishing you have selected rather than on a single universal number.
Rounded corners deserve a specific warning. Because the corner is die cut on a radius rather than cut square, the effective safe zone at each corner is further in than it is along the straight edges. Keep logos and text away from the corners on any card with a rounded finish.
Setting Up Bleed in InDesign
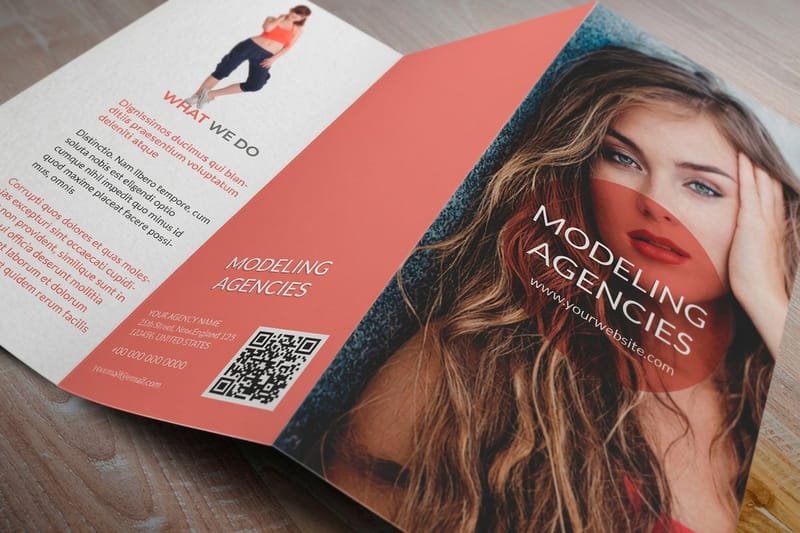
InDesign handles bleed properly, which is why it remains the tool of choice for anything multi page or heavily typeset. The setup takes about thirty seconds if you do it at the start and about an hour if you do it at the end.
In the New Document dialog, set the page size to the final trim size. Expand the Bleed and Slug section and enter 0.125 inches in all four bleed fields. Set your margins to 0.125 or 0.25 inches. You will now see three lines on the page: a red bleed line outside, the black page edge which is your trim, and a magenta margin line inside. On an existing document the same fields live in File, then Document Setup.
While you lay out, obey the lines literally. Background rectangles and images get dragged out to the red line, not to the black one. Text frames stay inside the magenta line. If a photograph is meant to run off the left edge only, it extends past the red line on the left and can stop wherever you like on the other sides.
Exporting is where most files go wrong, because the bleed you set in the document is not automatically included in the PDF. Use File, then Export, choose Adobe PDF for print, and pick a press quality preset. In the Marks and Bleeds panel, tick Use Document Bleed Settings, or type 0.125 inches manually into the four fields. Turn on crop marks and give them an offset of at least 0.125 inches so the marks sit outside the bleed area rather than printing inside your artwork.
One last check that catches almost everything: open the exported PDF and look at the corners. You should see artwork extending visibly past the crop marks on all four sides. If the artwork stops exactly at the crop marks, the bleed was set in the document but not written into the file, and the job will be flagged.
The values to type into the InDesign New Document dialog for the three pieces most full bleed files are built for:
- Classic business cards. Width 3.5 in, height 2 in, bleed 0.125 in on all four sides, margins 0.125 in. Set 2 pages when the back prints too, in full color or in black ink only.
- Postcards. Width 6 in, height 4 in for the common size, the same 0.125 in bleed, and 2 pages for the address side. Postcards come in fourteen sizes, from 2.5 by 2.5 to 6 by 11 inches, and each one takes that eighth of an inch.
- Flyers. Width 8.5 in, height 11 in, bleed 0.125 in, margins 0.25 in for a text heavy page. Flyers run from 4.25 by 5.5 up to 11 by 25.5 inches with the same bleed.
Export one press quality PDF and upload it with the order. All three products take 3 business days of production, and you can add a free online proof or a next day hardcopy proof to see the trim before the run.
Setting Up Bleed in Illustrator and Photoshop
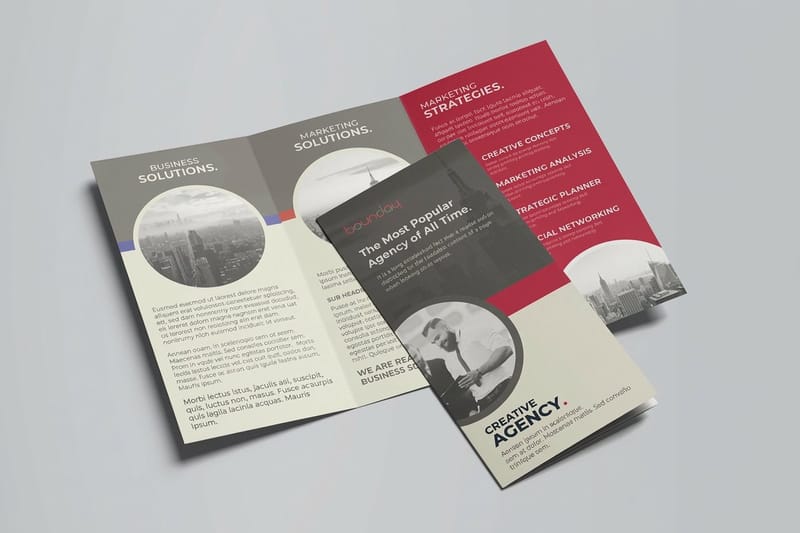
Illustrator works almost identically to InDesign. In the New Document dialog, set the artboard to the trim size and enter 0.125 inches in the bleed fields, or open File, then Document Setup, on an existing file. A red guide appears outside the artboard. Run background art to that guide. When you save, use Save As and choose Adobe PDF, then in the Marks and Bleeds panel tick Use Document Bleed Settings and add crop marks with an offset.
The Illustrator specific trap is live type and effects. Text that has not been outlined depends on the font being available, and effects such as drop shadows and transparency can behave unexpectedly when flattened. Either outline your type before exporting, or export a PDF that embeds the fonts, and preview the result rather than assuming.
Photoshop has no bleed setting at all, because it is a pixel editor rather than a page layout tool. You create bleed by making the canvas bigger. If the finished piece is 4 by 6 inches, build the file at 4.25 by 6.25 inches and remember that the outer eighth of an inch on every side will be cut away. Pull guides at 0.125 inches from each edge to mark the trim, and another set at 0.25 inches to mark safety, so you can see all three boundaries while you work.
Two Photoshop settings matter more than bleed does. Work at 300 pixels per inch at the final printed size, because an image that looks sharp on screen at 72 pixels per inch will be visibly soft on paper. And work in CMYK if you can, because bright screen colors, especially vivid blues and oranges, shift when converted for press, and it is better to see that shift in your file than on the printed piece. If the design is mostly type, build it in InDesign or Illustrator and use Photoshop only for the images.
Bleed in Canva, Word and Other Everyday Tools
Plenty of print files are not built in professional layout software, and that is fine as long as you know where each tool falls short.
Canva supports bleed. Turn on the bleed option in the file or print settings and a dashed boundary appears around your design. Extend backgrounds to that boundary, keep text away from it, and when you download choose PDF Print with the crop marks and bleed option enabled. The common Canva mistake is designing with bleed switched off, then enabling it at download time, which adds the bleed area without moving your artwork into it. Turn it on first and design with it visible.
Microsoft Word has no bleed feature. The workaround is to set a custom page size 0.25 inches larger in each dimension than the final trim, run your background to the edges of that larger page, and keep all text at least 0.375 inches from the page edges so it stays clear of the trim once the extra material is cut away. Word is workable for a simple text flyer. For anything with edge to edge photography, the effort of the workaround exceeds the effort of rebuilding it somewhere with real bleed support.
Publisher, Pages and Google Slides sit in the same category as Word: no true bleed, so you enlarge the page manually and keep well inside. Whichever tool you use, the final PDF is what gets printed, so judge the tool by the PDF it produces rather than by what the design looks like on screen.
If you are not certain the file is right, our free proofs show you the artwork in position before the run starts, which is the cheapest possible place to catch a bleed problem.
Exporting a Print Ready PDF With Bleed Included

A PDF is the format to send, and a PDF that merely has bleed configured in the source document is not the same as a PDF that contains bleed. The export settings decide which one you get.
- Preset. Choose a press or high quality print preset rather than the smallest file size option. Compression aimed at email will soften images that looked fine in the layout.
- Bleed. Tick Use Document Bleed Settings, or enter 0.125 inches in all four fields by hand. This is the step people skip.
- Crop marks. Turn them on and set the offset to at least 0.125 inches so the marks sit clear of the bleed instead of printing on top of your artwork.
- Images. Effective resolution should be 300 pixels per inch at final size. A logo pulled from a website at 72 pixels per inch will look soft no matter how good the press is.
- Color. Supply CMYK for offset and digital work. Colors defined in RGB have to be converted somewhere, and it is better to see the conversion in your file than to be surprised by it.
- Fonts. Embed them, or outline the type. A missing font substitution is the one error that changes your layout without changing anything visible on your own machine.
Then open the PDF, ideally in Acrobat rather than a browser preview, and look at it as though it were the printed piece. The artwork should run past the crop marks on all four sides. No text should sit within an eighth of an inch of the trim. Page count and page order should be exactly what you intend. That inspection takes two minutes and it is the single highest value habit in print file preparation.
The Bleed Mistakes That Send Files Back
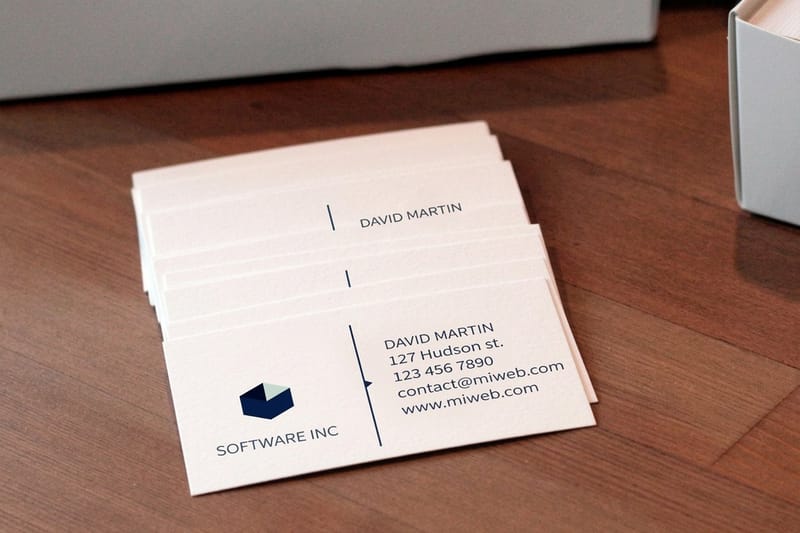
Preflight rejections cluster around a short list of problems, and every one of them is avoidable in the design file.
- Background stops at the trim. The most common of all. The rectangle was aligned to the page edge instead of the bleed line, so there is nothing for the blade to cut through.
- Bleed set but not exported. The document is correct, the PDF is not, because Use Document Bleed Settings was left unticked. Always inspect the exported file.
- Text sitting on the trim. A phone number or web address pushed to the bottom edge for a clean look. On some copies it will be clipped, and clipping a phone number ruins the piece.
- Thin borders. A one point frame parallel to the trim advertises every fraction of movement in the cut. If you want a border, make it substantial and keep it inside the safety line.
- Crop marks inside the art. Marks exported with no offset land on the printed area and have to be removed, which means a resupply.
- Artwork scaled to fake bleed. Enlarging a finished design to create bleed pushes everything outward, including the text you carefully kept inside the safe zone. Build the bleed properly instead.
- Low resolution edge images. A background photograph that only just covers the trim size is stretched to reach the bleed, and the softest part of the image ends up at the most visible edge.
None of these need specialist knowledge to avoid. They need the document set up correctly before the design starts, and the exported PDF looked at before it is uploaded. When both of those are habits, full bleed printing stops being a risk and becomes the default way you build every piece. When your file is ready, price the job on the flyer, postcard or business card configurator and the specs below will show you exactly which options you are printing to.
Wally checks the three lines
Bleed out, trim on, text in
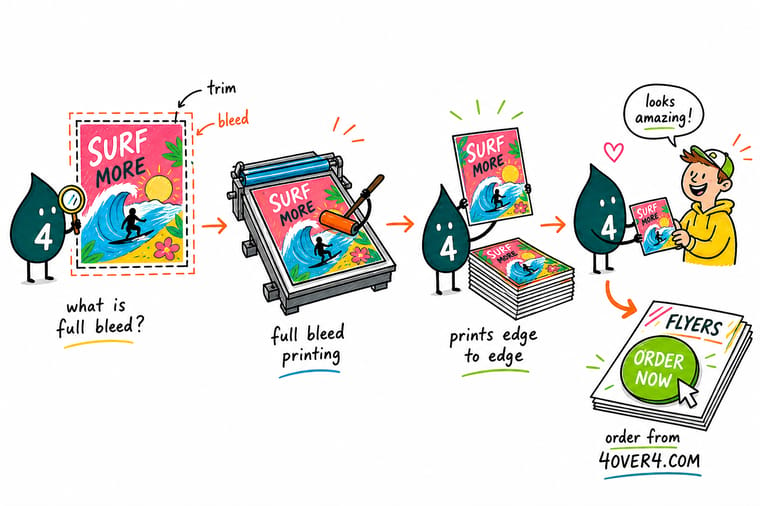
Wally sets the document at trim size, adds an eighth of an inch of bleed before he draws anything, and pulls a margin the same distance inside the cut. Backgrounds go out to the red line. Type stays inside the magenta one. Then he exports with Use Document Bleed Settings ticked, opens the PDF, and looks at the corners to confirm the artwork really does run past the crop marks. Two minutes of checking beats a day of resupplying.
Price your print job →
Specs and pricing
Live specs and quantity tiers to build your file against
Confirm the trim size you are designing to before you set the bleed. Flyers come in nine sizes from 4.25 by 5.5 to 11 by 25.5 inches, on 100# gloss or silk/matte text, 70# uncoated text, 80# gloss cover, 100# silk/matte cover or 14pt cover. The specs below show the sizes, stocks and finishes available, and the price table shows how the per-piece cost moves as the quantity climbs.

| Quantity | Price Per Unit | Total |
|---|---|---|
| 50 | 79.1¢ | $39.54 |
| 100 | 57.1¢ | $57.11 |
| 200 | 37.3¢ | $74.69 |
| 300 | 28.6¢ | $85.68 |
| 400 | 24.4¢ | $97.76 |
| 500 | 21.8¢ | $108.75 |
| 600 | 18.7¢ | $112.03 |
| 700 | 16.5¢ | $115.33 |
| Quantity | Price Per Unit | Total |
|---|---|---|
| 50 | 33.0¢ | $16.48 |
| 100 | 24.2¢ | $24.16 |
| 200 | 15.9¢ | $31.86 |
| 300 | 12.8¢ | $38.45 |
| 400 | 11.3¢ | $45.04 |
| 500 | 10.3¢ | $51.62 |
| 600 | 9.89¢ | $59.31 |
| 700 | 9.57¢ | $67.00 |
Print it
The pieces most full bleed files are built for
Each takes 0.125 inches of bleed: a flyer built at 8.75 by 11.25 inches, a 4 by 6 postcard at 4.25 by 6.25, and a business card at 3.75 by 2.25.
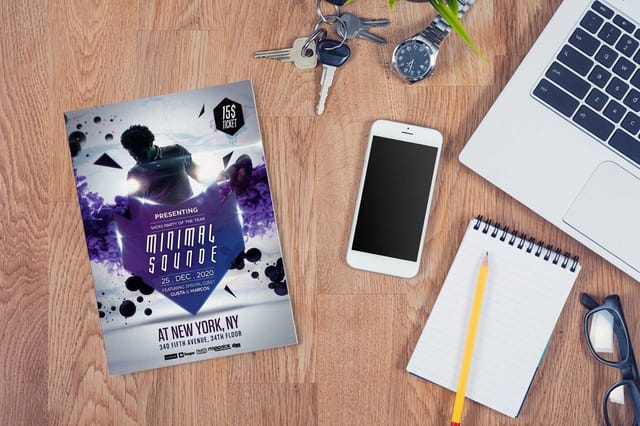
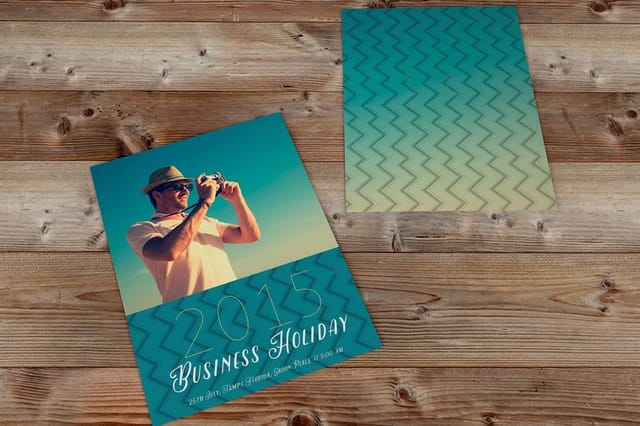
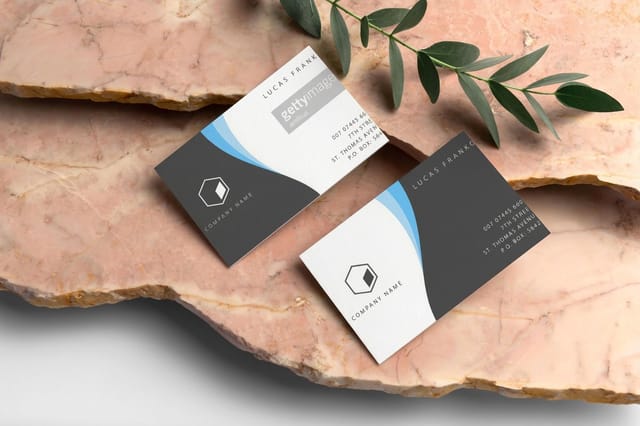
Trimmed to the edge
Real print work, produced in-house


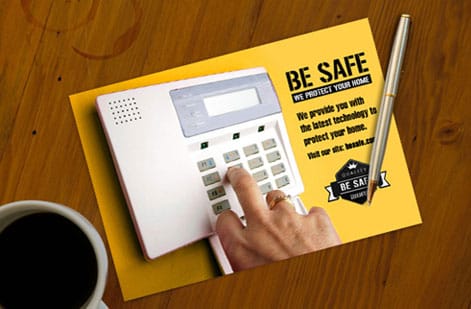





Explore more
Where to go next


By the numbers
Oversized, then cut down
Common Questions
Bleed and file setup questions, answered
What is full bleed printing?
Full bleed printing is any printed piece where the ink runs all the way to the edge with no white border. A printing press cannot lay ink cleanly onto the very edge of a sheet, and paper shifts slightly as it moves through the equipment, so full bleed is achieved by printing the piece oversized on a larger sheet and cutting it down to the final size. The cut passes through your artwork, which is why the artwork has to extend past the cut line. That extra artwork is the bleed.
How much bleed do I need for printing?
For small format work such as business cards, postcards, flyers, brochures and booklets, add 0.125 inches, which is one eighth of an inch, to every side. Your document stays at the final trim size and the bleed sits outside it, so a 4 by 6 inch postcard occupies 4.25 by 6.25 inches once bleed is included. Large format pieces such as banners and posters generally want more, because they are cut and finished differently, and hems or pole pockets need material of their own. Check the product template before you build anything oversized.
What is the difference between bleed and safety margin?
They protect against the same problem from opposite directions. Bleed is artwork that extends beyond the trim line so a cut landing slightly outside the intended position still lands on ink rather than on bare paper. The safety margin, sometimes called the safe zone or live area, is the band just inside the trim line where you must not place anything important, so a cut landing slightly inside the intended position does not clip your text. You need both. Bleed alone stops white edges but does nothing to stop a shaved headline.
What happens if I forget to add bleed?
One of three things. The file gets flagged in preflight and you are asked to resupply it, which costs you a day. Or the artwork gets scaled up slightly to create artificial bleed, which enlarges everything by a small amount and can push text closer to the trim than you intended. Or the job prints as supplied and some copies come back with a thin white sliver along one or more edges, which is the outcome nobody wants because it is only visible after the run is finished.
Does every printed piece need bleed?
Only pieces where color or imagery reaches the edge. If your design sits on a white background with a comfortable white margin all around, the trim will cut through white paper and there is nothing to protect. The moment any background color, photograph or graphic touches the edge, bleed becomes mandatory. Because most designs change during review, and a background color often arrives late, the safe habit is to set bleed on every document from the start, whether the current version uses it or not.
Can I add bleed in Canva or Microsoft Word?
Canva has a bleed option under the file or print settings, and you should turn it on and export as a PDF for print so the bleed is written into the file. Word has no true bleed feature, so the workaround is to build the page larger than the trim size by 0.25 inches in each dimension, run your background to the edge of that larger page, and keep all text well inside. Word is workable for simple layouts, but for anything with edge to edge imagery a design tool with real bleed support will save you a resupply.
Get Started
File set up correctly? Price the job.
Enter your size, stock, quantity and turnaround and the configurator returns the real price for that exact spec, so the trim size you built to is the trim size that prints.
Legal Disclaimer
Gold Standard guarantees apply to all standard orders placed through 4over4.com. Price match requires verifiable proof of a competitor's published price for an equivalent product with matching specifications and turnaround time. Satisfaction guarantee covers manufacturing defects and print quality issues. Contact support with order number and documentation.
