How to Make Custom Coasters From Design to Finish


Choose the right material, set up your artwork the right way, and pick a finish that shrugs off condensation. Here is the full path from a blank file to a coaster people actually keep.
To make custom coasters, match the material to where they will be used, set up your artwork at 300 DPI in CMYK with 0.125 inches of bleed, then pick a moisture-resistant finish and approve a proof before printing. Pulpboard suits high-volume bar giveaways, while cork and ceramic feel premium for gifts and hotels.
Quick tips
Quick tips for making custom coasters
Match your coaster material to where it will be used, set your artwork at 300 DPI in CMYK with 0.125 inches of bleed, and pick a moisture-resistant finish before you order. Pulpboard soaks up condensation for high-volume bars, while cork and ceramic feel premium for gifts and hotels. Always approve a proof before printing, and 4OVER4.COM customers who follow these steps get coasters that look sharp and hold up on every table.
Why making custom coasters is easier than you think
Learning how to make custom coasters does not take a design degree or expensive gear. It is one of the more forgiving print projects you can pick up. The shape is simple, the canvas is small, and the finished piece sits in front of people for hours, on desks, coffee tables, and bar tops.
This guide walks through every step, from choosing a material and setting up your artwork to picking a finish that shrugs off condensation. If you have already tried other print projects like custom magnets or how to make envelopes, the coaster process will feel even more straightforward. To design yours from scratch, the 4OVER4.COM Online Designer makes file setup painless, and you can order the finished piece straight from the drink coasters page.
Custom coasters pull double duty. They are a functional drinkware accessory and a marketing tool at the same time, which is why they show up at restaurants, weddings, trade shows, and home bars. Want a shorter version of this walkthrough? The DIY custom coaster guide covers the quick path.
Pick the right coaster material for your use case
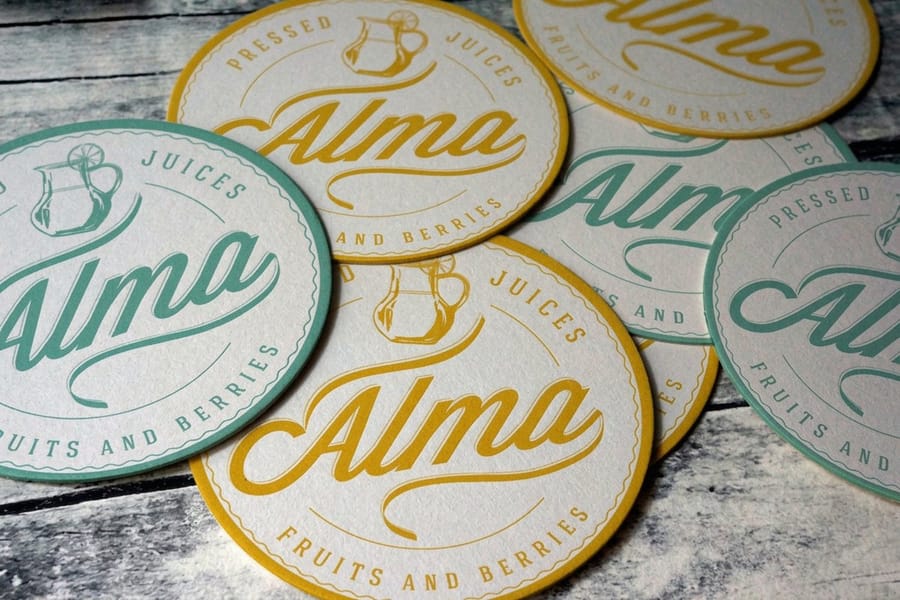
Material choice makes or breaks a coaster. It is the single decision that determines whether your coaster survives a sweaty pint glass or turns into a soggy mess after one drink. Here is how to think about it.
- Pulpboard coasters are the classic choice for bars, breweries, and giveaways. They are absorbent, lightweight, and cost-effective in bulk, and they soak up condensation instead of letting it pool.
- Cork-backed coasters add perceived value. The cork bottom grips the surface and stops sliding, while the printed top gives you a full-color canvas. A good fit for gifts, wedding favors, and retail.
- Ceramic and stone coasters sit at the premium end. Heavy, durable, and impressive to hold, they suit corporate gifts, closing presents, and home decor lines.
- Rubber and neoprene coasters are soft, they grip, and they do not scratch furniture. A natural pick for tech and gaming brands that want a coaster with a mousepad feel.
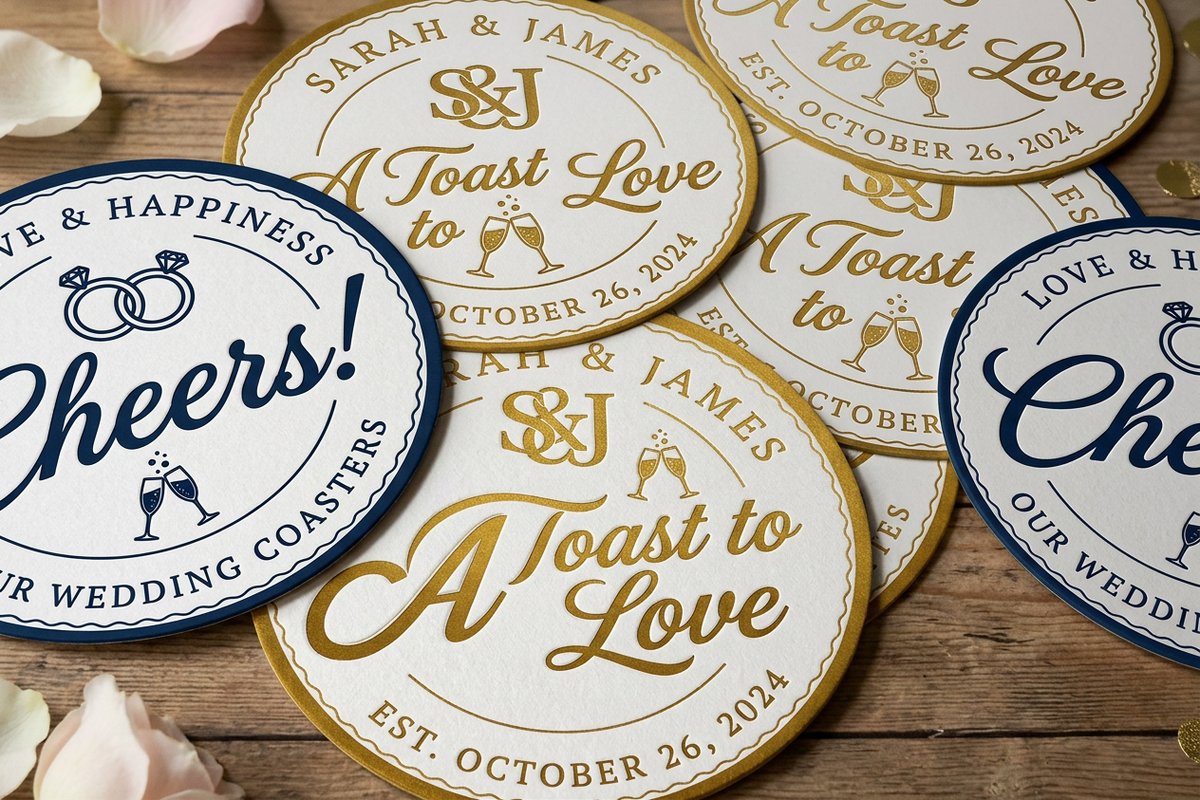
Think about where your coaster ends up. A brewery handing out 10,000 coasters at a festival needs pulpboard, while a boutique hotel placing one in every room wants cork or ceramic. Match the material to the moment. For a wedding table, wedding drink coasters and engraved drink coasters read as keepsakes, and you can compare the full range on the drink coaster printing page.
Set up your coaster design file correctly
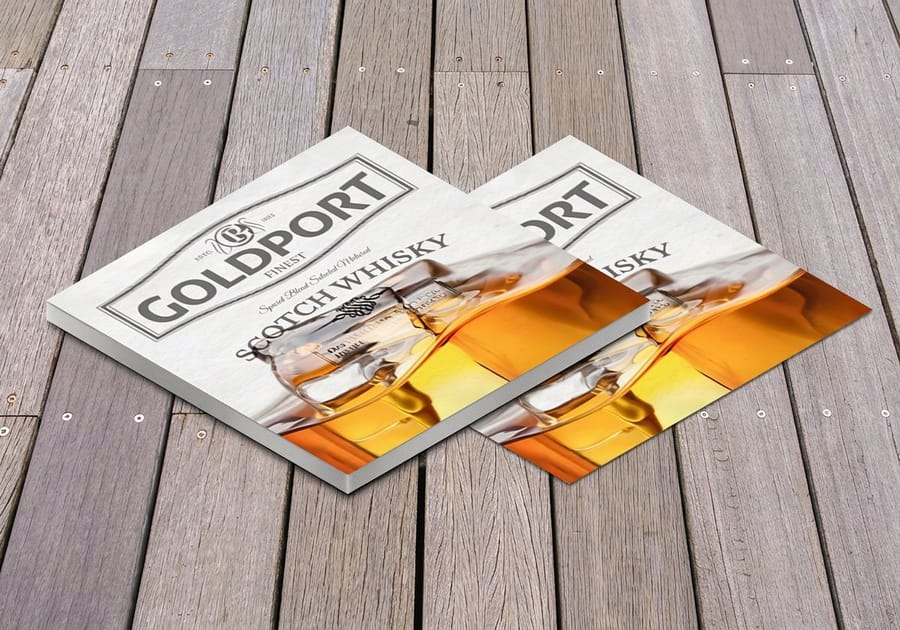
Getting your artwork right before you upload saves time, money, and frustration. Coaster files are not complicated, but they do have specific requirements. For file setup across other products, the guide hub covers a wide range of topics.
Resolution matters. Design at 300 DPI minimum. Coasters are small, so every pixel shows. A blurry logo on a 4-inch coaster is painfully obvious, and a low-res source file only looks worse in print.
Color mode should be CMYK. RGB looks great on screen but prints differently, so convert before you export. For deep blacks, build a rich black at C40 M40 Y40 K100 instead of plain K100, which can look washed out.
Bleed is non-negotiable. Add at least 0.125 inches of bleed on every side by extending your background past the trim line so there is no white edge after cutting. On a round coaster, the bleed follows a slightly oversized circle around the trim.
Safe zone keeps key elements visible. Keep logos, text, and anything critical at least 0.125 inches inside the trim line, because cutting is not perfectly precise on every piece. Export as a high-resolution PDF with fonts embedded or outlined to avoid font substitution. The fastest way to get all of this right is to start from a print-ready drink coaster template with the size, bleed, and safe zone already set.
Choose your coaster shape and size
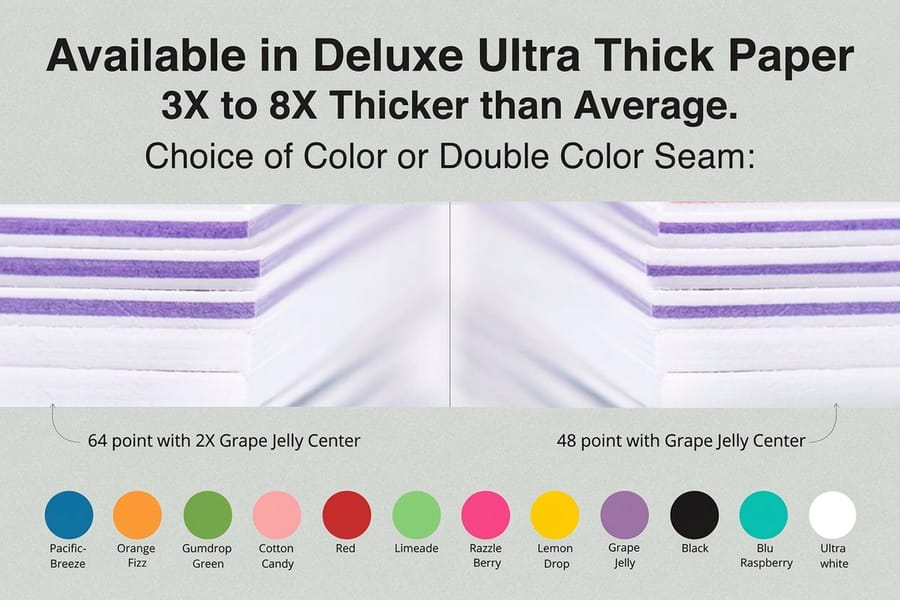
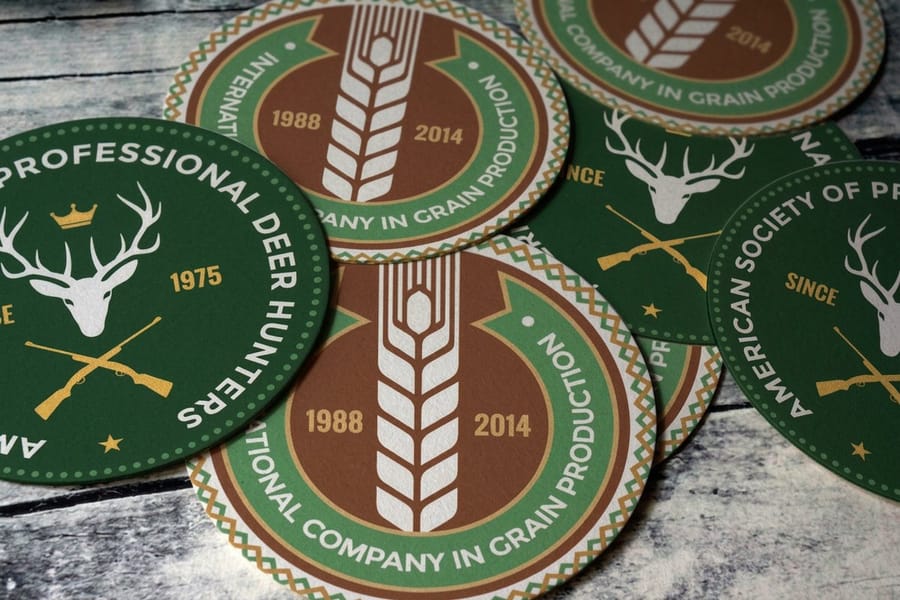
Round coasters are the standard. They are classic, they fit most glasses, and they look clean. A 4-inch diameter is the most common size, big enough for branding and small enough to stay out of the way on a crowded table.
Square coasters give you more printable area and corners to work with, which suits designs with text, QR codes, or geometric patterns. They also stack neatly, which helps with packaging and display.
Custom die-cut shapes take you beyond circles and squares. A state outline, a hexagon, or your logo silhouette all open up creative options, though die-cutting adds to production cost and setup time. The thinking is close to how you plan unique cuts when working out how to make flyers with custom shapes.
For most projects, stick with round or square. They are proven, affordable, and look professional. Save custom shapes for special occasions or premium product lines where the extra cost earns its keep.
Design tips that make coasters stand out
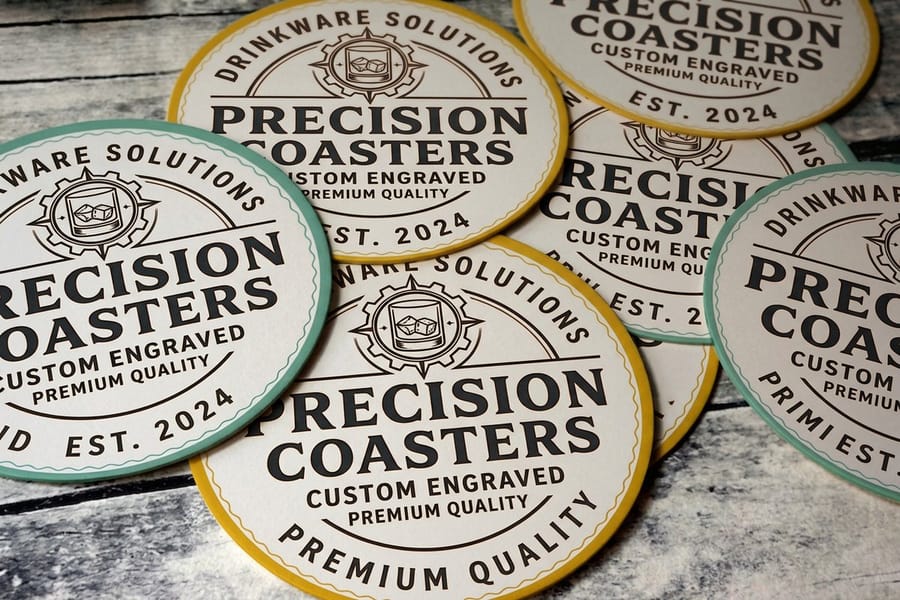
Keep it simple. You have roughly 12 square inches on a standard round coaster, which is not a lot. One logo, one tagline, maybe a subtle pattern. There is no room for your whole menu or website.
Contrast is your friend. Dark text on a light background, or the reverse, reads clearly even in dim bar lighting. Avoid small text over busy backgrounds, because it disappears. If you add a QR code, make it at least 0.75 inches square so phones scan it reliably.
Use both sides. Most printed coasters give you two surfaces. Put your primary branding on the front and a call to action, social handle, or event detail on the back. Double-sided printing costs a little more and doubles your messaging space.
Color sets the mood too. Warm tones like reds, oranges, and golds feel inviting for restaurants and bars, while cool tones like blues, greens, and silvers feel polished for corporate events. Black and white always looks sharp and prints consistently. The same instincts carry across print, whether you are working out how to fold a brochure or laying out a coaster.
If the coaster is for an event, add the date and the occasion. Wedding coasters with the couple's names become keepsakes, and conference coasters with the event hashtag drive social posts.
Select a finish that stands up to moisture
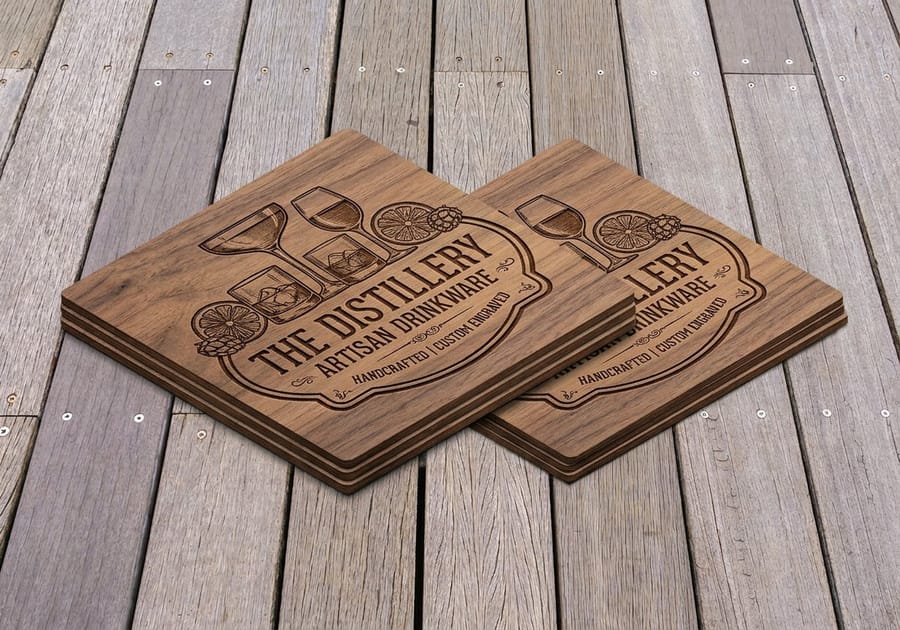
The finish protects your print and changes how the coaster feels in hand. Since every coaster meets moisture at some point, this step matters.
UV coating adds a glossy, protective layer that resists moisture and smudging. It makes colors pop and gives a polished look, which is why it is the go-to for most promotional coasters.
Matte finish tones down the shine for a softer, more sophisticated feel. It is less reflective, which can make text easier to read, and it hides fingerprints better than gloss.
Uncoated is the natural option. It has a raw, tactile feel and works well for absorbent pulpboard, where you want the material to soak up condensation. The trade-off is less color vibrancy than a coated stock.
For cork-backed and ceramic coasters, the print surface usually gets a protective sealant built into production, so you do not choose a separate finish. It is part of the product.
Order your coasters and approve the proof
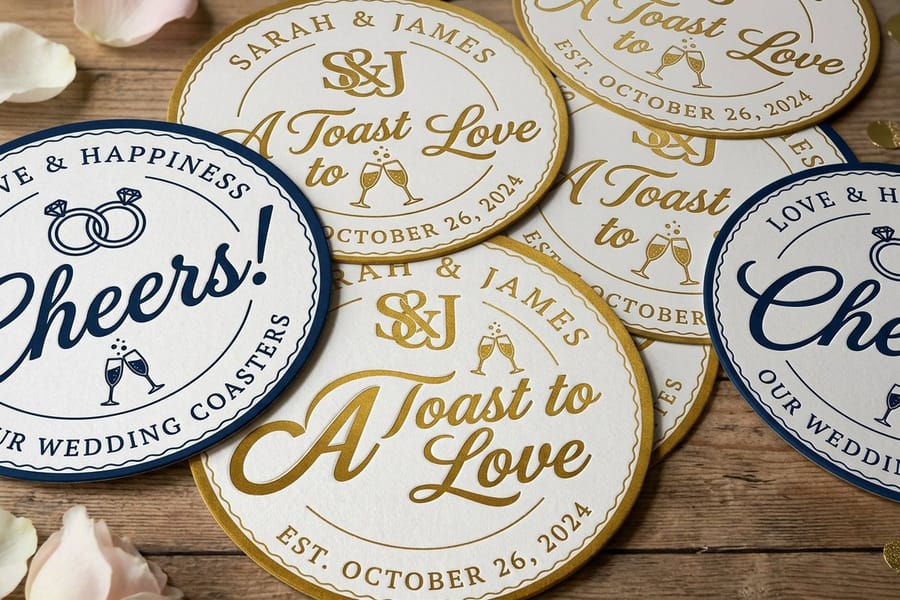
Once your file is ready, ordering is straightforward. Upload the artwork, choose your quantity, pick your material and finish, and review a digital proof before production starts.
Quantity drives your per-unit cost. One hundred coasters cost more per piece than a thousand, so if you plan to use coasters for ongoing promotion, order in larger batches to bring the unit price down. Many businesses keep a stock on hand year-round and refresh the design each season.
4OVER4.COM delivers with a 99.8% on-time rate, so you can plan around an event date with confidence. On a tight deadline, same day printing gets rush orders out the door fast. To round out an order, pair coasters with matching custom booklets for menus, or announce the event with event invitations.
Proofing is your last chance to catch errors. Check spelling, confirm the colors look right, and verify the bleed and safe zones. It takes two minutes and saves you from reprinting a full run over a typo. While you are caring for your other print tools, our guide on how to clean rubber stamps is worth a read.
Coaster design mistakes that waste your budget
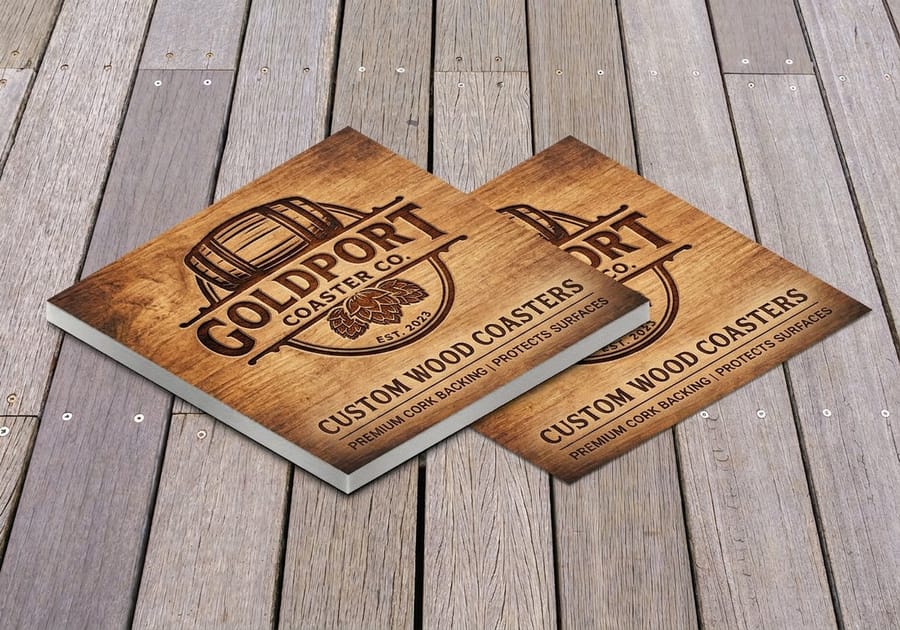
Even people who have made coasters before hit these snags. Avoid them and your run comes out clean the first time.
Ignoring bleed is the most common mistake. You end up with thin white edges that read as amateur. Always extend your design past the trim line by at least 0.125 inches.
Using RGB instead of CMYK causes color shifts. That bright blue on your monitor can print as a dull purple, so convert before you export, every time.
Overcrowding the design kills readability. A coaster is not a brochure. One focal point, minimal text, clean layout. If someone cannot spot your brand in two seconds, there is too much on there.
Choosing the wrong material for the setting wastes money. Uncoated pulpboard at an outdoor summer event will be mush by noon, so match the material to the conditions.
Skipping the proof review is how typos reach print. 4OVER4.COM provides proofs for a reason, so use them. Across 150,000+ businesses served, proofing prevents most of the mistakes we have seen.
Specs and pricing
Custom coaster specs and pricing
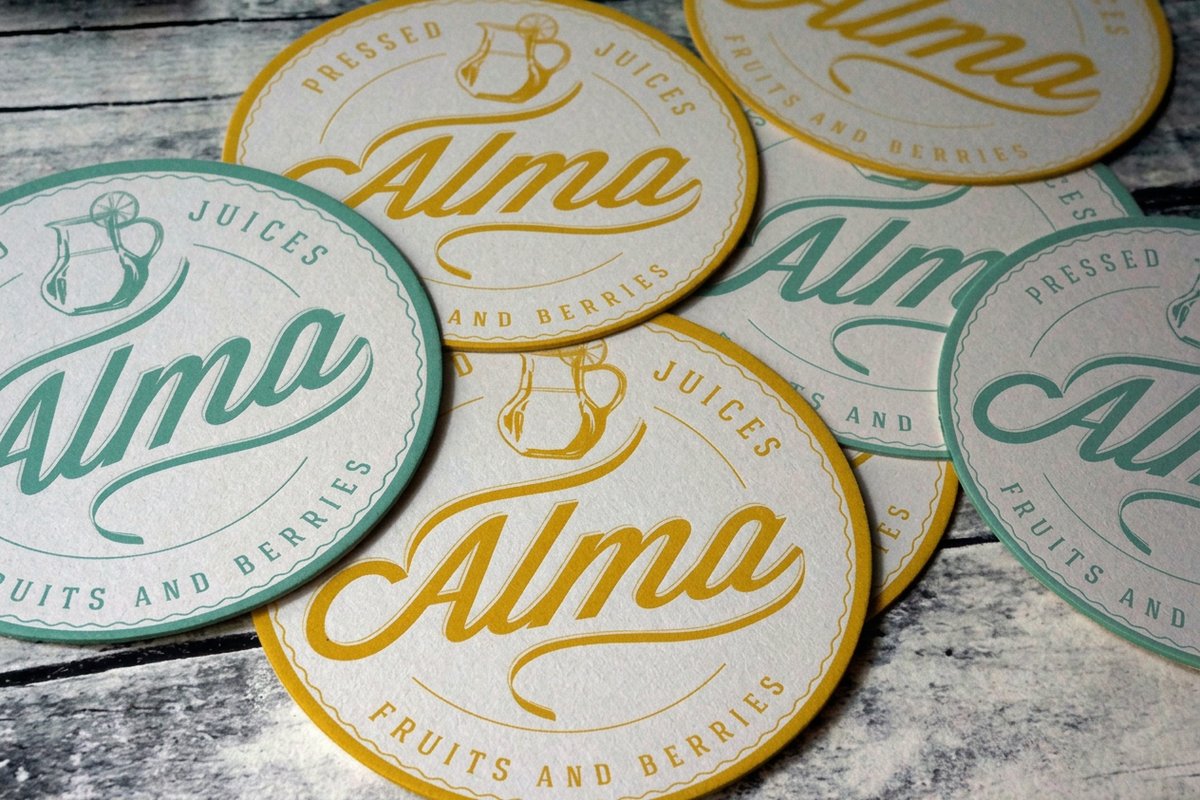
When you are ready to print, here is what a made-to-order drink coaster gives you at 4OVER4.COM, with live specs and price-per-unit straight from the configurator.
| Quantity | Price Per Unit | Total |
|---|---|---|
| 10 | $1.10 | $10.98 |
| 20 | $1.09 | $21.86 |
| 30 | $1.09 | $32.62 |
| 40 | $1.09 | $43.49 |
| 50 | $1.09 | $54.37 |
| 100 | $1.10 | $109.73 |
| 150 | $1.09 | $163.11 |
| 200 | 97.8¢ | $195.51 |
Print it
Order coasters and event print at 4OVER4
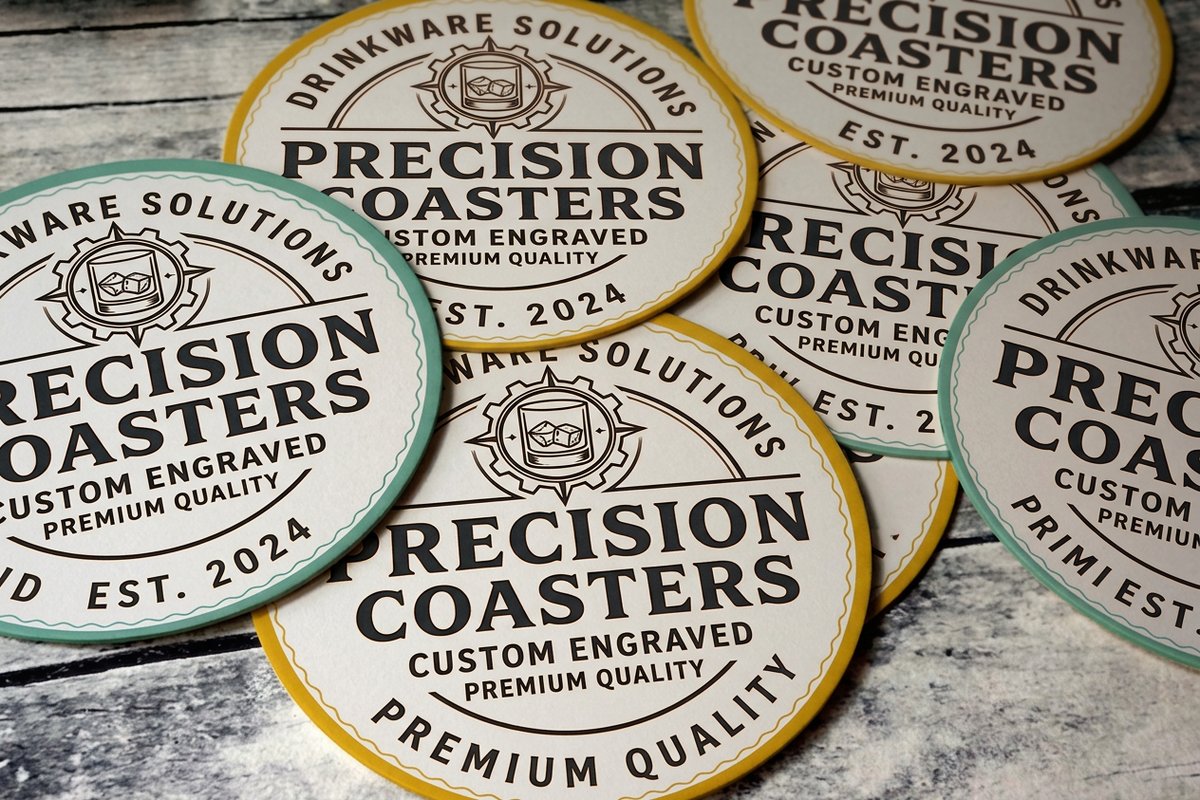
Wally explains custom coasters
The right material and a clean file do all the work
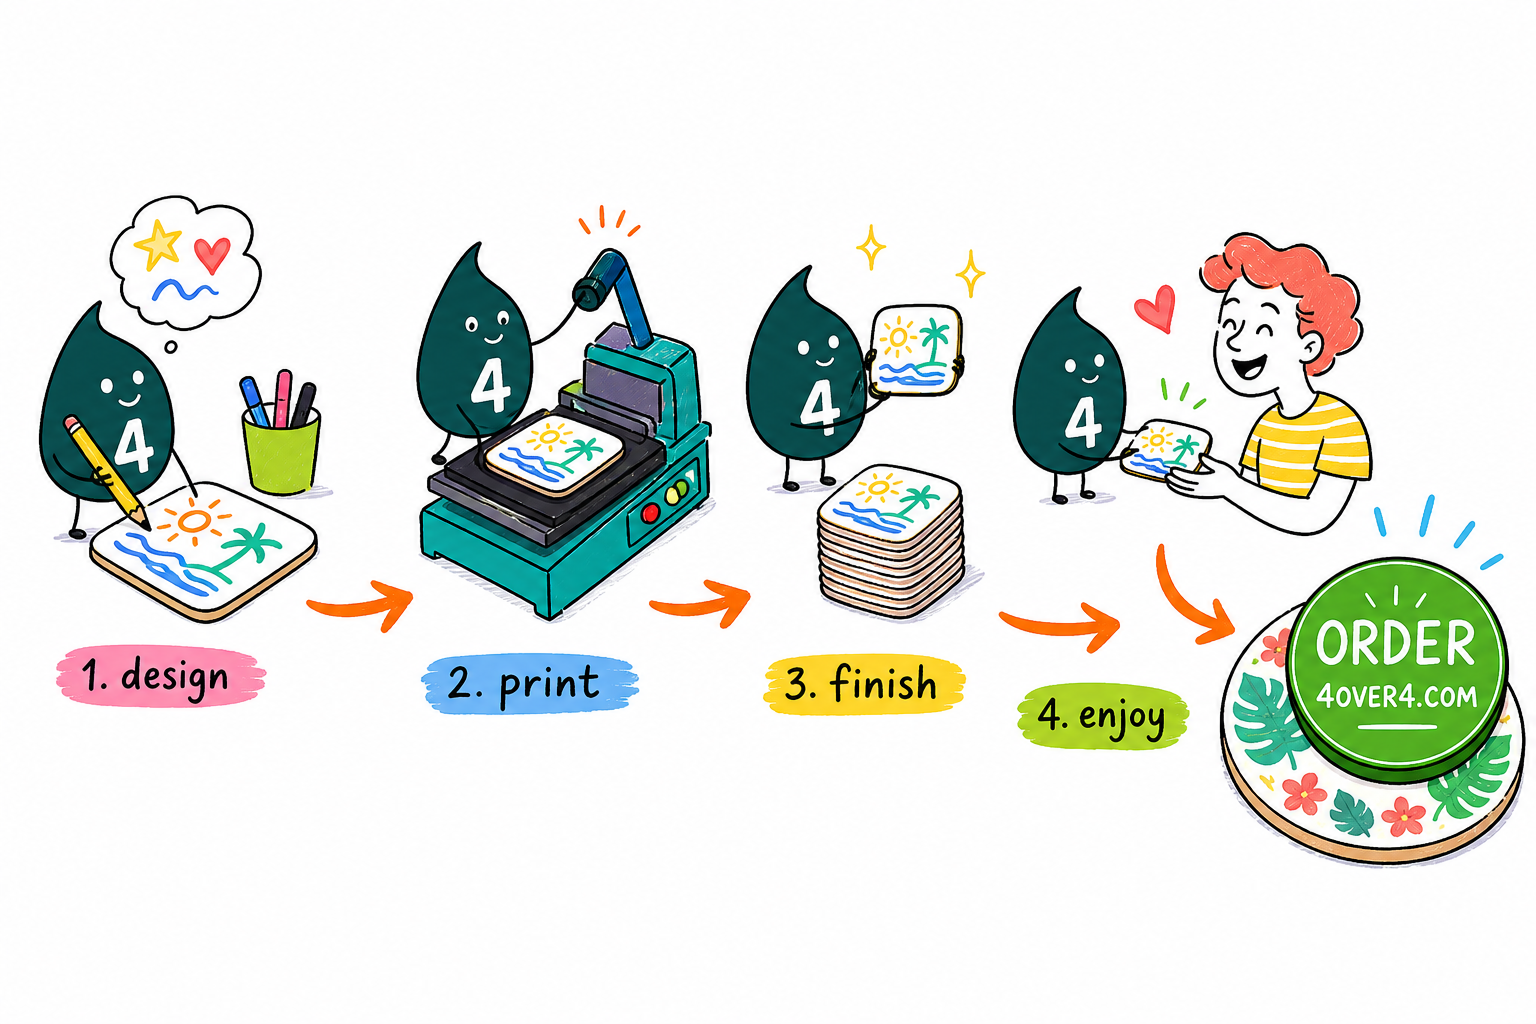
Wally treats a coaster like a tiny billboard that lives on the table. Get the material right and the print survives a sweaty glass, get the file right and your logo lands sharp at 4 inches wide. Pick pulpboard for a busy bar, cork or ceramic for a gift people keep, then set your art at 300 DPI in CMYK with a little bleed. When it looks right on the proof, print it and let it do the talking.
Order drink coasters →Explore more
Where to go next


By the numbers
Printing you can count on at 4OVER4
Common Questions
Common questions about making custom coasters
What file format works best for custom coaster printing?
A high-resolution PDF is the preferred format. Export at 300 DPI in CMYK color with all fonts embedded or converted to outlines, which gives the printer exactly what it needs without font substitution or color surprises. TIFF and EPS files also work, but PDF is the most reliable across production.
Can I print on both sides of a custom coaster?
Yes. Most coaster products support double-sided printing. Use the front for your logo or primary branding and the back for a call to action, event details, or a social handle. Double-sided printing costs slightly more per unit and doubles your messaging space on every coaster.
What is the minimum order quantity for custom coasters?
Minimums vary by material. Pulpboard coasters usually start low since they run on offset or digital presses, while cork and ceramic can carry higher minimums because of production setup. Check the specific product page for current minimums and quantity pricing.
How do I make sure my coaster design is moisture-resistant?
Choose a UV-coated or glossy finish for the most moisture protection, since those finishes create a barrier between the printed surface and condensation. For pulpboard coasters, remember that absorption is the point, so they are built to soak up moisture rather than repel it.
What size should I make my custom coasters?
The standard round coaster is 4 inches in diameter, and square coasters are usually 3.5 to 4 inches per side. Those sizes fit comfortably under most glasses. When you set up the file, add 0.125 inches of bleed beyond the trim and keep text 0.125 inches inside the trim.
How long does it take to receive custom coasters after ordering?
Timelines depend on the material, quantity, and shipping method you choose. 4OVER4.COM holds a 99.8% on-time delivery rate across products, and standard turnaround is typically a few business days, with rush options for tighter deadlines.
Get Started
Ready to make your own custom coasters?
Pick your material and shape, drop in your artwork, and we print coasters that hold up to condensation and look sharp on every table.
Legal Disclaimer
Gold Standard guarantees apply to all standard orders placed through 4over4.com. Price match requires verifiable proof of a competitor's published price for an equivalent product with matching specifications and turnaround time. Satisfaction guarantee covers manufacturing defects and print quality issues. Contact support with order number and documentation. On-time delivery rate based on tracked orders 1999 to 2026. Individual results may vary based on shipping carrier performance.
