
DIY Custom Drink Coaster Tutorial Guide


Pick a base, design bold at 300 DPI, transfer your art, then seal and back it. Here is the full routine for coasters that protect surfaces and look store-bought, whether you make four or four hundred.
To make custom drink coasters, start with the right base: ceramic tiles and wood slices for daily use, cork or cardboard for events. Design bold artwork at 300 DPI, transfer it with Mod Podge, vinyl, or wood burning, then seal with two or three thin coats and add felt backing. For large, identical batches, professional printing on durable stock skips the sealing entirely.
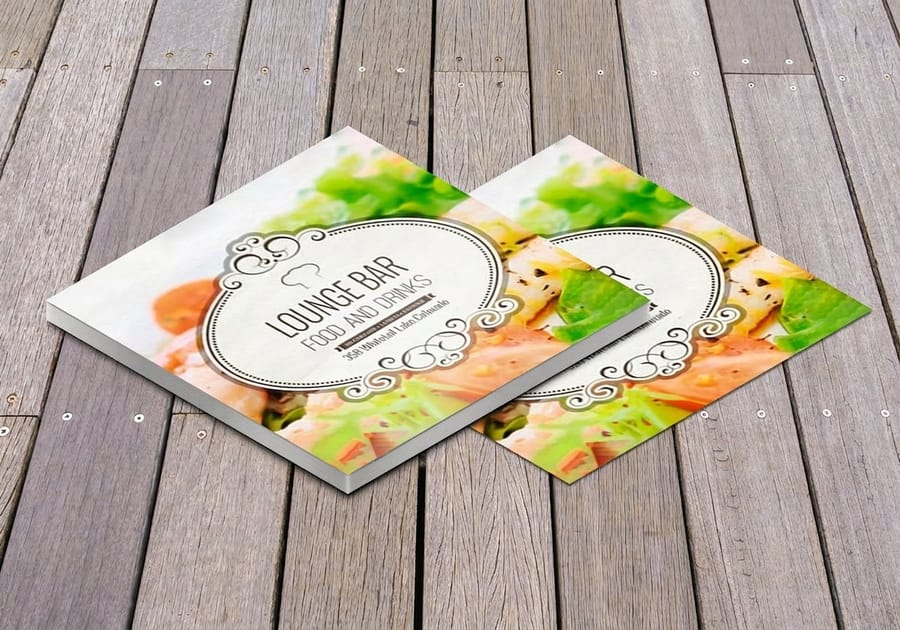
Quick tips
What you'll learn from this DIY drink coaster tutorial
A DIY custom drink coaster tutorial walks you through picking materials, designing artwork, and finishing your coasters so they actually protect surfaces and look great. Whether you are making coasters for your home, a gift, or a branded giveaway, the process is straightforward once you know the steps. 4OVER4.COM has helped 150,000+ businesses bring custom print projects to life, and drink coasters remain one of the most popular items people customize.
Watch it printed
See drink coasters on the press, in 100 seconds
Why custom drink coasters make a great DIY project
Custom drink coasters sit at the intersection of practical and personal. They protect your tables. They show off your style. And they make surprisingly memorable branded giveaways. A good DIY custom drink coaster tutorial gives you the confidence to create something that looks professional without a design degree.
The best part is that you do not need expensive equipment. With the right materials and a clear plan, you can produce coasters that rival anything you would buy in a store. If you enjoy hands-on creative work, our Online Designer is a great place to build your art in the browser. And for another fun DIY print project, walk through our guide on how to make custom magnets.
4OVER4.COM offers 1,000+ products for custom printing, including professionally printed drink coasters for when you want that polished, production-quality finish. Below, you will see how the DIY route comes together step by step.
Picking the right base material
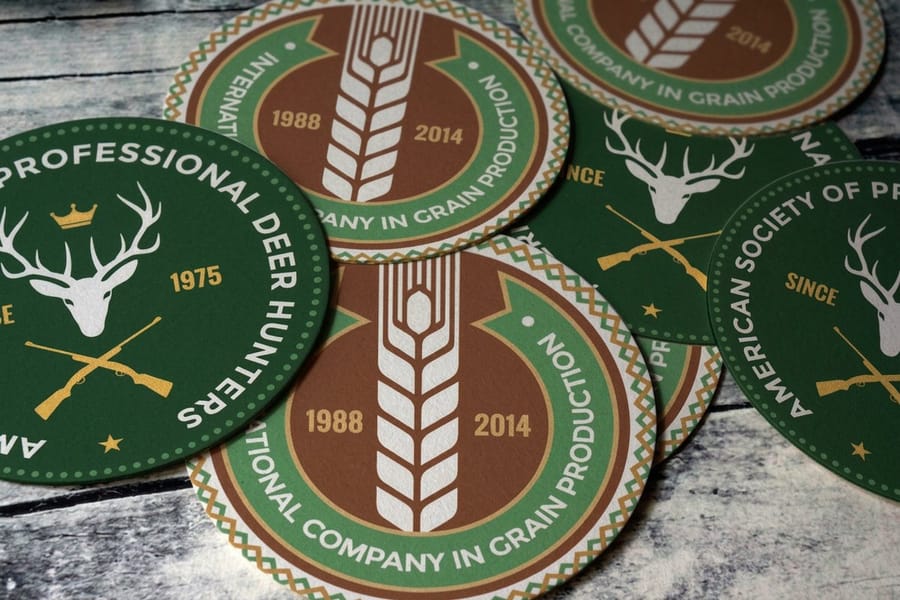
Your material choice determines everything, from how your coaster looks to how long it lasts and how it feels in your hand. Here are the most popular options for DIY drink coasters.
- Ceramic tiles. Cheap, smooth, and perfect for image transfers. You can grab plain white 4x4 tiles at any hardware store for under a dollar each.
- Cork. Lightweight, naturally absorbent, and eco-friendly. Cork grips surfaces well and will not scratch your furniture.
- Wood slices. Rustic, sturdy, and full of character. Birch and cedar work best because they are dense enough to resist warping.
- Cardboard or chipboard. Great for prototyping designs before committing to a harder material, and it works well for one-time event coasters.
- Resin. Gives you a glossy, waterproof finish. Resin coasters let you embed flowers, glitter, or photos inside for a truly custom look.
If you are making coasters for daily use, go with ceramic or wood. They handle condensation better than paper-based materials. For branded giveaways or events, cork and cardboard are cost-effective choices that still look polished. For more creative print projects, browse the guide hub for step-by-step tutorials on all kinds of custom items.
Designing your coaster artwork
This is where your coasters go from generic to genuinely yours. Whether you are using hand-drawn art, digital designs, or photographs, a few principles keep your results sharp.
Keep it simple. Coasters are small. A 3.5 to 4-inch circle or square does not leave room for fine text or delicate detail. Bold graphics, clean logos, and high-contrast colors read best at coaster scale.
For digital designs, set your file to at least 300 DPI at the actual coaster size. Low-resolution images look blurry when printed or transferred. Use CMYK color mode if you plan to print your design, since RGB colors can shift during printing.
Free design tools like Canva work fine for basic layouts. If you want more control, Adobe Illustrator or the free alternative Inkscape let you work with vector graphics that scale perfectly to any size. You can also start from a blank coaster template to get your dimensions right from the start. The design principles here mirror what you would use when learning how to make flyers, where clarity and visual impact matter most.
Picking photos that still read at four inches
A coaster is a 3.5 to 4 inch square or circle, and a glass covers most of the middle of it. That is the test every image has to pass. Crop tight to one subject so the thing you care about fills the frame, because a wide group shot or a landscape shrinks to an unreadable smudge at this size.
Four checks sort the usable photos from the rest.
- Resolution. The file has to hit 300 DPI at the actual coaster size. A phone photo is usually fine, a screenshot or a social download rarely is.
- Contrast. Pick an image with a clear light and dark separation. Flat, evenly lit photos go muddy once they are sealed.
- Background. A plain or blurred background keeps the subject readable. A busy one competes with it.
- Text. Any words in the image need to be large and bold, and on a Mod Podge transfer they have to be mirrored before you print, because the sheet goes face down onto the tile.
Convert the file to CMYK before you print. If you want the image handled for you, drink coasters print in full color on durable stock with no transfer step.
Transferring your design to the coaster
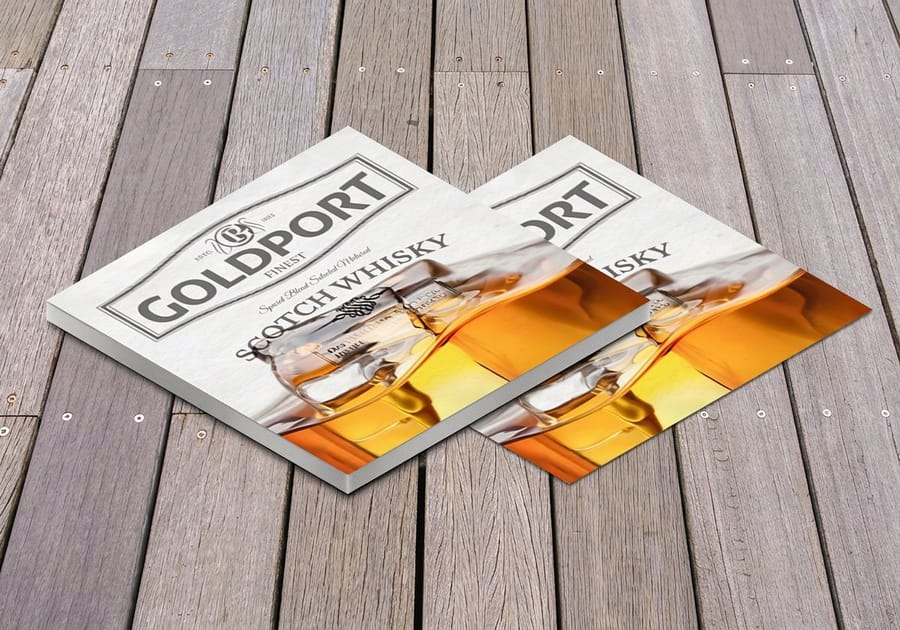
The transfer method depends on your material. Here are the most reliable techniques.
Mod Podge image transfer (ceramic tiles). Print your design on a laser printer, because inkjet will not work for this method. Apply a thick layer of Mod Podge to the tile surface, then place your printed image face-down onto the wet Mod Podge. Smooth out air bubbles with a credit card or brayer. Let it dry completely, at least 8 hours, and overnight is better. Then dampen the paper with a wet sponge and gently rub it away. Your image stays bonded to the tile.
Vinyl decals (any hard surface). Cut your design from adhesive vinyl using a Cricut or Silhouette machine. Weed away the excess vinyl, apply transfer tape, and press the decal onto your coaster. This method gives you crisp, clean lines and works on wood, ceramic, and even glass.
Wood burning (wood slices). Trace your design onto the wood surface with carbon paper, then use a wood-burning pen to follow the lines. This technique creates a permanent, rustic look that will not peel or fade. Just practice on scrap wood first, because the pen gets hot and moves fast.
Direct printing. If you have access to a sublimation printer, you can print directly onto coated ceramic or hardboard coasters. The colors are vivid and the finish is durable. This is the closest you will get to professional results at home.
The image transfer method is the most popular for DIY beginners because it requires no special equipment beyond a laser printer. Just like learning how to fold a brochure, getting the technique right takes one or two practice runs before you nail it.
Sealing and finishing your coasters
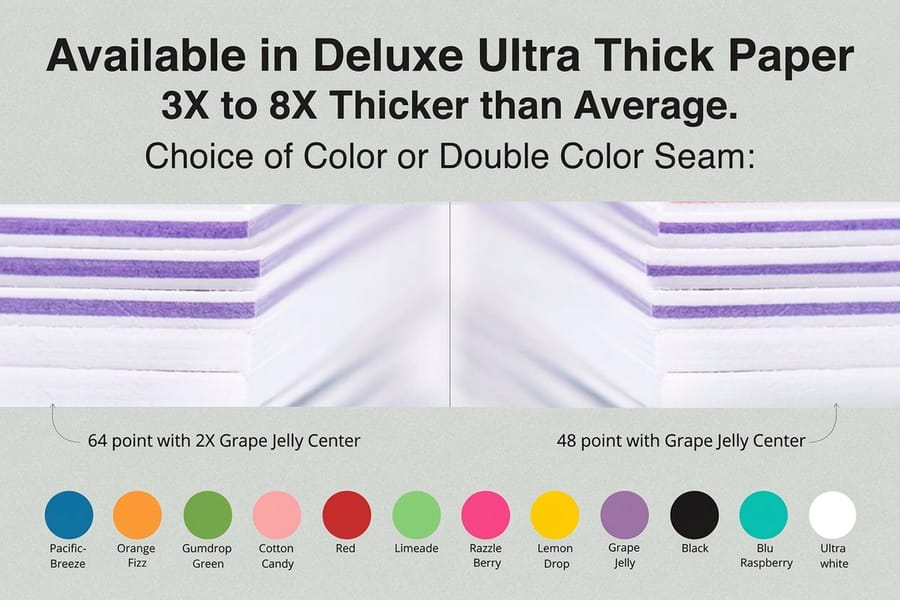
Skip this step and your coasters will not survive their first wet glass. Sealing is non-negotiable.
For ceramic tile coasters, apply 2 to 3 thin coats of clear polyurethane spray. Let each coat dry fully before applying the next. Thin coats prevent drips and bubbling. A satin or matte finish looks more natural than high-gloss on most designs.
For wood coasters, use a waterproof sealant like marine-grade polyurethane or epoxy resin. Wood is porous and will absorb moisture quickly without protection. Two coats minimum, three if the coasters will see heavy daily use.
Cork coasters need a light spray of clear acrylic sealer. Do not soak cork in liquid sealant, because it will lose its absorbent properties and become slippery.
After sealing, add adhesive felt pads or cork bumpers to the bottom of each coaster. This prevents the coaster from scratching your furniture and keeps it from sliding around. A pack of self-adhesive felt dots costs a couple of dollars and makes your finished product feel genuinely professional.
Adding backing and non-slip material
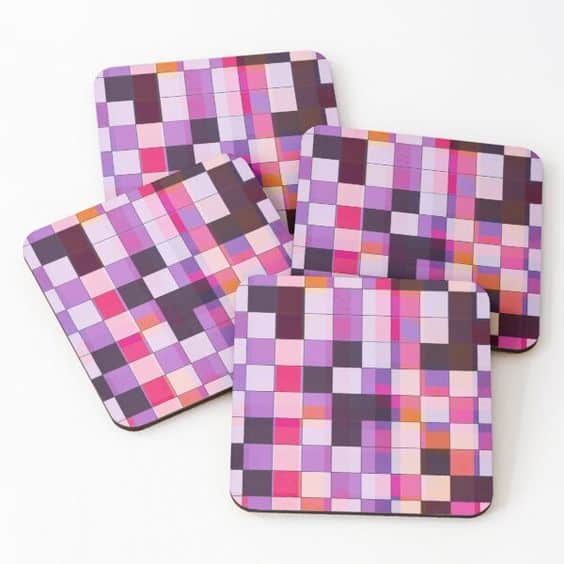
The bottom of your coaster matters as much as the top. Without proper backing, coasters slide across tables, scratch surfaces, and feel cheap. Here is what works.
- Adhesive cork sheets. Cut to size and press onto the bottom. Cork grips most surfaces and adds a finished look.
- Rubber bumper dots. Four small dots on the corners create grip and lift the coaster slightly off the surface for airflow.
- Adhesive felt. Soft, protective, and available in colors to match your design. Best for coasters used on delicate wood furniture.
If you are making coasters as gifts, consider packaging them in sets of four or six. A simple kraft paper box with a ribbon turns a DIY project into something that looks store-bought. You can find similar creative packaging ideas in our guide on how to make envelopes.
Branded coasters for business and events
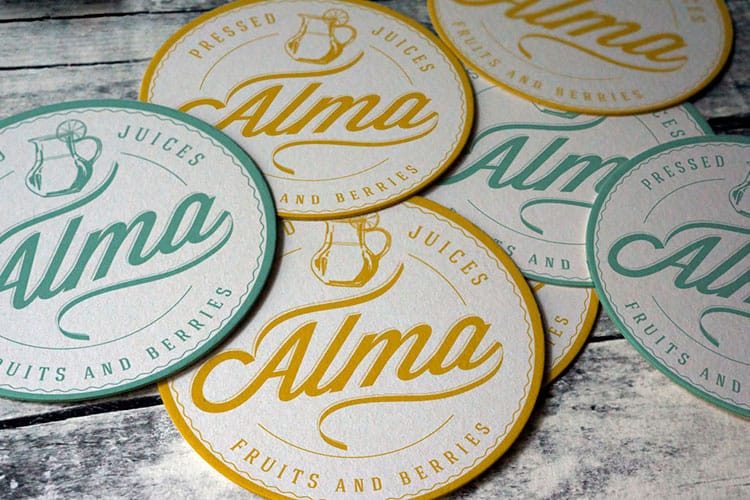
Custom drink coasters are not just a home craft project. They are a surprisingly effective marketing tool. Restaurants, breweries, coffee shops, and event planners use branded coasters every day to reinforce their identity.
If you are making coasters for business purposes, consistency matters. Your logo placement, colors, and typography should match your other branded materials. Think of your coaster as a tiny billboard that sits in front of your customer for the entire duration of their visit.
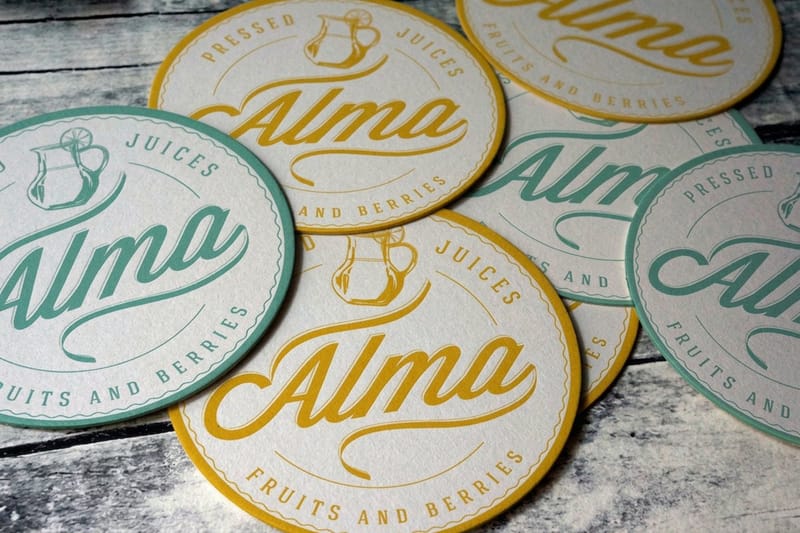
For large quantities or when you need a polished, consistent finish across hundreds of coasters, professional printing saves you time and delivers better results. 4OVER4.COM prints custom drink coasters with full-color designs on durable stock, with no sealing or hand-finishing required.
For other small branded items that pair well with custom coasters, take a look at custom bookmarks, another compact printed product that keeps your brand in front of people. And if you are working with rubber stamps for your coaster designs, our guide on how to clean rubber stamps will help you maintain your tools.
When to go pro with your custom drink coasters
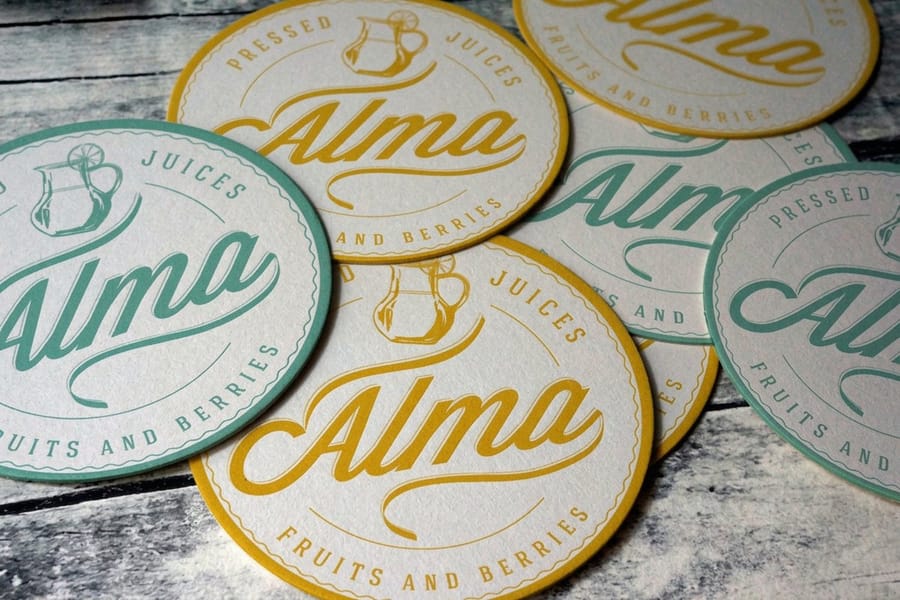
DIY works great for small batches and personal projects. But when you need 50, 100, or 500 coasters with identical, flawless results, professional printing is the smarter move. 4OVER4.COM prints custom drink coasters with full-color designs on durable stock, with no sealing or hand-finishing required.
While you are exploring the 4OVER4.COM product lineup, grab a set of free business cards to experience the print quality firsthand at zero cost. It is a great way to pair a polished stationery piece with your custom coasters when you are building a full brand kit.
The specs and live pricing below show exactly what a made-to-order drink coaster gives you, straight from the configurator.
Mistakes that ruin DIY drink coasters, and how to avoid them
Even a straightforward DIY custom drink coaster tutorial cannot save you from these common errors if you are not paying attention.
- Using inkjet prints for Mod Podge transfers. Inkjet ink is water-soluble. It smears the moment you apply the wet medium. Always use a laser printer for image transfers.
- Skipping the seal coat. Unsealed coasters absorb condensation and stain within days. Two to three coats of polyurethane or acrylic sealer are mandatory.
- Designing at low resolution. Anything below 300 DPI looks fuzzy on a coaster. Set your file dimensions to match the actual coaster size at 300 DPI before you start designing.
- Applying sealant too thick. One heavy coat bubbles, drips, and takes forever to dry. Multiple thin coats always beat one thick one.
- Forgetting non-slip backing. A coaster without felt pads or cork backing slides around and scratches furniture. It takes 30 seconds to add and makes a huge difference.
4OVER4.COM eliminates these headaches entirely, with 150,000+ businesses worth of production experience behind your coasters. Professional printing on durable stock means no sealing, no transfer failures, and consistent results every time.
Wally explains coaster making
Bold art, a real seal, and felt on the back
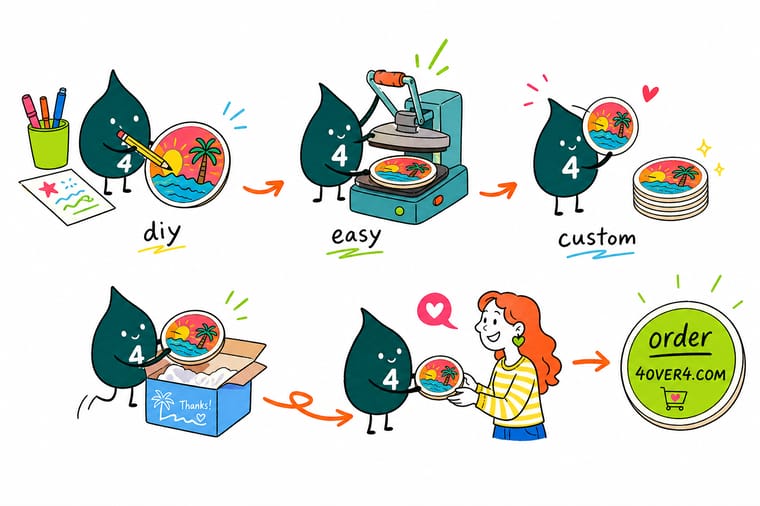
Wally treats a coaster like a tiny billboard for your table: keep the artwork bold and high-contrast so it reads at 3.5 inches, then seal it properly so the first wet glass does not ruin it. DIY is perfect for a set of four. When you need fifty or five hundred that all match, skip the Mod Podge marathon and let 4OVER4 print them full-color on durable stock, no sealing required.
Order drink coasters →Specs and pricing
Custom drink coaster specs and pricing
When you want a polished, production-quality finish, here is what a made-to-order drink coaster gives you at 4OVER4.COM, with live specs and price-per-unit straight from the configurator.
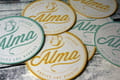
| Quantity | Price Per Unit | Total |
|---|---|---|
| 10 | $1.10 | $10.98 |
| 20 | $1.09 | $21.86 |
| 30 | $1.09 | $32.62 |
| 40 | $1.09 | $43.49 |
| 50 | $1.09 | $54.37 |
| 100 | $1.10 | $109.73 |
| 150 | $1.09 | $163.11 |
| 200 | 97.8¢ | $195.51 |
Print it
Order custom drink coasters at 4OVER4
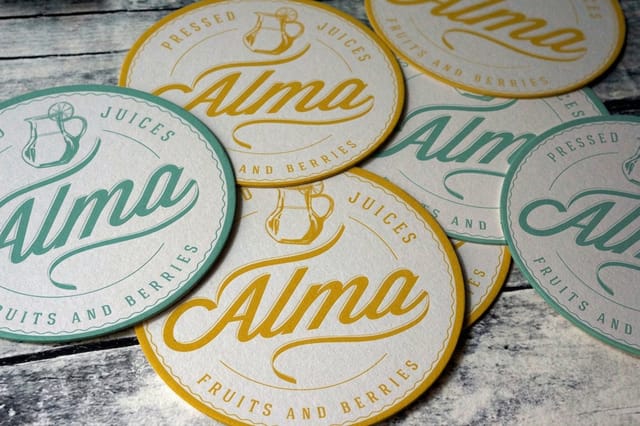
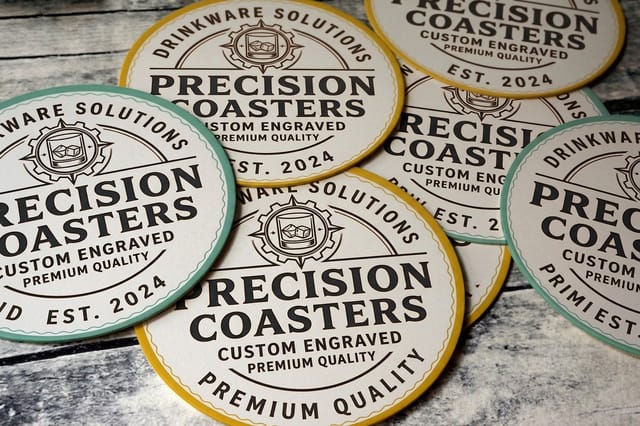
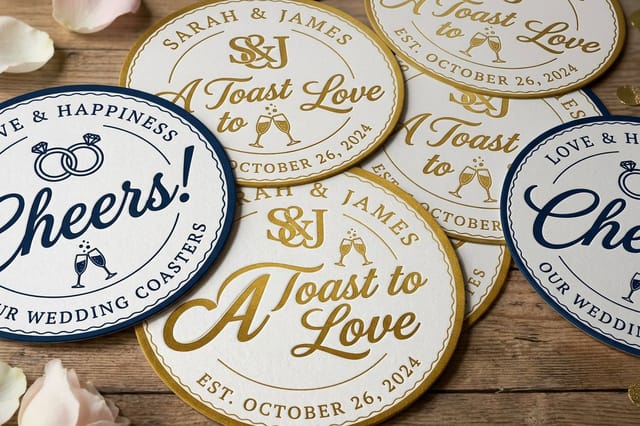
Explore more
Where to go next

By the numbers
Coasters come off a floor that has served 150,000+ businesses
Common Questions
Your DIY drink coaster questions, answered
How to put images on coasters?
Match the method to the base material. On a ceramic tile, print the image on a laser printer, press it face down into a thick layer of Mod Podge, let it dry overnight, then dampen the paper and rub it away so the image stays bonded. On wood or any hard surface, cut the design from adhesive vinyl and apply it with transfer tape. With a sublimation printer you can print straight onto a coated ceramic or hardboard blank. Seal whichever route you take.
How can I turn a photo into a coaster?
Crop the photo tight to one subject, size it to 3.5 to 4 inches at 300 DPI, and convert it to CMYK. Then either transfer it onto a tile with Mod Podge and a laser print, remembering to mirror the image first, or send it to be printed directly on a coaster blank. Seal a homemade one with two or three thin coats of polyurethane and add felt pads underneath, or order it printed on durable stock and skip the sealing entirely.
How to customize a coaster?
Start with the base, because it sets everything else. Ceramic tiles and wood slices handle daily condensation, while cork and cardboard keep event giveaways cheap. Design bold artwork at 300 DPI with clean logos and high contrast, since fine detail disappears at four inches. Transfer the design with Mod Podge, vinyl or wood burning, seal it against water, then add cork or felt backing so it grips the table.
Where can I find custom printed coasters?
4OVER4.COM prints custom drink coasters in full color on durable stock, starting at $10.98, with no sealing or hand-finishing needed on your end. Set the size, quantity and finish in the configurator and the price updates live, which makes them practical for a bar, a brewery, a wedding or a corporate giveaway. Start from a blank coaster template so your artwork is sized correctly before you upload it.
What's the best material for a beginner DIY custom drink coaster tutorial?
Ceramic tiles are the easiest starting point. They are cheap (under a dollar each), flat, and work perfectly with the Mod Podge image transfer method. You do not need any special tools beyond a laser printer and clear sealant spray. Most beginners finish their first set in under two hours.
How do I make my custom coasters waterproof?
Apply 2 to 3 thin coats of clear polyurethane spray or brush-on acrylic sealer. Let each coat dry completely before adding the next. For maximum water resistance on wood coasters, use marine-grade polyurethane or pour a thin layer of epoxy resin over the surface.
Can I use an inkjet printer for coaster image transfers?
No. Inkjet ink is water-based and will smear when it contacts Mod Podge or any wet transfer medium. You need a laser printer for the Mod Podge transfer method. If you only have an inkjet, use adhesive vinyl decals cut with a Cricut instead.
How many coasters should I make for an event?
Plan for one coaster per guest plus 10 to 15 percent extra for replacements and keepsakes. For a 100-person event, make 110 to 115 coasters. For larger quantities, 4OVER4.COM's professional Drink Coasters give you consistent quality across every single piece.
What size should my custom drink coasters be?
Standard round coasters are 3.5 to 4 inches in diameter. Square coasters typically measure 3.75 to 4 inches per side. These sizes accommodate most glasses, mugs, and bottles while fitting comfortably on side tables and desks.
Do I need to add felt pads to the bottom of DIY coasters?
Yes. Adhesive felt pads or cork bumpers protect your furniture from scratches and prevent the coaster from sliding. Self-adhesive felt dots are inexpensive and take seconds to apply. They are the difference between a craft project and a finished product.
How long do DIY custom drink coasters last?
Properly sealed ceramic and wood coasters last years with regular use. Cork coasters typically last 6 to 12 months before showing wear. The key is applying enough sealant and recoating once a year if you notice water starting to soak through rather than bead up on the surface.
Get Started
Ready to order custom drink coasters?
Pick your size, drop in your logo or art, and we print full-color coasters on durable stock, no sealing or hand-finishing required.
Legal Disclaimer
Gold Standard guarantees apply to all standard orders placed through 4over4.com. Price match requires verifiable proof of a competitor's published price for an equivalent product with matching specifications and turnaround time. Satisfaction guarantee covers manufacturing defects and print quality issues. Contact support with order number and documentation. On-time delivery rate based on tracked orders 1999 to 2026. Individual results may vary based on shipping carrier performance.
