
How to Make Stickers from DIY Methods to Pro Printing


Pick the right material, design at 300 DPI in CMYK, choose die cut, kiss cut, roll, or sheet, then print at home for tiny runs or with a pro for anything polished. Here is the full walkthrough.
To make stickers, match the material to where they live, design the artwork at 300 DPI in CMYK with 0.125 inch bleed, and pick a format: die cut, kiss cut, roll, or sheet. Print at home for runs under 50, and go with professional printing for vivid color, laminated durability, and clean die-cut edges on anything larger.
Quick tips
Quick tips for making stickers that last
Get the three basics right first: choose the material for where the sticker lives, design at 300 DPI in CMYK with 0.125 inch bleed, and match the format to the job. DIY printing suits runs under 50, while professional printing at 4OVER4.COM gives you vivid color, laminated durability, and precise die-cut edges for everything else.
Why learning how to make stickers is worth it
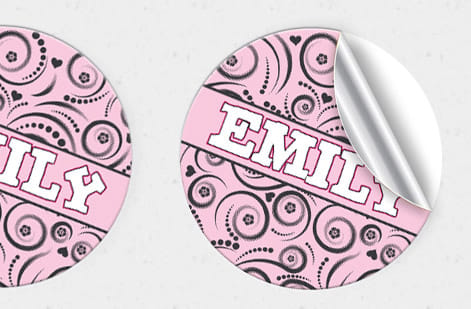
Stickers are one of the most versatile print products you can order. They work for branding, product packaging, events, giveaways, laptop decor, and just about any surface you want to claim. The best part is that you do not need expensive gear or a design degree to get started, so learning how to make stickers is mostly about a few smart choices.
Great stickers come down to three things: the right material, a clean design, and a printing method that matches your goal. Nail those and the rest is easy. 4OVER4.COM has printed more than 10 billion products for over 150,000 businesses, so the steps below come straight from real production rather than guesswork.
If you are building out a wider print kit, our walkthroughs on how to make custom magnets and how to make envelopes pair nicely with a sticker run and use the same setup habits.
Step 1: Pick your sticker material
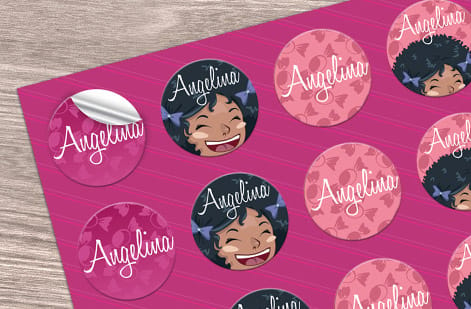
Material choice decides how your sticker looks, feels, and holds up, so pick it based on where the sticker will live. An indoor label and an outdoor decal ask for very different stock.
- Vinyl is waterproof, UV resistant, and built for the outdoors. If you want vinyl stickers that shrug off rain and sun, this is the go-to for bumper stickers, water bottles, and outdoor signage.
- Paper is affordable and great indoors. It suits product labels, planner stickers, and short-run promotions, though it is not waterproof unless you laminate it.
- BOPP, or biaxially oriented polypropylene, sits between paper and vinyl. It is tear resistant and moisture resistant, which makes it a favorite for food and beverage labels.
- Clear or transparent stock creates a no-label look on glass, plastic, or light surfaces, perfect for cosmetics and premium packaging.
Indoor and dry? Paper is fine. Outdoors or near water? Reach for vinyl. For product labels that need to blend into the container, clear material is hard to beat. To compare other printed materials for your brand, the 4OVER4.COM guide hub covers dozens of product types.
Step 2: Choose your sticker format
Format shapes both how your stickers look and how you apply them. The four you will meet most often are die cut, kiss cut, roll, and sheet, and each one has a clear job.
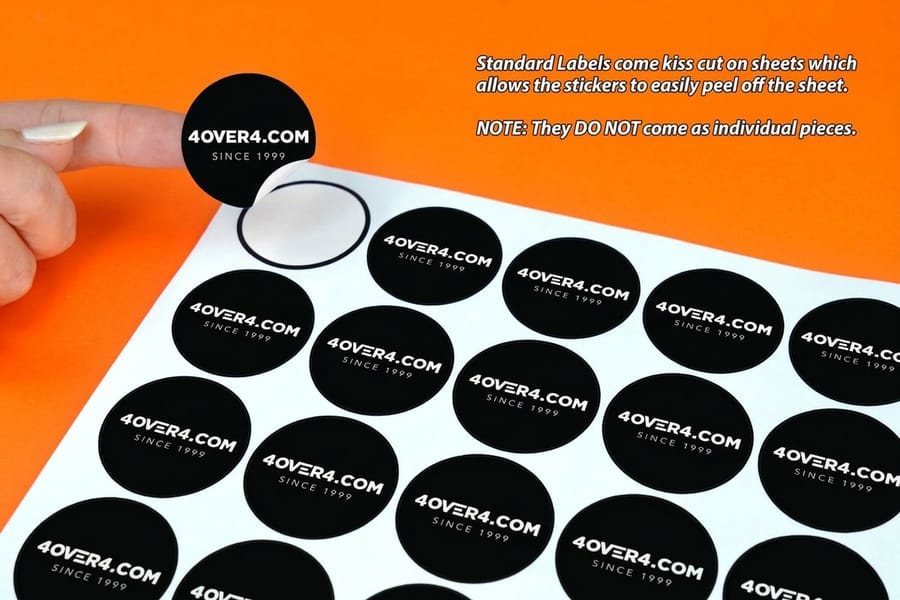
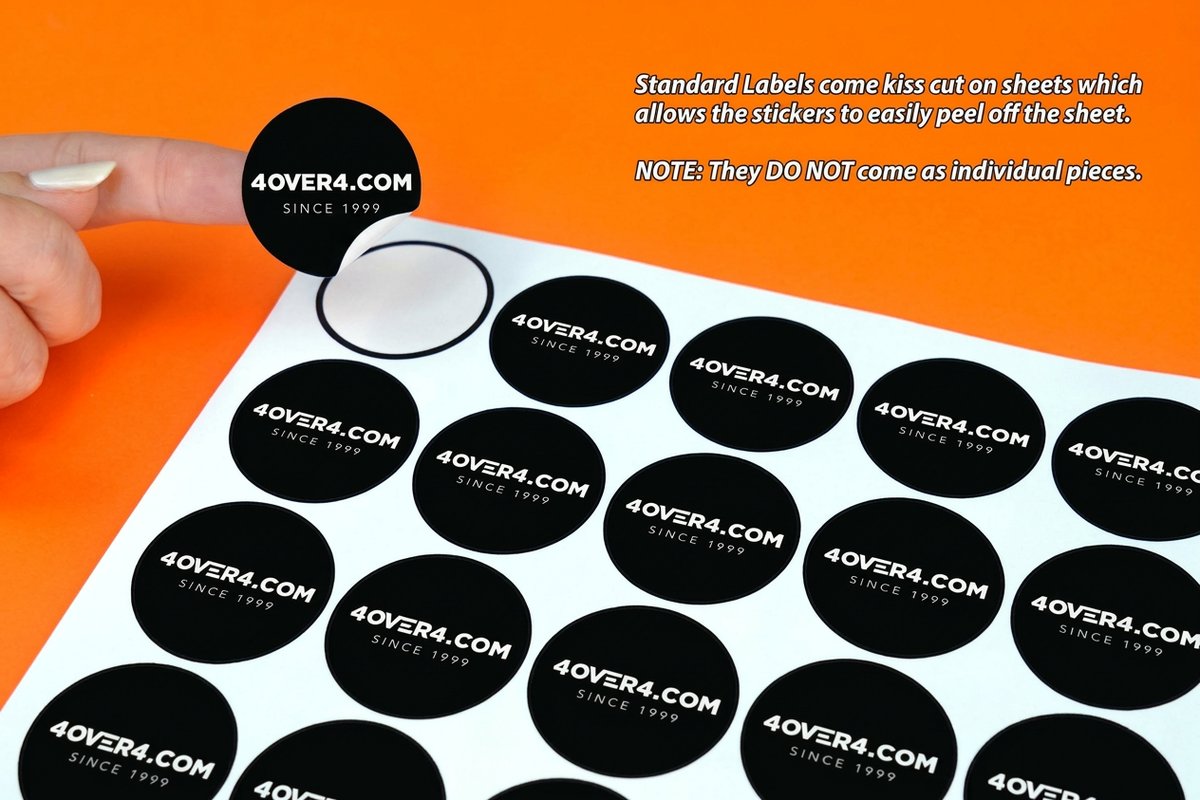
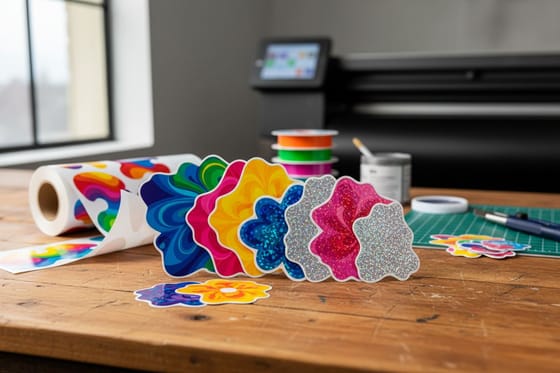
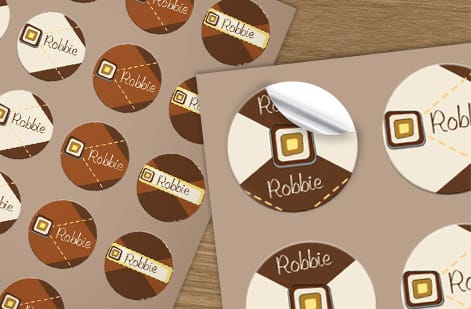
Die cut stickers are trimmed to the exact outline of your art, with no white border and no wasted space, so they look polished as standalone pieces. 4OVER4.COM cuts custom die cut stickers in almost any shape you can draw. Kiss cut stickers slice through the sticker layer but leave the backing intact, which makes them easy to peel and ideal for sticker sheets that hold several designs.
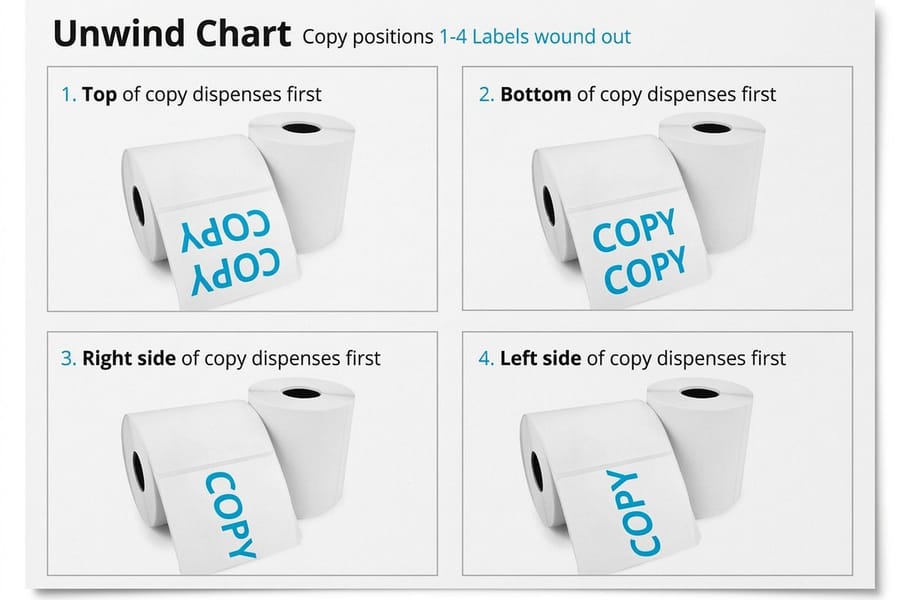
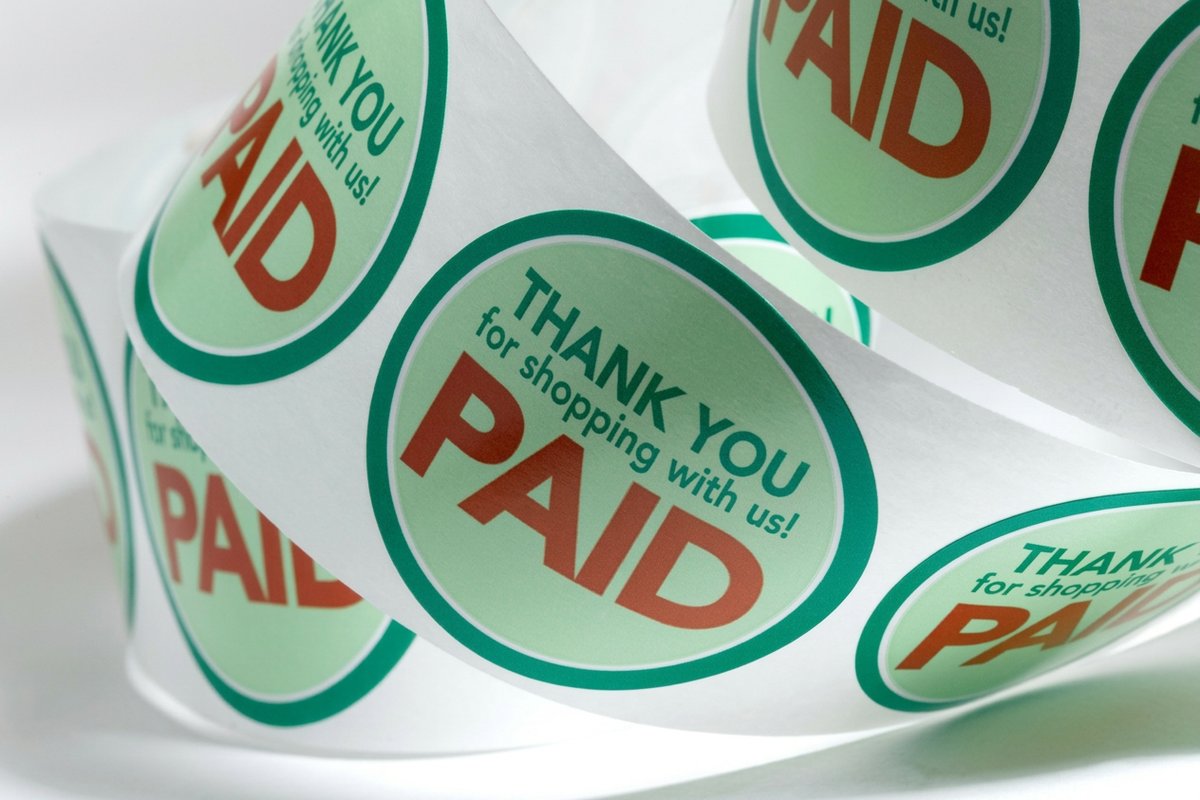
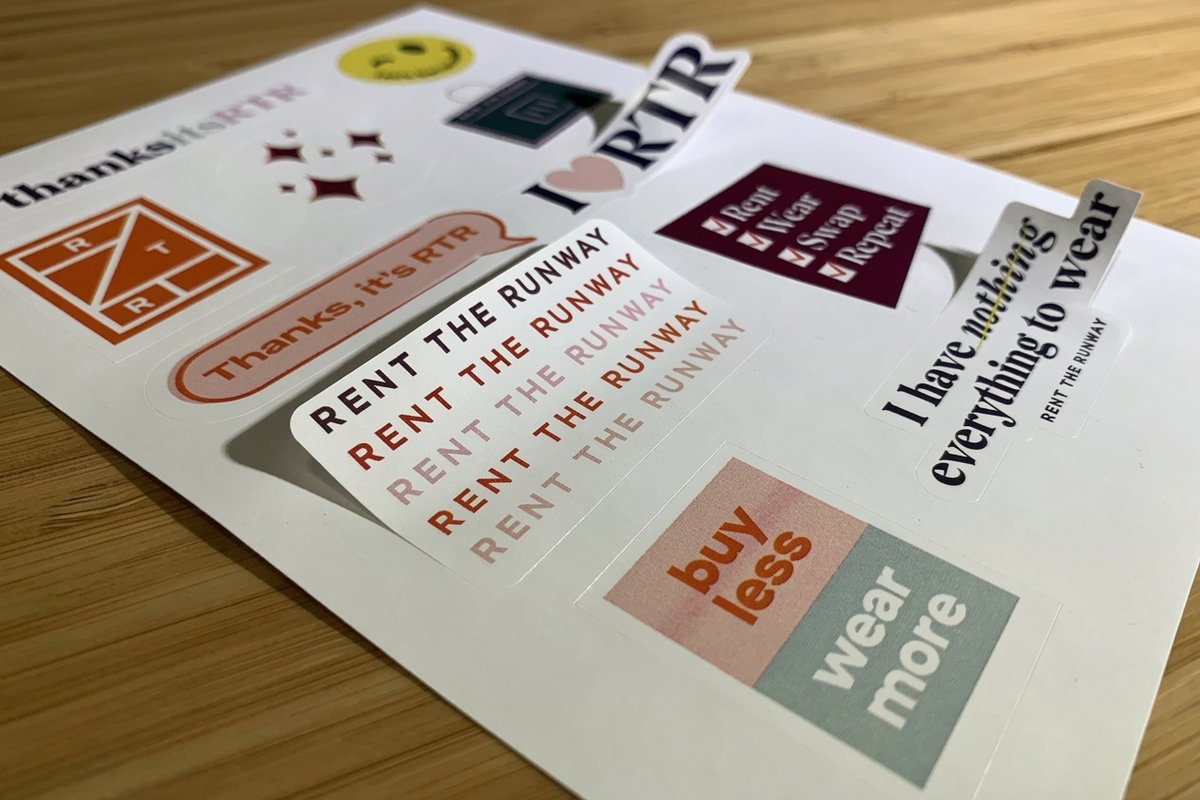
Roll stickers arrive on a continuous roll, the fast choice when you are labeling hundreds of products by hand or by machine. Sticker sheets group multiple designs on one page, great for variety packs or bundling label sizes together. Order the exact format you need as standard stickers, roll stickers, or sticker sheets.
Step 3: Design artwork that prints sharp
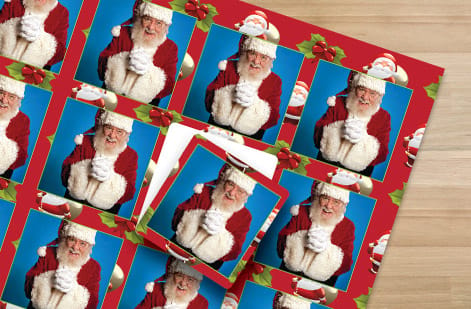
Good design is the line between a sticker people keep and one that lands in the trash. Four rules do most of the heavy lifting, and skipping any of them shows up in the final print.
Resolution. Build your art at 300 DPI or higher, because anything lower prints fuzzy, and this is the single most common mistake. Color mode. Design in CMYK, not RGB, since screens glow in RGB while presses run CMYK, so that neon green comes out duller unless you convert first. Bleed. Add at least 0.125 inches of bleed around the artwork so trimming does not leave white edges. Simplicity. Stickers are small, so bold shapes, clean fonts, and high contrast beat fine detail every time. If a viewer cannot read it from arm's length, simplify.
Step 4: Choose your design tools

You do not need Adobe Illustrator to make great stickers, though it certainly helps. Match the tool to your comfort level and you will move faster from idea to finished art.
- Advanced: Adobe Illustrator or Photoshop give you full control over vectors, layers, and color profiles, best for complex art.
- Intermediate: Canva Pro or Affinity Designer are friendly but capable, and Canva ships sticker-specific templates.
- Beginner: Start from a pre-sized 4OVER4.COM blank template with bleed guides already in place, then drop in your design and export.
Grab a ready-made starting point like our 3D lenticular sticker templates or bumper sticker templates. The same design habits carry over to other projects, so our guides on how to make flyers and how to fold a brochure are worth a look too.
Step 5: DIY printing vs professional printing
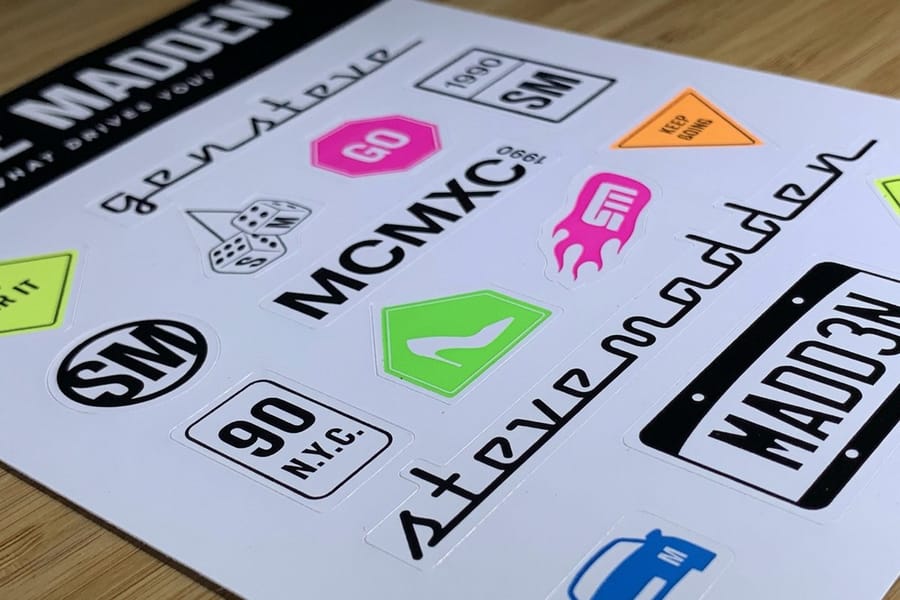
This is where most people hit a fork in the road, so let us be honest about both paths and where each one fits.
DIY printing at home works for small batches under about 50 pieces. You will need an inkjet printer, sticker paper, and a cutting tool. The upside is instant gratification. The downside is that colors are less vivid, waterproofing is limited, hand cutting is tedious, and home prints fade faster in sunlight.
Professional printing is the move for anything past 50 pieces or anything that needs to look polished. Commercial presses use richer inks, precise die-cutting, and materials that last years instead of weeks, and the per-unit cost drops fast as quantity climbs. 4OVER4.COM prints on commercial-grade equipment with 60 plus paper and material options, so you upload art, pick specs, and the finished stickers ship to your door.
Step 6: Prepare your file for print
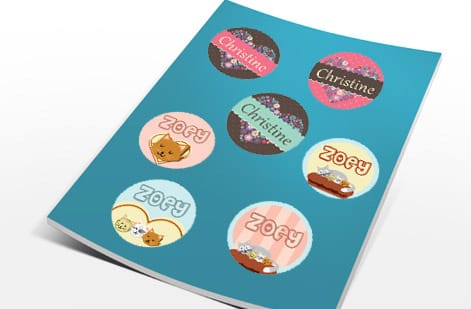
Before you upload, run a quick preflight so nothing stalls at the press. Five minutes here saves a reprint later, and the checklist is short.
- File format: PDF, AI, or a high-resolution PNG.
- Color mode: CMYK, not RGB.
- Resolution: 300 DPI minimum.
- Bleed: 0.125 inches on every side.
- Fonts: outlined or embedded, never left as live system fonts.
- Background: transparent if you want die-cut edges with no white border.
Miss any of these and your order either slows down or comes back looking off. A transparent PNG background is the secret behind clean die-cut edges, so set it before you export the final file.
Step 7: Pick a finish that lasts
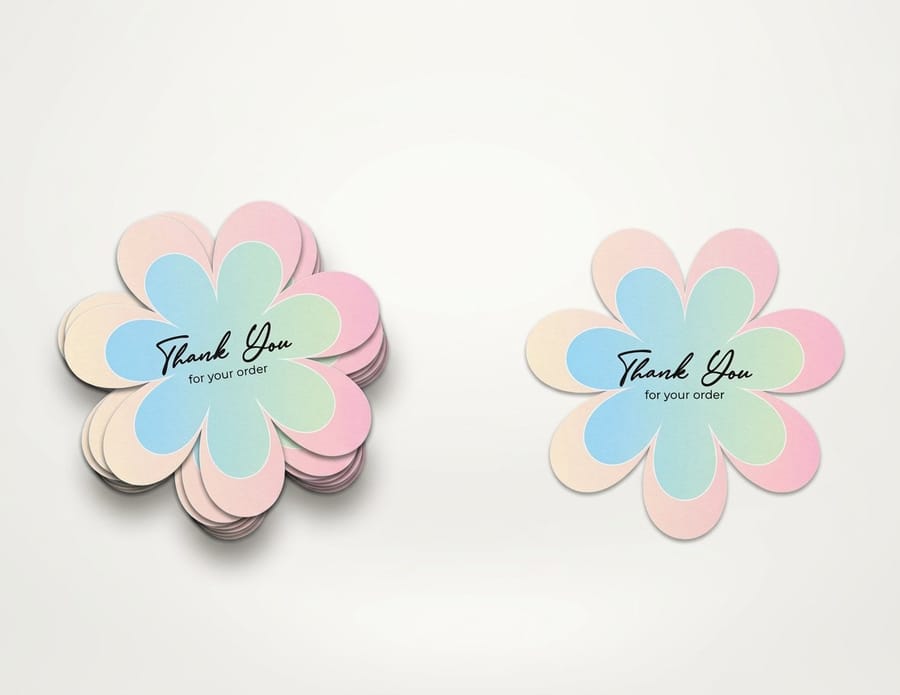
Finish changes both the look and the durability of a sticker, and the right pick depends on how the sticker will be handled once it leaves your hands.
Gloss makes colors pop with a smooth, slightly reflective surface, so it flatters bold, colorful art. Matte gives a softer, more sophisticated feel with no glare, it is easy to write on, and it reads premium, which is why minimalist brands love it. High-gloss UV coating adds a tougher layer against scratching and fading, the best choice for stickers that get handled a lot or sit in the sun.
Not sure which surface fits your project? Order free samples and feel the difference before you commit to a full run.
How to make vinyl stickers that survive anything
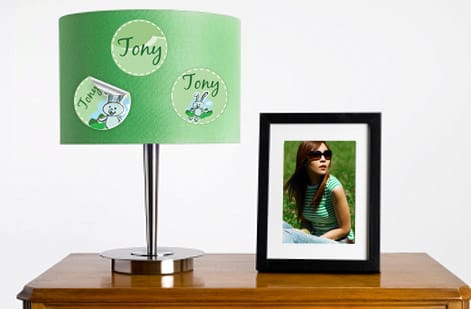
Vinyl stickers earn their own section because a few details separate a decal that lasts five years from one that peels in five months.
Use outdoor-rated vinyl. Indoor vinyl is thinner and cheaper, but it will not survive UV or moisture, so always specify outdoor grade for anything that lives outside. Laminate it. A clear laminate layer adds scratch and UV protection for a small upcharge that roughly doubles the lifespan. Match the adhesive. Permanent adhesive suits long-term placement, while removable adhesive lets the sticker come off cleanly from a car window or a rental surface.
If your workspace also runs stamps alongside stickers, our quick read on how to clean rubber stamps keeps that gear printing sharp too.
Sticker use cases that actually work

Stickers punch far above their cost as a marketing tool. A handful of use cases show up again and again because they simply work.
Product packaging. A branded sticker on a plain kraft box instantly lifts the unboxing moment, a trick coffee roasters, candle makers, and soap brands use daily. Event giveaways. Hand stickers out at trade shows and pop-ups, and people move them onto laptops, bottles, and phone cases, which is free advertising that travels. Retail and food labeling. Roll stickers on a dispenser make labeling hundreds of jars or bags fast and consistent.
Brand awareness. Street teams, influencer kits, and subscription boxes all lean on well-designed stickers because they are low cost and high impact. Pair them with your free business cards and invitations printing to keep every touchpoint on brand.
Sticker-making mistakes that cost you time and money

Even seasoned designers trip on the same handful of errors. Sidestep these and your first run comes back the way you pictured it.
- Designing in RGB instead of CMYK. Screen colors will not match the print, so convert before you export.
- Skipping the bleed. Without 0.125 inches of bleed you get unwanted white edges after cutting, every single time.
- Using low-resolution images. Anything under 300 DPI looks pixelated, and phone screenshots or web grabs are almost always too small.
- Choosing the wrong material. Paper on a water bottle peels within days, so match the material to where it lives.
- Overcomplicating the art. Tiny details vanish at sticker size, so keep it bold and readable.
- Skipping a proof. A quick proof catches problems before a full run prints, which is a gamble you do not need to take.
Notice the theme: most sticker mistakes are setup mistakes, not printing mistakes. Fix the file and the press does the rest.
Specs and pricing
Custom sticker specs and live pricing
Ready to order instead of print at home? Here is what a made-to-order run of standard stickers gives you at 4OVER4.COM, with live specs and price-per-unit straight from the configurator.
| Quantity | Price Per Unit | Total |
|---|---|---|
| 25 | 95.5¢ | $23.88 |
| 50 | 72.9¢ | $36.44 |
| 100 | 42.7¢ | $42.72 |
| 150 | 32.7¢ | $49.01 |
| 200 | 27.6¢ | $55.29 |
| 250 | 24.6¢ | $61.57 |
| 300 | 22.0¢ | $65.97 |
| 400 | 17.6¢ | $70.36 |
Print it
Order stickers and labels at 4OVER4
Wally explains sticker printing
Get the file right and it sticks anywhere
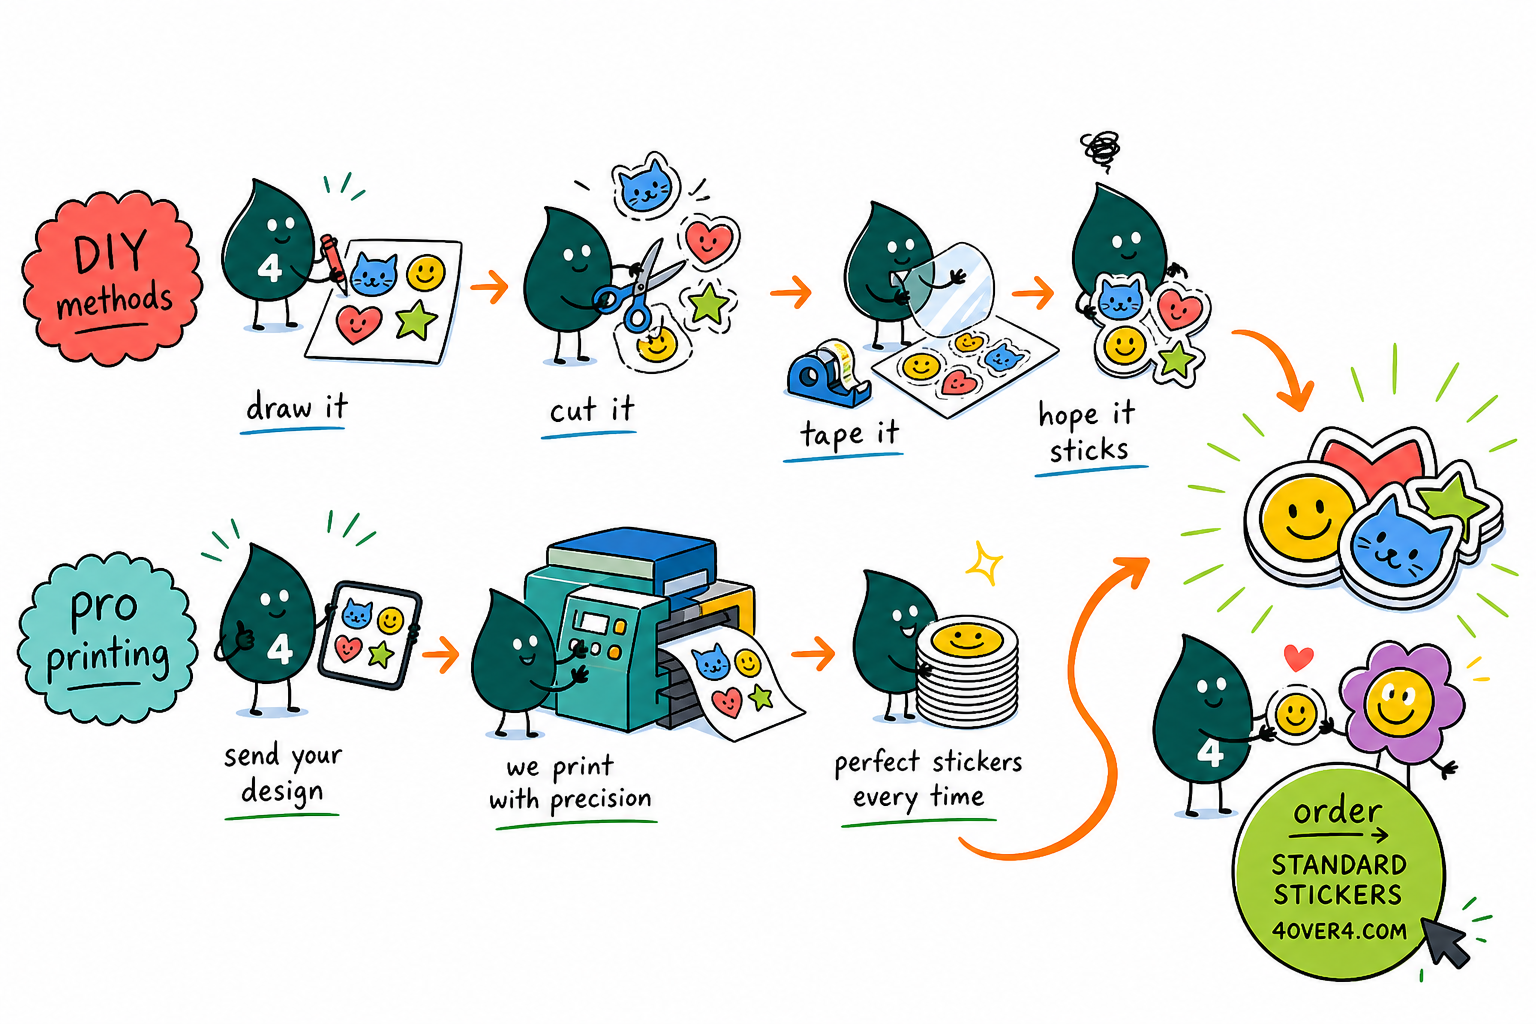
Wally treats a sticker like a tiny billboard: get the material, resolution, and bleed right and it looks sharp on any surface, cut corners and the color goes muddy and the edges turn white. Design at 300 DPI in CMYK, add a little bleed, and let a pro press handle the cutting and lamination. When you are ready, order custom stickers built to your exact art at 4OVER4.
Order custom stickers →See it in use
Real sticker work, printed in-house

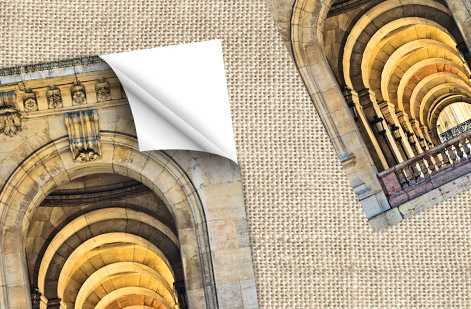
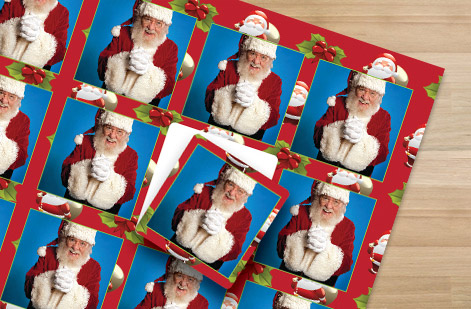

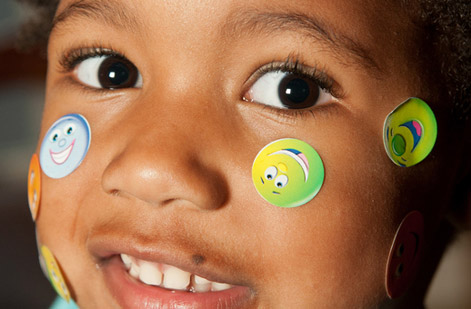
Explore more
Where to go next
By the numbers
Printing you can count on at 4OVER4
Common Questions
Common questions about making custom stickers
What's the best material for outdoor stickers?
Vinyl is the best material for outdoor stickers. It is waterproof, UV resistant, and holds up against rain, sun, and temperature swings, and a laminate layer stretches the lifespan even further. If you are making vinyl stickers for cars or outdoor signage, always specify outdoor-grade vinyl with permanent adhesive.
Can I make stickers at home without a special printer?
Yes. A standard inkjet printer and craft-store sticker paper handle small batches fine. The quality will not match professional printing because colors are less vivid and durability is limited. For anything over 50 stickers or anything customer facing, professional printing gives you sharper results and tougher materials.
What file format should I use for sticker printing?
PDF is the preferred format for most print shops, including 4OVER4.COM, and AI or high-resolution PNG files also work. Make sure the file is 300 DPI, in CMYK color mode, with 0.125 inches of bleed on every side, and outline your fonts so they do not shift during processing.
How do I make stickers with a transparent background?
Design your artwork on a transparent layer in Illustrator, Photoshop, or Canva, then export as a PNG with transparency enabled. Printed on clear or die-cut material, only your design shows with no white background, which creates the clean no-label look popular in cosmetics and beverage branding.
What's the difference between die cut and kiss cut stickers?
Die cut stickers are cut through both the sticker and the backing, following the exact shape of your design. Kiss cut stickers only cut through the top sticker layer, leaving the backing sheet intact, which makes them easy to peel and great for sticker sheets. Die cuts look more polished as standalone stickers.
How many stickers should I order for a first run?
Start with 100 to 250 stickers to test your design in the real world. Hand them out, stick them on packaging, and watch how people respond. If the design works, scale up, because the per-unit cost drops a lot at higher quantities and your second order becomes far more cost effective once the design is proven.
Get Started
Ready to make your own custom stickers?
Pick your material and format, drop in your artwork, and we print vivid, long-lasting stickers cut to any shape you need.
Legal Disclaimer
Gold Standard guarantees apply to all standard orders placed through 4over4.com. Price match requires verifiable proof of a competitor's published price for an equivalent product with matching specifications and turnaround time. Satisfaction guarantee covers manufacturing defects and print quality issues. Contact support with order number and documentation. On-time delivery rate based on tracked orders 1999 to 2026. Individual results may vary based on shipping carrier performance.
