How to Make Banners That Get Noticed Every Time


Choose vinyl for outdoor and fabric for indoor, size the headline for the viewing distance, keep the layout simple, then export a clean CMYK file and finish it to fit its hardware. Here is the full routine, step by step.
To make a banner, start with where it will hang and what you want people to do. Choose vinyl for outdoor and fabric for indoor, size the headline for the viewing distance, keep the layout to two or three high-contrast colors with one call to action, then export a CMYK PDF with a quarter inch of bleed. Finish with grommets, pole pockets, or a retractable stand, and proof it before you print.
Quick tips
Quick tips for making a banner that performs
Match the material to the environment, then keep the design simple. Vinyl for outdoor, fabric for indoor, mesh for windy sites. Size the headline for the viewing distance, hold the palette to two or three high-contrast colors, and leave one clear call to action. Export a CMYK file with a quarter inch of bleed, choose the finishing that fits your hardware, and proof before you print. 4OVER4.COM customers who follow this order get banners that read sharp from across the room.
Why knowing how to make banners matters
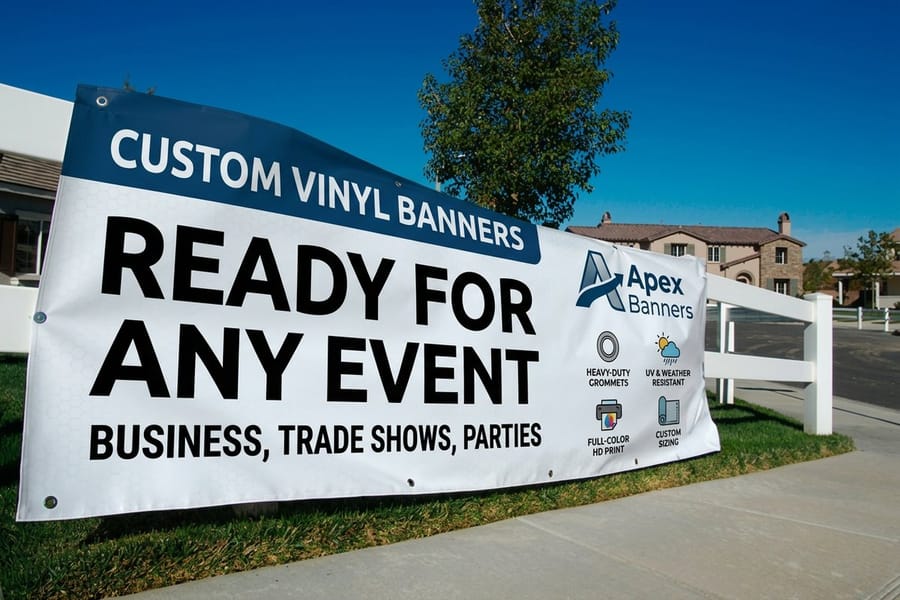
Banners are one of the most visible marketing tools you can invest in. They work at trade shows, storefronts, grand openings, and outdoor events, pulling attention from across a parking lot or a crowded exhibit hall. A poorly designed banner does the opposite. It becomes money spent on something people walk right past.
This guide breaks down how to make banners that actually perform. You will learn about material options, design best practices, file preparation, and display hardware. Whether you are building a retractable stand for a conference booth or hanging a vinyl banner across your storefront, every detail decides whether the message lands.
Want your banner to match the rest of your marketing? Start from 4OVER4.COM design templates so your look stays consistent across flyers, postcards, and more, and keep the other branded pieces sharp with our guide on how to make custom magnets.
Step 1: Start with purpose and placement
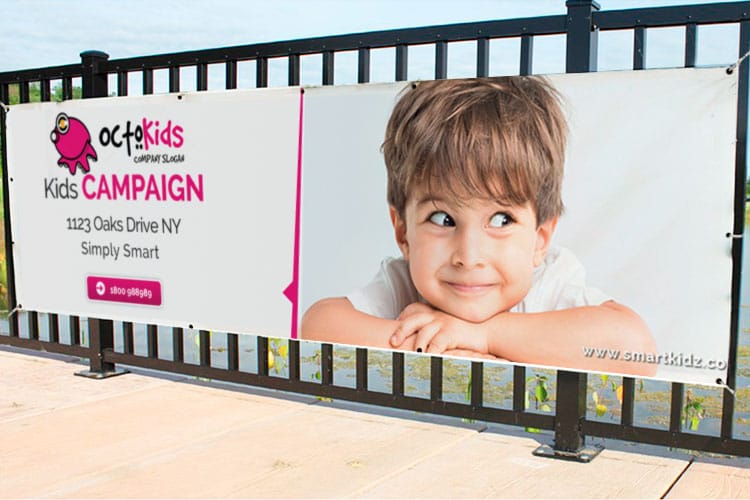
Before you open any design software, answer two questions. Where will this banner go, and what do you want people to do when they see it? Those two answers dictate everything that follows, from material and size to layout and finishing.
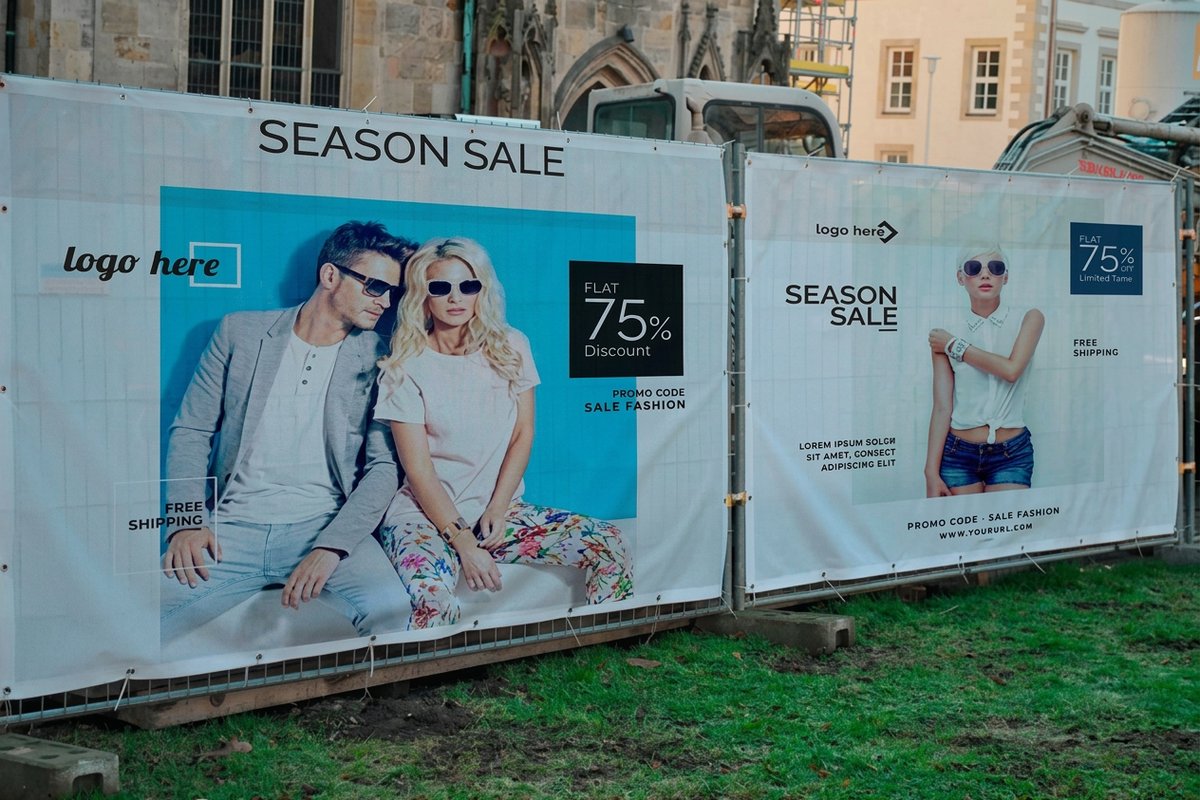
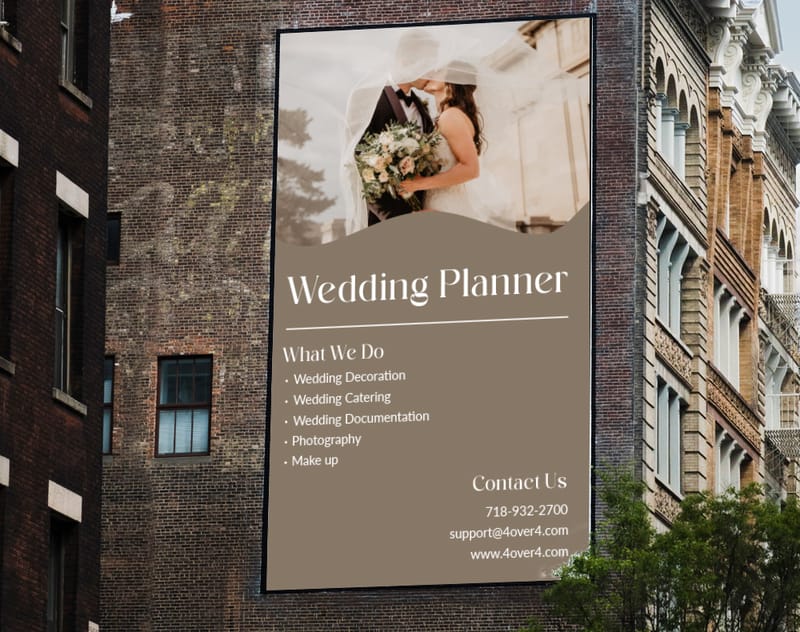
Indoor banners at trade shows and retail spaces need different specs than outdoor banners facing wind and rain. A retractable banner stand in a conference hall can use lighter fabric. A banner stretched across a building facade needs heavy-duty vinyl with reinforced grommets.
Think about viewing distance too. A banner people see from twenty feet away needs large, bold text, while one at a checkout counter can carry finer detail. Get this wrong and your message disappears. For print pieces that support the same push, our guide on how to make flyers walks through the handout side of a campaign.
Step 2: Choose the right banner material
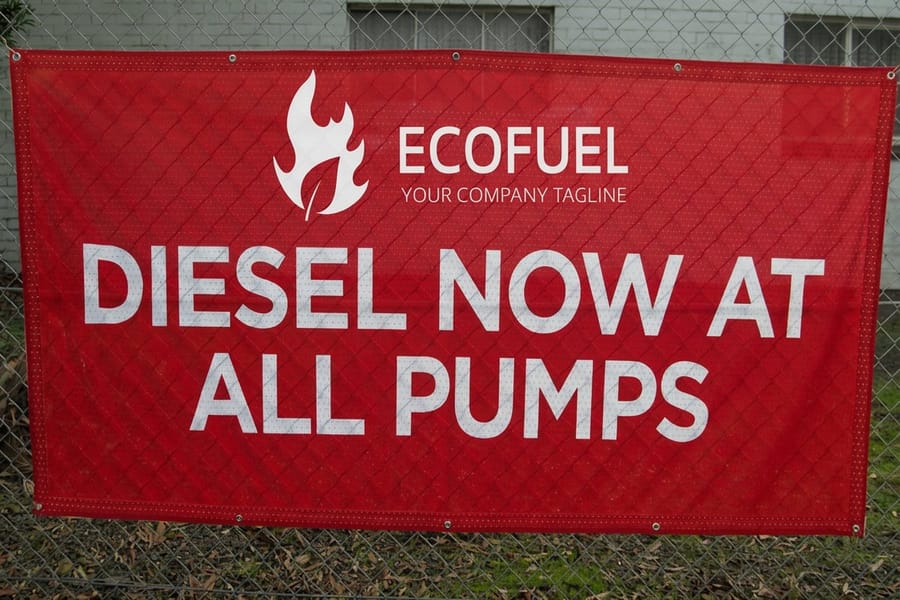
Material choice is where most beginners stumble. Each option has a different feel and job, so pick based on your environment, not just your budget. Here are the main choices:
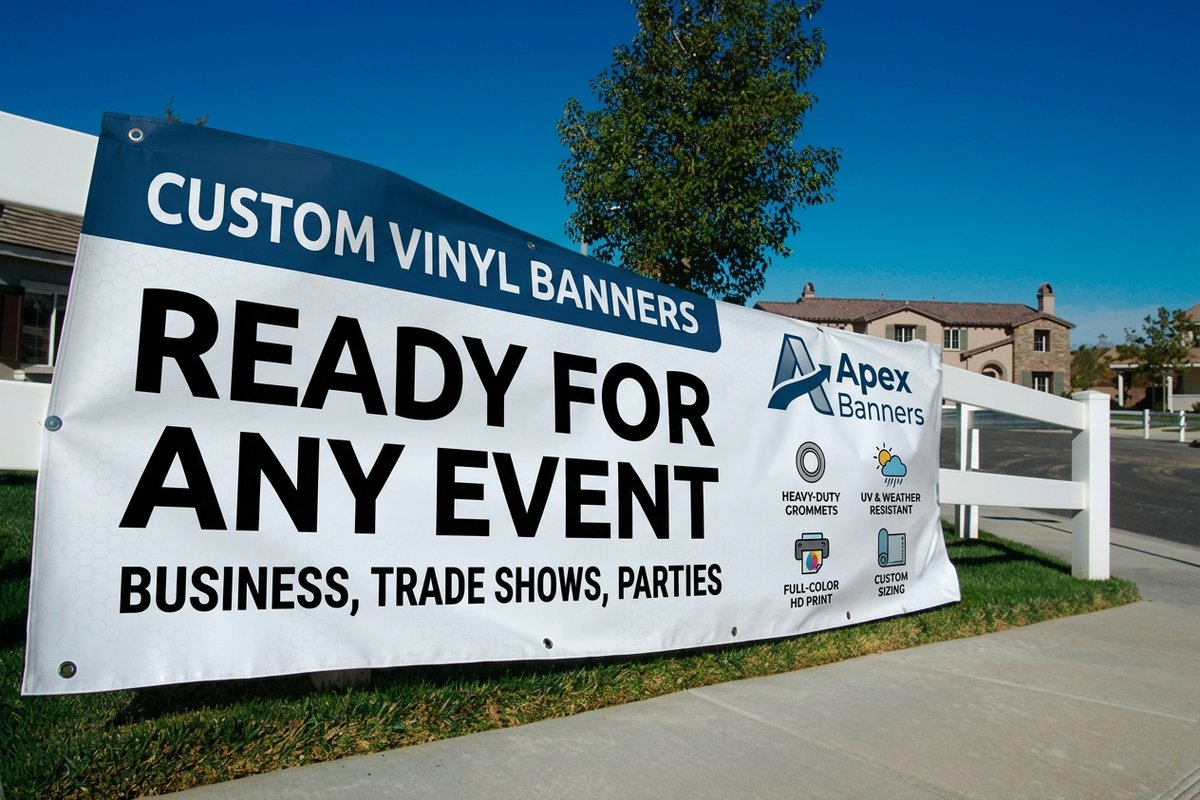
- Vinyl banners are the workhorse of outdoor advertising. They are durable, weather-resistant, and come in several weights, with 13 oz as the standard. Great for storefronts, fences, and building wraps.
- Fabric banners are lightweight, wrinkle-resistant, and perfect for indoor displays. They look more polished at trade shows and retail, and colors pop with dye-sublimation printing.
- Mesh banners are perforated vinyl that lets wind pass through, ideal for outdoor fences and scaffolding where wind load is a concern.
- Blockout banners print on both sides with an opaque layer in between so graphics do not bleed through. Our 2 sided blockout banners work perfectly for hanging displays seen from both directions.
Vinyl feels sturdy and rigid, fabric drapes smoothly and looks premium, and mesh shrugs off gusts that would tear a solid banner loose. Start from the setting the banner will live in, then let that choose the material for you.
Step 3: Get your banner dimensions right

Standard banner sizes exist for a reason. They fit common display hardware and match how people actually view the banner. These are the most popular:
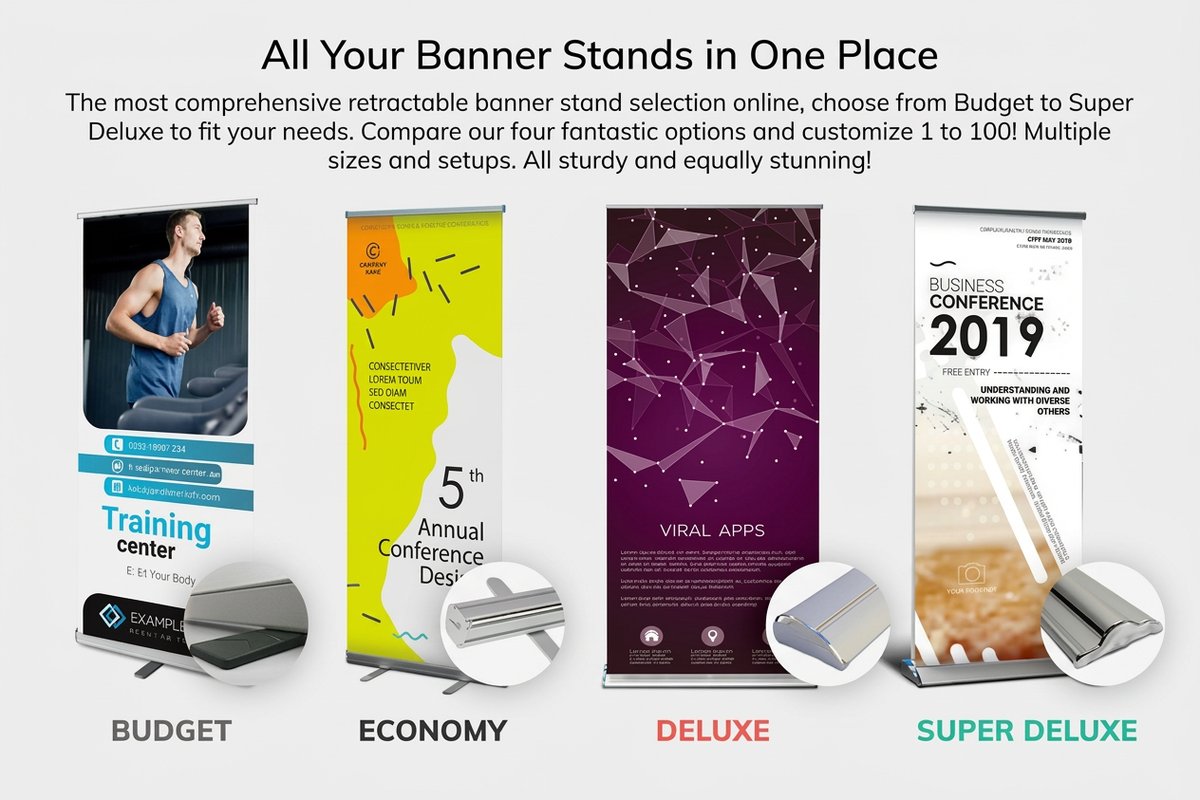
- Retractable banner stands: 33 by 80 inches or 36 by 92 inches, vertical and set at eye level for trade shows.
- Outdoor vinyl banners: 3 by 6 feet, 4 by 8 feet, or custom sizes up to 5 by 50 feet and beyond.
- Table banners: 6 or 8 feet wide, sized to drape over standard event tables.
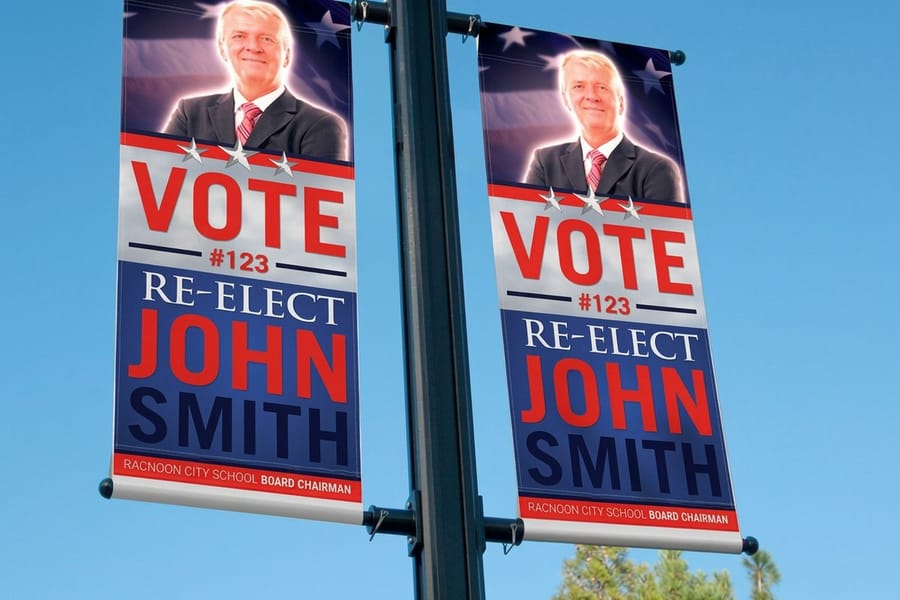
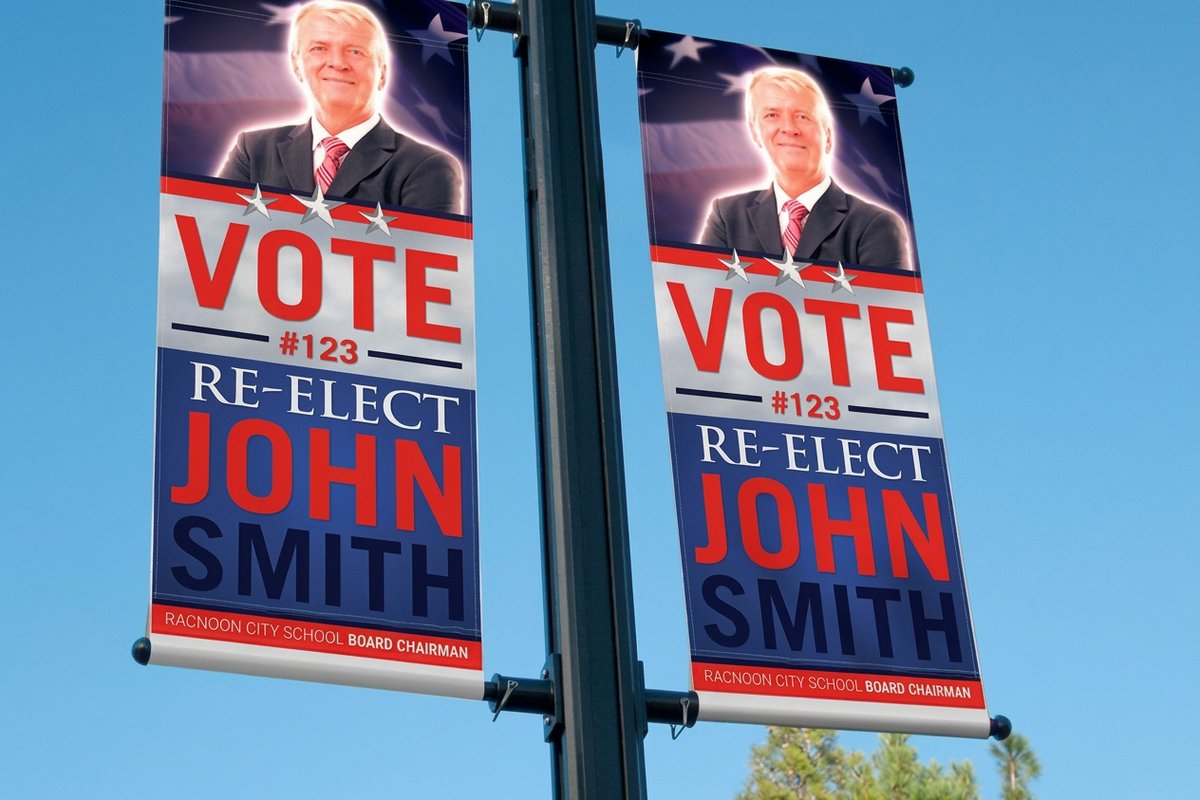
- Pole banners: 18 by 36 inches or 24 by 48 inches, mounted on street light poles.
Custom sizes are always an option, but sticking to standard dimensions keeps costs down and makes hardware selection simpler. If you are printing branded envelopes for a mailing alongside the banner push, our guide on how to make envelopes covers that process.
Step 4: Design your banner for maximum impact
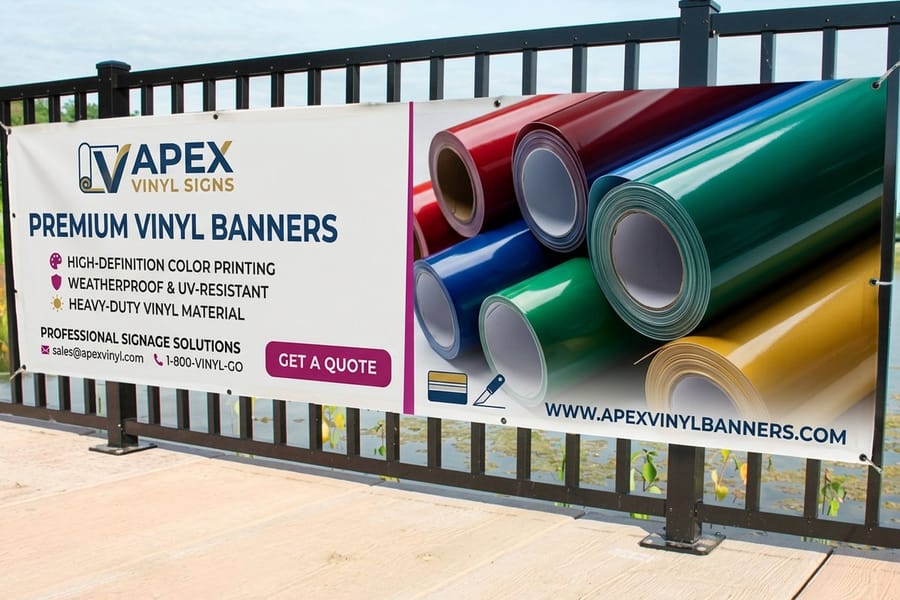
Simplicity wins with banners. You have about three to five seconds to communicate your message, so make every second count. Your headline should be readable from the farthest expected viewing distance, using roughly one inch of text height for every ten feet of distance. A banner viewed from thirty feet needs headline text at least three inches tall.
Limit your color palette to two or three colors, and keep high contrast between text and background non-negotiable. Dark text on light backgrounds, or white text on dark backgrounds, reads cleanest. Skip fancy gradients that muddy readability from a distance, and use high-resolution images at 150 DPI at full print size for vinyl and 300 DPI for fabric viewed up close. A photo that looks great on your laptop will look pixelated blown up to four feet wide.
Include one clear call to action, whether a phone number, a website, or a QR code, and make just that one prominent. You can build a scannable link with the 4OVER4.COM QR code generator, and for more design ideas across every print product, browse the guide hub.
Step 5: Prepare a print-ready file
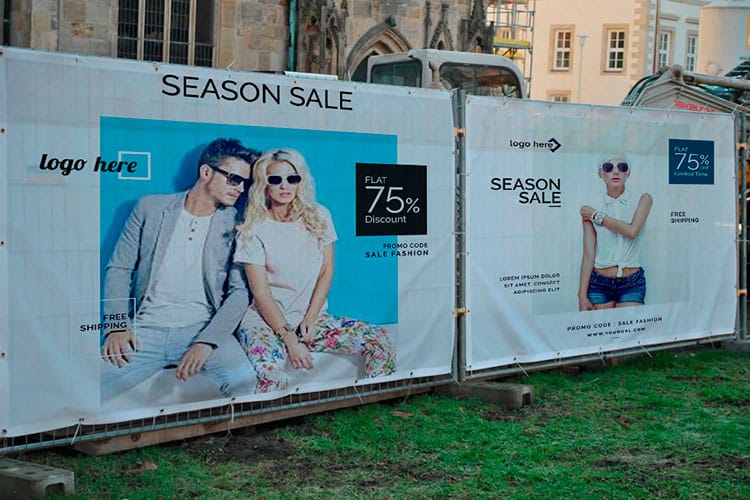
File preparation trips up even experienced designers. Follow a few rules and your banner prints exactly as you designed it. Always design in CMYK, not RGB, because RGB is for screens and CMYK is for print. Submit an RGB file and your colors shift, so bright blues go dull and vivid reds turn muddy.
Add at least 0.25 inches of bleed on all sides. Bleed is the extra design area that extends past the trim line, and it prevents white edges if the cut lands slightly off. For larger banners, half an inch is safer. Keep all important text and logos at least half an inch inside the trim line too, because grommets, hems, and pole pockets eat into your design area.
For file format, PDF is the gold standard since it preserves fonts, colors, and resolution, and TIFF works as well. Avoid JPEGs for large banners because compression artifacts become visible at size. If your campaign also includes folded pieces, our guide on how to fold a brochure covers layout and fold setup.
Step 6: Pick finishing and display options
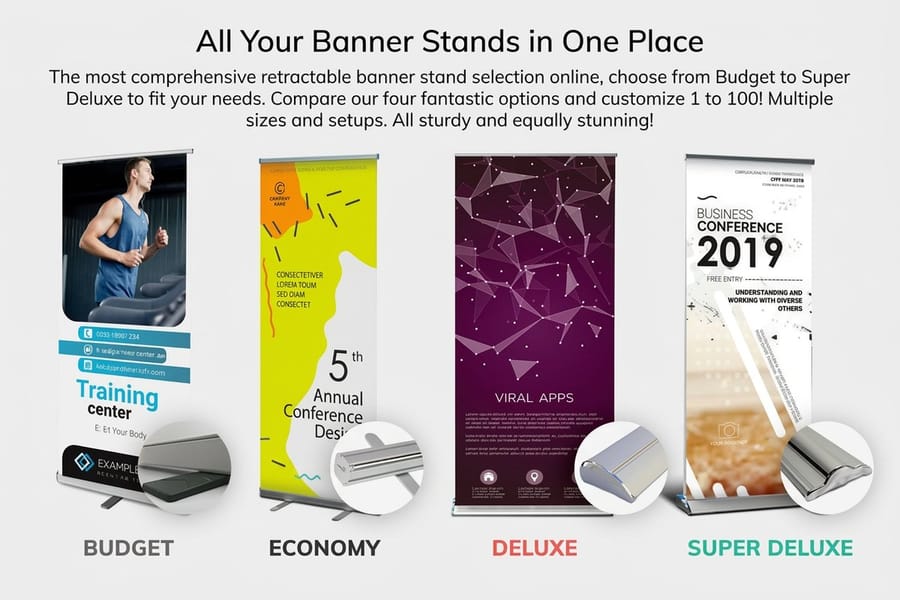
Finishing decides how your banner gets mounted, hung, or displayed. The wrong choice means your banner will not fit its hardware or will not survive its environment, so pick this alongside the design rather than after it.
Grommets are metal rings punched into the banner edges, standard for outdoor vinyl banners hung with rope, bungee cords, or zip ties, usually placed every two to three feet. Pole pockets are sewn sleeves along the top or bottom edge that a pole slides through to keep the banner taut, common for street pole banners and indoor hanging displays.
Hemmed edges are folded and heat-welded or sewn to reinforce the material and prevent fraying, standard on most professional banners. Retractable stands roll the banner into a base unit that pulls up and locks in about thirty seconds, perfect for trade shows and events where you need portability. For keeping the other tools in your branding kit sharp, here is our guide on how to clean rubber stamps.
Step 7: Review, proof, and order
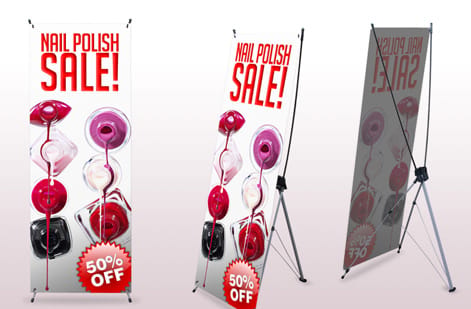
Never skip the proofing step. Request a digital proof before printing and check a few things specifically, because catching an issue on screen is far cheaper than catching it on a finished four-foot banner.
- Spelling and phone numbers. It sounds obvious, and it gets missed constantly.
- Image resolution. Zoom to 100 percent on the proof, since any pixelation there will show on the final print.
- Color accuracy. Compare the proof to your brand color standards, and ask for a Pantone match if color precision matters.
- Finishing placement. Confirm grommet locations, pole pocket dimensions, and hem widths will not overlap your design.
4OVER4.COM provides proofs so you can catch issues before they become expensive mistakes. Take the extra five minutes. It is worth it.
Banner mistakes that cost you money
After printing banners for 150,000+ businesses, 4OVER4.COM has seen every mistake in the book. Here are the ones that come up most when people learn how to make banners:
- Too much text. Your banner is not a brochure. If someone needs more than five seconds to read it, you have lost them. Stick to a headline, a sub-line, and one call to action.
- Low-resolution images. That logo pulled from your website is probably 72 DPI. You need 150 DPI minimum, so always use source files.
- Ignoring the bleed. No bleed means white edges on the finished banner. Add a quarter inch minimum on every side.
- Wrong material for the environment. Fabric outdoors fades and sags, and vinyl indoors can look cheap under fluorescent light. Match the material to the setting.
- Forgetting about hardware. Designing without knowing how the banner will hang leads to last-minute compromises. Pick your stand or mounting method first, then design to fit.
Running an event? Pair your banners with invitations printing so the branding carries from the mailbox to the venue, and 4OVER4.COM catches many of these file issues during review so your order ships faster.
Specs and pricing
Custom banner specs and pricing
Here is what a made-to-order 2 sided blockout banner gives you at 4OVER4.COM, with live specs and price-per-unit straight from the configurator.
| Quantity | Price Per Unit | Total |
|---|---|---|
| 1 | $108.75 | $108.75 |
| 2 | $108.74 | $217.47 |
| 3 | $108.74 | $326.22 |
| 4 | $97.76 | $391.02 |
| 5 | $97.76 | $488.78 |
| 6 | $97.76 | $586.53 |
| 7 | $89.28 | $624.98 |
| 8 | $86.77 | $694.18 |
Print it
Order banners and stands at 4OVER4
Start from a template
Blank banner templates
Print-ready blank layouts sized to spec, so you can drop in your own artwork and skip the setup.
Ready to edit
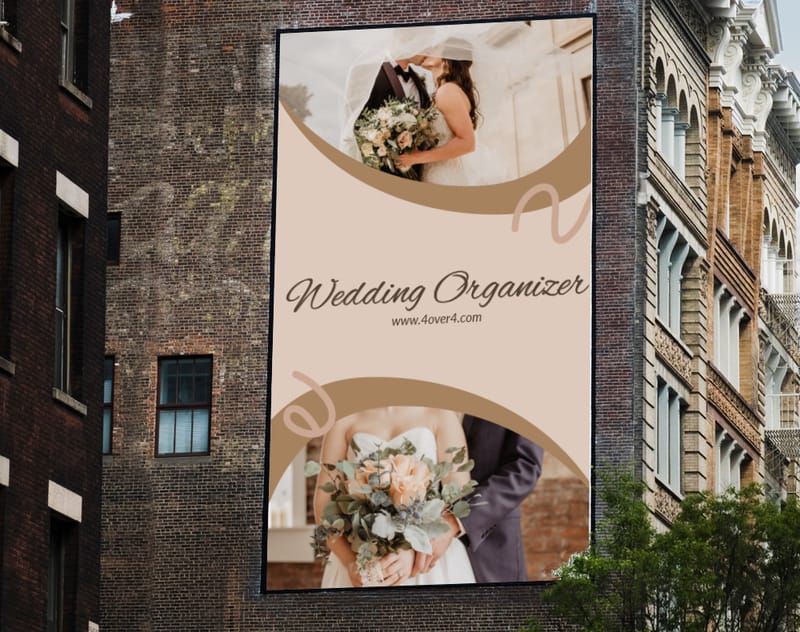
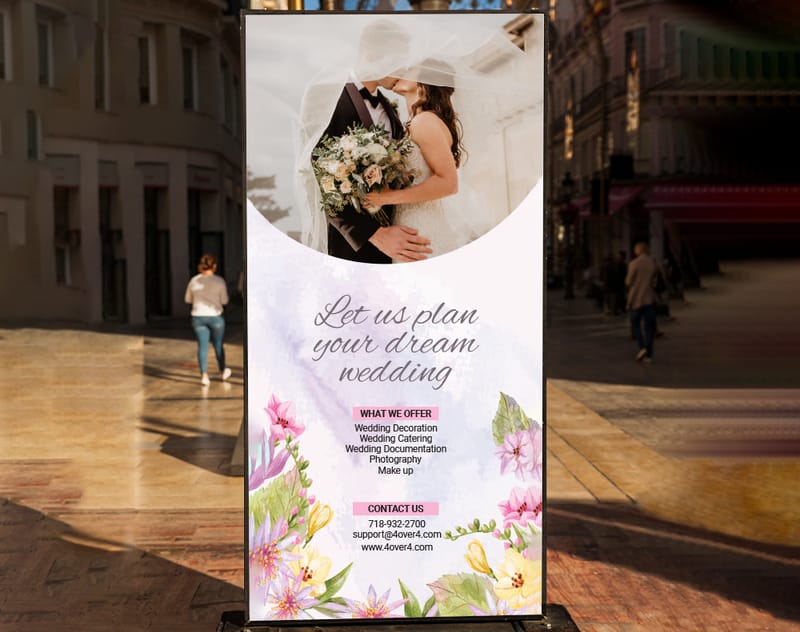
Free banner design templates
Open one of these in the online designer, swap in your details, and send it to print in minutes.
Wally explains banners
A banner has three seconds to do its whole job
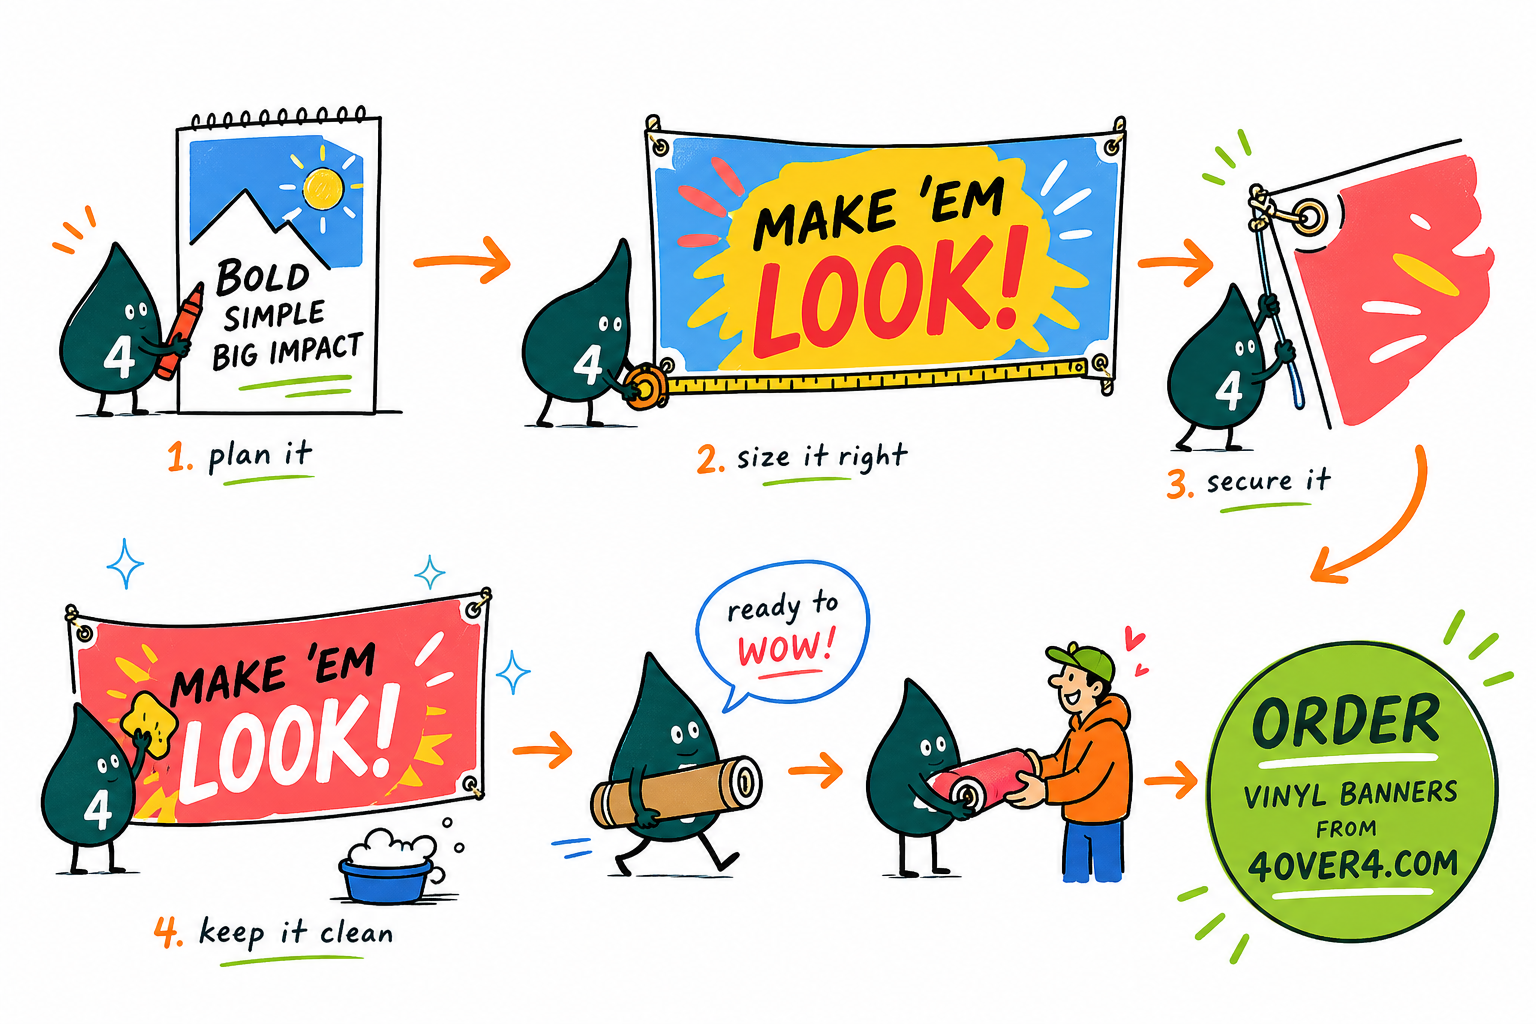
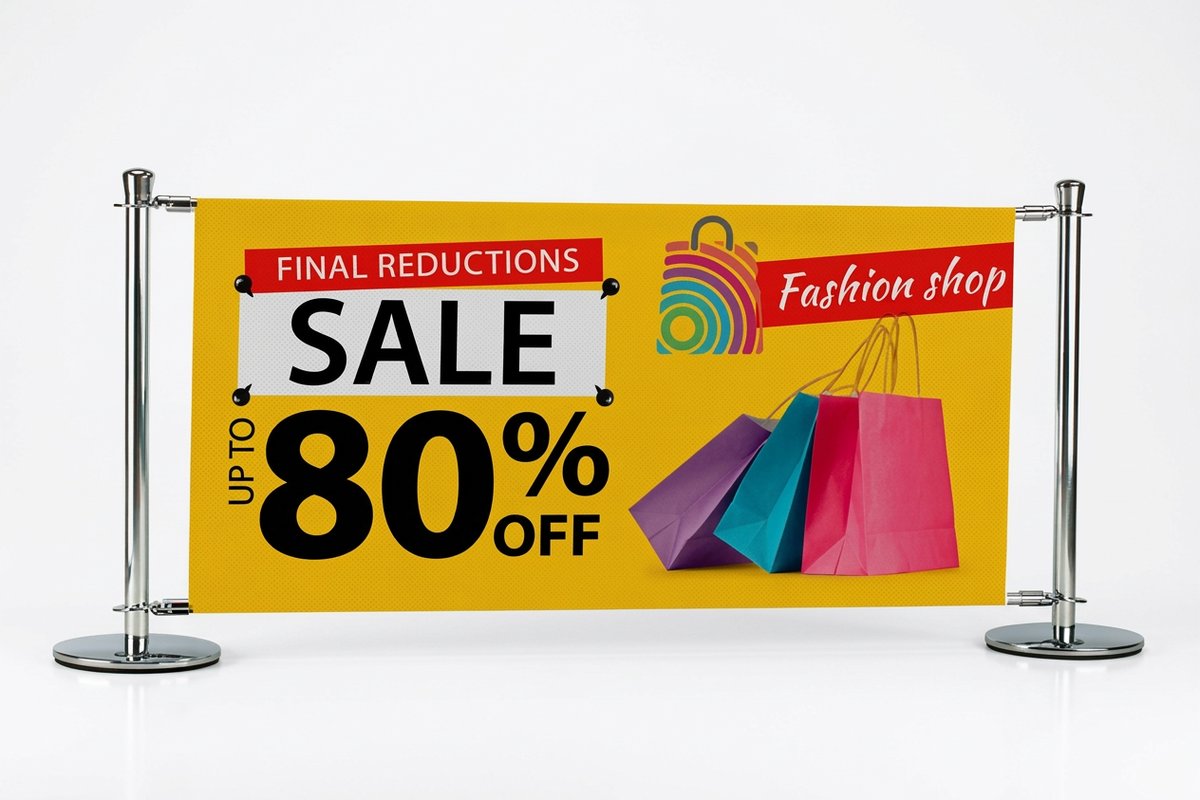
Wally treats a banner like a billboard you carry: one bold headline, one action, and colors that read from across the room. Match the material to where it hangs, size the type for the distance, and keep the file clean in CMYK with a quarter inch of bleed. Do that and your banner works the moment someone glances up. When you are ready, 4OVER4 prints it on vinyl, fabric, or a retractable stand built to your exact design.
Order vinyl banners →See it in use
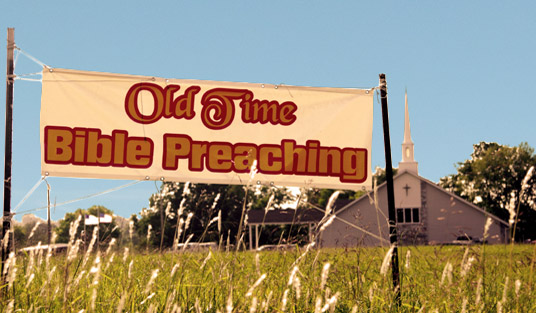
Real banner work, printed in-house

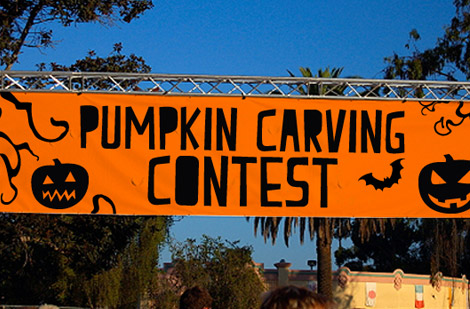
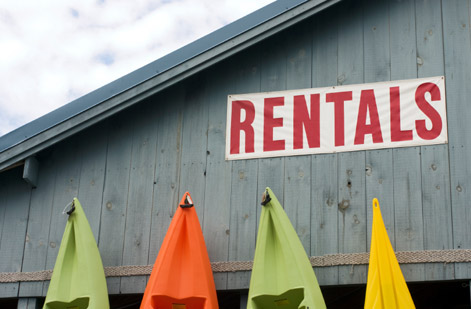
Explore more
Where to go next
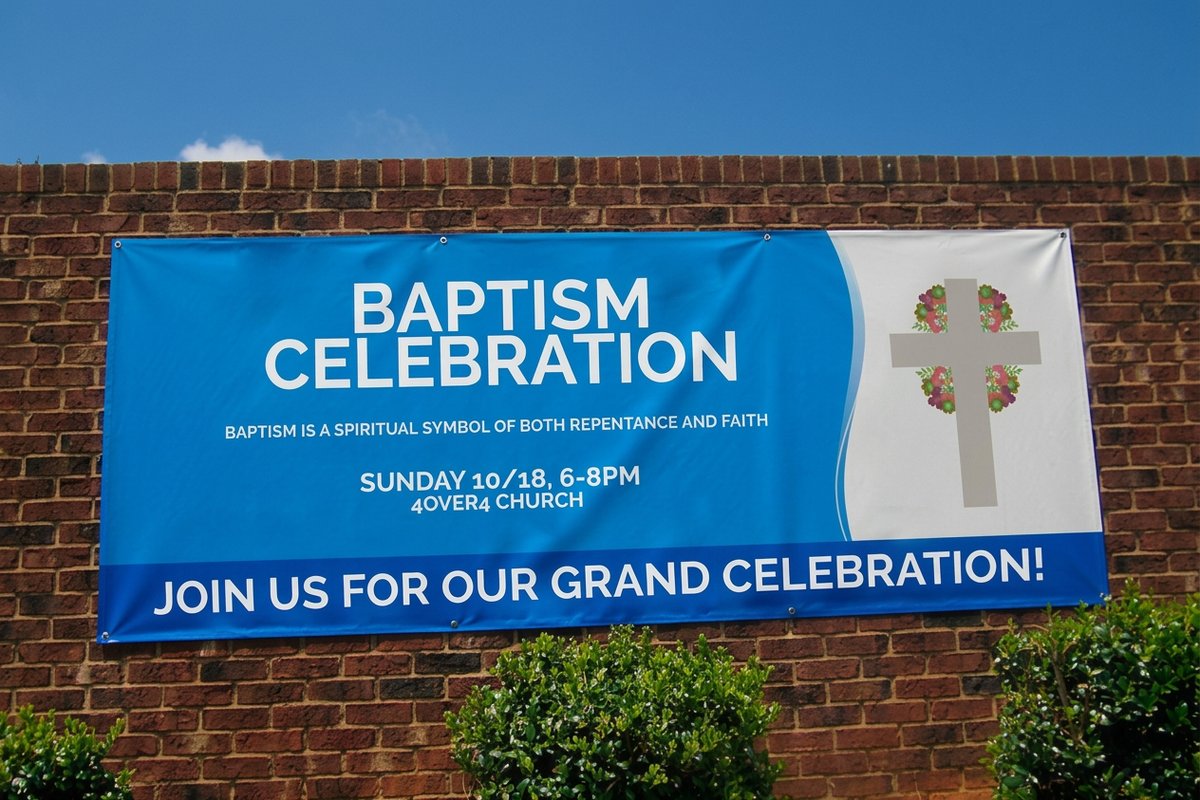


By the numbers
Banner printing you can count on at 4OVER4
Common Questions
Common questions about making custom banners
What file format should I use when submitting banner artwork?
PDF is the best format for banner files because it preserves your fonts, colors, and resolution without compression. TIFF works well too. Avoid JPEGs for large banners, since compression artifacts become visible once the image is scaled up to banner size.
What resolution do I need for banner printing?
For vinyl banners viewed from a distance, 150 DPI at full print size is the minimum. Fabric banners and retractable stands that people see up close need 300 DPI. Lower resolution means blurry, pixelated graphics on the finished print.
How do I choose between vinyl and fabric banners?
Vinyl is best for outdoor use because it is weather-resistant and durable. Fabric works better indoors at trade shows and retail displays, since it drapes smoothly and does not glare under lighting. Match the material to where the banner will live.
Can I print banners with graphics on both sides?
Yes. Blockout banners have an opaque layer between two printed surfaces, so graphics do not bleed through. They are ideal for hanging displays in lobbies, event halls, or anywhere the banner is visible from both directions.
What is the best way to add a call to action on a banner?
Pick one action, whether a phone number, a website, or a QR code, and skip listing all three. Make it large and place it in the lower third of the banner where eyes naturally land. You can build a scannable code with the 4OVER4.COM QR Code Generator to link straight to a landing page or offer.
How much bleed should I add to my banner design?
Add at least 0.25 inches of bleed on all sides. For larger banners four feet wide or more, half an inch is safer. Bleed prevents white edges if the trim cut shifts slightly during production.
Get Started
Ready to make your banner?
Pick your material and size, drop in your artwork, and we print a bold, weather-ready banner that reads sharp from across the room.
Legal Disclaimer
Gold Standard guarantees apply to all standard orders placed through 4over4.com. Price match requires verifiable proof of a competitor's published price for an equivalent product with matching specifications and turnaround time. Satisfaction guarantee covers manufacturing defects and print quality issues. Contact support with order number and documentation. On-time delivery rate based on tracked orders 1999 to 2026. Individual results may vary based on shipping carrier performance.
