
Perfect Binding vs Saddle Stitch Guide


Saddle stitch staples folded sheets for thin, budget booklets that lay flat. Perfect binding glues a printable spine for thick, professional books. Page count usually makes the call for you.
Perfect binding vs saddle stitch comes down to page count: saddle stitch staples folded sheets and works best for 8 to 64 pages at the lowest cost, while perfect binding glues a wraparound cover to a flat, printable spine for 28 pages up to several hundred and a book-like finish. In the 28 to 64 page overlap, saddle stitch wins on budget and lay-flat use, and perfect binding wins on premium presentation. For any-page-count, heavy daily use, coil binding lays flat and folds 360 degrees.
Quick breakdown
Perfect binding vs saddle stitch at a glance
Perfect binding uses a glued spine to hold pages together, creating a flat, professional-looking book. Saddle stitching folds sheets in half and staples them along the spine, so it is faster, lighter, and works great for thinner booklets. The right choice depends on your page count, budget, and how polished you need the final piece to look. 4OVER4.COM offers both binding options across 1,000+ products with a 99.8% on-time delivery rate.
Choosing between binding methods for your next print project
Perfect binding vs saddle stitch is one of the first decisions you face when printing a booklet, catalog, or manual. Pick the wrong one and you are stuck with a product that does not lay flat, falls apart, or costs twice what it should.
This guide walks you through exactly how each method works, when to use which, and what to watch out for. Whether you are printing a 12-page event program or a 200-page product catalog, you will know the right call by the end.
If you are working on other print projects at the same time, our guides on how to clean rubber stamps and how to fold a brochure are worth a look too. 4OVER4.COM has printed over 10 billion cards and serves more than 150,000 businesses, so we know a thing or two about binding.
What is saddle stitch binding?
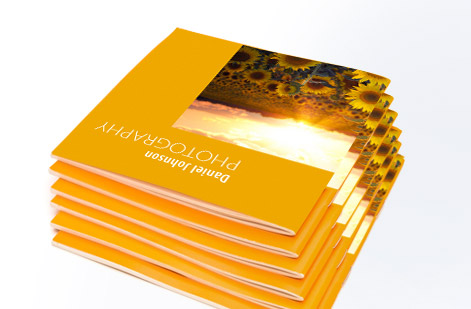
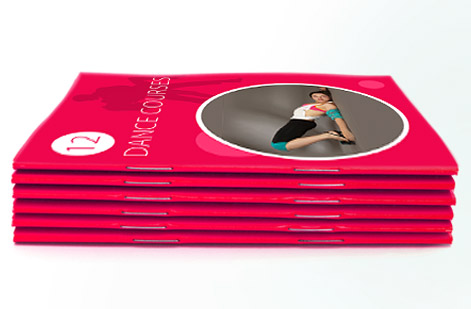
Saddle stitch binding is the simplest, most cost-effective way to bind a booklet. Sheets are printed, folded in half, nested inside each other, and then stapled along the fold, which is the spine. Those staples, usually two or three of them, are the only thing holding it together.
You have seen saddle-stitched booklets everywhere. Think comic books, event programs, small catalogs, instruction manuals, and church bulletins. It is the go-to for anything under about 64 pages.
The biggest advantage? Saddle-stitched booklets lay completely flat when opened. That makes them perfect for anything readers need to reference while doing something else, like recipe booklets, assembly guides, and musical scores. The pages do not fight you.
Cost is the other big win. Because the process is fast and uses minimal materials, saddle stitching runs cheaper per unit than almost any other binding method. For short runs or budget-conscious projects, it is hard to beat.
What is perfect binding?
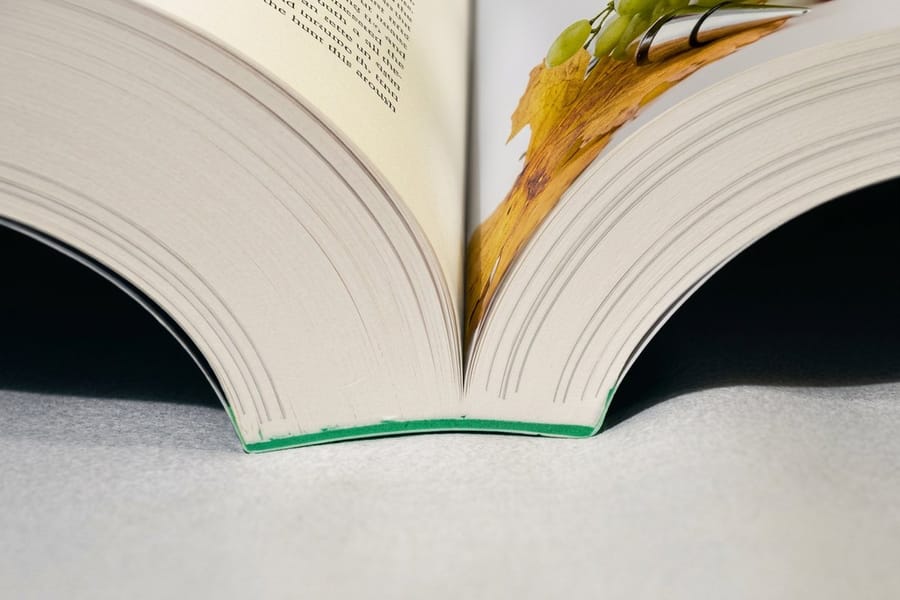
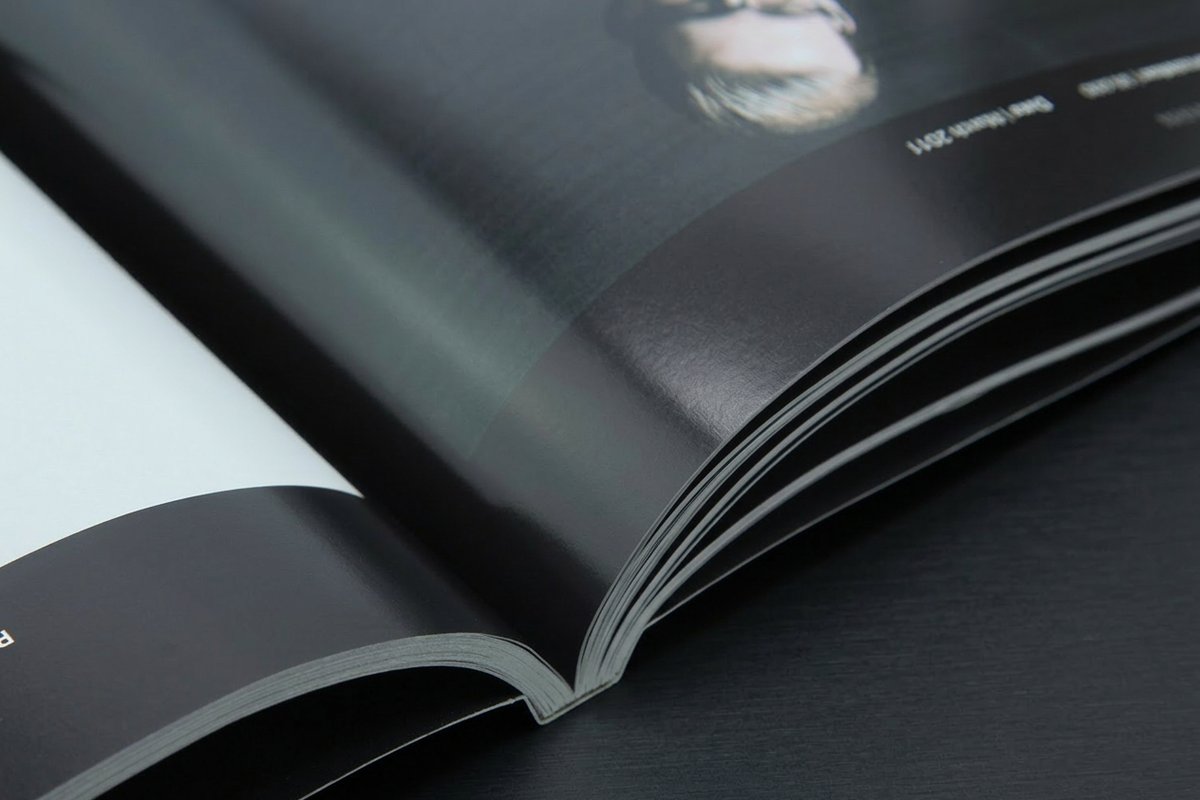
Perfect binding is what you see on most paperback books, thick magazines, and corporate annual reports. Pages are gathered into a block, the spine edge is roughened up, and then a strong adhesive is applied. A wraparound cover gets glued to that spine, creating a clean, flat edge you can print text on.
That printable spine is a big deal. It means your booklet can sit on a shelf and be identified by title, just like a real book. For catalogs, lookbooks, training manuals, and anything over 48 pages, perfect binding gives you a polished, professional presentation that saddle stitching simply cannot match.
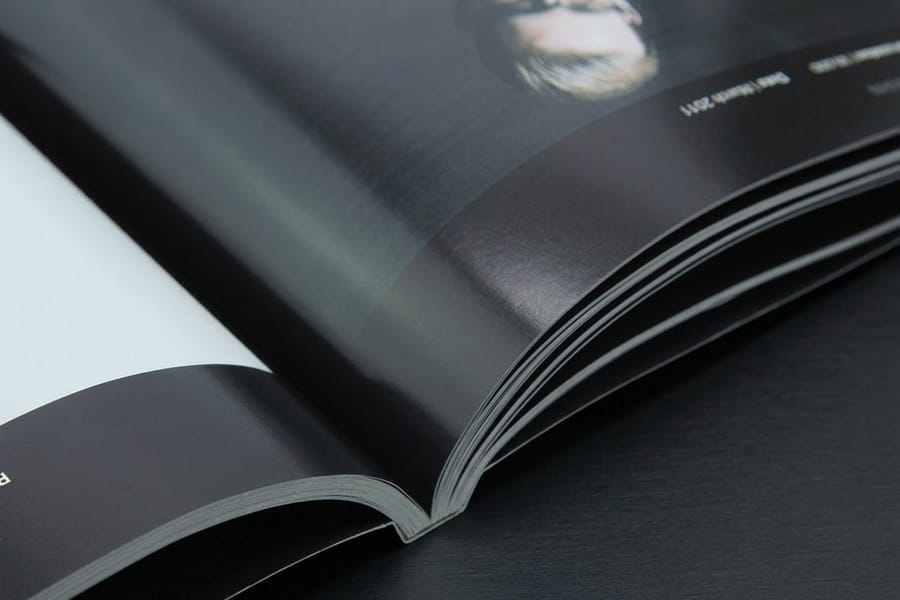
The tradeoff? Perfect-bound books do not lay flat when opened. The glued spine resists being forced open, which can be annoying for reference materials. They also cost more per unit and require a minimum page count, usually around 28 to 32 pages, so the spine has enough thickness for the adhesive to grip.
Page count: the decision maker
Here is the single biggest factor in choosing between these two methods: how many pages you are printing.
Saddle stitching works for booklets with roughly 8 to 64 pages. Below 8 and you barely have a booklet. Above 64 and the staples struggle to penetrate all those layers. The booklet also starts to creep, where inner pages stick out further than outer pages, creating an uneven edge that looks sloppy.
Perfect binding picks up where saddle stitching drops off. It handles 28 pages on the low end, where you need enough thickness for the glue, up to several hundred pages comfortably. If your project lands between 28 and 64 pages, you are in the overlap zone where either method works, and that is where budget, aesthetics, and use case should drive your decision.
For help designing other print pieces alongside your booklets, check out our guides on how to make flyers and how to make envelopes.
Cost comparison: what you'll actually pay
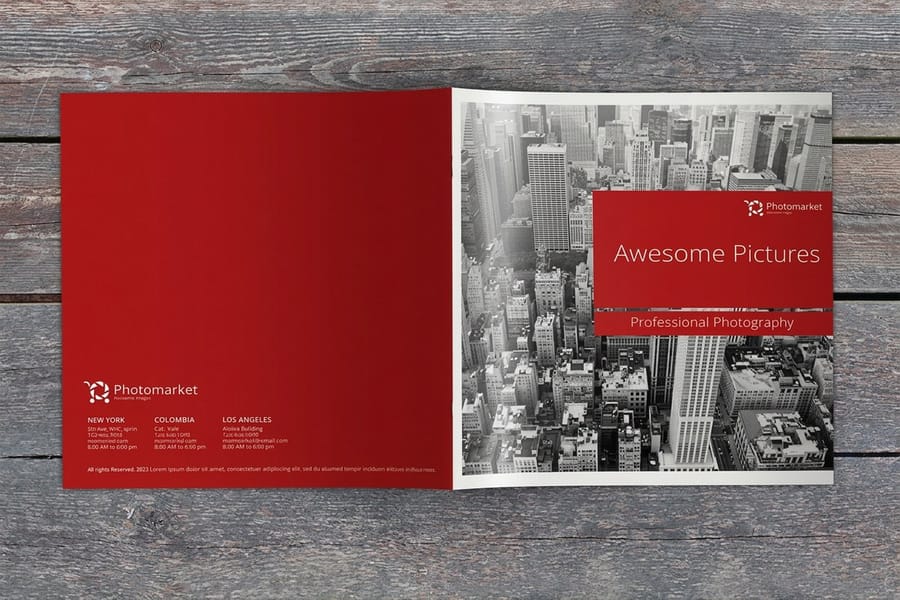
Saddle stitching is almost always cheaper. The process is faster, uses less material, and requires less setup. For short-run booklets, say 100 to 500 copies of a 24-page program, saddle stitching can cost 30 to 50 percent less than perfect binding for the same page count.
Perfect binding costs more because of the adhesive application, the cover wrapping process, and the additional trimming steps. But here is the thing. When you are printing a 100-page catalog, saddle stitching is not even an option, so the cost comparison only matters in that 28 to 64 page overlap zone.
If you are working within a tight budget, saddle stitching in that overlap range saves real money. If the project needs to look premium, like a client-facing proposal, a luxury brand lookbook, or an annual report, perfect binding is worth the extra spend.
Durability and shelf life
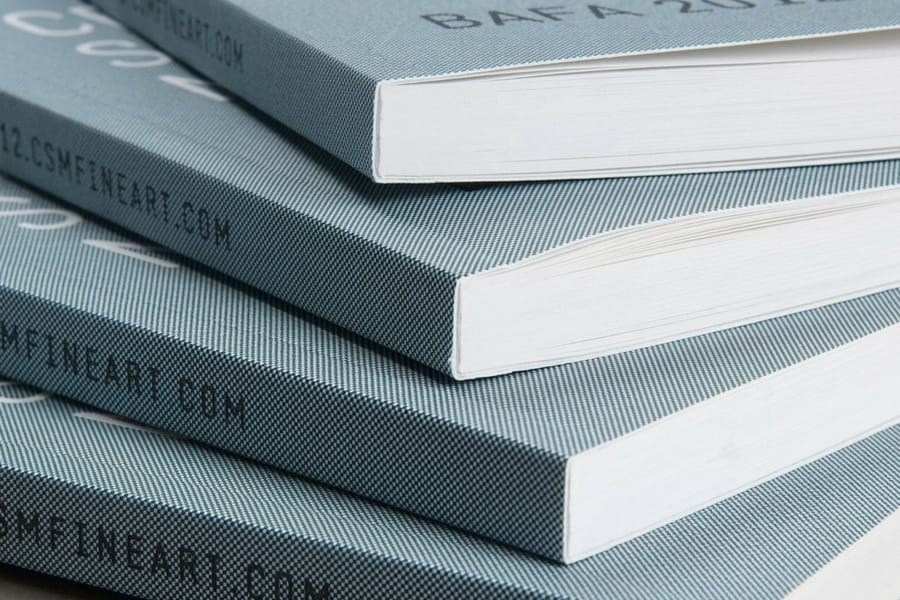
Neither method is indestructible, but they wear differently.
Saddle-stitched booklets are lightweight and flexible. They hold up fine for short-term use like event handouts, seasonal catalogs, and promotional mailers. But staples can catch and tear, pages can pull loose over time, and the covers tend to curl with handling. For something people toss after reading once, no problem. For something that sits on a desk for six months, maybe not ideal.
Perfect-bound books are sturdier. The glued spine and heavier cover stock give them a more rigid structure. They sit upright on shelves, resist casual damage better, and generally look newer longer. Training manuals, reference guides, and anything with a long shelf life benefit from perfect binding's durability.
That said, extreme heat can weaken perfect binding adhesive. And if the binding is done poorly, pages can detach in chunks. Quality matters, which is why 4OVER4.COM backs every order with a quality guarantee.
When to use saddle stitch binding
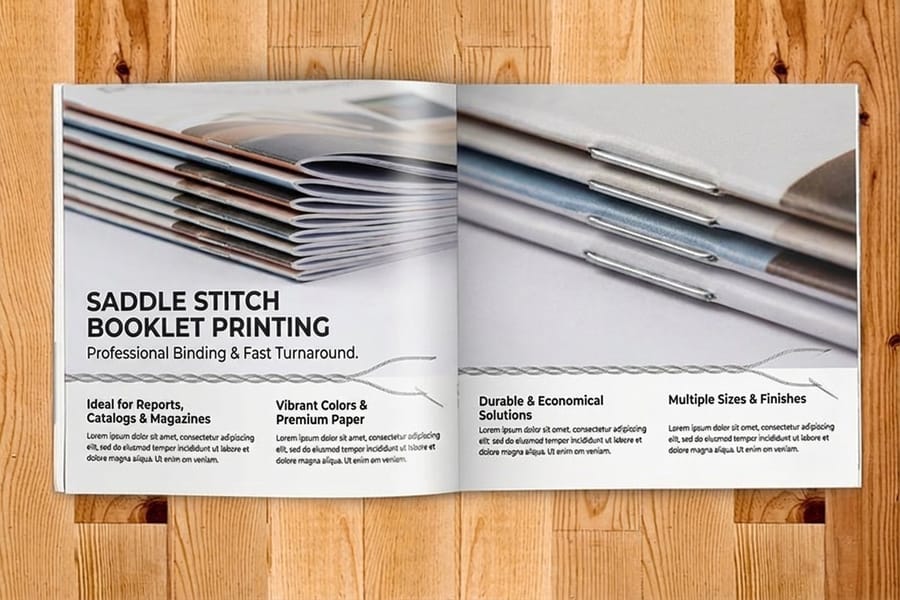
Saddle stitching is your best bet when:
- Page count is under 48 pages. This is saddle stitch's sweet spot.
- Budget is tight. Lower production costs mean more copies for less money.
- Readers need it to lay flat. Cookbooks, instruction guides, and music sheets all qualify.
- It is a short-term piece. Event programs, seasonal menus, and promotional inserts fit here.
- Fast turnaround matters. Saddle stitching is quicker to produce.
Browse our full marketing materials printing hub for more ideas on what to print alongside your booklets.
When to use perfect binding
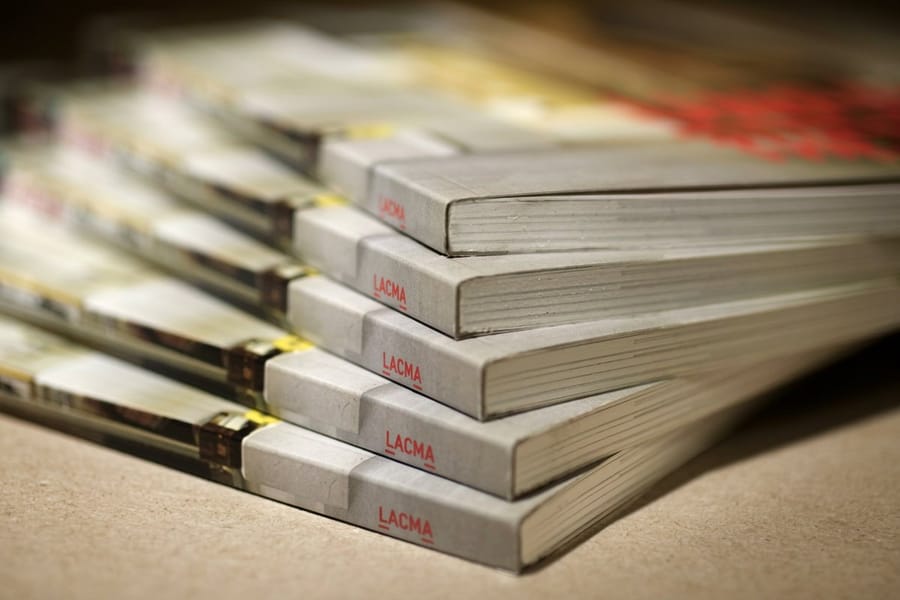
Go with perfect binding when:
- Page count exceeds 48 pages. Catalogs, manuals, and reports live here.
- You want a printable spine. It is essential for shelf storage and identification.
- Professional presentation matters. Client proposals, annual reports, and lookbooks benefit most.
- Long-term durability is needed. Reference materials and training guides last longer.
- You want a book-like feel. Self-published works, portfolios, and journals read as real books.
What about coil binding?
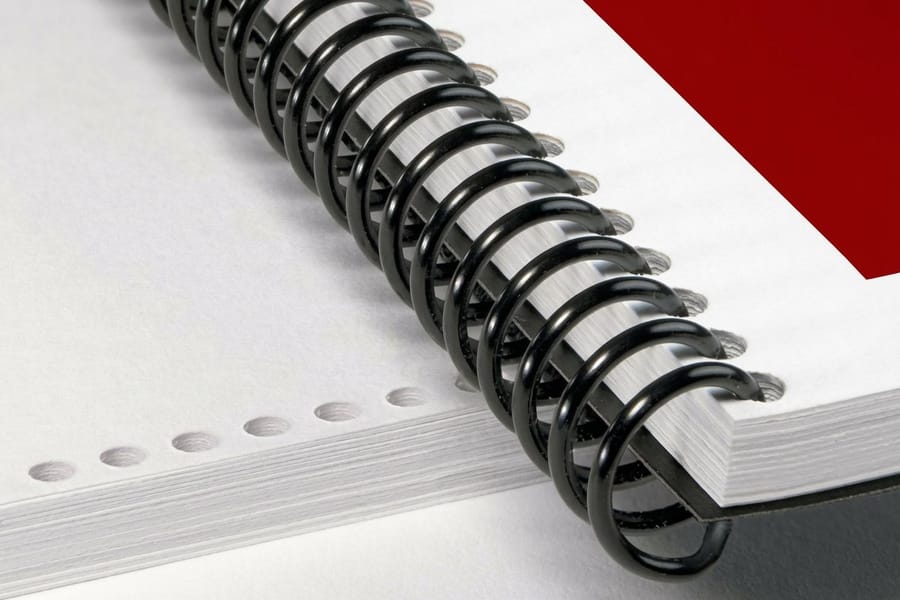
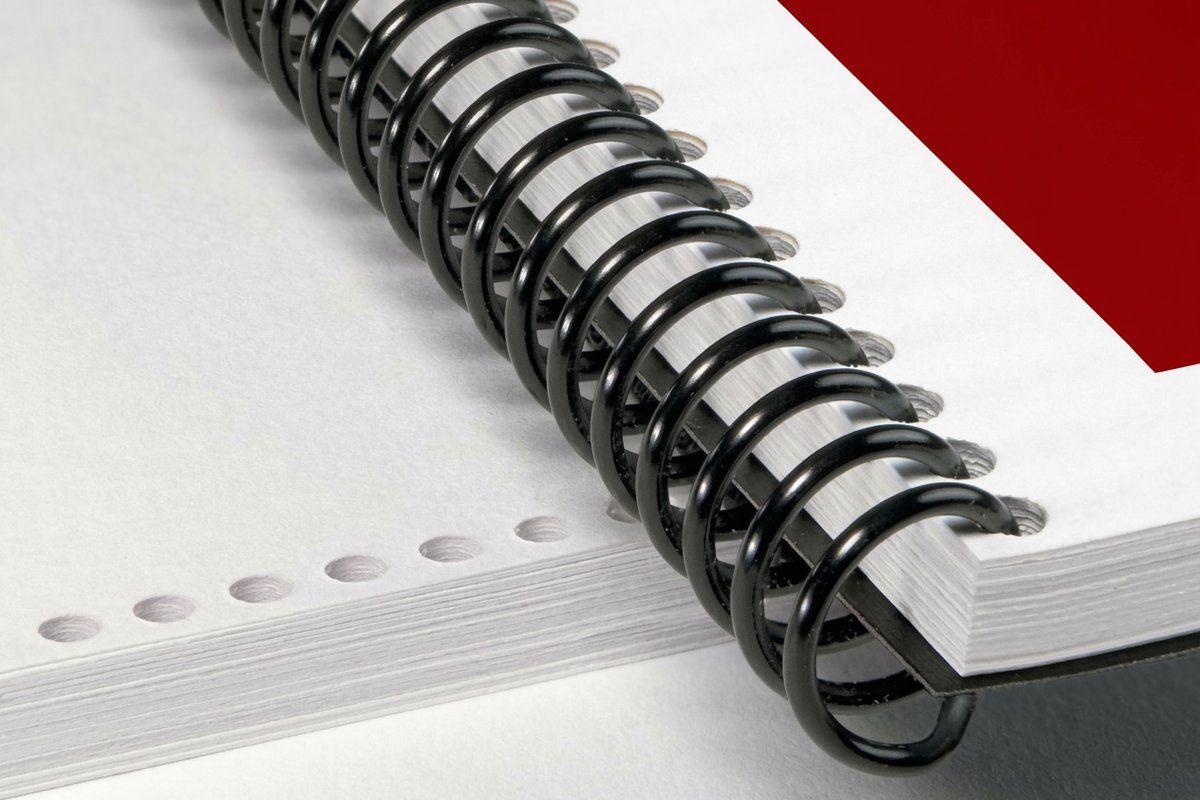
When comparing coil binding vs saddle stitch, or coil vs perfect binding, coil is a different animal entirely. A plastic or metal spiral is threaded through punched holes along the spine. The result? A booklet that lays completely flat and folds all the way back on itself, a full 360 degrees.
Coil binding works for any page count and is extremely durable. It is the top choice for cookbooks, technical manuals, planners, and anything that gets heavy daily use. The downside is aesthetics, since coil binding looks functional rather than polished. You will not see it on a luxury brand's lookbook.
If you are weighing all three options, think of it this way: saddle stitch for thin and cheap, perfect binding for thick and professional, and coil binding for practical and indestructible. Visit our guide hub for more detailed comparisons across binding types.
Paper and cover considerations
Your binding choice affects your paper options too.
Saddle-stitched booklets typically use the same paper stock throughout. Cover and interior pages are often the same weight, or the cover is just slightly heavier. This keeps things simple and affordable.
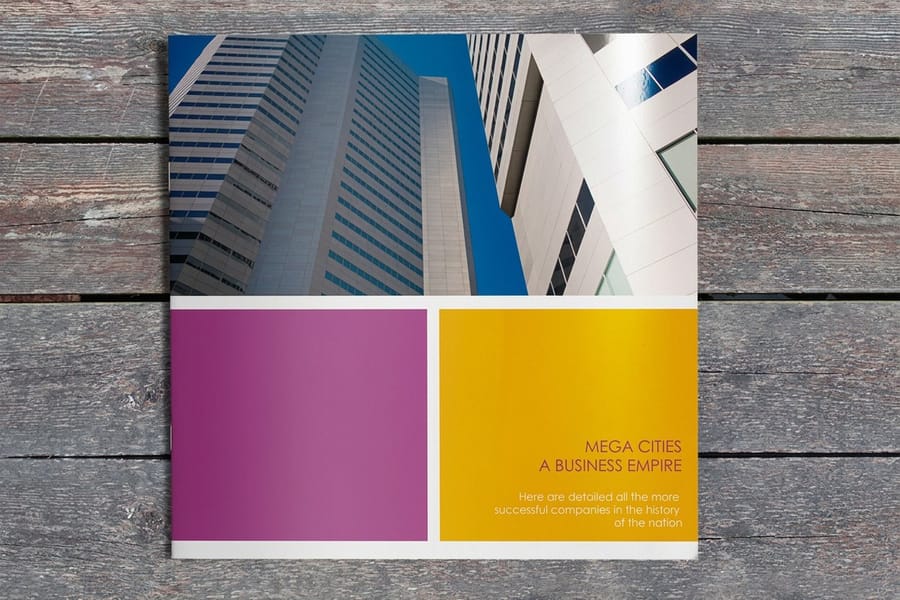
Perfect-bound books almost always have a heavier cover stock. That wraparound cover needs to be thick enough to support the glued spine and protect the interior pages. A 10pt or 12pt cover with an 80lb text interior is common. You can also add finishes like gloss, matte, or soft-touch lamination to the cover for extra impact.
Want to feel different paper stocks before committing? Order free samples from 4OVER4.COM to compare textures and weights in your hands. And if you are creating companion pieces like custom magnets for a product launch, our guide on how to make custom magnets walks you through the process.
File setup differences
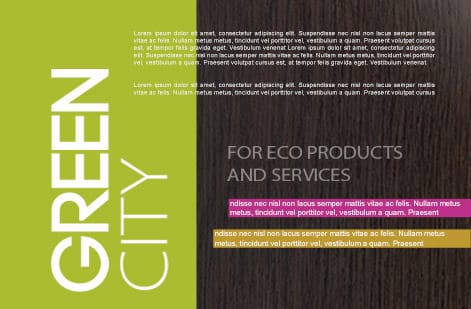
Setting up your file correctly depends on which binding method you choose. Get this wrong and your print job comes back looking off.
For saddle stitch: Pages must be in multiples of 4, since each sheet creates 4 pages when folded. Account for creep on thicker booklets by adjusting inner page margins slightly. Bleed extends to all edges including the spine fold.
For perfect binding: You need to calculate spine width based on page count and paper thickness. The cover file is typically set up as a spread, with back cover, spine, and front cover all in one file. Interior pages are set up sequentially, not as spreads. Keep text and important elements at least 0.5 inches from the spine edge, since the glued binding eats into the inner margin.
Below are blank template references to help you set up your binding project correctly.
Mistakes that ruin your binding project
When deciding between perfect binding vs saddle stitch, people trip up on the same things over and over. Here is what to avoid.
Ignoring page count limits. Trying to saddle stitch a 72-page booklet leads to bulging spines and pages that will not stay shut. Trying to perfect bind a 16-page booklet means the spine is too thin for glue to hold. Respect the ranges.
Forgetting about creep. In saddle-stitched booklets over 32 pages, inner pages extend past outer pages after folding. If you do not adjust your layout, text near the outer edge gets trimmed off.
Wrong spine width calculation. A perfect-bound spine that is too narrow wrinkles. Too wide, and you get ugly gaps. Always use your printer's spine calculator rather than guessing.
Skipping the proof. 4OVER4.COM provides proofs for a reason. Binding issues are nearly impossible to fix after production. Review your proof carefully, especially gutter margins and spine alignment.
Choosing binding based on looks alone. A gorgeous perfect-bound training manual that will not lay flat is frustrating to use daily. Match the binding to how people will actually use the finished piece.
Specs and pricing
Booklet binding specs and pricing
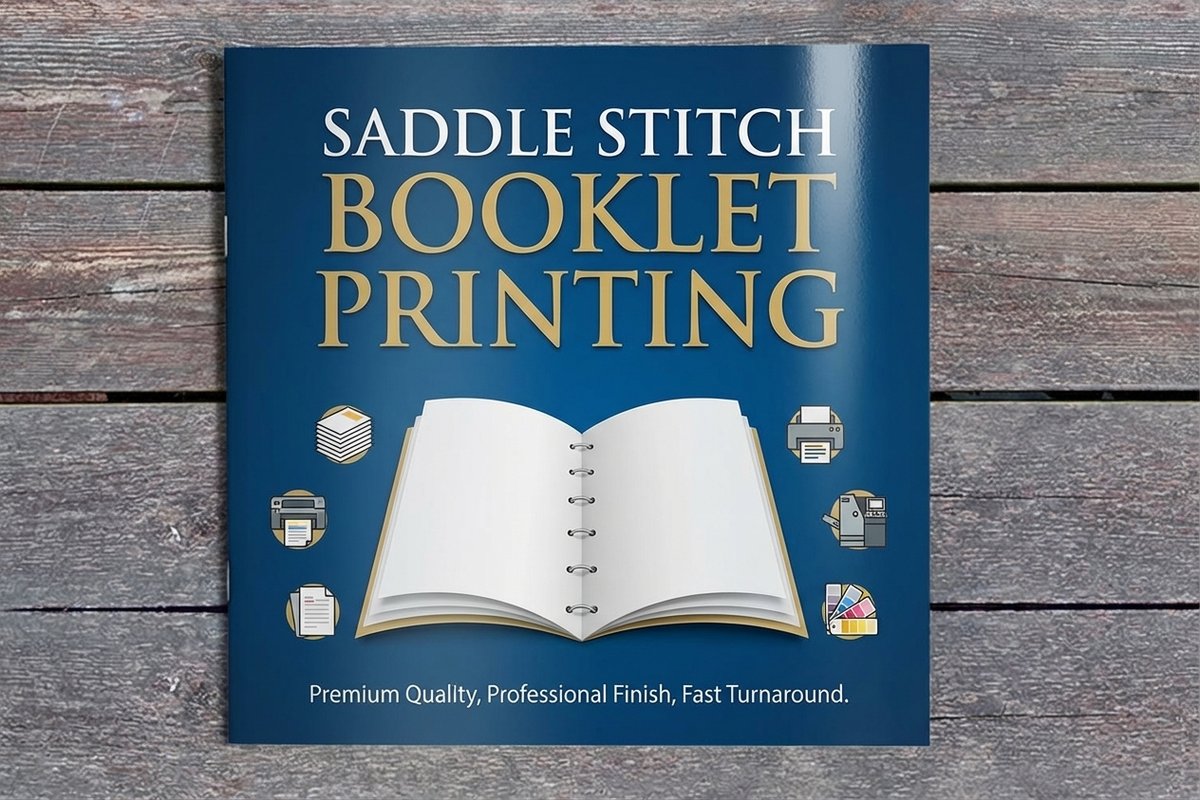
Once you have picked a method, here is what saddle stitch and perfect binding give you at 4OVER4.COM, with live specs and price-per-unit straight from the configurator.
| Quantity | Price Per Unit | Total |
|---|---|---|
| 25 | $9.62 | $240.55 |
| 50 | $6.04 | $302.06 |
| 100 | $3.61 | $361.37 |
| 200 | $2.22 | $444.85 |
| 300 | $1.65 | $495.38 |
| 400 | $1.29 | $515.14 |
| 500 | $1.06 | $531.61 |
| 600 | 91.5¢ | $549.19 |
| Quantity | Price Per Unit | Total |
|---|---|---|
| 10 | $37.51 | $375.05 |
| 15 | $27.86 | $417.92 |
| 20 | $23.04 | $460.78 |
| 25 | $20.15 | $503.65 |
| 30 | $18.22 | $546.51 |
| 40 | $15.54 | $621.52 |
| 50 | $14.57 | $728.68 |
| 60 | $13.93 | $835.83 |
Print it
Order booklets, books, and catalogs at 4OVER4
Wally explains booklet binding
Let page count pick the spine, then let the look break the tie
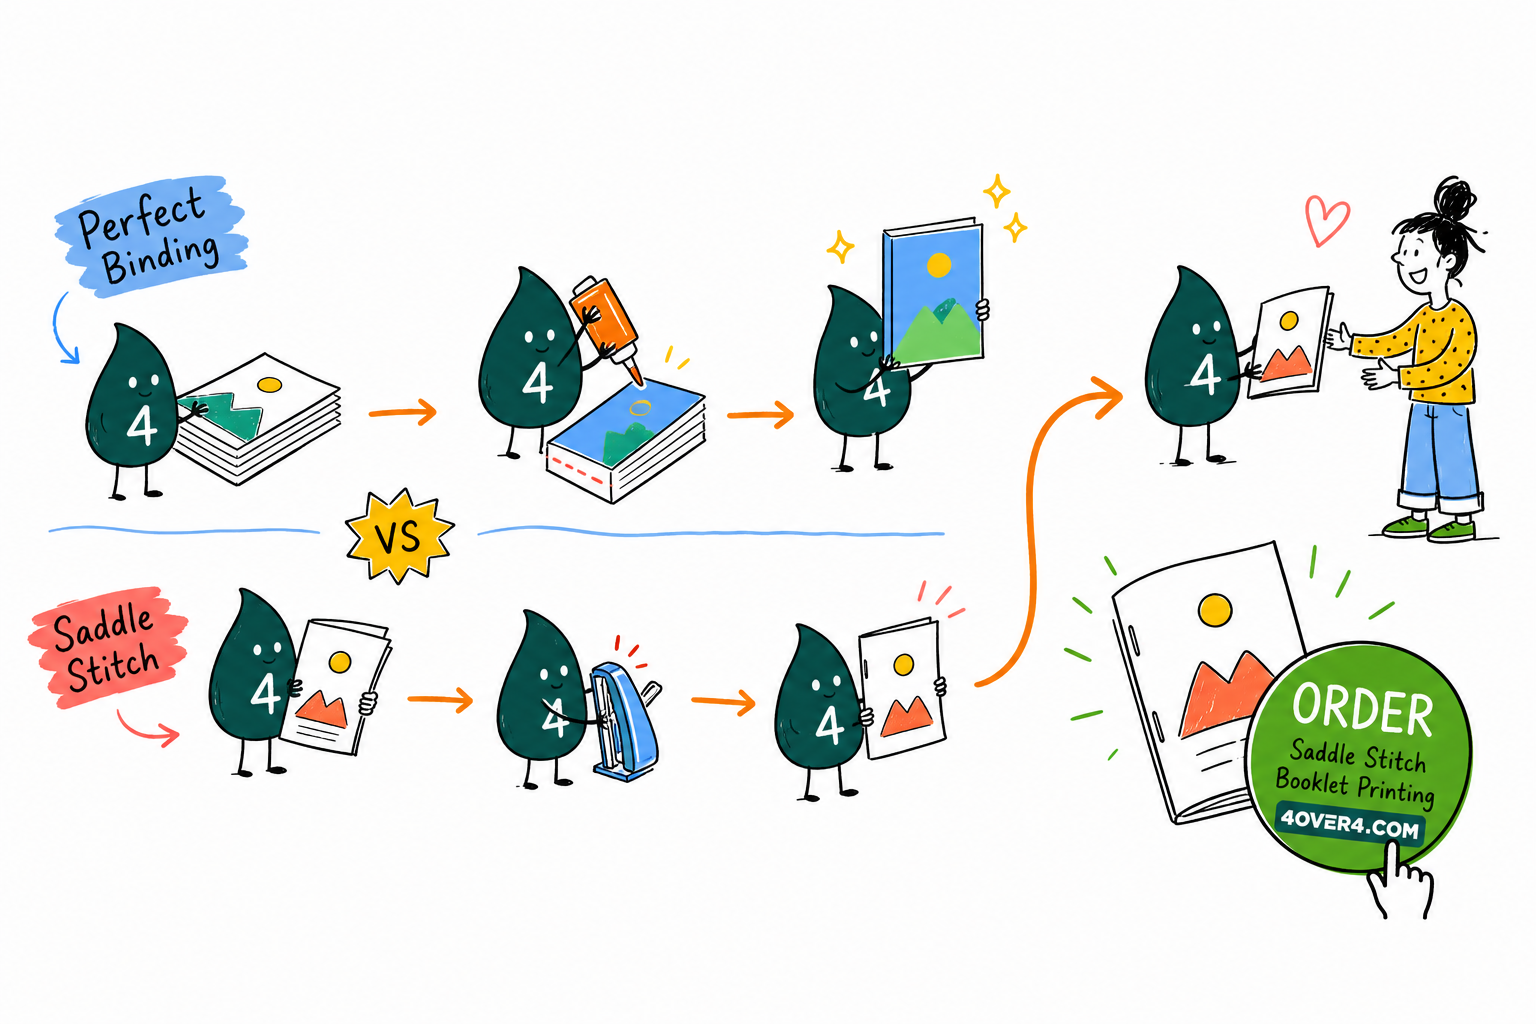
Wally sizes up every booklet by its page count first. Thin and cheap wants staples down a folded spine, thick and professional wants a glued, printable spine, and heavy daily use wants a coil that folds a full 360 degrees. When your project lands in the 28 to 64 page overlap, saddle stitch saves money and lays flat while perfect binding reads as a real book. Order either one built to your exact page count at 4OVER4.
Order booklet printing →See it in use
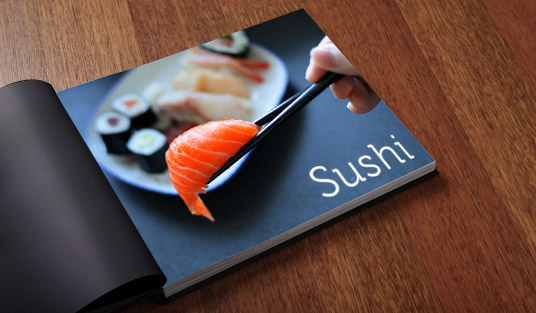
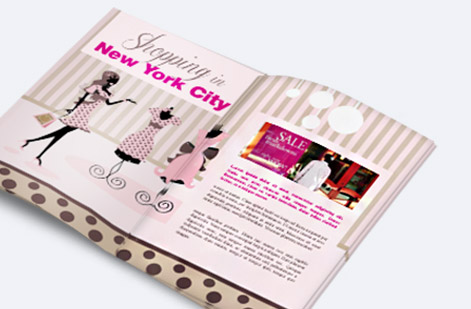
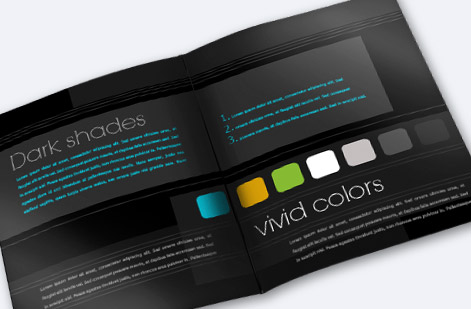
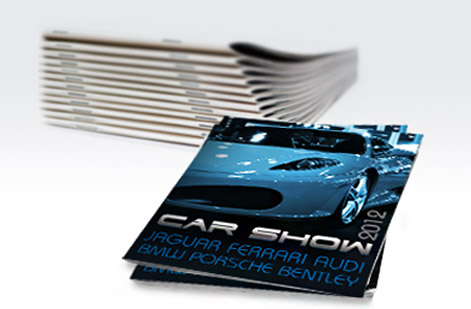
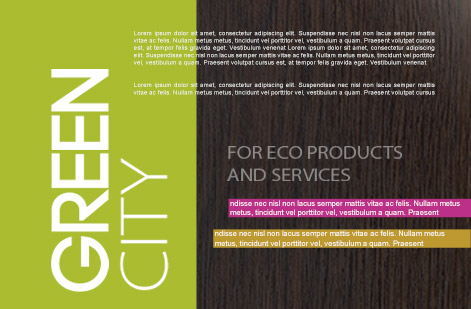
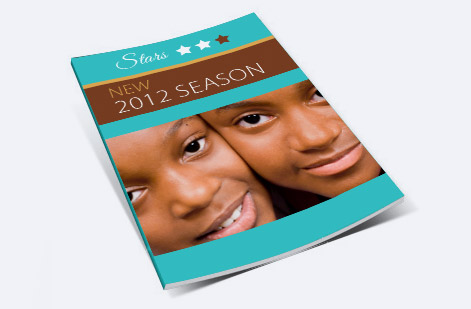
Real booklet binding work, printed in-house
Explore more
Where to go next
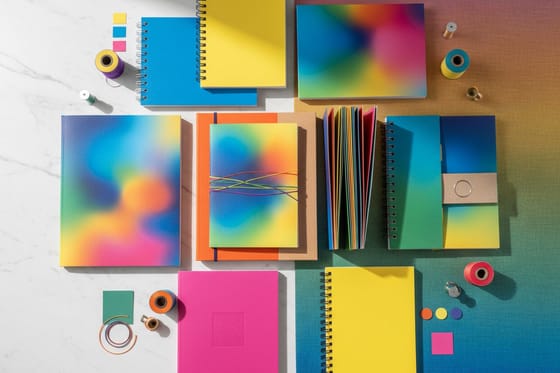

Not sure who you are ordering from? Read the 4OVER4.COM vs 4Over difference so you know exactly who prints your booklets.
By the numbers
Printing you can count on at 4OVER4
Common Questions
Common questions about binding methods
What's the main difference between perfect binding and saddle stitch?
Saddle stitch uses staples along a folded spine to hold pages together. Perfect binding uses adhesive to attach pages to a flat spine with a wraparound cover. Saddle stitch works best for thinner booklets from 8 to 64 pages, while perfect binding handles thicker projects from 28 to 300 or more pages and gives a book-like finish.
Can I saddle stitch a booklet with 80 pages?
No. Saddle stitching tops out around 64 pages. Beyond that, staples cannot penetrate all the layers and page creep becomes severe. For an 80-page booklet, perfect binding is your best option because it handles the page count easily and gives you a clean, printable spine.
Which binding method is cheaper?
Saddle stitching costs less, typically 30 to 50 percent less than perfect binding for the same page count. It uses fewer materials and less production time. If your booklet falls in the 28 to 64 page overlap zone and budget is your priority, saddle stitch saves you money without sacrificing quality.
How does coil binding compare to saddle stitch and perfect binding?
Coil binding vs saddle stitch comes down to function. Coil-bound booklets lay flat and fold a full 360 degrees, which makes them ideal for manuals and planners, and they work at any page count. The tradeoff is a more utilitarian look compared to the polished finish of perfect binding or the lightweight simplicity of saddle stitch.
Do perfect-bound booklets lay flat when opened?
Not really. The glued spine resists opening fully, so pages curve toward the center. This is fine for reading but can be frustrating for reference materials you need to keep open hands-free. If laying flat matters, saddle stitch or coil binding are better booklet binding options for that use case.
What page count works for both binding methods?
The overlap zone is roughly 28 to 64 pages. In this range, both perfect binding and saddle stitch are technically viable. Your decision should come down to budget, where saddle stitch wins, presentation, where perfect binding wins, and how the reader will actually use the finished piece.
Get Started
Ready to print your booklet or book?
Pick saddle stitch or perfect binding, set your page count and paper, and we print a clean, well-bound piece with free proofs and fast turnaround.
Legal Disclaimer
Gold Standard guarantees apply to all standard orders placed through 4over4.com. Price match requires verifiable proof of a competitor's published price for an equivalent product with matching specifications and turnaround time. Satisfaction guarantee covers manufacturing defects and print quality issues. Contact support with order number and documentation. On-time delivery rate based on tracked orders 1999 to 2026. Individual results may vary based on shipping carrier performance.
