
Print Quality Troubleshooting to Fix 7 Common Issues in 2026


How to fix common print quality problems before they cost you money
Print quality problems waste materials, blow deadlines, and force reprints that eat your budget. 4OVER4.COM has printed over 10 billion cards and serves 150,000+ businesses, so we have seen every print defect there is and fixed most of them before lunch. Whether you are fighting banding, color shifts, or blurry output, this troubleshooting guide walks you through the fixes that actually hold up.
From blurry images to surprise color shifts, print quality issues derail projects and drive up costs fast. This guide pinpoints seven common problems and hands you real, workable solutions so your prints look professional every time. You will find practical tips that lean on the 4OVER4.COM platform and decades of production experience, whether you print marketing materials, event signage, or a personal project. Get these areas right and you save both time and money, and a look at the different types of printing helps you match the method to the job.
This guide covers the core areas of print production troubleshooting:
- Print head cleaning and maintenance for steady ink delivery
- Paper selection and handling to prevent jams and smudging
- Color calibration and profile management for accurate reproduction
- Quality ink and toner selection to avoid fading and streaking
- Print driver settings for sharp, predictable output
- Environmental control for stable results
- Regular hardware maintenance and calibration for the long haul
Print it right
Brochures built for clean, consistent color
Skip the in house guesswork. Order brochures on calibrated presses with paper matched to the process.
Print head cleaning and maintenance that actually works

Print head cleaning is the single most common fix for print quality problems. Clogged nozzles, dried ink, and dust buildup lead to banding, streaking, faded color, and missing detail. A steady routine for your printer hardware keeps ink flowing and output sharp, and that means using both the automated cleaning cycles in your printer software and manual steps for the stubborn clogs.
Why your print head needs regular attention
Print heads carry tiny nozzles that lay ink onto paper. Over time those nozzles clog with dried ink, dust, or paper fibers, and the blockage breaks up ink flow and leaves you with uneven output. Regular cleaning heads off the problem and adds real life to the print head.
Sometimes the trouble is not the printer at all, it is the source file. A low resolution image looks rough no matter how clean your heads are, so start every job with art at 300 DPI or higher. That matters even more for detailed work like logo sticker design ideas, where crisp edges make or break the piece.
Automated cleaning cycles
Most modern printers ship with built in cleaning cycles. These routines flush ink through the nozzles, clear minor clogs, and bring ink flow back. How well they work comes down to your printer model and how bad the clog is. Canon automatic print head cleaning often fixes banding in photo prints, Epson Power Clean handles nozzle clogs on EcoTank models, and HP printhead cleaning clears streaky text on many LaserJet units. Run these before you troubleshoot anything else.
Manual cleaning when automated cycles fall short
For stubborn clogs you need to get hands on. Manual cleaning usually means a maker approved cleaning solution to gently wipe the print head and nozzles. Always check your printer manual first for the steps that fit your model.
Five ways to keep print heads in top shape
Here is what holds up in practice:
- Run nozzle checks before big jobs so you catch trouble early, not halfway through a run.
- Use genuine cleaning cartridges when they are available, since they are built for your exact printer.
- Let print heads dry fully after manual cleaning before you print again.
- Schedule regular cleaning cycles on heavily used printers, even when everything looks fine.
- Use distilled water for any DIY cleaning mix to avoid mineral deposits that clog nozzles further.
Steady print head maintenance lifts output quality, cuts frustration, and stretches the life of your printer, whether you are running 50 pieces or 5,000.
Paper selection and handling, getting the foundation right

Paper choice shapes print quality more than most people expect. The wrong stock brings jams, smudging, curl, and color that looks nothing like your design. Picking the right paper for your printer and project is half the battle in any print quality troubleshooting guide.
Matching paper to your printer
Inkjet and laser printers want different paper. Inkjet stock carries a coating that absorbs liquid ink, while laser stock stands up to the heat of the fusing process. Run inkjet paper through a laser printer and you get smudging, weak adhesion, and possible damage to the fuser. Run laser paper through an inkjet and you get bleeding and dull color. For a deeper look at stock, our guide to the best paper for printing breaks down the tradeoffs.
4OVER4.COM offers 60+ paper types across our product lines, each matched to a specific printing process. Order through the platform and the paper to process matching is already handled, so that is one less variable on your plate.
Paper weight and thickness matter
Thin paper such as 20lb bond is fine for everyday documents. For marketing materials, business cards, and anything a customer will hold, you want weight. A 14pt stock feels like a solid postcard, and a 32pt stock feels like something worth keeping, roughly three times the thickness of standard printer paper. Heavier stock also resists curl and warping, which means fewer quality issues overall. For specialty pieces like 3D postcards, weight matters even more for structure.
Storage and handling that prevents defects
Even great paper prints badly when it is stored wrong. Keep paper in its original wrap until you are ready, and store it flat in a cool, dry spot out of direct sun. Humidity is the enemy of paper, since it brings curl, jams, and uneven ink absorption.
Fan the stack before you load it into the tray. That separates sheets that stuck together and cuts down on multi feed jams. Load only what the tray holds without forcing it.
Color calibration and profile management for accurate results

Color accuracy is one of the most maddening parts of print quality. What looks perfect on screen can land too dark, too warm, or plain wrong. The gap between screen and print is a color management problem, and it is fixable.
Color profiles, RGB versus CMYK
Your monitor shows color in RGB, made of red, green, and blue light. Printers build color in CMYK, made of cyan, magenta, yellow, and black ink. These are different systems, and some RGB colors simply cannot be reproduced in CMYK because they fall out of gamut. Design in RGB and send straight to print, and you get a color shift every time.
Convert your files to CMYK before you send them, and use the soft proof feature in your design software to preview how the color will translate. This one step clears most color complaints.
Monitor calibration
Your monitor lies to you. Out of the box, most screens run too bright and too saturated for accurate print preview. A hardware calibrator measures your real screen output and builds a correction profile, so calibrate monthly for steady results.
Without calibration you are designing blind. Colors that look bright on an uncalibrated screen often print muddy or flat, and that shows up fast in gradients and skin tones.
ICC profiles and printer settings
ICC profiles tell your printer how to translate color for a specific paper and ink pairing. Use the wrong profile, or none at all, and color drifts. Most professional print services, 4OVER4.COM included, publish ICC profiles for their stocks, so download and install them.
Finish changes color too. A matte finish soaks up light and makes color read darker, while a gloss finish reflects light and makes color look more saturated. It helps to learn how spot UV printed products catch light so you can plan around it, and a little history on Pantone colors makes matching easier.
Ink and toner selection, do not cheap out here
The ink or toner you load touches every part of print quality. Cheap third party cartridges can save money up front, then cost you with uneven color, clogged heads, and prints that fade within months.
OEM versus third party consumables
Original equipment cartridges are built and tested for your exact printer. They give steady color, reliable flow, and predictable results. Third party cartridges swing wildly in quality, and while some are fine, many are not. The risk rarely pays off when color matters.
If you do run third party ink, research the brand hard and look for reviews from people on your printer model. Keep genuine cartridges on hand for the jobs where color accuracy cannot slip.
Ink expiration and storage
Ink expires. Old ink separates, thickens, and clogs nozzles, so check the date on a cartridge before you install it. Store spare cartridges upright in a cool, dark place, and do not stockpile more than you will use in six months.
For toner, rock the cartridge gently side to side before you install it. That spreads the powder evenly and stops light or patchy output across the first few pages.
Print driver settings, the most overlooked fix
Your print driver is the software bridge between your design file and the finished print. Wrong settings here cause more problems than most people suspect, and it is the first thing to check and the last thing most people think of.
Resolution settings
Print resolution is measured in DPI, or dots per inch. Higher DPI means finer detail and smoother gradients. For text, 600 DPI is usually plenty, and for photos and marketing materials, 1200 DPI or higher looks noticeably better.
Do not confuse file resolution with print resolution. Your file needs to be 300 DPI at final print size, while the printer output resolution is a separate setting, and both need to be right. Browse our printing articles for more file prep walkthroughs.
Paper type settings in the driver
Most drivers include a paper type dropdown, and it is not decoration. Choose plain paper while you print on glossy stock and the printer lays down the wrong amount of ink. You get smearing on gloss, bleeding on uncoated, or washed out color on specialty stock.
Match the driver paper type to the actual sheet in your tray. If your exact stock is not listed, pick the closest match, and for thick stock look for a heavy paper or cardstock option that adjusts the paper path and fuser temperature.
Color management in the driver
Most drivers let you manage color from the printer, from the application, or not at all. The reliable move is to let your design app handle color management and set the driver to application managed colors. That gives you the most control and the most consistency.
Environmental factors that sabotage your prints
Temperature and humidity shape print quality more than you would guess. Printers are precision machines, and they run best inside a narrow range. Step outside it and real problems show up.
Temperature control
Most printers run best between 60 and 80°F. Too cold and ink thickens or toner does not fuse well. Too hot and ink dries too fast or toner over fuses and leaves glossy spots on matte prints. Keep the print area climate controlled.
If your printer sits in direct sun by a window, move it, because temperature swings across the day push output from good in the morning to off by afternoon. For a greener setup, it helps to read up on environmentally conscious printing practices.
Humidity management
The sweet spot for humidity sits between 40 and 60% relative humidity. Below 40%, paper curls and static causes feed problems. Above 60%, paper drinks moisture, swells, and prints blurry or smudged.
A simple hygrometer costs under 20 dollars and tells you exactly where your space stands. If humidity is off, a small humidifier or dehumidifier solves it, a cheap fix for an expensive problem.
Dust and debris
Dust is the quiet killer of print quality. It settles on print heads, contaminates paper paths, and drops specks and streaks onto output. Keep the area clean, cover the printer when it rests, and vacuum around it often, though never inside it, where you risk damage. Use compressed air for internal cleaning.
Regular hardware maintenance and calibration schedules
Steady maintenance stops problems before they start. A set schedule takes the guesswork out of printer care and keeps output stable over time.
Weekly maintenance tasks
Run a nozzle check on an inkjet or a test page on a laser at the start of each week. Clean the paper feed rollers with a lint free cloth dampened with water, and check trays for debris. These five minute tasks catch small issues before they grow.
Monthly maintenance tasks
Deep clean print heads or swap cleaning pads monthly if you print daily. Calibrate color with your printer built in utility, and check for firmware updates, since makers ship fixes that improve quality and reliability.
Inspect rollers for wear. Worn rollers cause paper skew, which leads to misaligned prints and registration errors, and replacement rollers are cheap and easy to install on most models.
Quarterly and annual tasks
Every three months, clean the interior paper path and replace any filters. Check belt tension on larger format printers. Once a year, book a professional service if your printer runs high volume, because planned maintenance always costs less than emergency repair or wasted stock.
For creative work that needs flawless output, these funny print ad examples show what is possible when print quality is dialed in.
Quantity and price
Brochure pricing and specs
Real configurator numbers, where the per unit cost drops as your quantity climbs.
| Quantity | Price Per Unit | Total |
|---|---|---|
| 50 | $1.14 | $57.11 |
| 100 | 82.4¢ | $82.38 |
| 200 | 53.3¢ | $106.55 |
| 300 | 41.0¢ | $123.02 |
| 400 | 34.9¢ | $139.49 |
| 500 | 31.2¢ | $155.97 |

Bound formats
Booklet materials and finishing
Stocks, binding, and page counts for booklets when you need more than a single sheet.

When to stop troubleshooting and let the pros handle it
Sometimes the smartest move is to hand the job off. If you have worked through this guide and your in house printer still cannot deliver, it is time to consider professional printing. 4OVER4.COM runs the whole production process, from file prep to finishing, on equipment calibrated daily and maintained by trained technicians. With 10,000+ reviews and a 4.8 out of 5 star rating, the quality speaks for itself, and paper matching, color calibration, ink quality, and environmental control are all handled in a controlled shop.
For specialty pieces like 3D postcards or high volume runs, professional printing is often the only way to get consistent results at scale. Your time has value too, and every hour spent fighting an office printer is an hour away from your actual business. To set your artwork up right from the start, grab free blank templates for acrylic prints and dry erase prints, sized to exact product specs.
Start fast
Templates and print ready blanks
Brochure design templates and exact size blanks so your art lines up with the cut and bleed.

Wally diagnoses your print quality problems
Match the symptom to the fix and stop the reprints
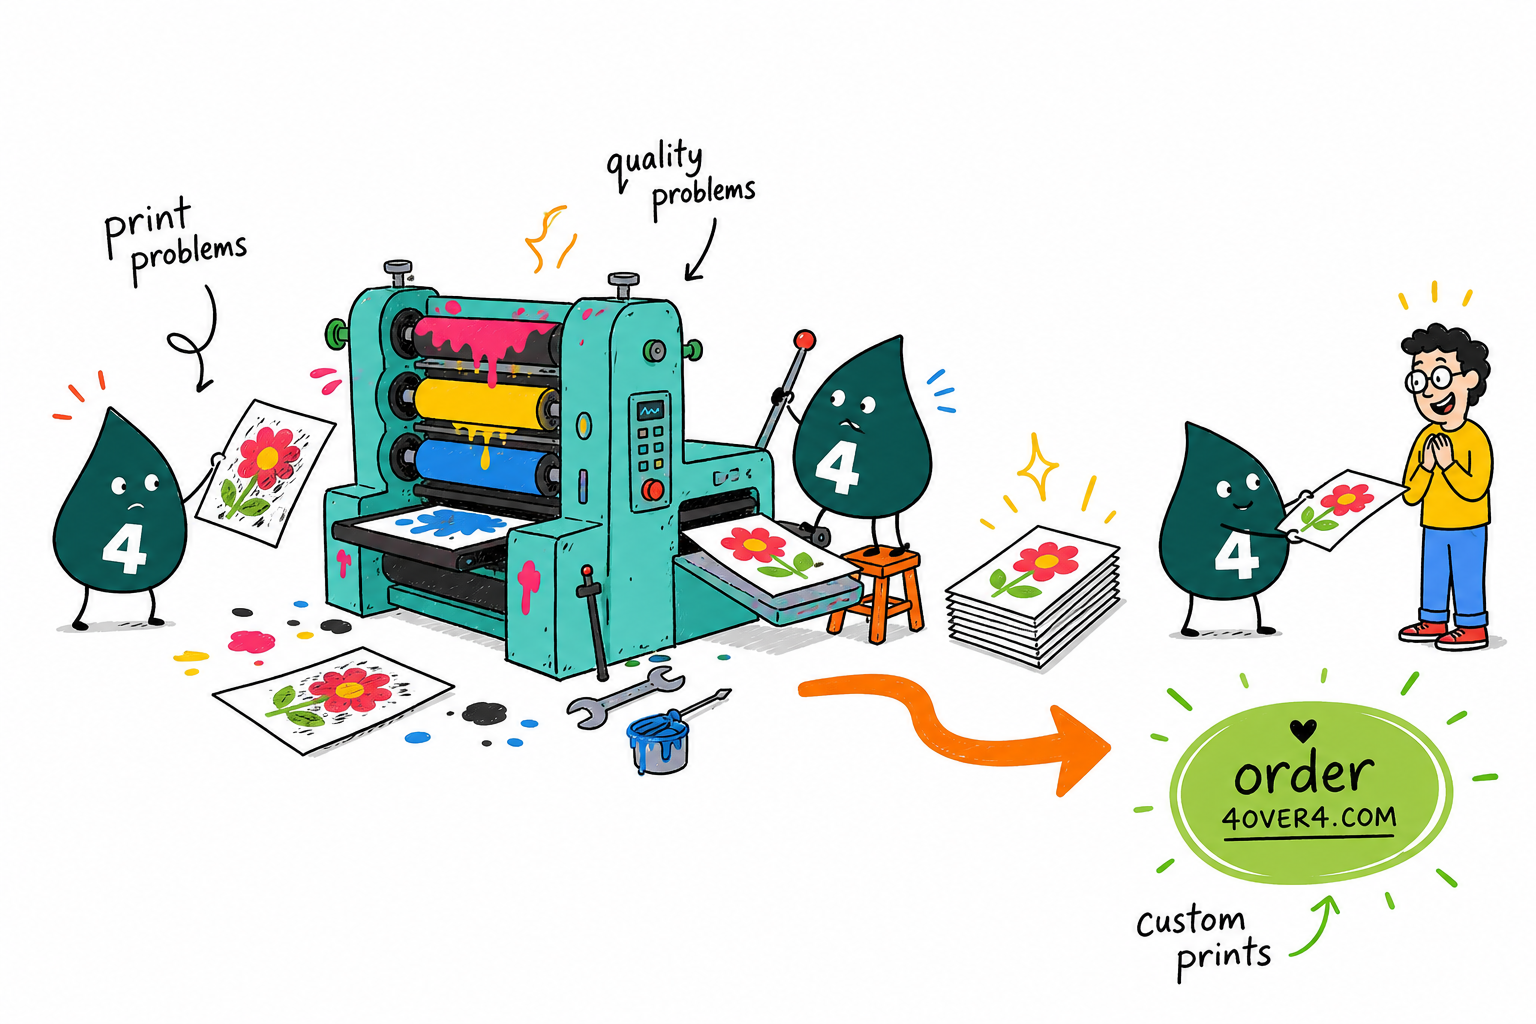
Most print problems trace back to a handful of causes. Banding means clogged nozzles, so run a cleaning cycle. Color that looks off means an RGB file, so convert to CMYK. Blurry output means low resolution, so rebuild at 300 DPI. When the office printer still will not cooperate, 4OVER4.COM prints it sharp on calibrated presses.
Order brochures →What to remember from this print quality guide
Match the symptom to the fix
- Banding or streaks. Clogged nozzles. Run a nozzle check and a cleaning cycle before anything else.
- Color looks off. RGB file or wrong profile. Convert to CMYK and install the right ICC profile.
- Smudging. Wrong paper type. Match the stock to your printer and driver setting.
- Blurry output. Low resolution. Rebuild the file at 300 DPI at final size.
- Curl or jams. Humidity. Store paper flat and dry, and fan the stack before loading.
- Faded prints. Old or third party ink. Switch to fresh genuine cartridges.
Explore more
More ways to get flawless print quality
Every related page type on 4OVER4.COM, one card each, so you can keep improving your print results.
Product Brochures Full color brochures on matched stock. Product Booklets Saddle stitch and bound booklets.  Product Postcards Sharp postcards in many sizes.
 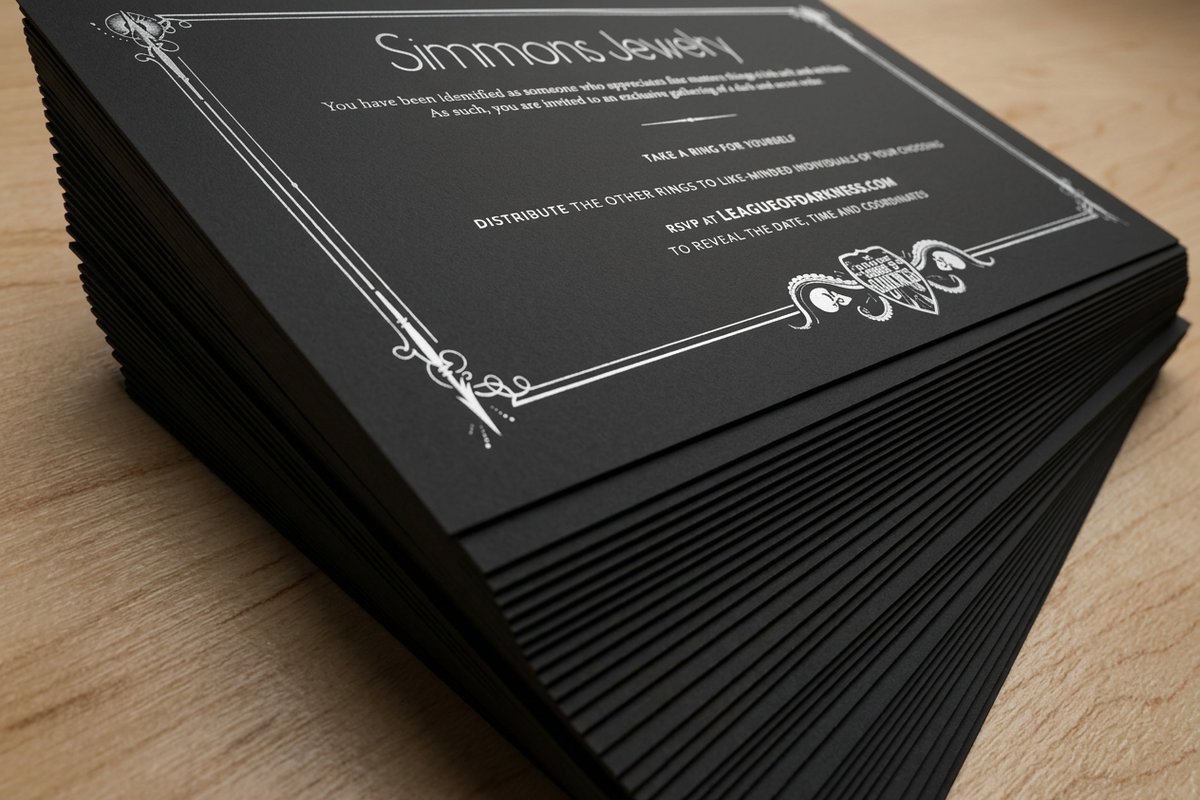 Product Black Postcards Dramatic dark stock that shows off ink.
 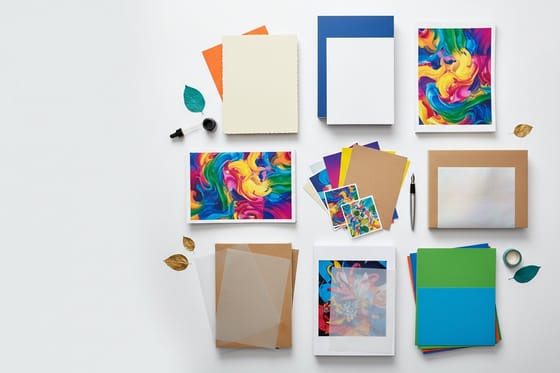 Article Best Paper for Printing Pick the right stock for the job.
  Article Different Types of Printing Digital, offset, and specialty explained.
  Article Online Proofing Software Catch color and layout issues before print.
  Article Print Production Management Run print jobs without the chaos. Hub Marketing Materials Every marketing print product in one place. Guide Printing Guides Step by step guides for flawless files.
 Done fighting your office printer?
Send your file and let 4OVER4.COM print it sharp on calibrated presses, with paper matched to the process and quality backed by 10,000+ reviews.
Print quality troubleshooting questions, answered
What are the best practices for print quality troubleshooting?
Start with a nozzle check or test page to pin down the issue. Clean the print heads, confirm the paper type in your driver, and make sure your file is 300 DPI in CMYK. Change one variable at a time instead of several at once. For involved pieces like custom booklets, professional printing usually beats in house troubleshooting.
How do I choose the right print quality troubleshooting approach?
Name the symptom first. Banding and streaks point to the print head or nozzles. Color shifts point to calibration or profiles. Smudging points to the wrong paper or driver setting. Blurriness usually means low file resolution. Match the symptom to the matching section of this guide and work the steps in order.
What makes print quality troubleshooting effective for marketing?
Marketing materials carry your brand. A streaky brochure or a color shifted flyer chips away at credibility fast. Solid troubleshooting keeps your custom brochures, postcards, and business cards looking sharp and consistent across every run, which is the difference between pieces people keep and pieces they toss.
How much should I budget for print quality troubleshooting?
Basic troubleshooting costs nothing but your time. A monitor calibrator runs about 100 to 250 dollars and pays for itself in fewer reprints. Genuine OEM cartridges cost 15 to 30% more than third party options and remove most ink related issues. A hygrometer runs under 20 dollars. For high stakes jobs, printing with 4OVER4.COM removes the guesswork and guarantees professional output.
