
How 3D Posters Are Made in 2026


How 3D posters are made, from concept to eye-catching print
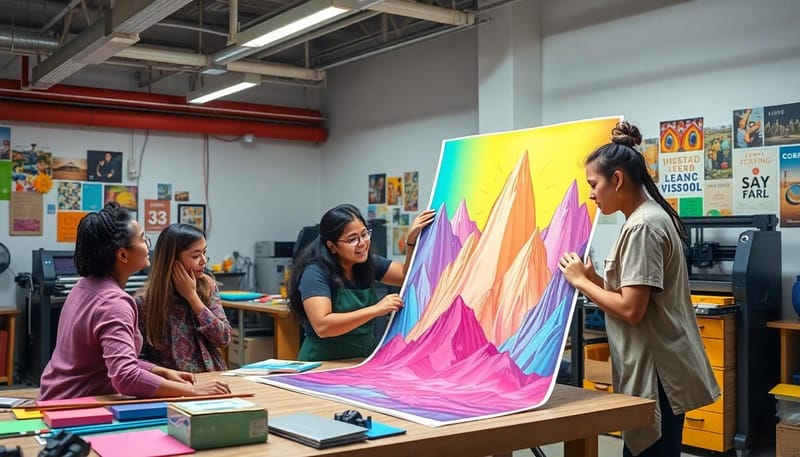
3D posters are made with lenticular printing, a process that pairs interlaced images with a ridged plastic lens to create the illusion of depth, motion, or a flipping image. 4OVER4.COM produces 3D lenticular posters that grab attention in ways flat prints cannot. If you have ever walked past a poster and watched the image shift or pop off the surface, you have seen this technology at work.
The process is not magic, even though it looks like it. It is a precise mix of digital design, specialized software, and a unique printing substrate. Understanding how 3D posters are made helps you plan better artwork, set realistic expectations, and get results that actually stop people in their tracks.
This guide breaks down every step, from picking the right effect to the final quality check, so you can turn a concept into a finished lenticular poster with confidence. For a broader look at bold visual work, browse these graphic design portfolio examples.
What makes lenticular printing different from standard poster printing
Standard posters use flat ink on flat paper. That is the whole story. Lenticular printing adds a real extra dimension. The technique layers multiple images together and prints them onto a sheet that is then bonded to a lenticular lens. This lens is a clear plastic sheet with tiny parallel ridges, called lenticules, running across its surface.
Each ridge acts like a miniature magnifying glass. Depending on your viewing angle, different slices of the interlaced image become visible. The result is that your eyes perceive depth, animation, or a complete image change as you move. It is the same principle behind those novelty cards you played with as a kid, executed at a much higher level of precision for commercial and artistic work.
Print it
3D lenticular posters, made to move
Depth, flip, and animation effects on an optical-grade lens, printed and calibrated in-house.
Three effects you can create with lenticular technology
Every lenticular poster leans on one of three core effects, and each one asks for a different approach during design.
- 3D depth effect. Objects appear to sit at different distances from the viewer, creating a realistic sense of space without glasses.
- Flip effect. The image switches between two or more completely different visuals as the viewing angle changes.
- Motion and animation effect. A sequence of frames plays out as you walk past, giving the illusion of movement.
Because each effect changes how you build the source art, it pays to understand the full production pipeline before you start. For a different take on the same idea at a smaller scale, see how 3D lenticular postcards and 3D lenticular business cards use lenticular lenses.
Step 1, concept development and image selection
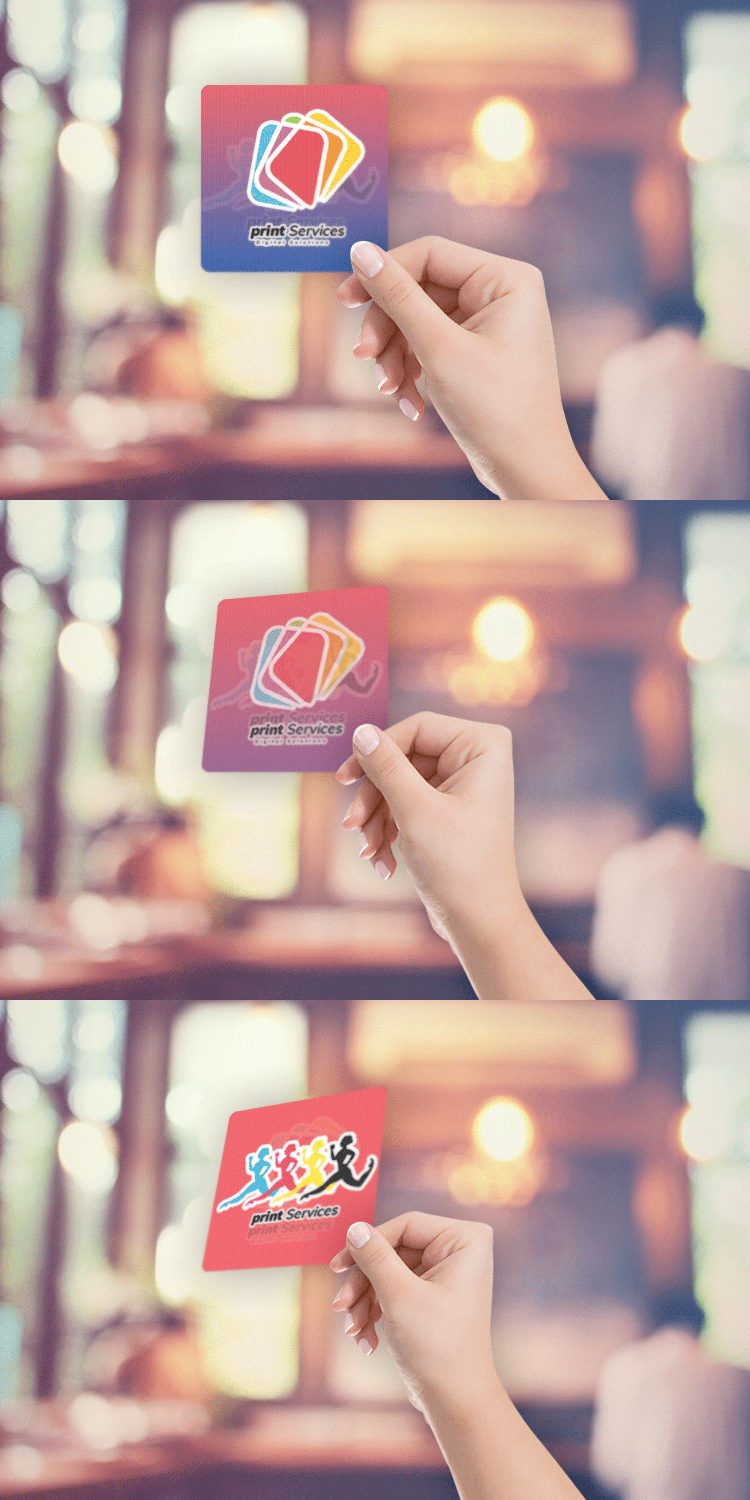
Every 3D poster starts with a concept. You are not just picking a pretty picture. You are deciding which lenticular effect best serves your message. A movie promotion might use a flip effect to reveal a character transformation. A real estate developer might use a depth effect to make a building rendering pop off the wall. A retail brand might use motion to show a product in use.
At this stage, designers weigh a few key factors before any artwork is built.
- Viewing distance. Will people see this poster from 3 feet away or 30 feet away? This sets the lens pitch, the number of lenticules per inch.
- Number of frames. Flip effects typically use 2 to 3 frames. Animation effects might use 10 to 20 or more, so smoother motion demands higher resolution source images.
- Subject matter. High-contrast subjects with clear foreground and background separation produce the strongest 3D depth.
- Final size. Larger posters need coarser lens pitches. Smaller formats can use finer lenses for sharper detail.
If you are working on a unique campaign and need guidance on concept development, the 4OVER4.COM Custom Projects team can help you nail down the right approach before you commit to production.
Step 2, creating the interlaced image file
This is where the real technical work happens. Once your source images or 3D renders are ready, they need to be interlaced, sliced into thin vertical strips and woven together into a single composite file. Each strip corresponds to a specific lenticule on the lens sheet.
Specialized lenticular software handles this interlacing. The designer imports the source frames, maps them to the lens specifications, and generates a high-resolution interlaced file. The software calculates exactly how wide each strip needs to be based on the LPI, or lenticules per inch, of the chosen lens.
Working with depth maps for 3D effects
For true 3D depth posters, designers create or use depth maps, grayscale images where white areas appear closest to the viewer and black areas recede into the background. The lenticular software reads this depth information and generates the multiple viewpoints needed to simulate parallax. Think of it as creating dozens of slightly different camera angles from a single image.
Professional designers typically work in a tool like Adobe Photoshop for layer separation, then move to dedicated lenticular software such as SuperFlip or 3DMasterKit for the interlacing step. The source files need to be extremely high resolution, often 300 DPI or more at final print size, because interlacing divides each pixel across multiple frames.
| Effect type | Recommended frames | Best use case | Minimum resolution |
|---|---|---|---|
| 3D depth | 1 image plus depth map | Product displays, art prints | 300 DPI |
| Flip | 2 to 3 frames | Before and after, reveals | 300 DPI |
| Animation | 10 to 20 or more frames | Motion sequences, trade shows | 300 plus DPI |
| Morph | 2 frames, software interpolated | Character transformations | 300 DPI |
| Zoom | 8 to 15 frames | Product close-ups | 300 plus DPI |
Calibration is non-negotiable
Here is something most people miss. The interlaced file must be perfectly calibrated to the specific lens being used. If the strip width is off by even a fraction of a millimeter, the 3D effect breaks down. You get ghosting, blurriness, or a poster that only works from one narrow angle. This calibration step is what separates professional lenticular printing from amateur attempts. Explore more creative print ideas in the 4OVER4.COM printing articles library.
Step 3, choosing the right lenticular lens
The lens is half the equation. It is a sheet of optical-grade plastic, usually PETG or acrylic, with precisely molded parallel ridges on one side and a flat surface on the other. The flat side receives the printed image. The ridged side faces the viewer.
Lens selection depends on the intended effect and the viewing conditions.
- High LPI lenses, 60 to 100 or more. Best for 3D depth viewed up close. The fine pitch creates smooth, detailed depth, ideal for smaller posters, point-of-purchase displays, and postcards.
- Medium LPI lenses, 40 to 60. A good balance between depth and animation. Works well for mid-size posters viewed from a few feet away.
- Low LPI lenses, 10 to 30. Best for large-format posters and billboards viewed from a distance. These produce bold flip and animation that reads clearly even at 20 feet or more.
| Lens LPI range | Viewing distance | Best effect | Typical applications |
|---|---|---|---|
| 60 to 100 plus LPI | 1 to 3 feet | 3D depth | Postcards, counter displays, small posters |
| 40 to 60 LPI | 3 to 8 feet | Depth plus flip | Mid-size posters, POP displays |
| 20 to 40 LPI | 8 to 15 feet | Flip plus animation | Large posters, wall-mounted signage |
| 10 to 20 LPI | 15 to 30 plus feet | Bold flip and animation | Billboards, outdoor signage, trade show backdrops |
Lens thickness matters too. Thicker lenses produce more dramatic depth but add weight and cost. Thinner lenses are lighter and cheaper but limit the depth range. For 3D lenticular posters at 4OVER4.COM, the production team matches lens specs to your design goals so the final piece performs exactly as intended.
Lens and options
3D lenticular poster specs
Lens, ink, effect, and proofing options for lenticular posters.
Step 4, printing the interlaced image
With the interlaced file ready and the lens selected, it is time to print. There are two main methods for getting ink onto a lenticular substrate, and each has trade-offs.
Direct-to-lens printing
UV flatbed printers can print directly onto the flat back of the lenticular lens sheet. This method removes the lamination step, which cuts production time and the risk of alignment errors during bonding. The UV inks cure instantly under ultraviolet light, producing sharp, bright colors that bond directly to the plastic.
Direct printing demands extremely precise registration. The printer must align every strip of the interlaced image with the matching lenticule on the front of the sheet. Modern UV flatbed printers manage this with automated calibration, but the initial setup for each lens type still needs a skilled operator.
Print-and-laminate method
The alternative prints the interlaced image onto paper or synthetic media first, then laminates the printed sheet to the flat side of the lens. This route offers more flexibility in print quality and substrate options, but it adds a step where misalignment can creep in. Lamination uses pressure-sensitive adhesive, wet adhesive, or thermal bonding, and high-volume runs rely on automated equipment to keep pressure and alignment consistent.
| Feature | Direct-to-lens, UV flatbed | Print-and-laminate |
|---|---|---|
| Alignment risk | Lower, single-step process | Higher, bonding step adds risk |
| Production speed | Faster | Slower, extra lamination step |
| Print quality options | UV ink only | Offset, digital, or UV on various substrates |
| Durability | Excellent, ink bonds to lens | Good to excellent, depends on adhesive |
| Best for | Short to mid runs, fast turnaround | High-volume runs, premium finishes |
Step 5, finishing, cutting, and quality control
After printing, or printing and laminating, the poster moves to finishing. This covers precision cutting to final size, edge treatment, and a rigorous quality inspection. Because lenticular material is thicker and more rigid than standard paper, it needs specialized cutting gear, usually an industrial guillotine cutter or a CNC router for custom shapes.
Quality control for 3D posters is more involved than for flat prints. Inspectors check several things closely.
- Image registration. Is the interlaced image perfectly aligned with the lens? Any drift creates ghosting.
- Effect clarity. Does the depth, flip, or animation work cleanly from the intended distance and angle range?
- Color accuracy. Are the colors consistent with the approved proof?
- Surface quality. Any scratches, trapped bubbles in laminated pieces, or debris between the layers?
4OVER4.COM runs each 3D poster through this multi-point inspection before shipping. It is not the kind of product where you can skip quality control, because a misaligned lenticular poster is essentially unusable.
Design tips that make or break your 3D poster
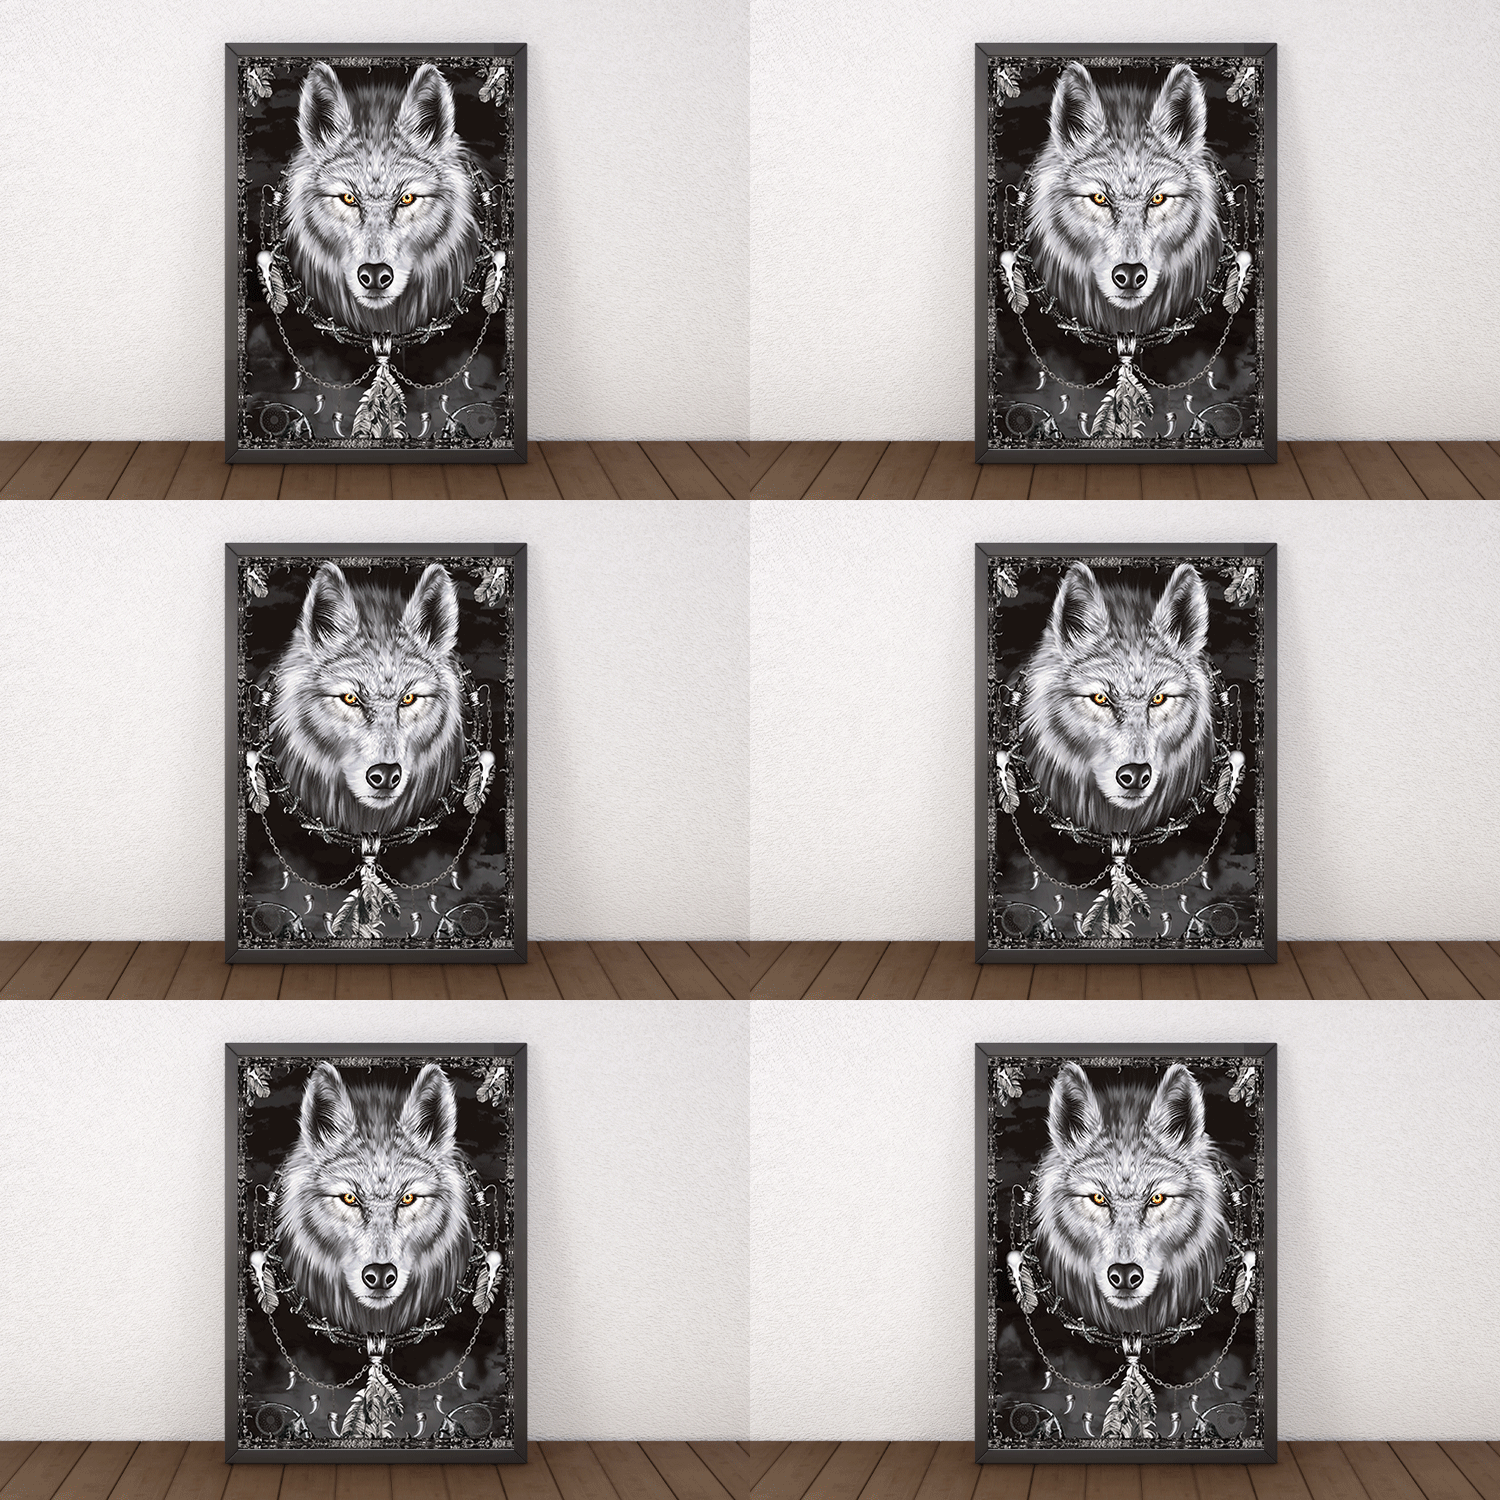
Knowing how 3D posters are made is one thing. Designing artwork that actually takes advantage of the technology is another. These practical guidelines separate stunning 3D posters from flat, muddy ones.
Separate your layers clearly
The depth effect depends on distinct foreground, midground, and background layers. If everything sits on the same visual plane, the 3D effect fades to almost nothing. Push your main subject forward. Drop the background way back. Add a midground element for extra dimension. The more separation between layers, the more dramatic the depth.
Avoid fine text in the depth zone
Small text does not hold up well in lenticular printing. The interlacing process can make thin lines and small characters look fuzzy or doubled. Keep important text on a single plane, usually the frontmost layer, and make it bold enough to stay legible. Headlines work great in 3D. Footnotes do not.
Use high-contrast color palettes
Bold, saturated colors pop through lenticular lenses far better than muted pastels. Dark backgrounds with bright foreground elements create the strongest sense of depth. If your brand palette is subtle, consider boosting saturation just for the 3D version. For proof that bold choices drive attention, browse these funny print ad examples.
Test with a proof before full production
Always request a lenticular proof before committing to a full run. What looks perfect on screen can behave differently once interlaced and printed on a physical lens. A proof lets you verify depth, color accuracy, and effect quality before you spend on the complete order.
Quantity and price
Standard poster pricing and specs
Real configurator numbers, the more you order, the lower the per-unit cost drops.
| Quantity | Price Per Unit | Total |
|---|---|---|
| 50 | $2.18 | $108.75 |
| 100 | $1.64 | $163.67 |
| 200 | $1.01 | $202.11 |
| 300 | 80.2¢ | $240.55 |
| 400 | 69.7¢ | $278.99 |
| 500 | 63.5¢ | $317.44 |
Where 3D posters work best, real-world applications
3D posters are not just novelty items. They are serious marketing tools in the right setting.
Retail and point-of-purchase displays
A 3D poster at a checkout counter or an endcap stops shoppers mid-stride. The motion or depth draws the eye in a way flat signage cannot match. Brands selling beverages, cosmetics, and electronics use lenticular displays to show products in action without a screen or any power.
Event and trade show signage
At a crowded trade show, your booth has about 3 seconds to grab a passerby. A large-format 3D poster with a bold flip or animation acts as a visual magnet, and it signals that your brand invests in quality. For more ways to stand out on the floor, see these large format advertisement examples and creative outdoor advertising ideas.
Movie and entertainment promotion
The entertainment industry was an early adopter of lenticular posters. Movie theaters, streaming services, and gaming companies use 3D posters to build buzz around new releases. The ability to show a transformation, reveal a hidden scene, or simulate action makes these posters collectible conversation starters.
Interior decor and art installations
Beyond commercial use, 3D posters have found a home in interior design and galleries. Artists create lenticular pieces that change as viewers walk past, turning a static wall into an interactive experience. For more creative print projects, explore logo sticker design ideas or the full showcase of customer work.
Everyday format
Standard posters for any display
Flat posters from $108.75, ideal for retail, events, and interior walls.
Common mistakes to avoid when ordering 3D posters
Even experienced designers trip up on their first lenticular project. Here is what to watch for before you send files.
- Submitting low-resolution files. Lenticular interlacing is resolution-hungry. A file that looks sharp for a standard poster goes soft once divided across multiple frames. Work at 300 DPI minimum at final output size, higher if the budget allows.
- Ignoring the viewing angle. The 3D effect only works within a specific angular range. If you design for close-up viewing but mount the poster 15 feet up a wall, the effect will not read. Tell your printer where the piece will live.
- Overcomplicating the animation. More frames is not always better. A 30-frame animation crammed into a poster viewed from 10 feet away looks like a blur. A clean 2-frame flip or a simple 5-layer depth effect is often far more impactful.
- Skipping the proof. Lenticular proofs cost a fraction of the full run and save you from expensive mistakes. 4OVER4.COM offers proofing so you can see and feel the real effect before committing.
Looking at complementary display options? Custom acrylic prints, dry erase aluminum panels, and dry erase coroplast signs all pair well with a lenticular centerpiece.
Why 4OVER4.COM for your 3D poster production
4OVER4.COM has been in the printing business for 25 years and more, serving 150,000 businesses and more across every industry. That experience matters with a technically demanding product like 3D lenticular posters. The calibration, registration, and quality control steps above are not things you can shortcut. They take equipment, expertise, and attention to detail built over decades of production.
With 1,000 products and more in the catalog, 4OVER4.COM can also help you build a complete campaign around your 3D posters. Pair them with standard posters, mounted posters, or lenticular postcards for a multi-touchpoint push. Browse the full showcase to see real projects from real customers.
Compare formats
Popular poster and wall art products, side by side
Stock, finish, quantity, and from-price across our most-ordered poster formats.
 Large Format Posters | Standard Posters |  Dry Erase Posters |  Mounted Posters | |
|---|---|---|---|---|
| Min price | $25.00 | $108.75 | $29.00 | $39.99 |
| Paper / stock | 10mil Semi Gloss | 100# Gloss Text | Dry Erase Face/ Adhesive Vinyl Backer | 10.4 mil Semi Gloss |
| Finish | - | Standard Finish | - | - |
| Size | 11" x 17" | 11" x 17" | 11" x 17" | 8" x 10" |
| Default qty | 1 | 50 | 1 | 1 |
| Turnaround | 2 business days | 5 business days | 4 business days | 4 business days |
| Rating | ||||
| View & customize | View & customize | View & customize | View & customize |
Templates and blanks to start your 3D poster
If you are not starting from scratch, templates speed everything up. 4OVER4.COM offers blank templates sized to exact product specs, so your artwork lines up with the cut lines and bleed areas. Grab a print-ready blank for 3D lenticular posters or dry erase posters and drop your design straight in. For a full family of moving prints, browse the lenticular printing collection and the posters and wall art hub.
Start fast
Templates and print-ready blanks
Poster design templates and exact-size blanks so your art lands inside the cut line.
Wally explains how a 3D poster comes alive
Interlaced art plus a ridged lens equals depth, flip, and motion
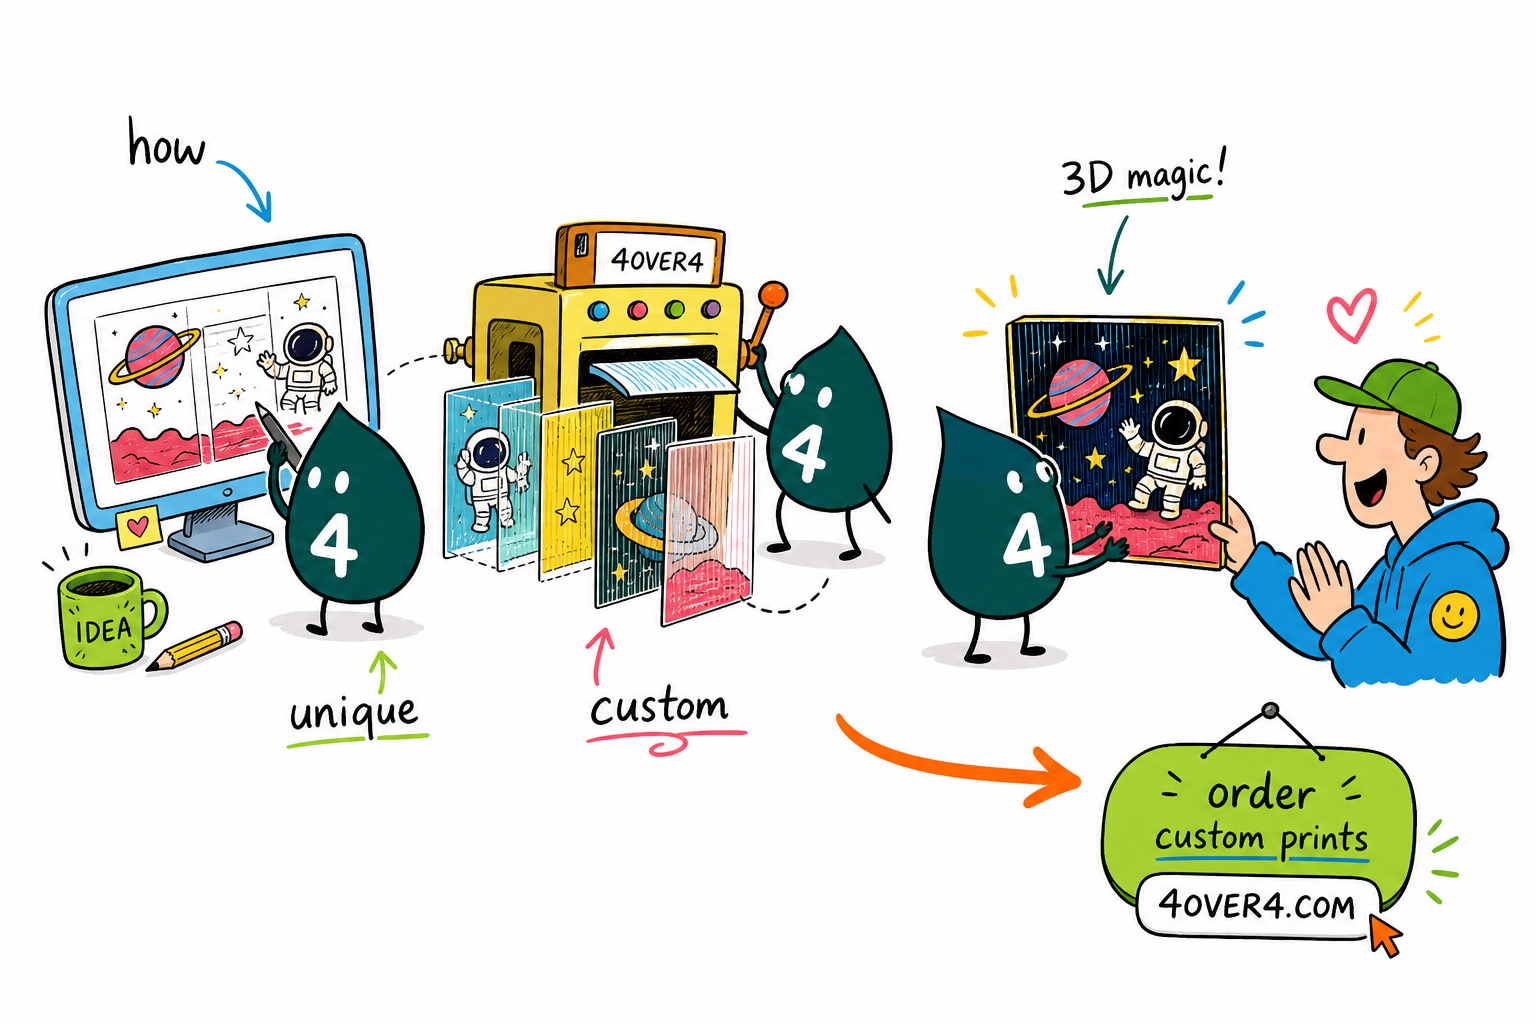
A 3D poster is really two crafts working together. First the art is interlaced, sliced into strips and mapped to a lens. Then a ridged lenticular sheet bends light so each angle shows a different slice. Separate your layers, use bold color, match the lens pitch to viewing distance, and always proof before the full run.
Order 3D lenticular posters →What to remember about 3D poster production
How designers build the 3D illusion
- Layered depth. Posters gain extraordinary depth by stacking distinct foreground, midground, and background compositions.
- Bold, distinct colors. Strong color choices reinforce the message and pull focus toward the subject.
- Audience interaction. Shifts in angle and perspective invite the viewer to move and engage with the piece.
- Extruding. Extending a 2D shape along the z-axis gives it real depth, turning a circle into a cylinder.
- Revolving. Rotating a profile around a path builds rounded 3D objects like spheres and vases.
- Lenticular sheets. Ridged lenses drive the depth and motion that make static images move.
- Stereoscopic layers. Splitting an image into layers lets viewers perceive immersive 3D from many angles.
Explore more
More ways to print posters and wall art
Every related page type on 4OVER4.COM, one card each, so you can keep exploring lenticular and poster printing.
Product 3D Lenticular Posters Depth, flip, and motion posters from $823.78. Product Standard Posters Flat custom posters from $108.75. Product Mounted Posters Rigid, display-ready mounted prints.  Hub Posters & Wall Art Browse every poster and wall art format.
 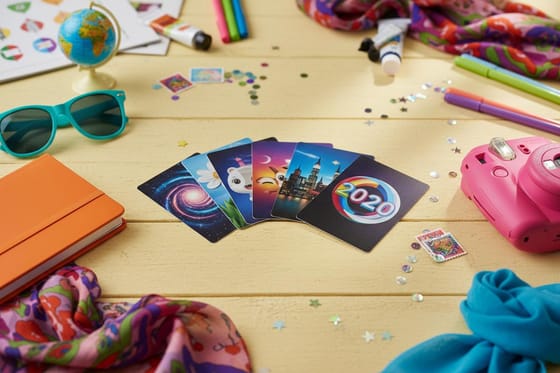 Article 3D Lenticular Postcards The same lenticular effect at postcard scale.
  Article How 3D Lenticular Cups Are Made Lenticular technology on custom drinkware.
  Collection Lenticular Printing Every lenticular product in one place. Template Lenticular Poster Templates Exact-size, print-ready blanks.
  Article How Holographic Stickers Are Made Another eye-catching print effect explained.
 Ready to make a 3D poster that moves?
Separate your layers, upload your art, pick your lens and effect, and 4OVER4.COM prints it sharp with in-house calibration and quality control.
Your questions about 3D poster production, answered
What are the best practices for how 3D posters are made?
Start with high-resolution source files at 300 DPI or higher. Separate your design into distinct foreground, midground, and background layers for maximum depth. Use bold, saturated colors and keep fine text out of the 3D depth zone. Always order a lenticular proof before a full run. Working with an experienced printer like 4OVER4.COM ensures proper calibration between your interlaced image and the lens.
How do I choose the right lenticular effect for my 3D poster?
Match the effect to your goal and viewing environment. Use 3D depth for posters viewed up close, such as product displays and countertop signage. Choose a flip effect when you want a before and after or a reveal. Pick animation for large-format pieces at trade shows or retail. If you are exploring other signage, dry erase aluminum panels work well for reusable display needs.
What makes 3D posters effective for marketing campaigns?
3D posters demand attention in ways flat prints cannot. The motion or depth triggers a natural curiosity response, so people stop, look closer, and stay longer. That extra dwell time lifts brand recall and message retention. They shine at trade shows, retail, and events where you compete against dozens of other visual messages. For temporary signage alongside your posters, dry erase coroplast signs offer a versatile reusable option.
How much should I budget for 3D poster production?
3D lenticular posters cost more than standard flat posters because of the specialized lens, the interlacing process, and the precision printing required. Expect to pay several times the cost of a comparable flat poster. Larger sizes and more complex effects raise the price, while higher quantities bring the per-unit cost down. Pricing varies by size, lens type, and quantity, so request a quote for your specific project.
