
Sticker Sizing Chart Guide for Every Dimension in 2026


Sticker sizing chart guide: picking the right dimensions
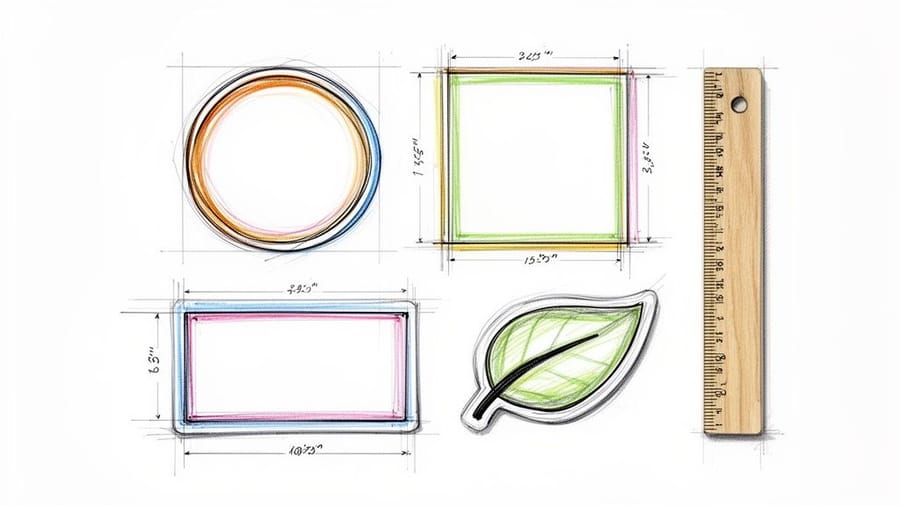
A sticker sizing chart pairs everyday applications, water bottles, laptops, product packaging, with their ideal dimensions in both inches and centimeters. 4OVER4.COM has printed 10 billion+ cards and print products for over 150,000+ businesses, and sticker sizing is one of the most common questions customers ask. Getting dimensions right before you design saves time, money, and the frustration of a sticker that does not fit.
Whether you are branding candle jars, adding logos to laptops, or sealing product packaging, the gap between a sticker that looks professional and one that looks off usually comes down to size. A good chart takes the guesswork out by pairing real objects with exact measurements. You never have to wonder whether a 3 inch by 3 inch sticker is too big for a jar lid, because you can picture it as roughly the size of a Post-it note.
Standard, industry-common dimensions also make your life easier on the production side. Your design files stay compatible with most printers, your costs stay predictable, and you avoid custom-size upcharges. To get a sense of what is available, explore a variety of sticker options and see which formats match your project.
Your quick-reference sticker sizing chart
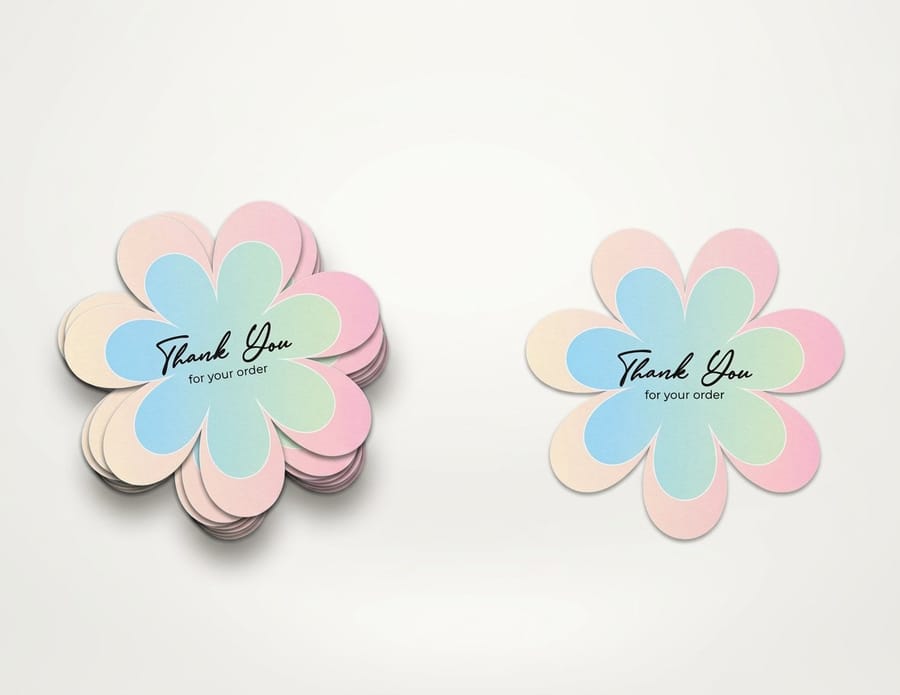
Picking a sticker size can feel like a shot in the dark, but a solid chart turns abstract numbers into something you can actually picture. Instead of squinting at ruler markings, you compare your sticker to everyday objects, a coin, a coaster, a playing card. That mental image tells you more than any spec sheet.
Leaning on standard dimensions keeps file setup fast and means your artwork stays compatible with virtually any print supplier. 4OVER4.COM offers 1,000+ products across its catalog, and stickers are among the most popular, partly because standard sizing makes ordering so straightforward.
Common sizes and what they are used for
When it comes to product labeling, a handful of standard sizes dominate. 2 inch and 4 inch circles are the workhorses of product branding, think jar lids, cosmetics packaging, and food containers. A 2 inch circle is about the size of an Oreo cookie, which makes it a natural fit for sealing boxes or branding small items. On the smaller end, 1 inch by 1 inch stickers, roughly the size of a quarter, work well for price tags, subtle branding, or loyalty program stamps.
These are not arbitrary numbers. They match the surfaces people actually stick things on. A laptop lid has room for 3 to 4 inch stickers. A water bottle wraps nicely with a 2.5 inch by 4 inch rectangle. A bumper sticker needs to be at least 10 inches wide to read from a car length away. For creative ways to put stickers to work, browse these logo sticker design ideas for inspiration.
| Application (e.g., Laptop, Water Bottle) | Recommended Size (Inches & CM) | Popular Shapes | Real-World Size Comparison |
|---|---|---|---|
| Laptops & Tech | 3" x 3" (7.6 x 7.6 cm) or 4" x 4" (10.2 x 10.2 cm) | Circle, Square, Die-Cut | Coaster or a baseball |
| Water Bottles & Tumblers | 2.5" x 4" (6.4 x 10.2 cm) or 3" x 5" (7.6 x 12.7 cm) | Rectangle, Oval, Die-Cut | A deck of playing cards |
| Product Packaging (Boxes, Bags) | 2" x 2" (5.1 x 5.1 cm) or 3" x 2" (7.6 x 5.1 cm) | Circle, Square, Rectangle | An Oreo cookie or a standard business card |
| Car Bumpers & Windows | 10" x 3" (25.4 x 7.6 cm) or 5" x 5" (12.7 x 12.7 cm) | Rectangle (Bumper), Die-Cut | A standard envelope (#10) |
| Phone Cases & Small Items | 1" x 2" (2.5 x 5.1 cm) or 1.5" x 1.5" (3.8 x 3.8 cm) | Die-Cut, Circle, Rectangle | A large postage stamp |
| Hard Hats & Helmets | 2" x 2" (5.1 x 5.1 cm) | Circle, Die-Cut | A golf ball |
| Mailing Envelopes & Flyers | 1.5" Circle (3.8 cm) or 2.5" x 1" (6.4 x 2.5 cm) | Circle, Rectangle | A bottle cap |
- 1 inch to 2 inch circles. These are your go-to for small-scale applications. Think of them as seals for envelopes, little price tags, or a touch of branding on the back of a product. A 2 inch circle, for reference, is about the size of an Oreo cookie.
- 3 inch circles. This size has more visual weight, making it a favorite for promotional giveaways, laptop decals, and branding on medium-sized packaging.
- 2 by 2 inch and 3 by 3 inch squares. Like their round cousins, 2 by 2 inch squares are fantastic for QR codes or compact logos. The bigger 3 by 3 inch size gives you more room for detailed artwork or bolder branding, and it is roughly the same size as a standard drink coaster.
What makes a sizing chart easy to use
- Logical data flow. Always arrange sizes in a sequence, like smallest to largest. That predictable order lets a reader scan right to their potential fit.
- Dual units. Include both imperial (inches) and metric (centimeters). Instantly, your chart is useful to a global audience.
- Visual cues. Do not just say the size, show it. Simple icons or line drawings point out exactly where to measure and remove the guesswork.
Quantity and price
Standard sticker pricing and specs
Real configurator numbers, the more you order, the lower the per-unit cost drops.
| Quantity | Price Per Unit | Total |
|---|---|---|
| 25 | 95.5¢ | $23.88 |
| 50 | 72.9¢ | $36.44 |
| 100 | 42.7¢ | $42.72 |
| 150 | 32.7¢ | $49.01 |
| 200 | 27.6¢ | $55.29 |
| 250 | 24.6¢ | $61.57 |
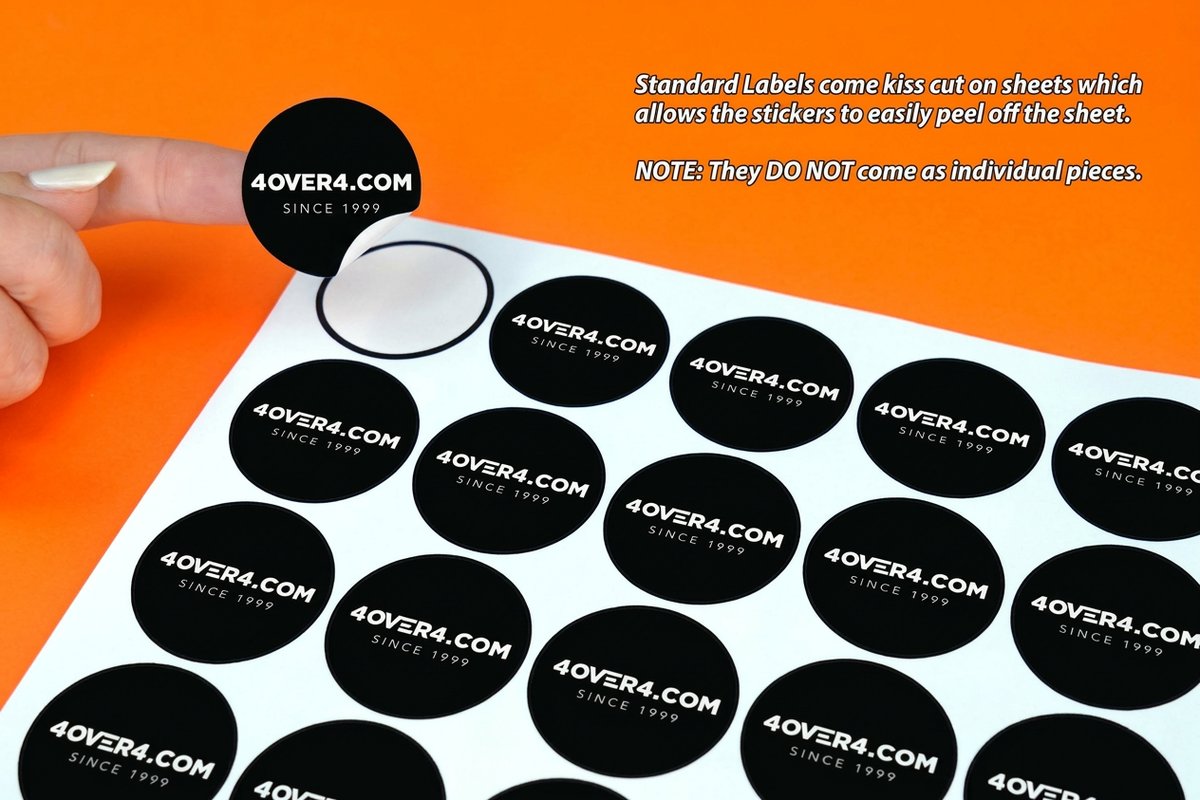
How standard sticker dimensions actually work
Picking the right sticker size from the start simplifies everything downstream, your design process, your print order, and your final result. Standard dimensions exist because they have been tested across millions of orders. They fit common surfaces, they are cost-effective to produce, and they look proportional on the items they are designed for.
Small stickers (1 to 2 inches)
Small stickers pack a surprising punch for their size. A 1 inch circle is about the diameter of a quarter, perfect for envelope seals, loyalty stamps, or tiny branding marks on packaging. A 2 inch circle, Oreo-sized, gives you enough room for a logo, a short tagline, or a QR code. These sizes are popular for businesses that ship a lot of packages and want a branded touch without overwhelming the box. If you are designing something with a unique shape, Custom Die Cut Stickers let you match the outline of your logo or mascot exactly.
Medium stickers (2.5 to 4 inches)
This is the sweet spot for most branding and promotional stickers. A 3 inch by 3 inch square is about the size of a standard coaster. It gives you enough space for a logo, contact info, and a design element without looking oversized on a laptop or water bottle. A 2.5 inch by 4 inch rectangle, picture a deck of playing cards, wraps nicely around curved surfaces like tumblers and bottles. For something that really grabs attention, 3D Lenticular Stickers add motion and depth that flat stickers cannot match.
Large stickers (5 inches and up)
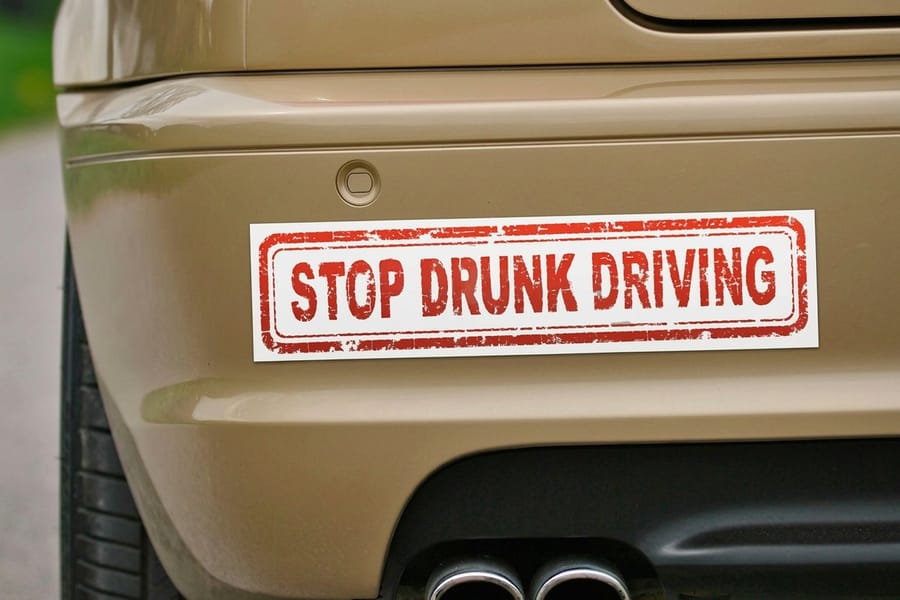
Large stickers are statement pieces. A 5 inch by 5 inch square is roughly the size of a CD case, visible from across a room. A 10 inch by 3 inch bumper sticker is designed to be read from a car length behind you. These sizes work for vehicle branding, window signage, wall graphics, and any application where visibility is the top priority. The tradeoff is application, since they need a flat, clean surface to look right and curved surfaces can cause bubbles at this scale.
Print it
Standard stickers, ready to size
Preset shapes and sizes, the fastest way to put your design on a sticker.
Shape selection and how it changes your sizing
Size and shape go hand in hand. A 3 inch circle and a 3 inch square share the same measurement, but they look completely different on a surface. The shape you choose affects how much design space you actually have, how the sticker sits on curved versus flat surfaces, and the overall visual impact.
Circles and ovals
Circles are the most popular sticker shape for product labeling. They look clean on jar lids, bottles, and boxes, and the rounded edges create a polished, finished appearance. Ovals give you a bit more horizontal or vertical space while keeping that same soft look. A 2 inch circle on a candle lid or a 3 inch oval on a wine bottle are classic combinations that just work.
One thing to keep in mind is usable area. Circles have less design space than squares of the same dimension. A 3 inch circle gives you about 7 square inches of space, while a 3 inch square gives you 9. If your design is text-heavy, a rectangle or square might serve you better.
Rectangles and squares
Rectangles are the go-to for information-dense stickers, product labels, address labels, ingredient lists. They give you the most usable space per dimension. A 3 inch by 2 inch rectangle is about the size of a business card, which makes it familiar and easy to read. Squares work well for social media handles, QR codes, and logo marks already designed in a 1 to 1 ratio. Many of the same layout principles behind classy business card design apply directly to sticker design.
Die-cut and custom shapes
Die-cut stickers follow the outline of your design instead of conforming to a standard geometric shape. If your logo is a mountain, the sticker is mountain-shaped. If it is a mascot, the sticker follows the mascot silhouette. This creates a premium, custom feel that standard shapes cannot replicate. When sizing die-cut stickers, you measure the bounding box, the smallest rectangle that would contain the entire design.
To build a clean cut line for a custom shape, a simple workflow keeps the printer on the same page as you:
- Finalize your artwork. Once your design is perfect, lock that layer so nothing shifts by accident.
- Create a new layer. Make a new layer on top of your artwork and name it something obvious like Dieline or Cut Line.
- Outline your shape. Using the Pen Tool or other shape tools, trace a clean path exactly where you want the sticker to be cut.
- Set the stroke. Give the path a unique spot color, bright magenta is a common choice, and set it to a 0.25 pt stroke so the printer software reads it as a cutting instruction, not something to print.
Setting up your sticker files for print
Getting the size right in your head is one thing. Getting it right in your design file is another. File setup mistakes are the number one reason sticker orders come out wrong, and they are almost always preventable.
Resolution and bleed
Every sticker file needs to be set up at 300 DPI at the final print size. That means if you are printing a 3 inch by 3 inch sticker, your file should be 900 by 900 pixels minimum. Anything lower and you will see pixelation, especially on text and fine details. Bleed is the extra area around your design that gets trimmed off during cutting. Without it, you risk white edges showing up where the cut is not perfectly aligned, and it never is, not on any printer.
Safe zone
The safe zone is the area inside your sticker where all important content, text, logos, key design elements, should stay. It is typically 0.125 inch inside the trim line. Anything outside the safe zone risks getting cut off or sitting uncomfortably close to the edge. Think of your file as three zones, an outer bleed that gets cut off, a middle visible sticker area, and an inner safe zone where your critical content lives.
| Specification | Recommended Setting | Why It Matters |
|---|---|---|
| Resolution | 300 DPI | Ensures sharp, clear, professional-quality printing without pixelation. |
| Color Mode | CMYK | Matches the four-color process commercial printers use for accurate color. |
| Bleed | 0.125" (1/8") | Prevents white edges by extending the design beyond the final cut line. |
| File Formats | PDF, AI, EPS | Vector formats scale cleanly and preserve text and line art quality. |
- Bleed area. A little extra artwork that extends past the final cut line. The standard is 0.125 inch on all sides, so if the blade shifts a hair it slices through color instead of leaving a white sliver.
- Trim line. The line where the sticker is actually cut, representing the finished dimensions. For unique shapes, it is worth learning how to create perfect cut lines for custom die-cutting services.
- Safe area. An inner margin, also about 0.125 inch inside the trim line. Keep all important content inside this zone so nothing gets accidentally trimmed off.
Color mode
Design in CMYK color mode, not RGB. Your screen displays colors in red, green, and blue, but printers use cyan, magenta, yellow, and black. If you design in RGB and do not convert, your colors shift during printing, usually toward duller, less saturated tones. Convert to CMYK early so you are seeing accurate colors from the start. 4OVER4.COM provides Blank Templates for all standard sticker sizes, the fastest way to make sure dimensions, bleed, and safe zones are correct before you upload.
Choosing the right size for your specific project
The best sticker size depends entirely on where it is going and what job it needs to do. Here is how to think through the decision for the most common use cases.
Product packaging and labels
For jars, bottles, and boxes, measure the surface first. A good rule of thumb is that your sticker should cover no more than 60 to 70 percent of the available flat surface. On a standard 8 oz candle jar, that means a 2 inch to 2.5 inch circle or a 2 inch by 3 inch rectangle. Going bigger makes the sticker look cramped, and going smaller makes it look lost. If you are labeling food products, check your local regulations, since many require minimum text sizes for ingredients and allergen info.
Promotional giveaways and events
For stickers people will actually use, on laptops, water bottles, notebooks, 3 inch by 3 inch is the universal sweet spot. It is big enough to show off a design but small enough to fit most surfaces. For ideas on creative promotional printing beyond stickers, check out these funny print ad examples for some unexpected inspiration.
Vehicle and outdoor applications
Bumper stickers, window decals, and vehicle branding need to be readable from a distance. For bumper stickers, 10 inch by 3 inch is the standard. For window decals, 5 inch by 5 inch or larger gives you enough visibility. These stickers also need weather-resistant materials, and vinyl with UV-protective lamination is the go-to for anything that lives outdoors.
Mailing and envelope seals
Envelope seals are typically 1 inch to 1.5 inch circles. They need to be small enough not to interfere with the address or postage, but large enough to display your logo or a simple design. For wedding invitations, event mailers, or branded correspondence, a 1.5 inch circle with a foil or embossed finish adds elegance without adding bulk. Many of the same design principles that carry a printed mailer or greeting card apply to sticker seals too.
Before you commit to a size, a quick test beats a guess every time:
- Measure the surface. Grab a ruler and figure out the maximum and minimum space you have on the final product.
- Print a test. Print your design on regular paper at the actual size and physically place it on the surface.
- Check for legibility. Step back to the distance someone would normally see it from. Are the text and graphics still sharp and impactful?
Compare formats
Popular sticker products, side by side
Stock, finish, quantity, turnaround, and from-price across our most-ordered stickers.
Standard Stickers |  Premium Stickers |  Roll Sticker | 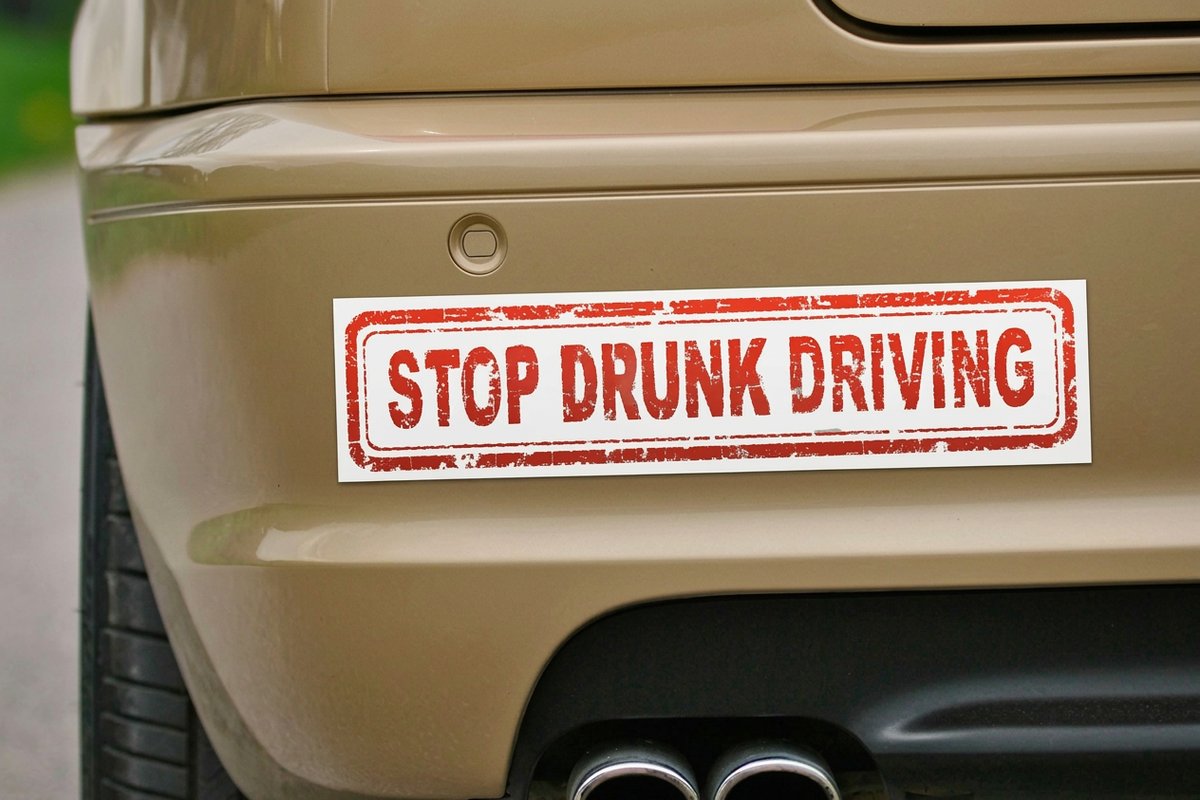 Bumper Stickers | |
|---|---|---|---|---|
| Min price | $23.88 | $29.16 | $322.98 | $38.44 |
| Paper / stock | Standard Uncoated Label | Uncoated Label | White Gloss (Indoor) | White Vinyl Permanent |
| Finish | - | - | - | UV Coating |
| Size | .5" Circle | 3" x 5" | 1" x 1" | 2" x 5" |
| Default qty | 25 | 25 | 100 | 25 |
| Turnaround | 3 business days | 3 business days | 6 business days | 5 business days |
| Rating | ||||
| View & customize | View & customize | View & customize | View & customize |
Material and finish considerations by size
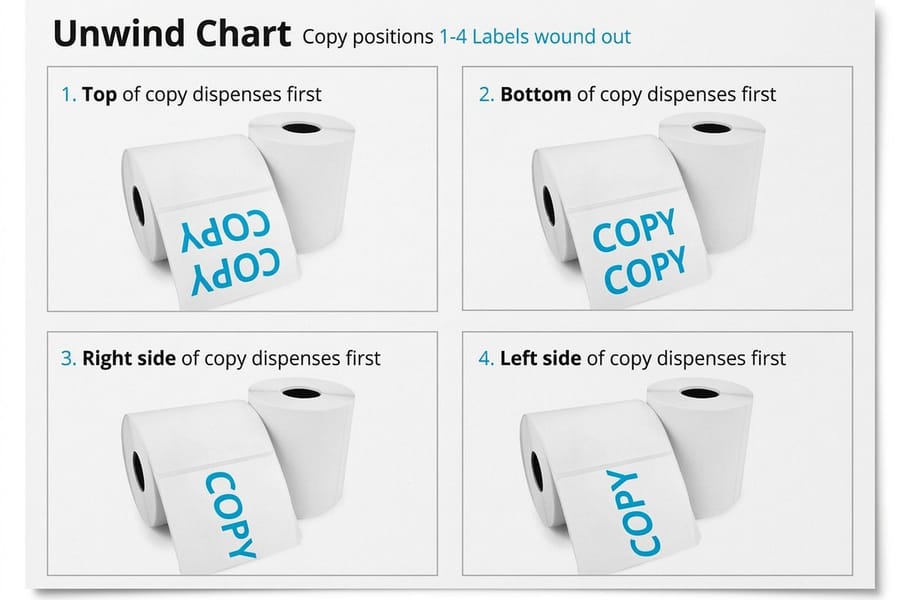
Size affects more than visual impact. It also influences which materials and finishes work best. A glossy finish on a 1 inch sticker looks crisp and bright. That same glossy finish on a 10 inch sticker might show fingerprints and glare. Here is how to match material to size.
Small stickers (under 2 inches)
Glossy or semi-gloss finishes work best at small sizes. They make colors pop and give fine details extra clarity, while matte finishes can make small text harder to read at this scale. For material, standard white vinyl or clear vinyl both work well, and clear vinyl gives a no-label look that is popular for cosmetics and artisan products.
Medium stickers (2 to 4 inches)
This is where you have the most flexibility. Matte, glossy, satin, and holographic all work well at medium sizes. Matte finishes give a sophisticated, modern look, glossy finishes make colors more vivid and saturated, and holographic or metallic finishes catch light and draw the eye when you want to stand out in a crowd.
Large stickers (5 inches and up)
For large stickers, especially outdoor ones, matte or satin finishes reduce glare and fingerprints. Lamination is almost always worth the small extra cost at this size, since it protects against UV fading, water damage, and scratching. For floor graphics or heavy-traffic applications, consider specialized materials like Adhesive Wall Fabric for walls or textured vinyl for floors. Want to feel the materials first? 4OVER4.COM offers Free Samples so you can hold the finishes in person before you order.
Sticker sheet specs
Sticker sheets for variety packs
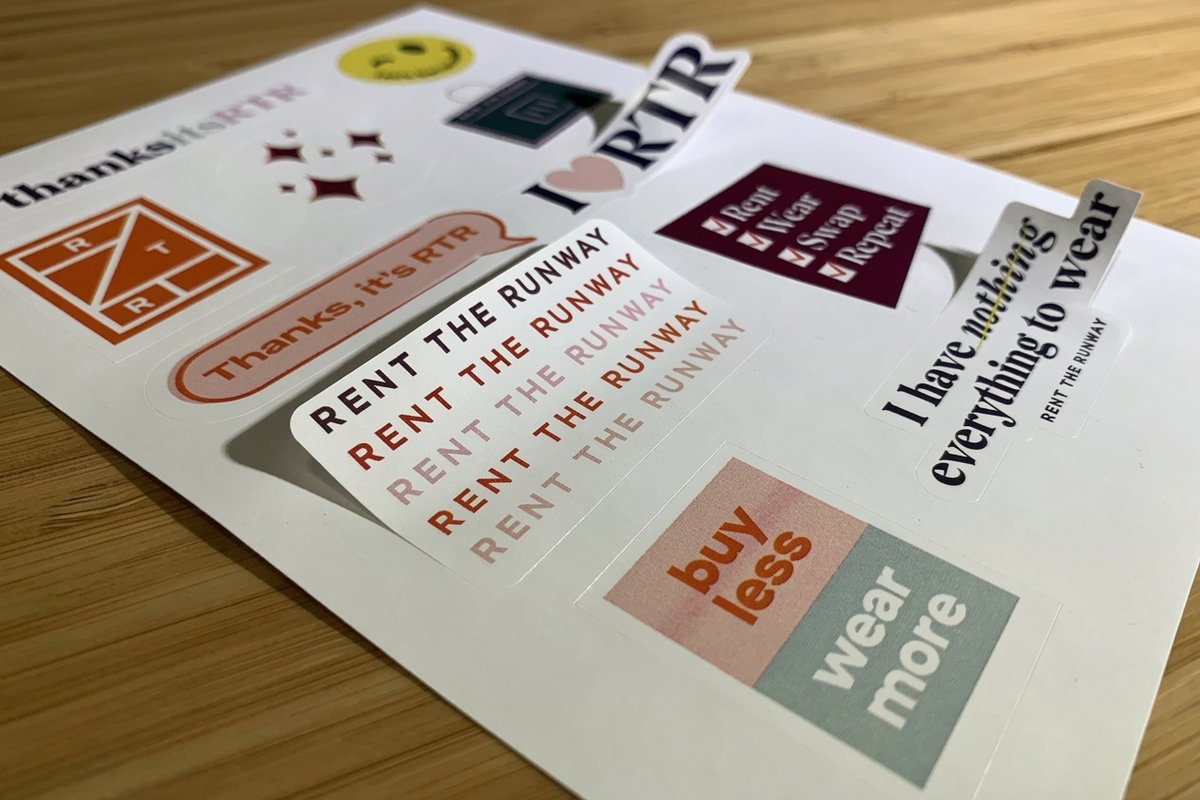
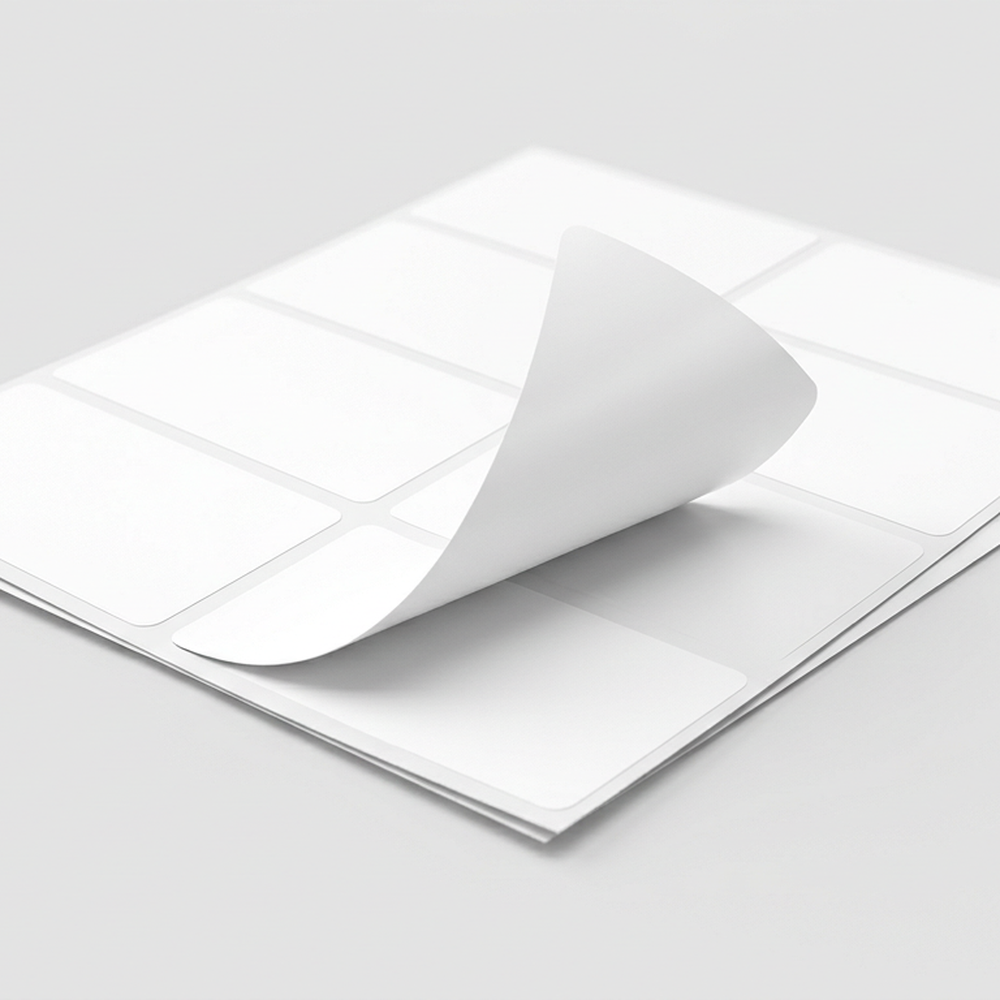
Group multiple sizes on one kiss-cut sheet, great for events and giveaways.
Common sticker sizing mistakes to avoid
Even experienced designers trip up on sticker sizing. Here are the mistakes the 4OVER4.COM production team sees most often, and how to dodge them.
Designing at screen size instead of print size
A sticker that looks great at 100 percent zoom on your monitor might only be 72 DPI, fine for screens but terrible for print. Always check your document DPI setting. It should be 300 DPI at the final print size. If you are unsure, use the 4OVER4.COM Blank Templates, which come pre-configured with the correct dimensions and resolution.
Forgetting bleed and safe zones
No bleed means white edges. No safe zone means cut-off text. These are the two most common file setup errors, and both are completely avoidable. Add bleed on all sides, and keep critical content inside the safe zone.
Choosing the wrong size for the surface
A 4 inch sticker on a small candle jar looks like a price tag slapped on by accident. A 1 inch sticker on a laptop lid looks like a speck. Always measure your target surface first, then pick a size that covers 50 to 70 percent of the available space. When in doubt, go slightly smaller, since a sticker with breathing room looks intentional and clean.
Ignoring curved surfaces
Flat stickers on curved surfaces wrinkle. If your sticker is going on a bottle, tumbler, or helmet, keep the width under the curve radius. Narrow, tall rectangles conform to curves better than wide squares, and for extreme curves, flexible vinyl materials stretch without tearing. For more design tips and printing knowledge, browse the full library of printing articles covering everything from file setup to material selection.
Blank templates

Start fast
Templates and print-ready blanks
Sticker design templates and exact-size blanks so your artwork lands inside the cut line.
Wally sizes every sticker right
Match the surface, then pick the dimension
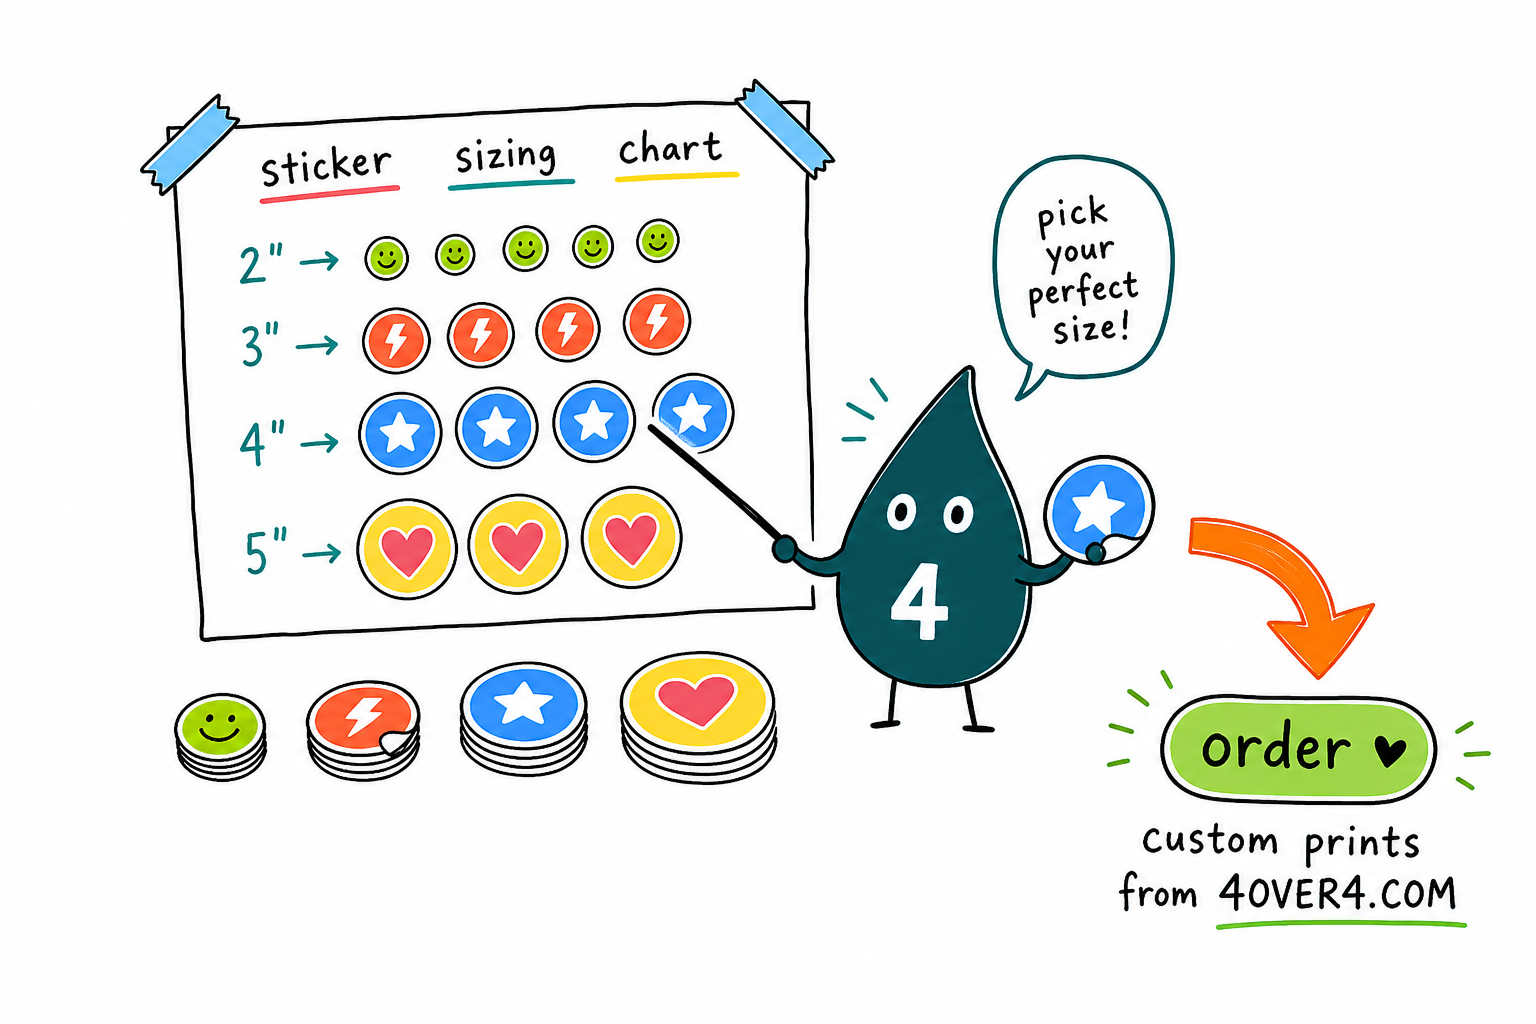
A sticker only works when it fits. Measure the surface, aim to cover 50 to 70 percent of it, and picture the size against everyday objects, a 2 inch circle is an Oreo, a 3 inch square is a coaster. Set your file to 300 DPI in CMYK with bleed, and 4OVER4.COM prints it sharp, from tiny envelope seals to 10 inch bumper stickers.
Configure your stickers →What to remember from this sizing chart guide
Explore more
More ways to size, shape, and print stickers
Related pages across 4OVER4.COM, one card each, so you can keep exploring sticker printing.
 Article Logo Sticker Design Ideas Turn your logo into stickers people display.
 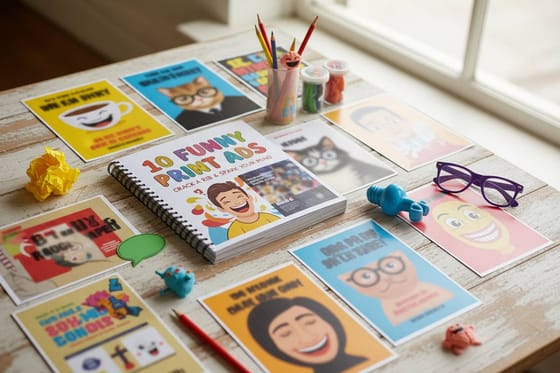 Article Funny Print Ad Examples Playful design ideas that grab attention.
  Article Graphic Design Portfolio Examples How pros handle logo and layout work.
 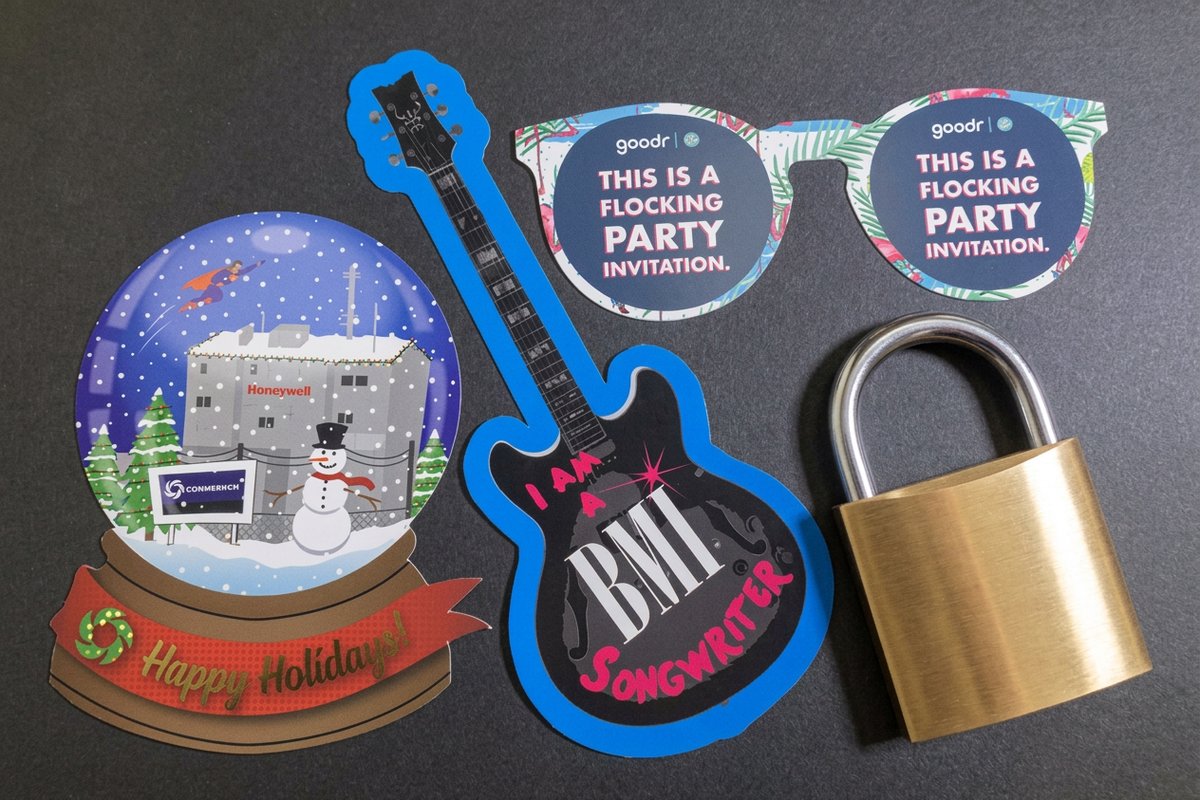 Product Custom Die-Cut Stickers Contour-cut stickers in any shape you need.
 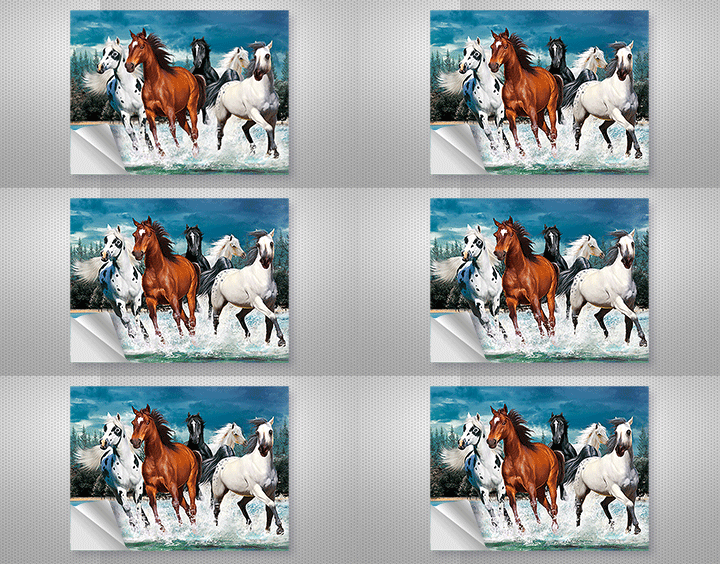 Product 3D Lenticular Stickers Motion and depth that flat stickers cannot match.
  Product Adhesive Wall Fabric A durable surface finish for walls and displays.
 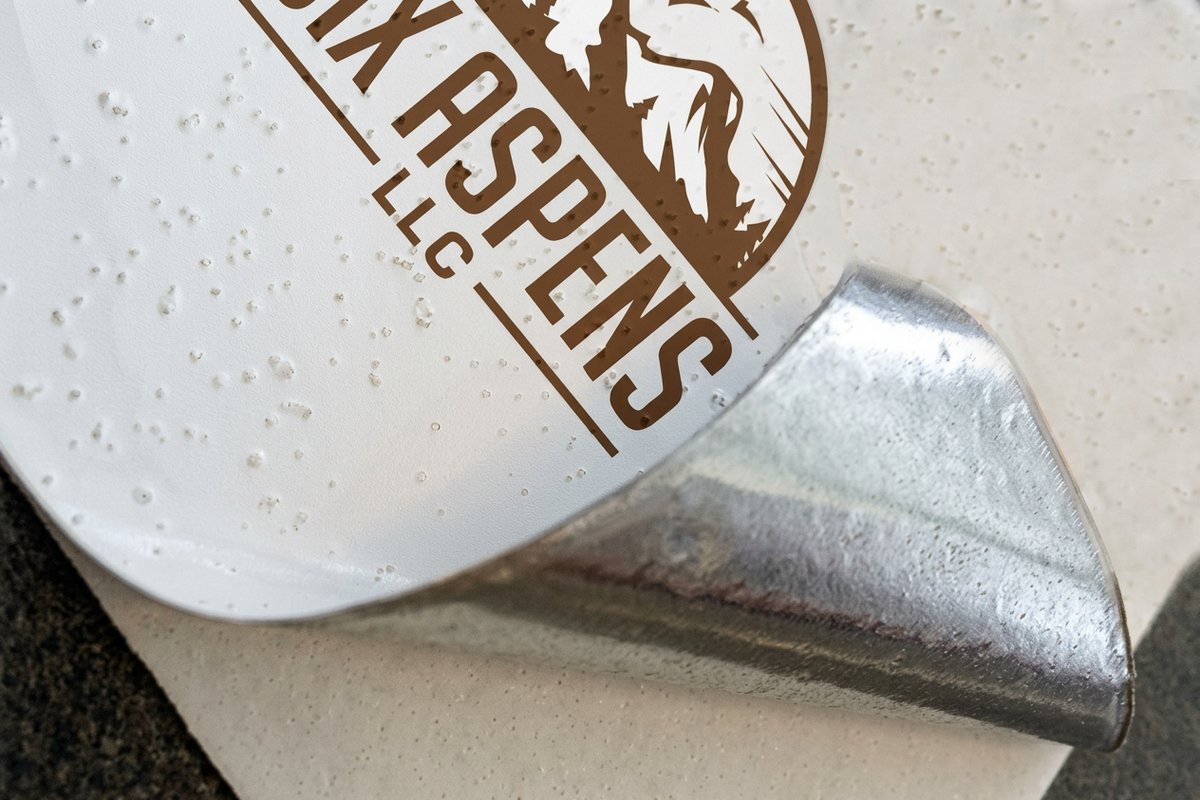 Product Aluminum Floor Graphics High-traffic floor branding for events and retail. Hub Stickers Printing Browse every sticker format in one place. Hub Sticker & Label Printing The full sticker and label hub.
  Free Free Samples Feel the materials and finishes in person.
  Templates Blank Templates Exact-size blanks with bleed and safe zones set.
 Ready to order stickers that fit?
Measure your surface, pick a standard size or a custom die-cut, and 4OVER4.COM prints it sharp with bleed and safe zones handled.
Sticker sizing questions answered
What are the best practices for using a sticker sizing chart?
Start by measuring your target surface, jar lid, laptop, water bottle, then consult a sticker sizing chart guide to find the recommended dimensions. Always compare sizes to real-world objects, since a 2 inch circle is an Oreo and a 3 inch square is a coaster. Set your design file to 300 DPI with proper bleed and safe zones. For specialty applications like wall graphics, consider materials like Adhesive Wall Fabric that are designed for specific surfaces.
How do I choose the right sticker size for my project?
Your sticker should cover 50 to 70 percent of the available flat surface. For product labels, 2 inch to 3 inch circles or rectangles work for most jars and boxes. For laptops and water bottles, 3 inch to 4 inch is the sweet spot. For vehicle branding, go 5 inch or larger. If you need a unique shape, explore options like Aluminum Floor Graphics for high-traffic floor applications or die-cut stickers for custom outlines.
What makes a sticker sizing chart effective for marketing?
A well-sized sticker gets used instead of thrown away, which is the whole point for marketing. A sizing chart helps you pick dimensions that fit the surfaces your audience actually uses, laptops, water bottles, phone cases. When your sticker fits perfectly, it becomes free advertising that lasts months. 4OVER4.COM customers rate their sticker orders 4.8 out of 5 stars across 10,000+ reviews, and proper sizing is a big reason orders turn out right.
How much should I budget for custom stickers?
Sticker pricing depends on size, material, quantity, and finish. Smaller stickers of 1 inch to 2 inch cost less per unit than large-format decals, and standard shapes are cheaper than custom die-cuts. Ordering in bulk drops the per-unit price a lot. For exact pricing on your specific size and material combination, visit the Help Center or start a quote directly on the 4OVER4.COM sticker product pages.
