
Sticker Bomb Design Tutorial for Layering and Overlap


What sticker bombing actually is, and why it works
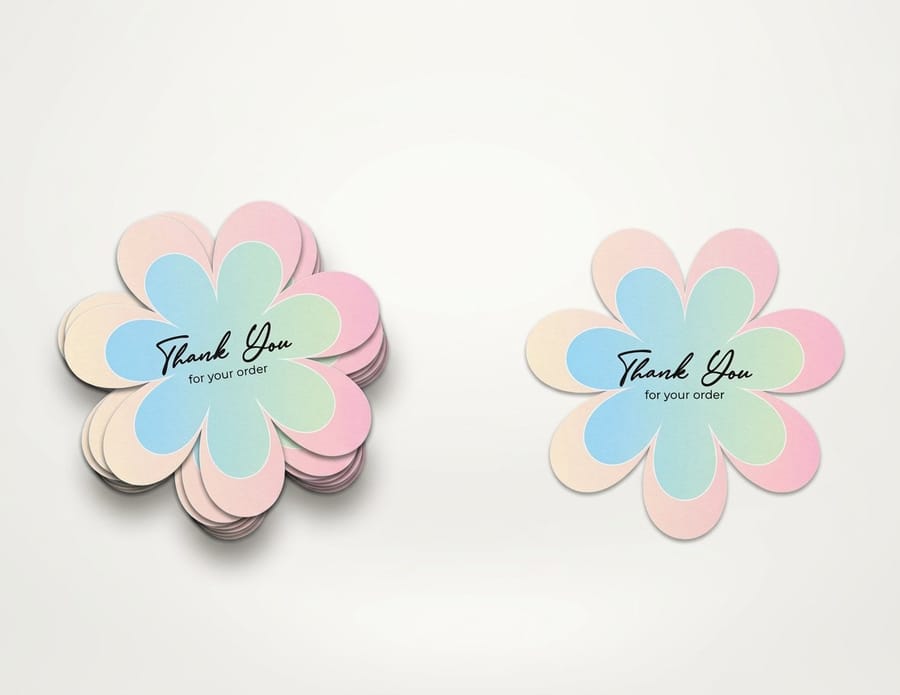
A sticker bomb layers dozens, sometimes hundreds, of stickers across a surface until little or no background shows through. The result reads as both random and deliberate, a dense collage you build one sticker at a time. Think of it as controlled chaos. 4OVER4.COM prints Custom Die Cut Stickers and a full range of stickers in any shape, size, and finish, which makes bombing a laptop lid or a full car hood genuinely doable without an art degree.
The technique traces back to the graffiti and skateboarding scenes of the 1990s, when artists slapped hand-drawn stickers on signs, lamp posts, and walls. Today it lives everywhere, from guitar cases to branded retail displays. The pull is simple. Dense pattern is magnetic, so people stop, lean in, and start reading individual pieces, and the whole composition ends up greater than the sum of its parts.
This tutorial covers the whole process for beginners: surface prep, layout strategy, sticker selection, printing, and finishing. Get those five right and your first bomb looks intentional instead of messy.
Gather your supplies before you start
Every good sticker bomb starts with materials, and this is not the step to wing. The quality of your stickers and tools decides whether the finished piece looks professional or peels off within a week.
Pick the right stickers
Start with variety. Aim for at least three or four size ranges, small fillers, medium feature pieces, and a few large anchors, and mix illustration styles so cartoon art, typography, and abstract patterns sit side by side. That contrast is the signature sticker bomb energy.
Durability matters too. If the surface lives outdoors or gets handled a lot, choose vinyl with UV-resistant lamination. For indoor projects like laptop lids or notebooks, standard paper or matte stickers are fine. Need many copies of one design? Roll sticker printing gives consistent, high-volume output for branded runs and giveaway packs.
Tools that keep the job clean
Keep a few basics on hand: a sharp craft knife or precision scissors, a cutting mat, and a squeegee or old credit card for pushing out bubbles. Rubbing alcohol and a microfiber cloth handle surface prep, and painter's tape helps you mask edges or set clean borders.
For curved surfaces like helmets, guitar bodies, or bumpers, a heat gun on low lets the vinyl conform without wrinkling. Tweezers help place tiny stickers in tight spots, and a clear laminate spray seals the finished piece against scratches and moisture.
Plan your layout like a pro
Random does not mean unplanned. The best sticker bombs look spontaneous, but there is almost always a strategy underneath. Work the layout in layers.
Start with anchor pieces
Place your three to five largest stickers first, spaced across the surface so they do not clump in one corner. These anchors set the visual rhythm. Treat them like the bass line in a song, holding everything together while smaller stickers add melody and texture.
Fill in with medium stickers
Lay medium pieces around and between the anchors. Overlap edges on purpose, tilt some at angles, and rotate a few upside down to build density. Watch color distribution as you go, because if all your reds land in one zone the piece feels lopsided. Step back, squint, and rebalance before you commit.
Pack the gaps with small fillers
Small stickers are the secret weapon that create the dense, no-background-showing look. Icons, logos, text snippets, and tiny illustrations all belong here. A few 3D Lenticular Stickers scattered in shift as you change angle, adding movement and depth that make the whole bomb feel alive.
Use the dry-lay method
Before peeling any backing, arrange every sticker on the surface with the adhesive still covered. Rearrange, swap, and experiment, then shoot a photo from directly above as a reference. Numbering the backs with pencil or working in quadrants keeps you from losing track once you start sticking things down for real.
Surface prep and application
A sticker bomb is only as good as its adhesion. Skip prep and your stickers bubble, curl, and peel within days. Do it right and the piece lasts for years.
Clean the surface
Wipe the surface with isopropyl alcohol at 90% or higher to strip oils, dust, and residue that block the adhesive. On metal or plastic, follow with a clean, dry cloth and let everything dry fully. Skip household cleaners with moisturizers or fragrance, because they leave invisible films that weaken the bond.
Apply without bubbles
Peel the backing halfway, align the exposed edge, and press from the center outward while you peel the rest, smoothing with a squeegee. That center-out motion pushes air toward the edges instead of trapping it. For large pieces, use the hinge method, taping one edge down, peeling from the opposite side, and lowering the sticker gradually. Trapped a bubble anyway? Prick the edge with a pin and press the air out through the hole.
Work on curved surfaces
Curves need patience. Apply to the flattest part first, then warm the vinyl with a heat gun on low so it stretches and conforms, working in small sections. For extreme curves like helmet ridges or fender flares, cut small relief slits in the edges so the material folds over without bunching, and the overlapping stickers hide the slits completely.
Color theory and composition
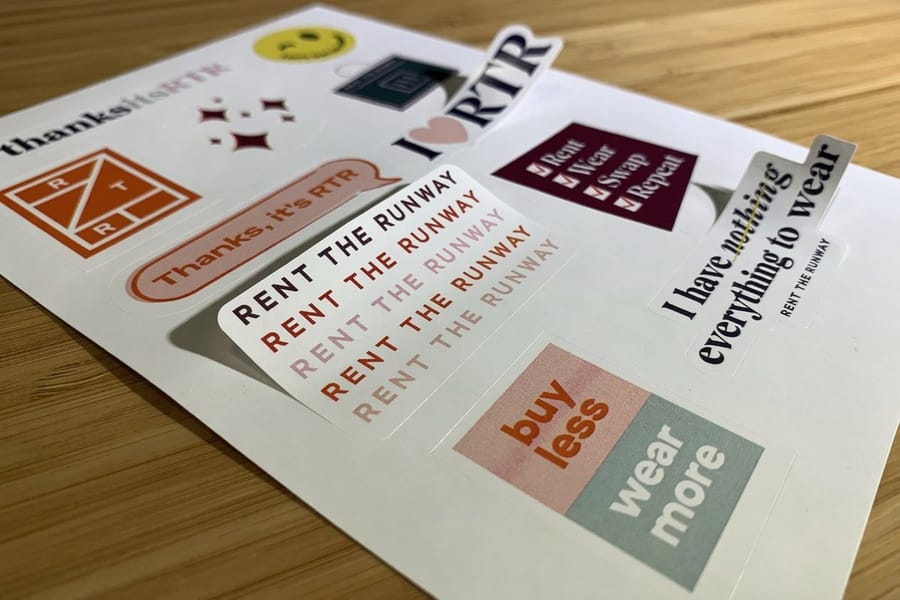
You do not need to be a color expert, but a few basics move your bomb from covered in stickers to genuinely striking.
Contrast makes it pop
Set light stickers next to dark ones, and place warm colors beside cool ones. High contrast between neighbors makes each piece stand out while feeding the overall energy. If you design your own, add a thick white or black outline to every sticker. That single trick creates separation even under heavy overlap and is the difference between polished and muddy.
Theme versus chaos
Decide early whether you want a themed bomb or a fully eclectic one. Themed pieces use a limited palette or subject, all black and white, all food art, all vintage type, and read as designed. Eclectic bombs throw everything together and feel personal and energetic. For branding, a themed mix of your logo stickers alongside complementary graphics delivers visibility without looking like an ad. For more brand-forward direction, see these logo sticker design ideas.
Design your own custom stickers
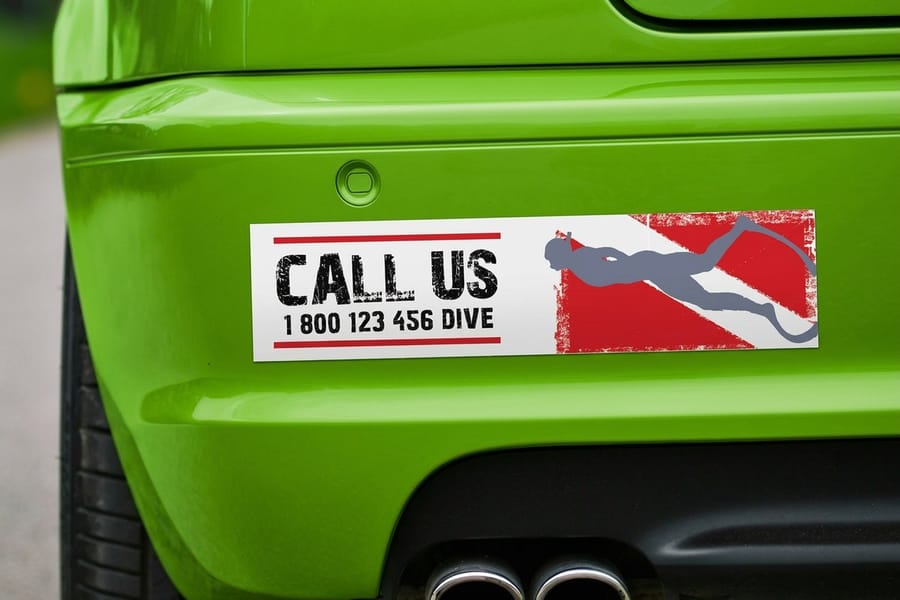
Premade packs are one route, but designing your own gives you full control over the final look. Here is how to approach it.
Software and file setup
Adobe Illustrator is the standard because it outputs vector files that scale to any size cleanly, and Affinity Designer or the free Inkscape work well too. For photo or painted textures, Photoshop or Procreate are fine as long as you design at 300 DPI or higher. Give each sticker its own artboard, add at least 0.125 inches of bleed, and put your die-cut outline on a separate cut-path layer.
Design principles that hold up
Keep each design simple, because every sticker competes with dozens of neighbors. Bold shapes, limited text, and high contrast beat fine detail that gets lost in the noise. Typography pieces make strong accents, so mix serif and sans-serif and drop in a few hand-lettered bits for texture. Building a portfolio? Sticker bomb projects show well, and these graphic design portfolio examples cover presenting creative work.
Print your custom designs
Once the art is final, 4OVER4.COM handles the printing with precise color matching and durable stock. Upload your files, choose vinyl for outdoors or paper for indoors, pick your finish, and select die-cut, kiss-cut, or sheet. Die-cut is the best fit for bombing, since each contour drops naturally into the collage with no rectangular borders fighting your shapes.
Start fast
Templates and print-ready blanks
Sticker design templates and exact-size blanks so your art lands inside the cut line.
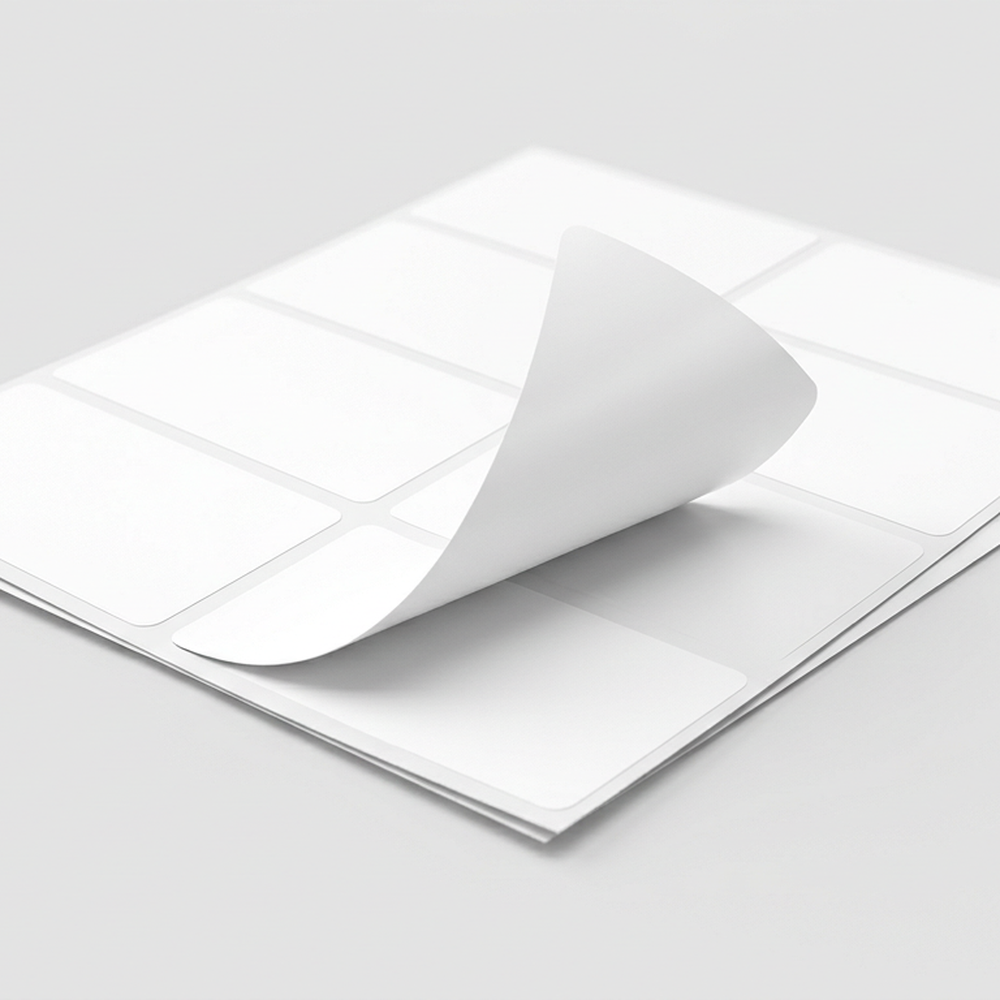
Prefer a running start? Browse ready design templates, or grab exact-size blanks for 3D lenticular stickers and bumper stickers so your art lands inside the cut line.
Print it
Standard stickers, ready to bomb
Preset shapes and sizes, the fastest way to get a stack of stickers for layering.
Sticker bombing for business and branding
Sticker bombs are not only for personal gear. Smart businesses use them as attention magnets. A branded bomb on a store counter, product packaging, or an event backdrop turns heads in a way a standard poster never will.
The trick is mixing branded stickers with complementary non-branded designs. A coffee shop might bomb a display case with logo stickers, coffee-bean art, vintage cafe type, and abstract patterns in its brand colors. The result feels artistic rather than promotional, which is exactly why people engage with it. When an activation is close, same day printing can produce and ship a rush run the same day.
Seal and protect your finished sticker bomb
You spent hours planning, placing, and pressing, so do not let the work degrade. Proper sealing stretches a sticker bomb from months to years.
Clear coat options
On flat surfaces, a spray-on clear coat in polyurethane or acrylic adds a uniform protective layer. Apply two or three thin coats and let each dry fully to avoid drips while keeping the texture of the sticker edges. For eco-minded runs, the 4OVER4.COM green printing program offers recycled stocks and low-impact inks that still seal well.
For items that flex or get handled a lot, like phone cases and skateboards, a flexible clear coat or a vinyl overlay beats rigid polyurethane, which can crack on a bending surface and expose the stickers underneath.
Lamination for high-traffic pieces
For a commercial display or any surface that gets touched constantly, apply a clear laminate sheet over the whole composition for a smooth, wipeable finish that resists fingerprints, scratches, and UV fading. 4OVER4.COM can also laminate the printed stickers themselves, so combining pre-laminated pieces with a post-application clear coat gives you maximum longevity.
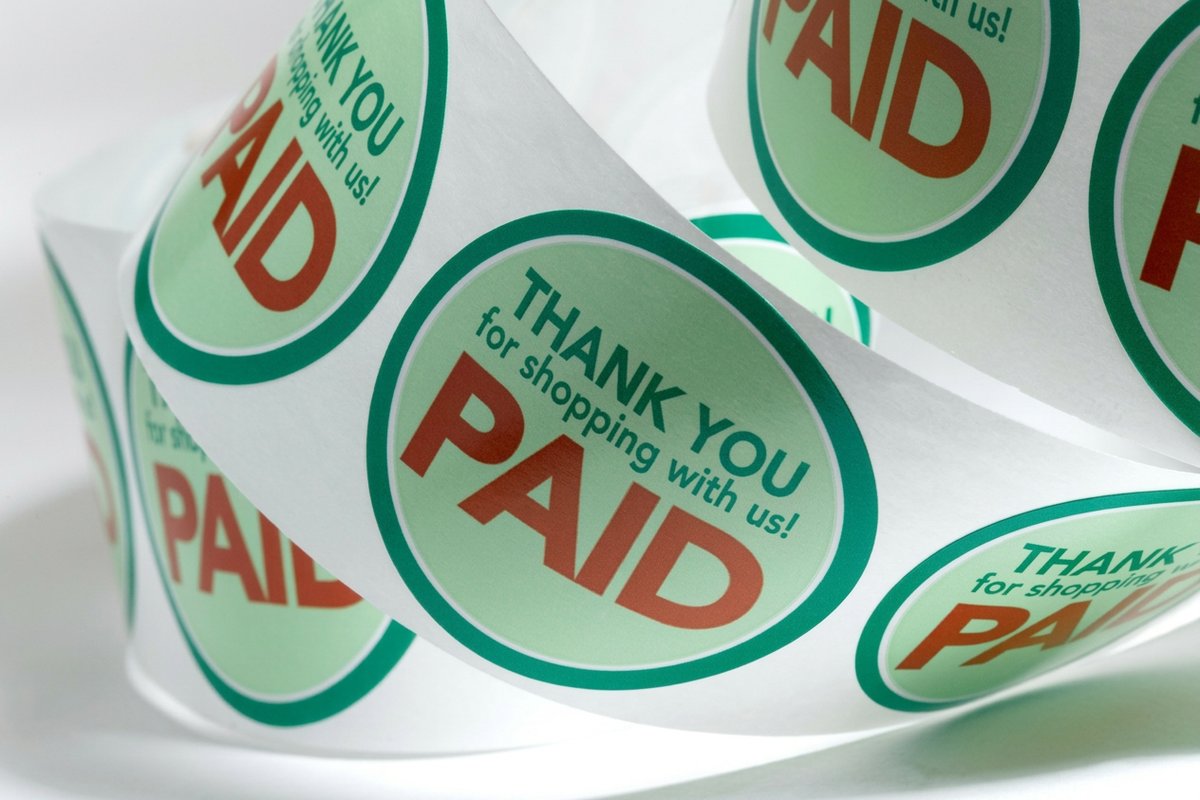
Roll sticker specs
Roll stickers for repeatable runs
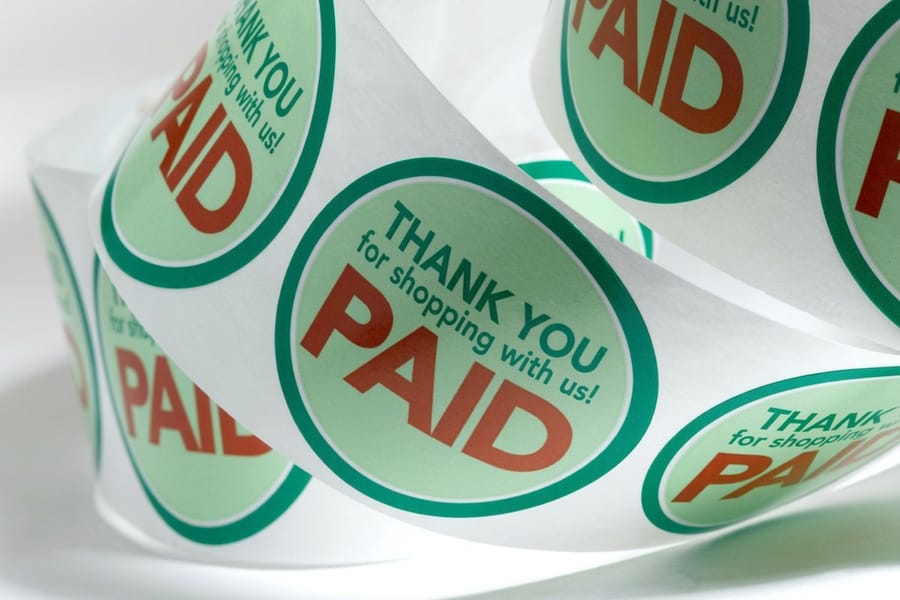
Peel and stick by hand or with an applicator, ideal for hundreds of identical pieces across an outdoor or indoor project.
What a sticker bomb costs
Budget tracks two things, surface size and sticker quality. A laptop lid using 40 to 60 custom die-cut vinyl stickers usually runs $30 to $80, while a vehicle panel or retail display that needs hundreds can range from $150 to $500 or more. Ordering in bulk through roll printing drops the per-sticker cost hard, so plan quantity before you plan finish.
Quantity and price
Standard sticker pricing and specs
Real configurator numbers, the more you order, the lower the per-unit cost drops.
| Quantity | Price Per Unit | Total |
|---|---|---|
| 25 | 95.5¢ | $23.88 |
| 50 | 72.9¢ | $36.44 |
| 100 | 42.7¢ | $42.72 |
| 150 | 32.7¢ | $49.01 |
| 200 | 27.6¢ | $55.29 |
| 250 | 24.6¢ | $61.57 |
Variety packs
Sticker sheets for mixed designs
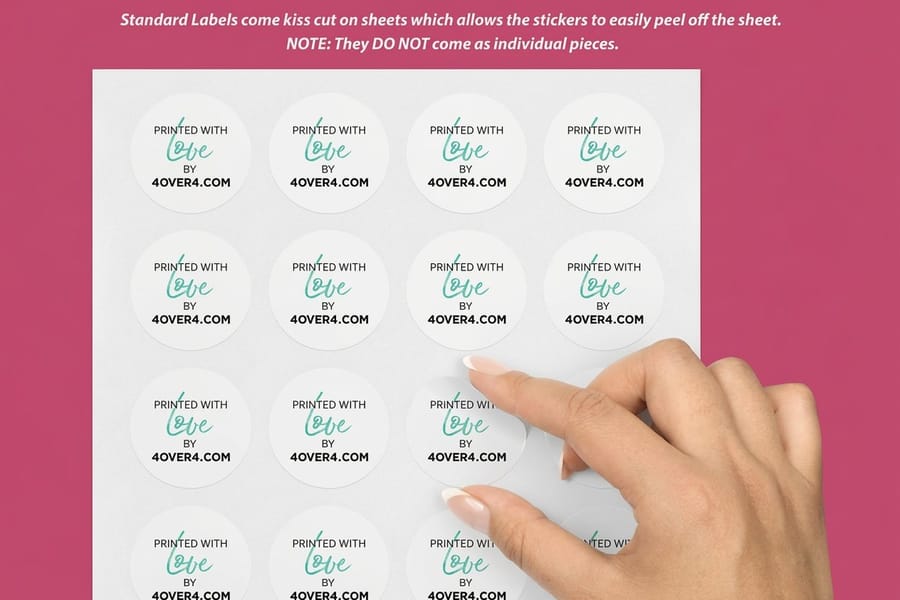
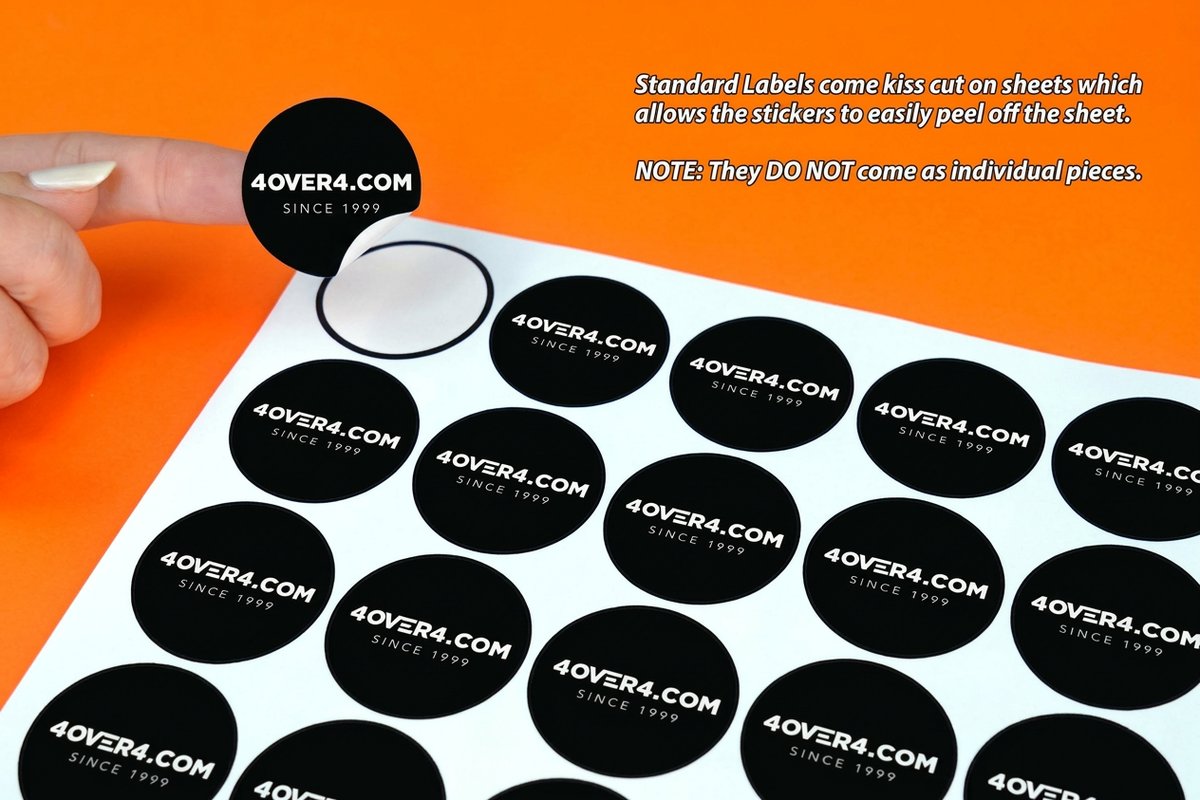
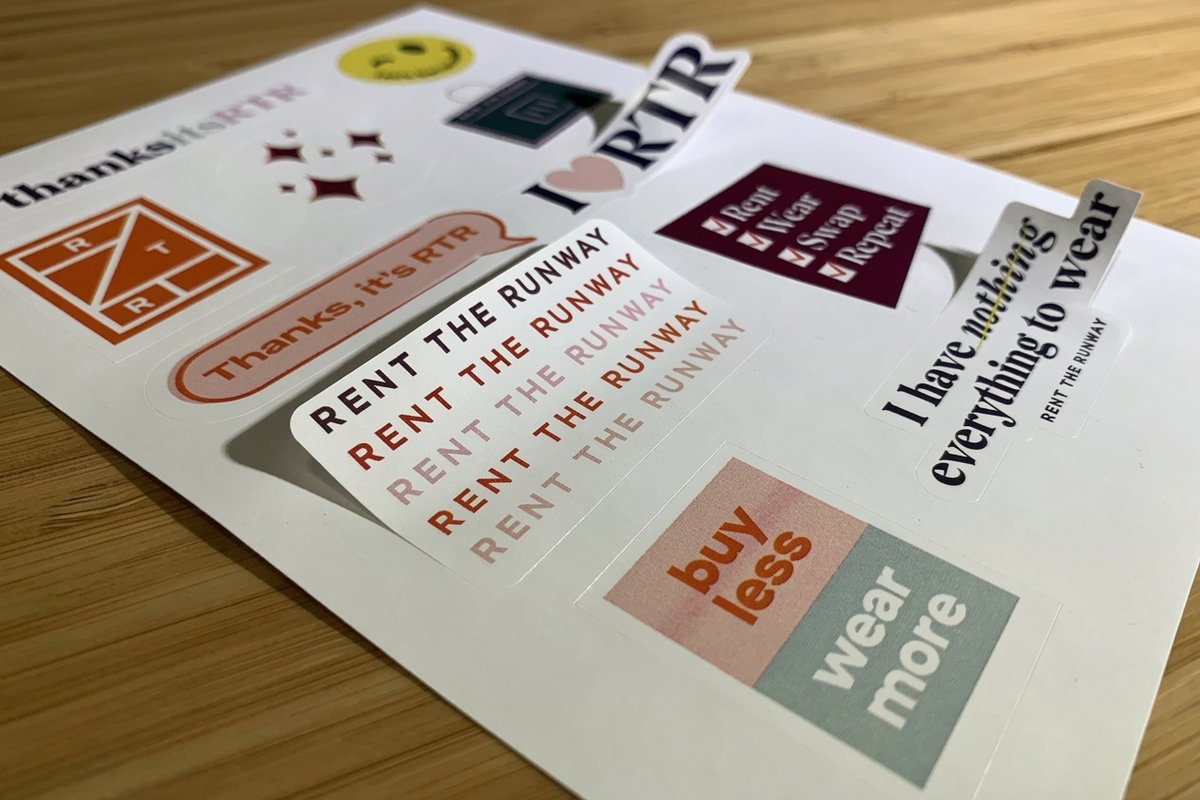
Group many designs on one kiss-cut sheet, a fast way to print a whole bomb kit at once.
Compare sticker formats side by side
Different formats suit different bombs, so weigh stock, finish, quantity, turnaround, and from-price before you order.
Compare formats
Popular sticker products, side by side
Stock, finish, quantity, turnaround, and from-price across our most-ordered stickers.
Standard Stickers | 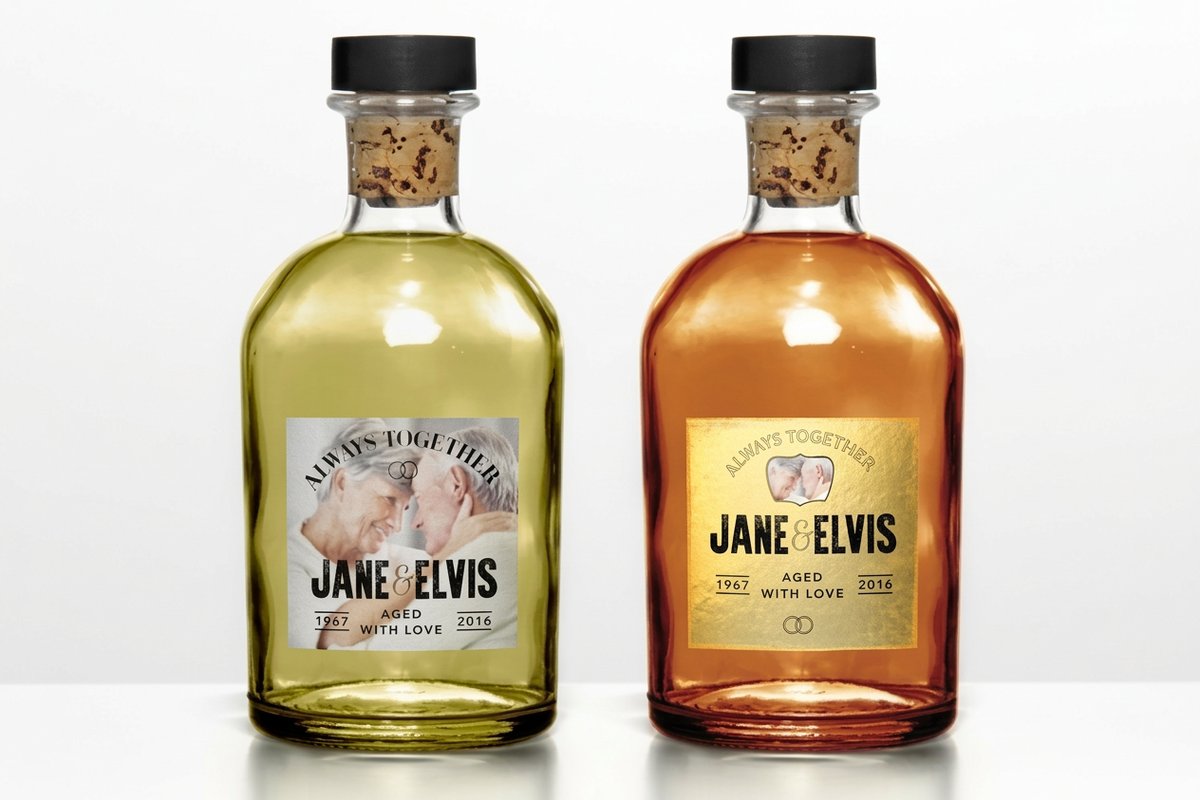 Premium Stickers | Roll Sticker | 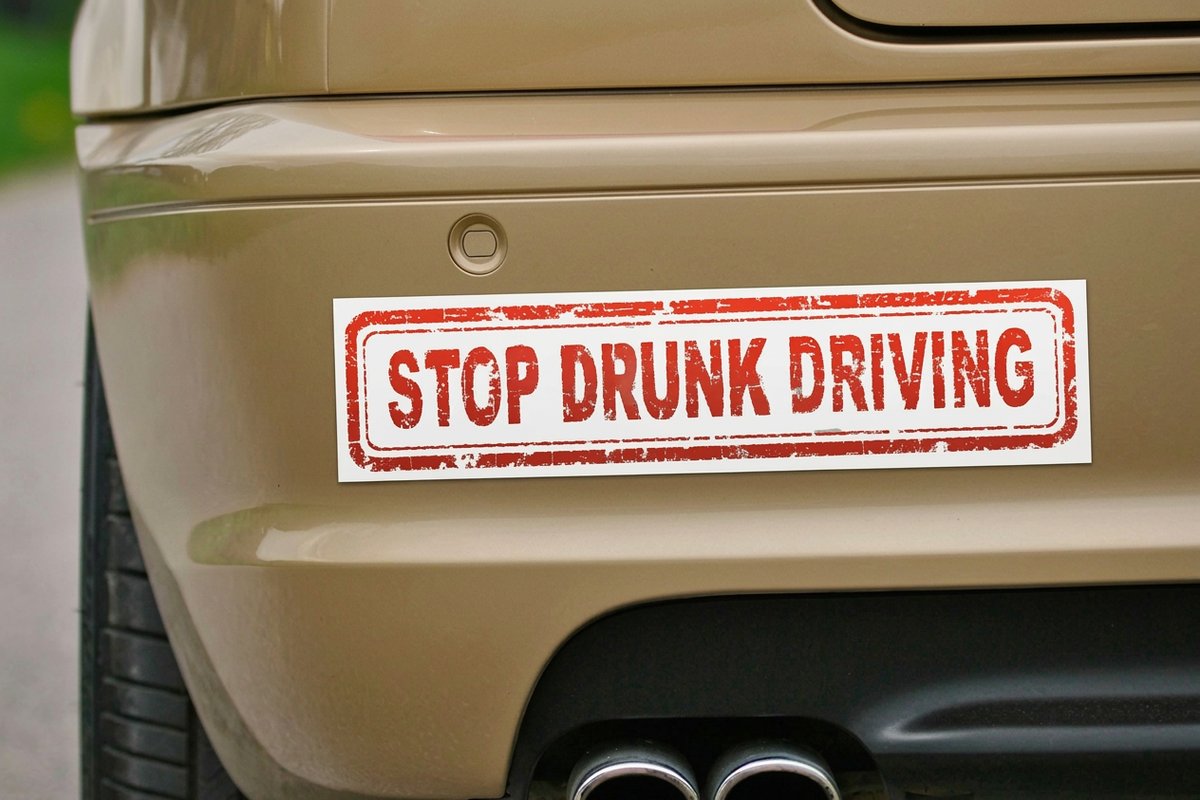 Bumper Stickers | |
|---|---|---|---|---|
| Min price | $23.88 | $29.16 | $322.98 | $38.44 |
| Paper / stock | Standard Uncoated Label | Uncoated Label | White Gloss (Indoor) | White Vinyl Permanent |
| Finish | - | - | - | UV Coating |
| Size | .5" Circle | 3" x 5" | 1" x 1" | 2" x 5" |
| Default qty | 25 | 25 | 100 | 25 |
| Turnaround | 3 business days | 3 business days | 6 business days | 5 business days |
| Rating | ||||
| View & customize | View & customize | View & customize | View & customize |
Common mistakes and how to avoid them
Even experienced sticker bombers hit these snags. Here is what to watch for.
- Not enough stickers. The top beginner mistake is underestimating quantity. A laptop lid alone can take 40 to 60 stickers, a skateboard deck 30 to 50, and a car hood runs into the hundreds. Order more than you think you need, because leftovers never go to waste.
- Ignoring edge treatment. Stickers that hang over an edge peel first. Trim everything flush with a sharp craft knife, or fold the sticker around the corner and secure it on the underside.
- Uniform sizing. Stickers that are all one size create a grid that kills the organic feel. Vary sizes hard, so tiny one-inch fillers next to four-inch feature pieces build depth.
- Skipping the seal. Unsealed bombs on outdoor surfaces fade and lift fast under sun, rain, and handling. Always seal outdoor projects.
For more print ideas and how-tos, browse the full library of printing articles on the 4OVER4.COM blog.
Real sticker bomb projects worth studying
The fastest way to level up is to study projects that consistently land. Skateboard decks are the classic canvas, since the flat surface and compact size let you finish in one session. Guitar and instrument cases give you larger flat panels for dense layering, and retail counters or point-of-sale displays use branded bombs to create photo-worthy moments that drive social sharing.
Vehicle wraps are the most ambitious builds. Full-panel bombs on hoods, fenders, or whole cars need hundreds of stickers and careful planning, but the payoff is a rolling art installation. Do not overlook small projects either, because a bombed journal cover, phone case, or toolbox lid builds the skills you will use on bigger canvases. Even a set of free business cards can spark ideas for mixing print formats into your sticker collections.
Wally layers a sticker bomb the smart way
Anchors first, then medium pieces, then pack the gaps
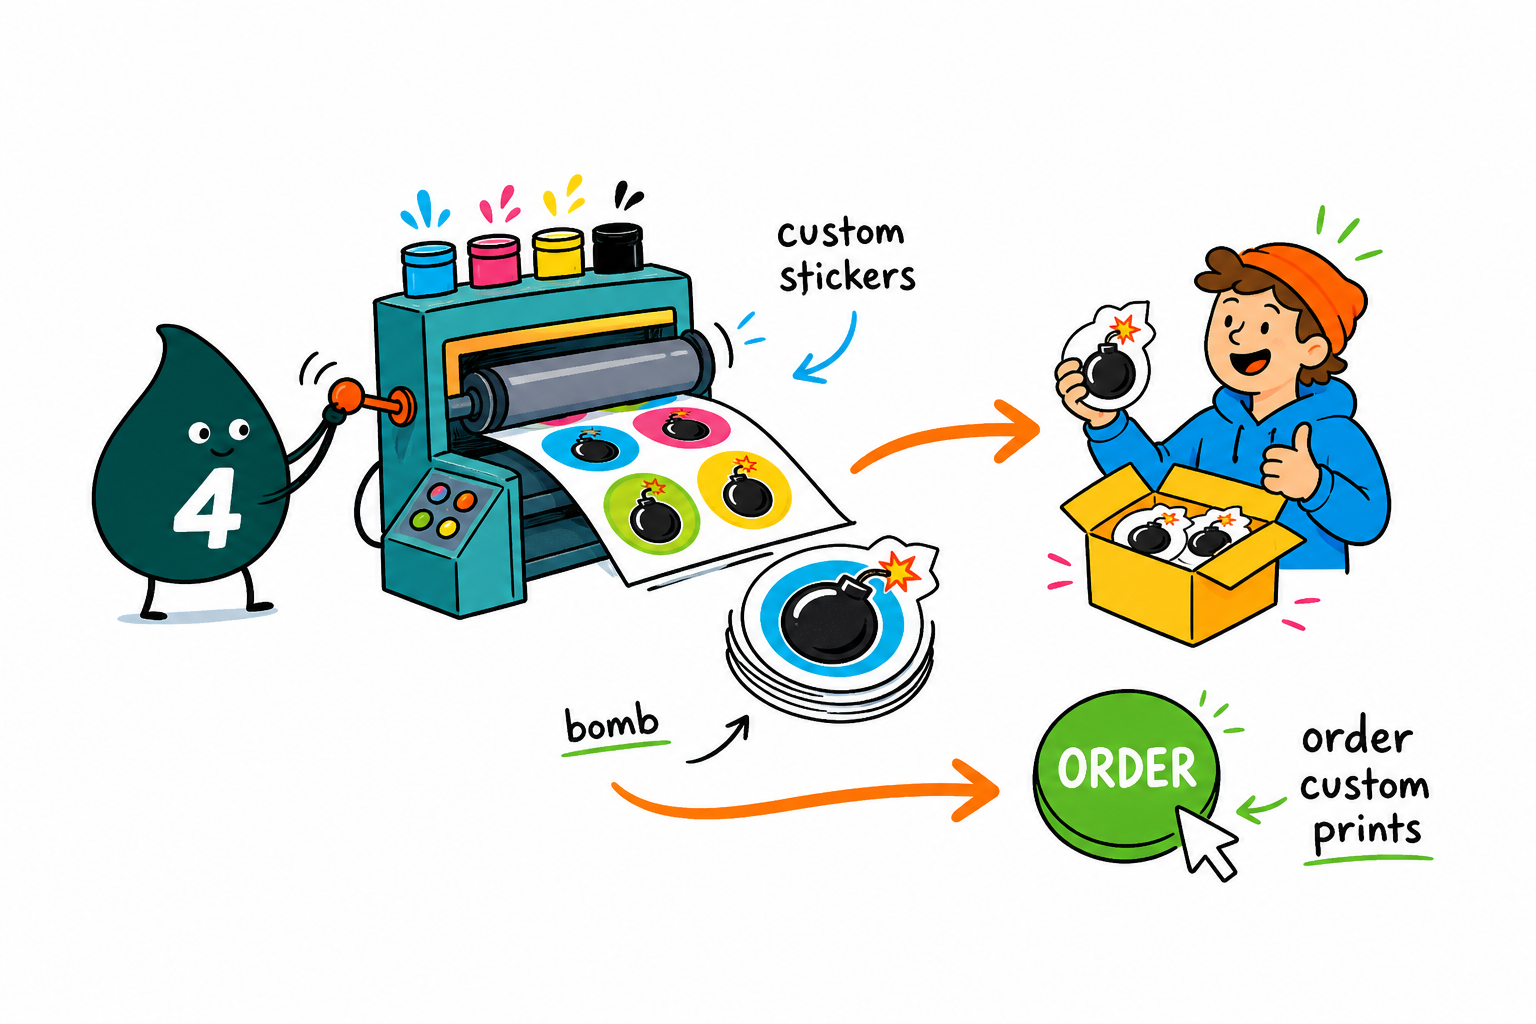
A sticker bomb is just smart layering. Start with a few large anchor stickers, fill with medium pieces, then pack the gaps with small ones. Clean the surface with alcohol first, choose vinyl for outdoors or paper for indoors, and 4OVER4.COM prints your die-cut shapes sharp so every piece drops into the collage.
Order die-cut stickers →What to remember about sticker bombing
Why sticker templates speed up a bomb
- Time-saving. Drop your art into a ready layout instead of starting every sticker from a blank artboard.
- Consistency. Exact-size blanks keep your bleed and cut lines aligned across an entire sticker set.
- Professional look. Pre-built layouts give clean, print-ready results without hiring a designer.
- Cost-effective. You skip design fees while still getting custom shapes for your bomb.
- Flexibility. Scale the same starting point from tiny fillers to large anchor pieces.
- Ease of use. Anyone can customize and print, no advanced design skills required.
Explore more
More ways to brand and build with stickers
Every related page type on 4OVER4.COM, one card each, so you can keep exploring sticker printing.
Shop Stickers Printing Browse every sticker format for your next bomb. Hub Sticker & Label Printing The full sticker and label hub in one place. 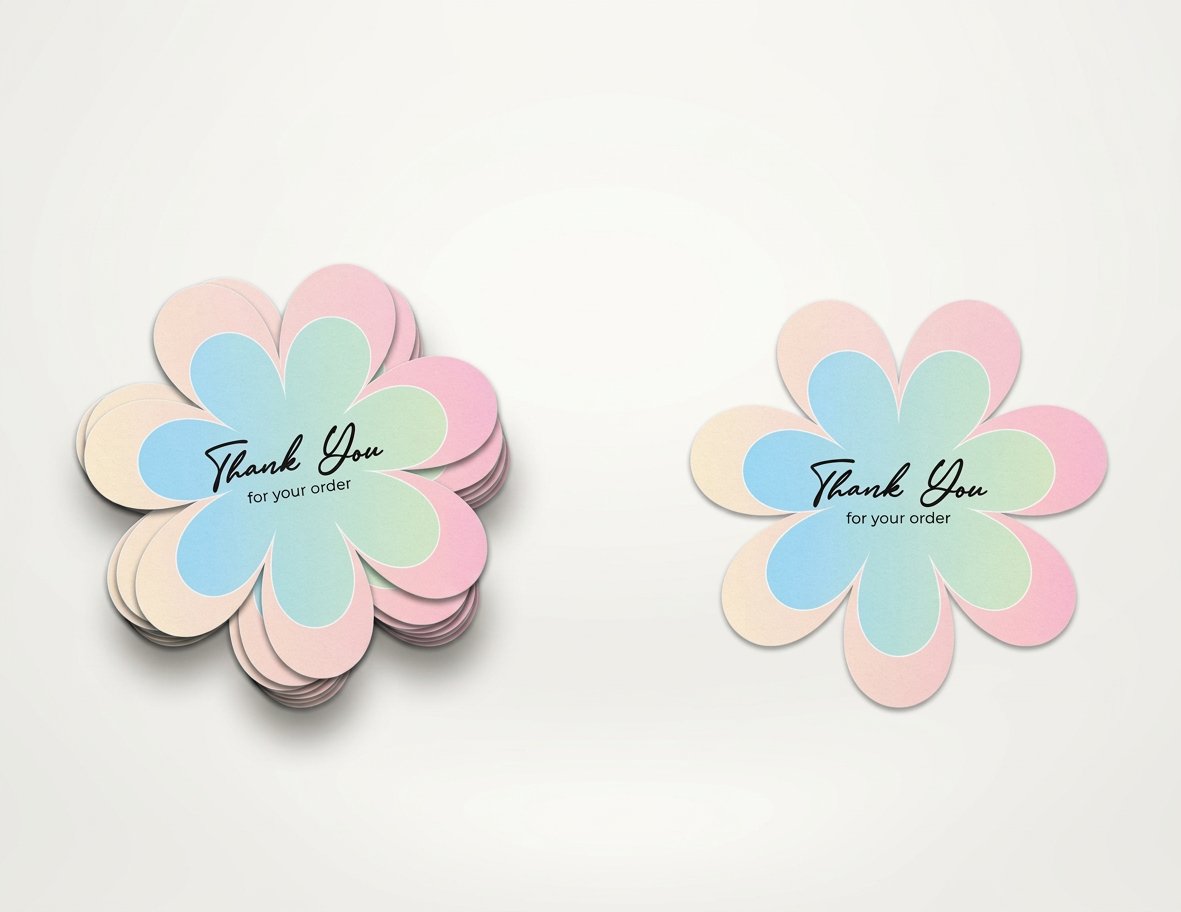 Product Die-Cut Stickers Contour-cut custom die-cut stickers from $93.37.
 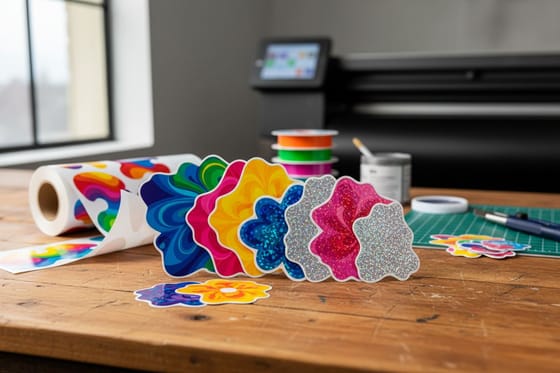 Showcase Custom Sticker Options Quality, materials, and real design examples.
 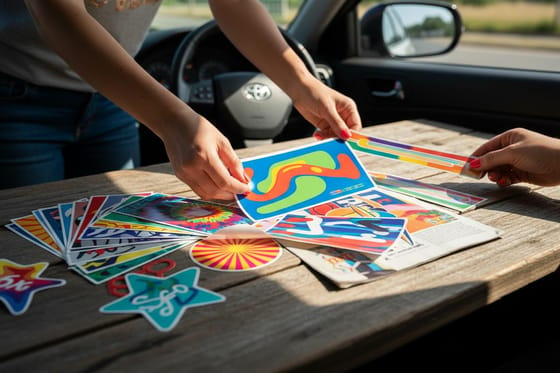 Article 10 Reasons Bumper Stickers Are Awesome Bold sticker ideas for cars and gear.
 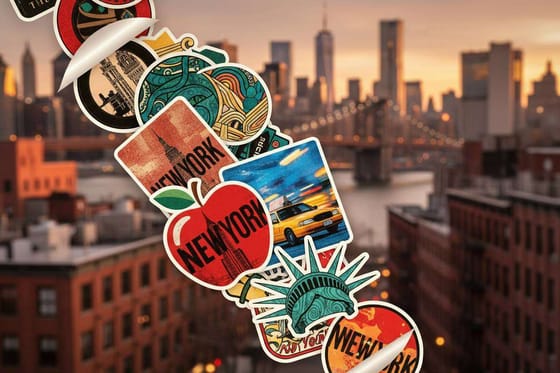 Location Sticker Printing New York Local custom sticker printing services.
  Reviews Sticker Reviews Customer ratings and real feedback.
  Case study Food Brand Labels How custom labels won shelf space.
  Alternative Sticker Mule Alternative How 4OVER4.COM compares for custom stickers.
  Benefit Same Day Printing Order today, ship today on rush sticker runs.
 Ready to print your first sticker bomb?
Pick your shapes, upload your art or start from a free template, and 4OVER4.COM prints sharp die-cut stickers as fast as same day.
Common questions about sticker bombing
What are the best practices for a sticker bomb design?
Start with anchor stickers spaced evenly across the surface, then fill with medium pieces and small gap-fillers. Clean the surface with isopropyl alcohol first, and use a squeegee to push out air bubbles as you apply. Seal outdoor projects with a clear coat. For a different indoor canvas, Adhesive Wall Fabric gives you a large, repositionable surface to bomb.
How do I choose the right sticker bomb approach?
Match the approach to your surface and purpose. Themed sticker bombs with a limited palette suit branding and professional displays, while eclectic, anything-goes compositions fit personal projects like laptops and skateboards. Beginners should start on flat, small surfaces before moving to curved or large-scale work.
What makes a sticker bomb effective for marketing?
Sticker bombs grab attention because they are visually dense and invite close inspection. For marketing, mix branded stickers with complementary non-branded designs so the piece feels artistic rather than promotional. Surfaces like Aluminum Floor Graphics and retail counters become brand experiences people photograph and share.
How much should I budget for a sticker bomb project?
Budget tracks surface size and sticker quality. A laptop lid using 40 to 60 custom die-cut vinyl stickers from 4OVER4.COM usually runs $30 to $80. Larger projects like vehicle panels or retail displays that need hundreds of stickers range from $150 to $500 or more, and ordering in bulk through roll printing lowers the per-sticker cost.
