
How to Apply Vinyl Stickers Perfectly


How to apply vinyl stickers the right way
Applying vinyl stickers sounds simple. Peel, stick, done. Anyone who has fought air bubbles, crooked placement, or lifting edges knows it is not that easy. Learning how to apply vinyl stickers correctly is the difference between a factory-clean finish and a frustrating redo. 4OVER4.COM has printed 10 billion cards and stickers for 150,000+ businesses, and application is the number one question customers ask once their order lands.
Whether you are branding packaging, decorating a laptop, wrapping a vehicle, or turning a blank wall into a marketing canvas, vinyl delivers bold, weather-resistant graphics that last. The material is PVC-based, smooth, and a little temperamental, so a bit of technique goes a long way. This guide walks every step, from surface prep to the final smoothing pass, so your stickers look installed by a pro every time.
Why vinyl stickers outlast paper and plastic
Vinyl stickers are not popular just because they are cheap. They are the default for outdoor signage, product labels, and promotional runs because the material itself is built to take punishment. PVC vinyl shrugs off water, UV rays, and the temperature swings that destroy paper in weeks.
4OVER4.COM prints adhesive vinyl stickers in a range of finishes and adhesive strengths, so you can match the sticker to the job. Need something removable for a seasonal window display, or a permanent bond on an outdoor sign that faces direct sun for years? There is a vinyl for both.
- Sun resistance. Extended UV exposure barely touches vinyl color or grip, so your outdoor vinyl stickers hold their vibrancy for years.
- Waterproof. Rain, splashes, and humidity do not curl, peel, or bleed the ink.
- Tear resistant. Vinyl stretches slightly instead of ripping, so you can lift and reposition mid-application.
- Non-toxic and safe. Modern vinyl meets health and safety standards for consumer goods, packaging, and children products.
Surface prep, the step most people skip
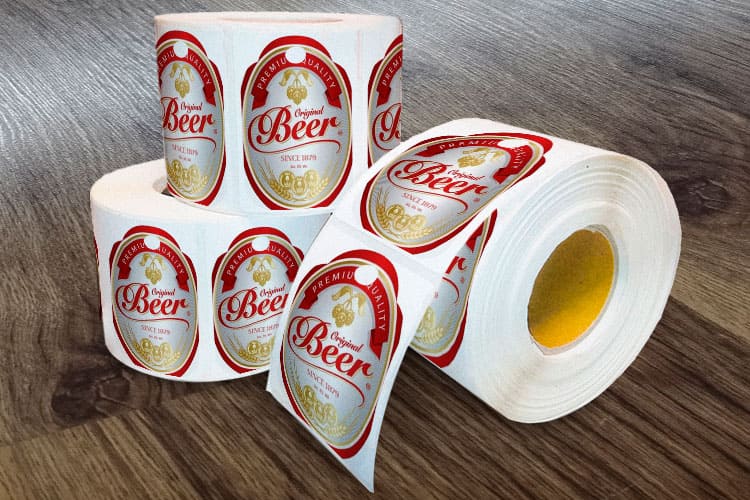
This is where most vinyl failures start. People peel the backing and press the sticker onto a dusty, oily, or damp surface, then blame the sticker when it lifts three days later. The surface has to be clean, dry, and at room temperature. That is the whole foundation.
Wipe the surface with isopropyl alcohol and a lint-free cloth. Skip Windex and household cleaners, because they leave an invisible residue that sits between the adhesive and the surface. Vinyl also bonds best between 50 and 90 degrees Fahrenheit, so warm a cold surface with a hair dryer or work in the shade when it is blazing hot.
Vinyl grips smooth, non-porous surfaces best, like glass, metal, hard plastic, and fully cured painted walls. It struggles on textured drywall, raw wood, and silicone. For textured interior walls, Adhesive Wall Fabric is a better call than vinyl and lifts off without damage.
How to apply vinyl stickers with the hinge method
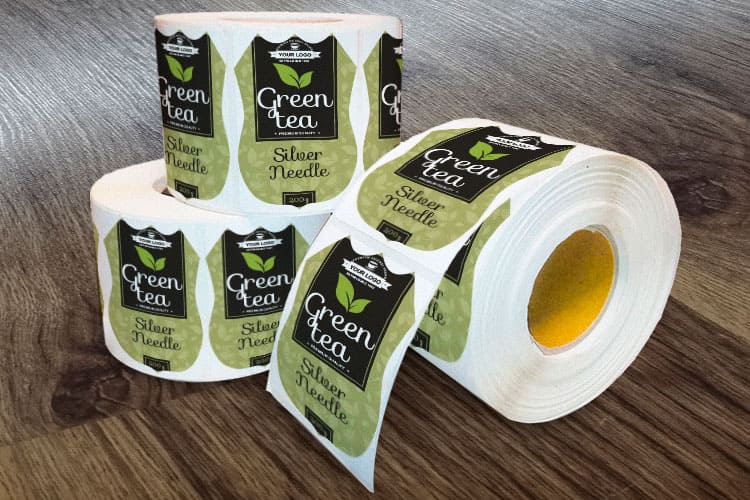
The dry, hinge method is the standard approach and works perfectly for any sticker under 12 inches. It is fast, needs almost no tools, and gives a factory-clean result when you follow the steps in order.
Have your squeegee, tape, and a level within reach before you peel anything. Scrambling for a tool mid-application is how stickers end up crooked and wrinkled. The five steps below take about five minutes once the surface is prepped.
Gather your tools before you start
You do not need fancy equipment, but having the right tools within arm's reach makes the whole job smoother. Keep these on the table before you peel a single backing.
- Isopropyl alcohol, 70% or higher. Cleans the surface without the residue that window cleaner leaves behind.
- Lint-free or microfiber cloth. Wipes clean without shedding fibers that show up as bumps under the vinyl.
- Squeegee or credit card. Presses out air and forces full contact between the adhesive and the surface.
- Masking or painter tape. Creates a hinge so larger stickers land straight the first time.
- Measuring tape and level. Keeps placement square on walls, vehicles, and windows.
- Spray bottle with soapy water. Buys repositioning time on large stickers with the wet method.
- Pin or hobby knife. Releases any stubborn air bubble that survives the squeegee.
If you are applying 3D lenticular or layered designs, add a heat gun or hair dryer for conforming the vinyl around curves and edges.
Print it
Standard stickers, ready to brand
Preset shapes and sizes on durable vinyl, the fastest way to put your design on a sticker.
The five-step hinge method for small and medium stickers
Step 1: Position and tape the hinge
Place the sticker face-up exactly where you want it, using a measuring tape and level for precision. Once the position is right, run a strip of masking tape across the top edge to create a hinge. That tape is your anchor point for everything that follows.
Step 2: Peel the backing
Flip the sticker up on the hinge, like opening a book upward, and peel the backing paper away from the adhesive. Pull slowly at a sharp angle instead of yanking it straight back, which stretches the vinyl. If the sticker has transfer tape on the front, leave that in place.
Step 3: Squeegee from the hinge down
Lower the sticker back onto the surface. Starting from the taped hinge, press your squeegee firmly across it in overlapping strokes, working from the center outward and top to bottom. That pushes air toward the edges where it escapes. Firm passes create full adhesive contact, so go over the whole surface at least twice.
Step 4: Remove the transfer tape
Peel any transfer tape away slowly at a sharp 180-degree angle, folding it back on itself and pulling toward the sticker rather than away from the surface. If part of the vinyl lifts with the tape, press it back down and try again more slowly.
Step 5: Final smoothing and edge sealing
Go over the whole sticker one more time, paying extra attention to edges and corners since that is where peeling begins. For outdoor jobs, run a fingernail firmly along every edge to seat the adhesive fully into the surface.
The wet method for large vinyl stickers
For anything larger than 12 inches, or for jobs where alignment is critical like vehicle graphics and storefront windows, the wet method gives you repositioning time and all but eliminates bubbles. Mix a spray bottle with water and two or three drops of dish soap, and that is your application fluid.
After cleaning the surface, mist it lightly along with the adhesive side of the sticker. The thin layer of soapy water stops the adhesive from grabbing instantly, giving you 30 to 60 seconds to slide the sticker into perfect position. Once it is placed, squeegee from the center outward to push water and air toward the edges together, overlapping every stroke.
Let the sticker sit for 15 to 30 minutes before removing transfer tape, and give it 24 to 48 hours for a full bond, so do not stress it during that window. This technique shines for Custom Die Cut Stickers with detailed shapes that need precise alignment on packaging or retail displays.
Roll sticker specs
Roll sticker materials and finishing
Indoor and outdoor stocks, lamination, and application options for high-volume roll stickers.
Fixing the most common vinyl sticker problems
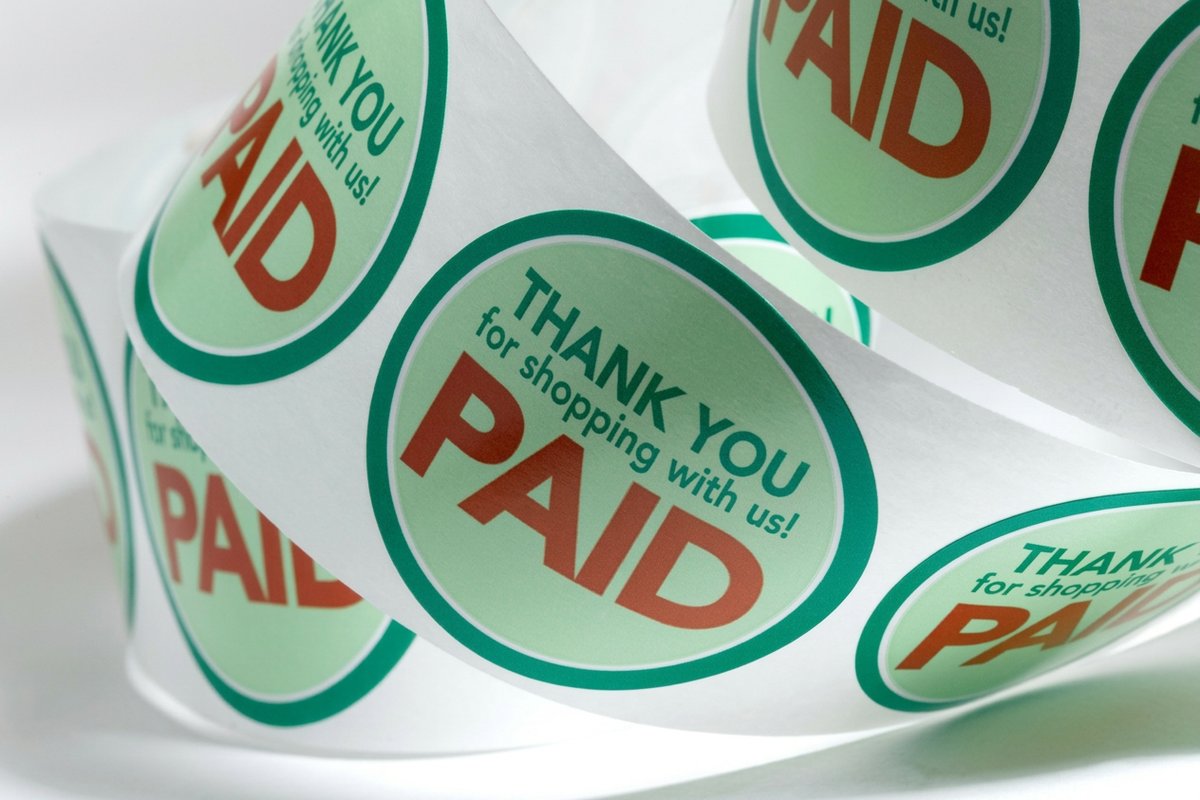
Even with clean technique, things happen. Here is how to rescue each issue without starting over.
Air bubbles
Small bubbles under a quarter inch usually vanish on their own within a day or two as the adhesive settles. For larger ones, prick the edge of the bubble with a pin at a 45-degree angle, then squeegee the trapped air out through the pinhole. The hole disappears once the air is gone.
Wrinkles and creases
If the vinyl wrinkled during application, warm the area with a hair dryer on medium heat until it softens, then gently stretch and smooth it with your squeegee. Work quickly, because vinyl stiffens again as it cools.
Peeling edges
Edges lift because of poor surface prep, extreme temperatures, or weak pressure during application. Lift the peeling edge, clean both the adhesive and the surface with alcohol, let it dry, then press it back down with firm squeegee pressure. For stubborn cases, a thin line of clear silicone sealant along the edge makes a permanent bond.
Crooked placement
Catch it within the first few minutes on the dry method, or while the surface is still wet on the wet method, and you can carefully peel the sticker back and reposition. After 24 hours of curing, moving it without damage gets much harder.
Sticker sheet specs
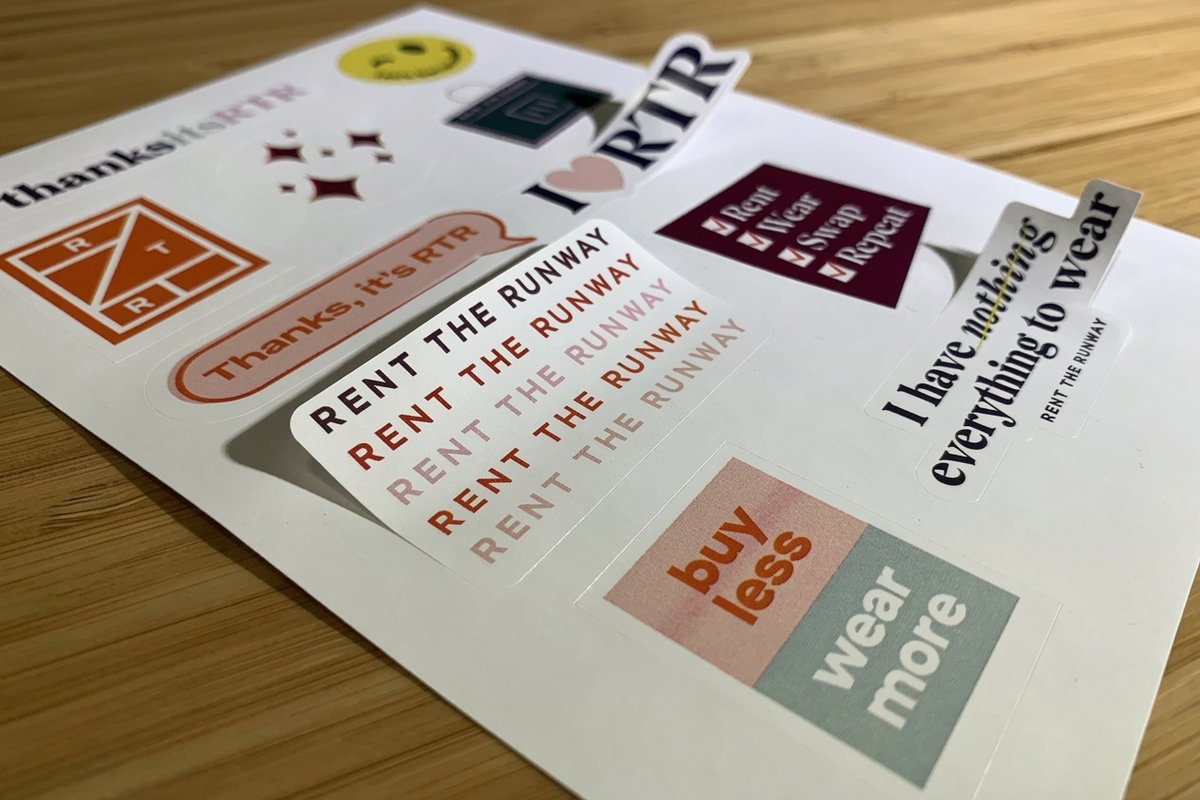
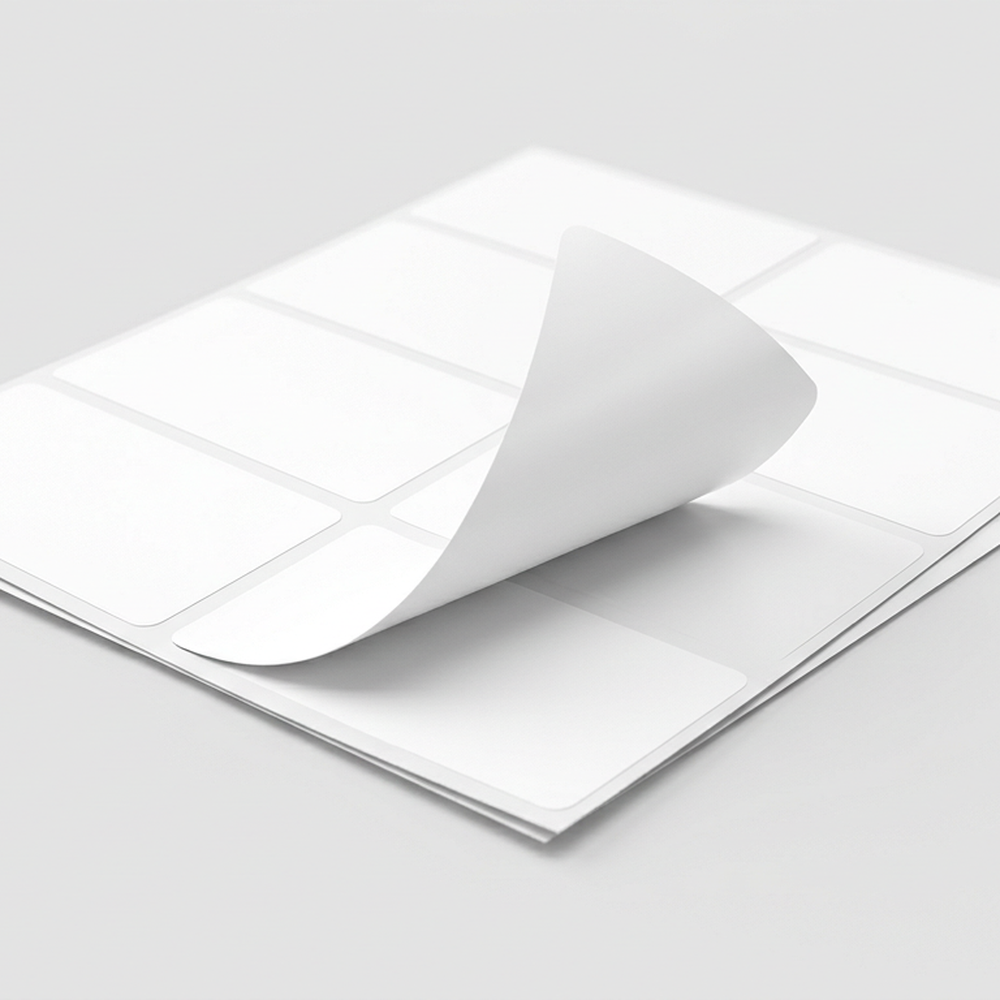
Sticker sheets for variety packs
Group multiple designs on one kiss-cut sheet, great for events, launches, and giveaways.
How to get wrinkles out of vinyl banners and backdrops
Vinyl banners and backdrops often arrive with shipping creases because the material was folded or rolled for transit. This is normal, so do not panic and definitely do not throw it away. A few proven methods relax the PVC and flatten the crease.
- Steamer method. Hold a handheld steamer 1 to 2 inches from the surface and keep it moving, using a Teflon sheet over any printed area to protect the ink.
- Spritz and stretch. Clamp the banner taut, mist both sides with clean water, and let it tighten as it dries.
- Sunlight method. Lay the vinyl flat outdoors in direct sun for a few hours, flipping it halfway so both sides relax.
- Reverse roll. Roll the material tightly against the direction of the crease, band it, and leave it for 24 hours.
Can you iron vinyl directly? Technically yes, but it is risky. If you have to use an iron, set it to the lowest heat, place a cotton pillowcase or a Teflon sheet between the iron and the vinyl, and keep it moving the entire time. A hot iron left in one spot will melt, warp, or fuse the material in seconds, so treat heat as a last resort behind a steamer or sunlight.
Vinyl stickers as a marketing tool
Vinyl stickers are not only craft supplies. They are one of the most cost-effective marketing tools you can buy, since a single sticker on a laptop, water bottle, or bumper earns thousands of impressions over its life. A crooked logo on your packaging sends the wrong message, so placement and print quality matter as much as the design. These Logo Sticker Design Ideas show how brands turn a mark into recognition.
- Product packaging seals. A branded sticker on a box or bag adds a premium touch and keeps advertising when customers reuse the packaging.
- Vehicle graphics. Vinyl decals on company vehicles earn an estimated 30,000 to 70,000 daily impressions, per the Outdoor Advertising Association of America.
- Retail window displays. Seasonal promotions, hours, and branding go straight onto storefront glass.
- Event giveaways. Branded stickers at trade shows and conferences are the rare freebie people actually keep.
- Laptop and phone stickers. Especially effective with younger audiences who treat stickers as personal expression.
Smart marketers add QR codes to their stickers to bridge physical and digital. The free QR Code Generator makes trackable codes that point to menus, offers, or social profiles. For more inspiration, browse these Funny Print Ad Examples to see how humor and bold visuals carry across print.
Compare formats
Popular sticker products, side by side
Stock, finish, quantity, turnaround, and from-price across our most-ordered vinyl stickers.
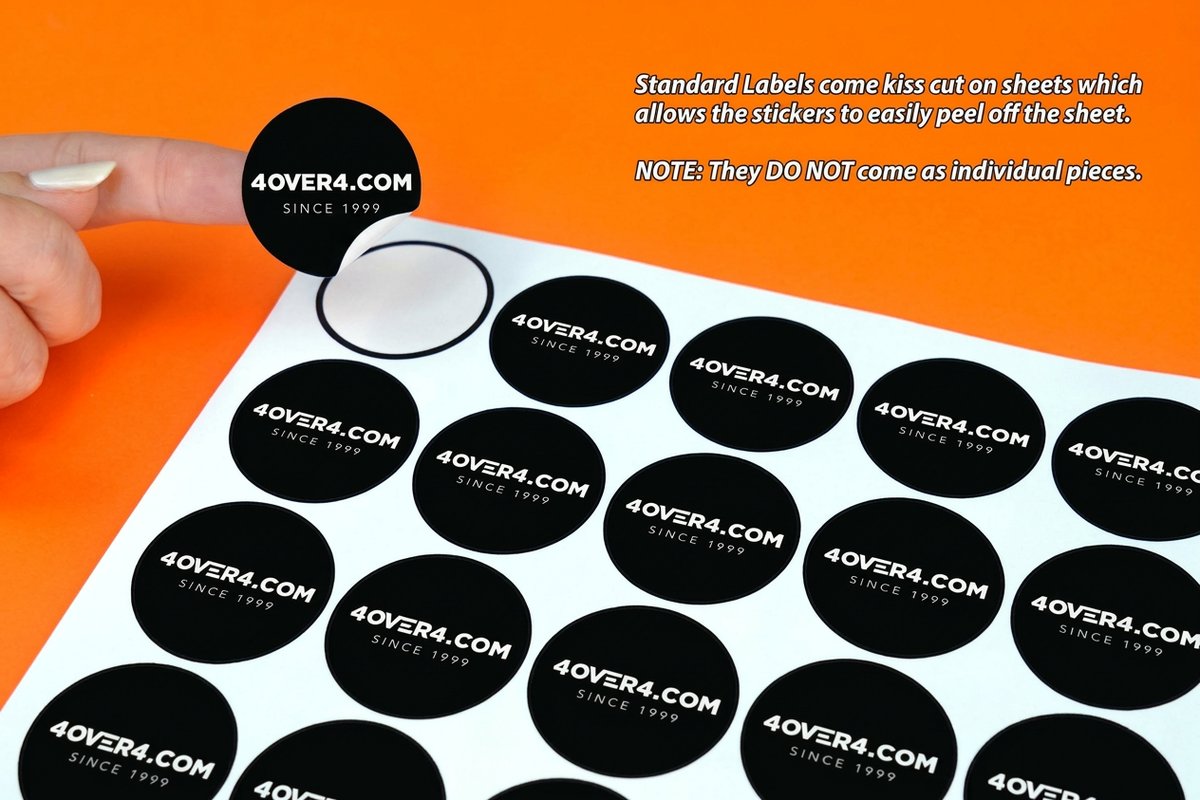 Standard Stickers | 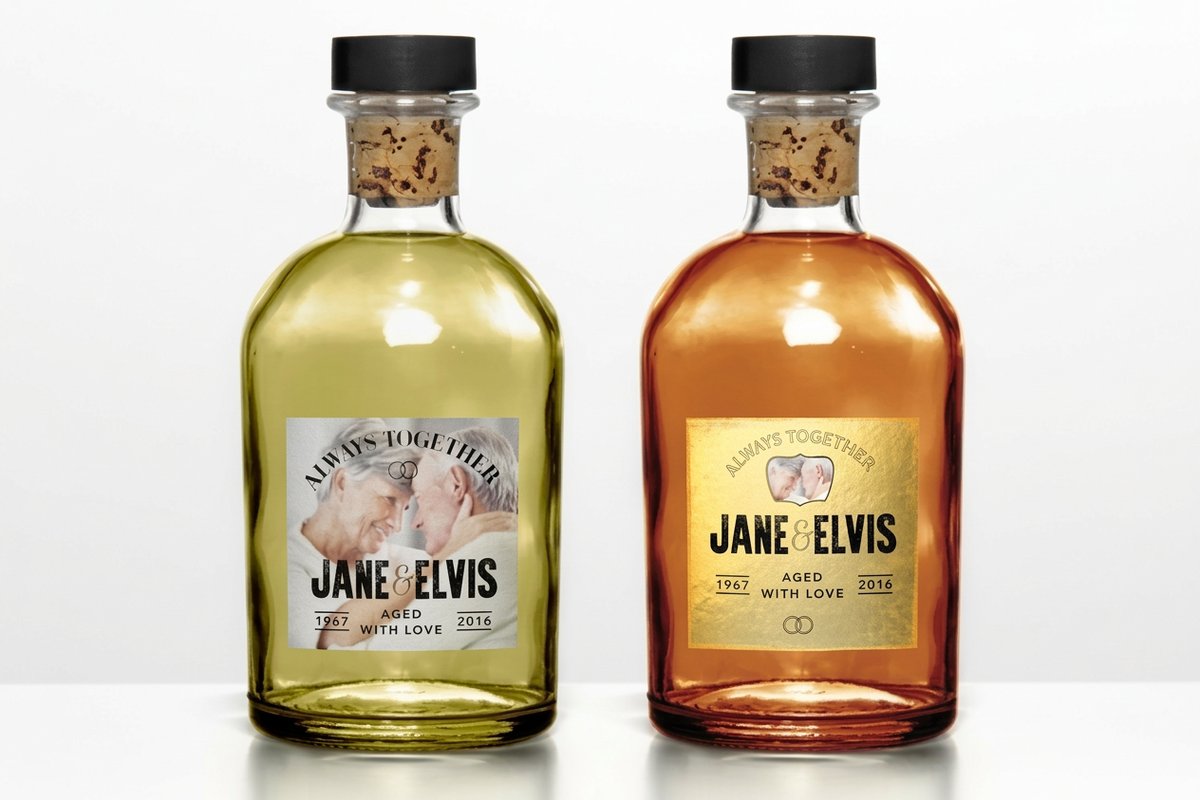 Premium Stickers | Roll Sticker | 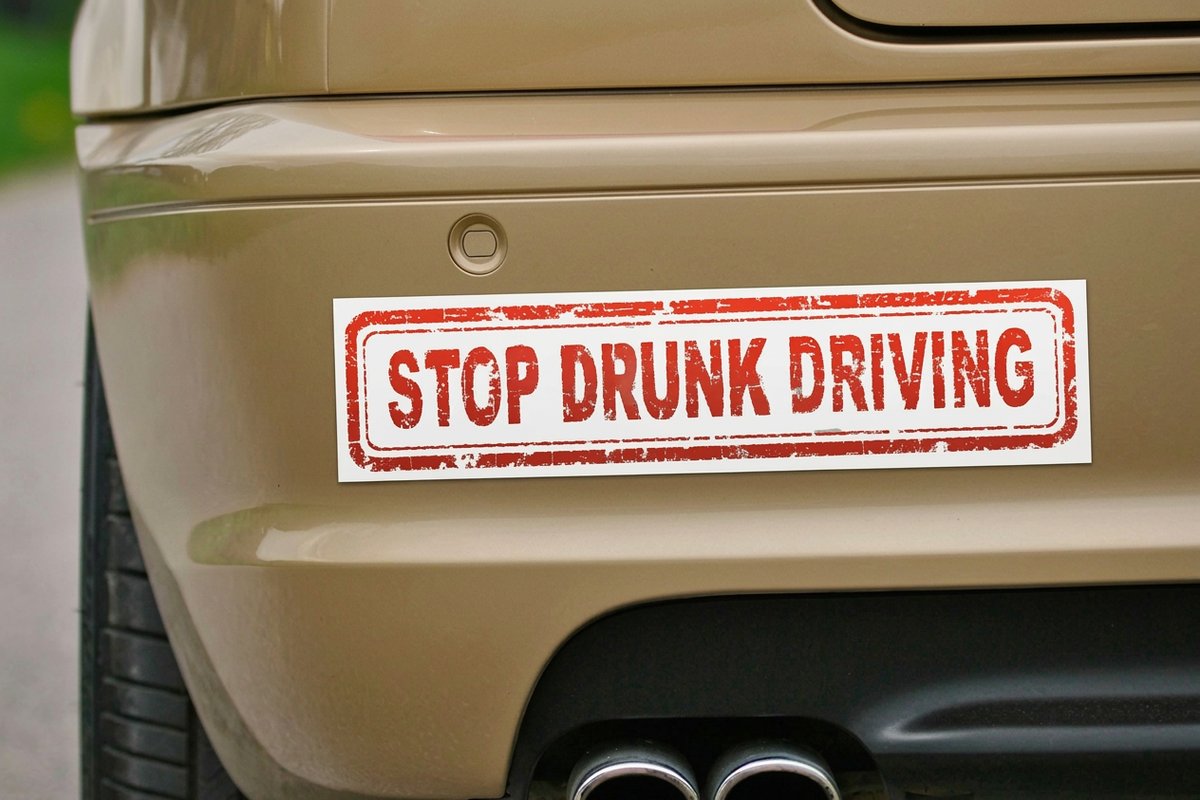 Bumper Stickers | |
|---|---|---|---|---|
| Min price | $23.88 | $29.16 | $322.98 | $38.44 |
| Paper / stock | Standard Uncoated Label | Uncoated Label | White Gloss (Indoor) | White Vinyl Permanent |
| Finish | - | - | - | UV Coating |
| Size | .5" Circle | 3" x 5" | 1" x 1" | 2" x 5" |
| Default qty | 25 | 25 | 100 | 25 |
| Turnaround | 3 business days | 3 business days | 6 business days | 5 business days |
| Rating | ||||
| View & customize | View & customize | View & customize | View & customize |
Choosing the right vinyl sticker type
Not all vinyl is the same. The type you choose changes how you apply it, how long it lasts, and where it can live.
Glossy versus matte finish
Glossy vinyl pops with vivid color and a reflective surface, which is eye-catching on product labels and outdoor signage. Matte has a softer, non-reflective finish that feels premium and reads easily in bright light. Both apply exactly the same way.
Permanent versus removable adhesive
Permanent adhesive builds a bond that strengthens over time and is meant to stay. Removable adhesive peels off clean without residue, which is ideal for rental spaces, seasonal displays, and laptop stickers you might swap out.
Indoor versus outdoor grade
Outdoor vinyl uses UV-resistant inks and stronger adhesive to handle weather. Indoor vinyl is thinner, more flexible, and easier to apply, but it will not survive rain or long sun exposure. When you are ready to design, the 4OVER4.COM Design Templates give you a head start with layouts sized to standard sticker dimensions.
Quantity and price
Standard sticker pricing and specs
Real configurator numbers, where per-unit cost drops hard from $0.96 at 25 to $0.05 at 25,000.
| Quantity | Price Per Unit | Total |
|---|---|---|
| 25 | 95.5¢ | $23.88 |
| 50 | 72.9¢ | $36.44 |
| 100 | 42.7¢ | $42.72 |
| 150 | 32.7¢ | $49.01 |
| 200 | 27.6¢ | $55.29 |
| 250 | 24.6¢ | $61.57 |
Templates and print-ready blanks
Starting from scratch is not always necessary. 4OVER4.COM offers sticker templates that handle bleed lines, safe zones, and resolution, so you can focus on the creative part. Prefer to design in your own software? Blank templates ensure your artwork lands inside the cut line every time.
Start fast
Templates and print-ready blanks
Sticker design templates and exact-size blanks so your art lines up with the cut and bleed.
Wally makes vinyl go on bubble-free
Clean, warm, and squeegeed from the hinge down
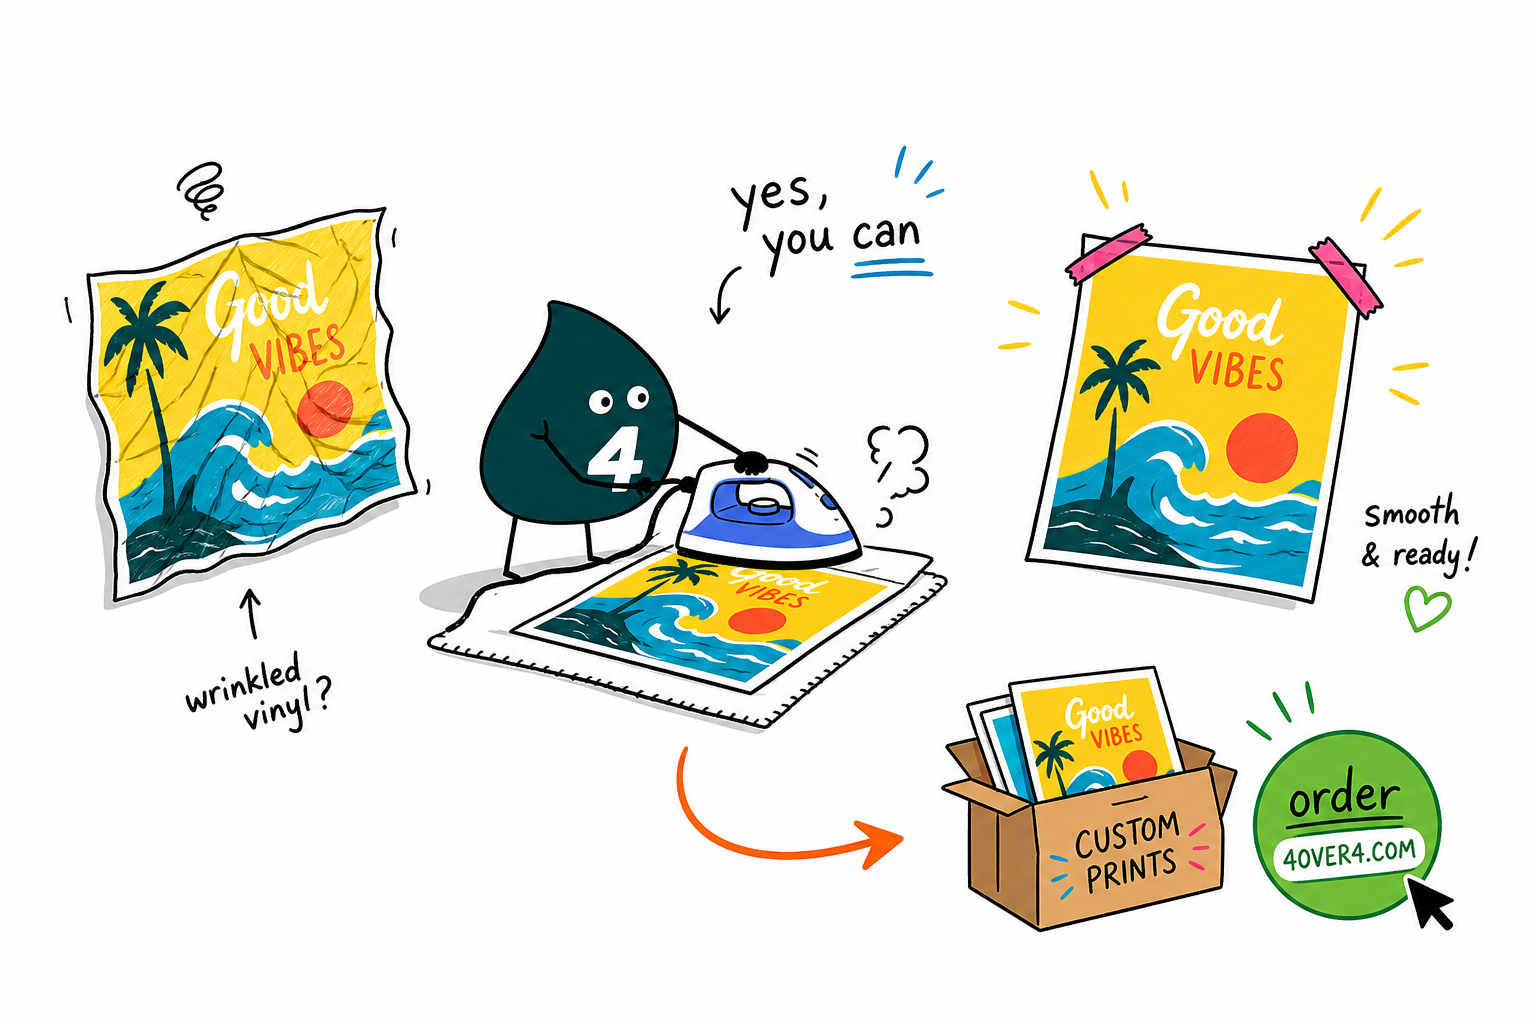
The trick to vinyl is boring and it works. Clean the surface with alcohol, apply between 50 and 90 degrees, tape a hinge, then squeegee from the center out. Go wet with soapy water for anything big, and give it 24 to 48 hours to cure before you stress it. Do that and a $20 pack of stickers turns into years of clean branding.
Order vinyl stickers →What to remember about applying vinyl stickers
Explore more
More ways to print and brand with vinyl
Every related page on 4OVER4.COM, one card each, so you can keep exploring sticker printing.
Shop Stickers Printing Every vinyl sticker format in one place. Hub Sticker & Label Printing The full sticker and label hub.  Product Die-Cut Stickers Contour-cut custom stickers that follow your art. Product Roll Stickers Indoor and outdoor BOPP vinyl on the roll.
 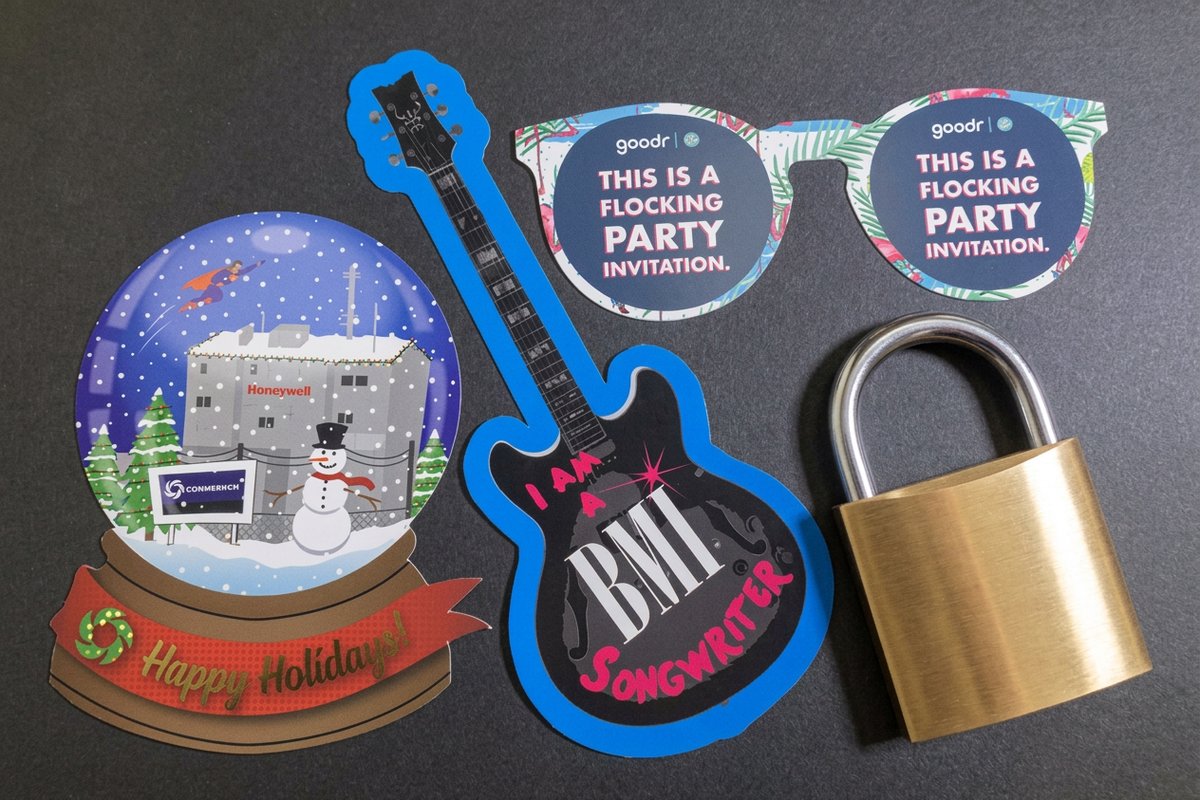 Product Custom Die-Cut Stickers Any shape and size, precise on packaging. Product Sticker Sheets Kiss-cut variety sheets for events and giveaways.
 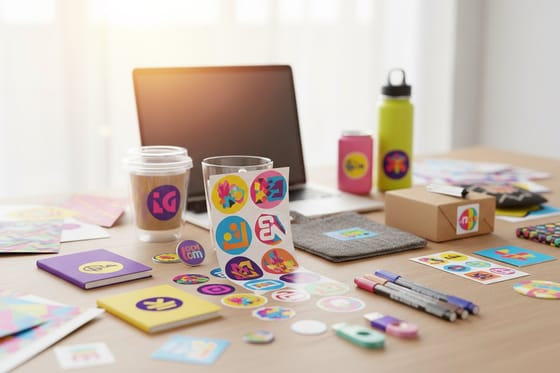 Article Logo Sticker Design Ideas Turn your logo into stickers people display.
 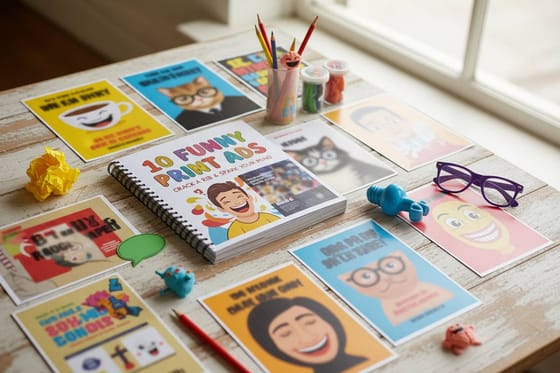 Article Funny Print Ad Examples Bold, playful print that grabs attention.
  Tool QR Code Generator Add trackable QR codes to any sticker.
  Templates Blank Templates Exact-size blanks so art lands inside the cut line.
 Ready to print vinyl stickers that last?
Pick a shape, drop in your artwork or a free template, and 4OVER4.COM prints sharp, weatherproof vinyl, as fast as same day.
Common questions about applying vinyl stickers
What are the best practices for applying vinyl stickers?
Clean the surface with isopropyl alcohol, apply at room temperature between 50 and 90 degrees Fahrenheit, and use the hinge method with a squeegee for bubble-free results. Always work from the center to the edges. For large stickers, the wet method with soapy water gives you repositioning time. The 4OVER4.COM Help Center has product-specific guidance.
How do I choose the right vinyl sticker type for my project?
Match the sticker to its environment. Outdoor projects need UV-resistant vinyl with permanent adhesive, while indoor displays do well with removable adhesive that peels off clean. For textured walls, Adhesive Wall Fabric outperforms standard vinyl, and for high-traffic floors, Aluminum Floor Graphics hold up to heavy foot traffic.
What makes vinyl stickers effective for marketing?
Vinyl stickers create ongoing brand impressions at almost no cost. A single sticker on a laptop or car bumper earns views for months or years. Adding a QR code with the 4OVER4.COM QR Code Generator links a physical sticker to digital campaigns so you can track engagement and drive traffic to landing pages.
How much should I budget for vinyl stickers?
Vinyl sticker pricing depends on size, quantity, finish, and shape, so standard shapes cost less than custom die cuts. Ordering in bulk drops the per-unit price hard, from $0.96 each at 25 down to $0.05 at 25,000. 4OVER4.COM lists transparent pricing with no hidden setup fees and quantity tiers that reward larger orders.
