
How to Make Lenticular Prints From Concept to 3D Finish


Pick a lens LPI, build matched frames, interlace them into one striped file, then print and bond the lens. Here is the full workflow that makes an image flip, animate, and pop in 3D.
To make a lenticular print, match your art to a lenticular lens: choose the lens LPI, prepare two or more aligned source frames, and use interlacing software to slice and weave them into a single file. Print that file at high resolution, laminate the lens on top with the ridges true to the strips, then proof the effect by tilting a sample before you run the batch.
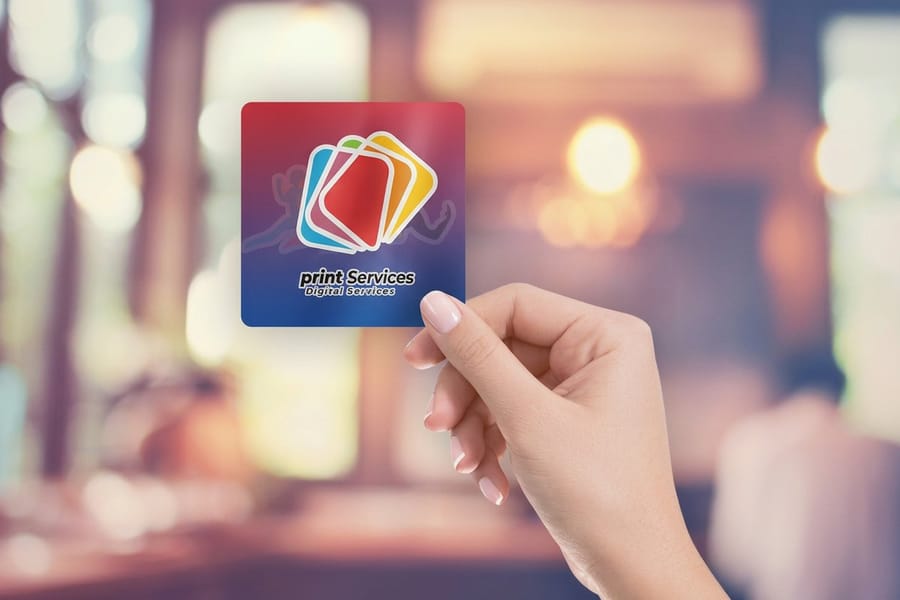
Quick tips
Quick tips for making lenticular prints
Start every lenticular project by locking the lens LPI and the effect you want, whether that is a flip, an animation, or true 3D depth. Prepare matched source frames, interlace them to the exact lens pitch, then print and bond the lens with tight alignment. Proof the effect under real light before you commit to the full run.
Watch it printed
See 3d lenticular business cards on the press, in 149 seconds
Why lenticular printing stops people mid-scroll
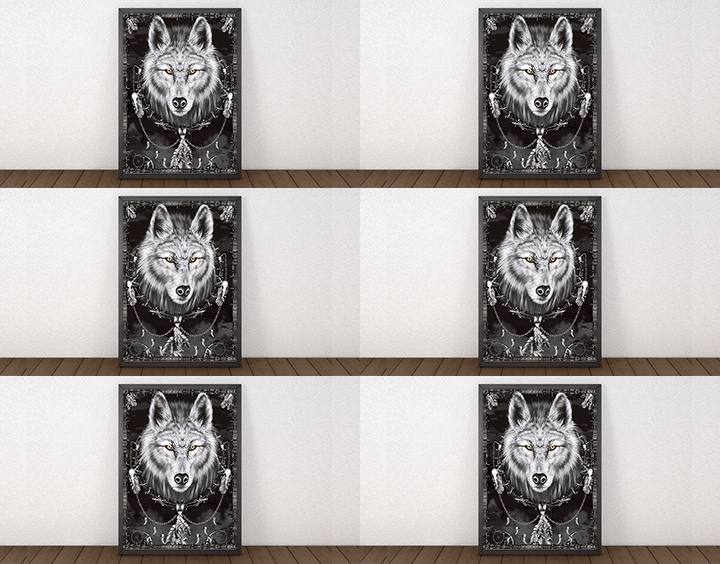
A lenticular print does something a flat print never can. Tilt it a few degrees and the image flips to a second picture, springs into 3D depth, or plays a short animation. That motion is why lenticular business cards, postcards, and posters get picked up, turned over, and remembered instead of dropped in a drawer.
The effect is not in the ink. It lives in a ridged plastic lens bonded to the surface, paired with an image that has been sliced and rearranged to feed each ridge a different view. Learning how to make lenticular prints is really about learning to prepare art for that lens. Once the setup clicks, the effect repeats on almost any product.
Want to see the finished result before you build one? Browse real printed pieces in our print showcase, and if you want the optical theory first, our companion guide on what lenticular printing is and how it works breaks down the science behind the shift.
How lenticular printing actually works
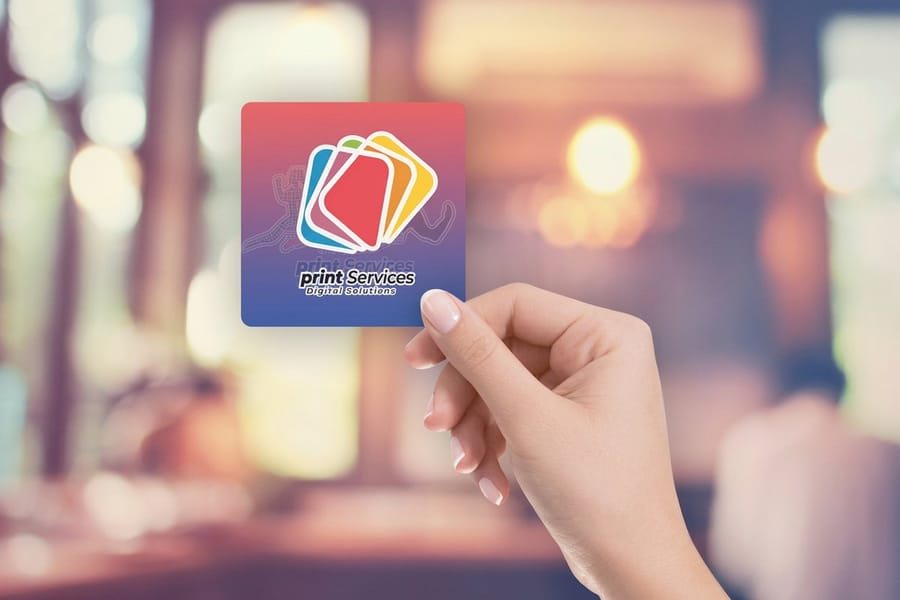
Every lenticular print has three layers working together. On top sits the lenticular lens, a sheet of clear plastic molded into rows of tiny half cylinder ridges called lenticules. Under it sits the interlaced image, a single file woven from two or more source pictures. Behind that is the substrate the whole thing is printed on or mounted to.
Each ridge acts like a magnifying strip. As your eye moves across the print, the lens bends light so you only see one thin sliver of the image at a time. Line those slivers up with the right source frames and your brain reassembles a flip, a depth effect, or motion. Get the alignment wrong and you see ghosting, a blur where two frames bleed together.
4OVER4.COM runs this as a dedicated production line. If you would rather hand off the technical bonding, our wonderfoil and lenticular print service handles the lens work while you focus on the artwork.
Flip, animation, 3D depth, morph, and zoom: pick your effect
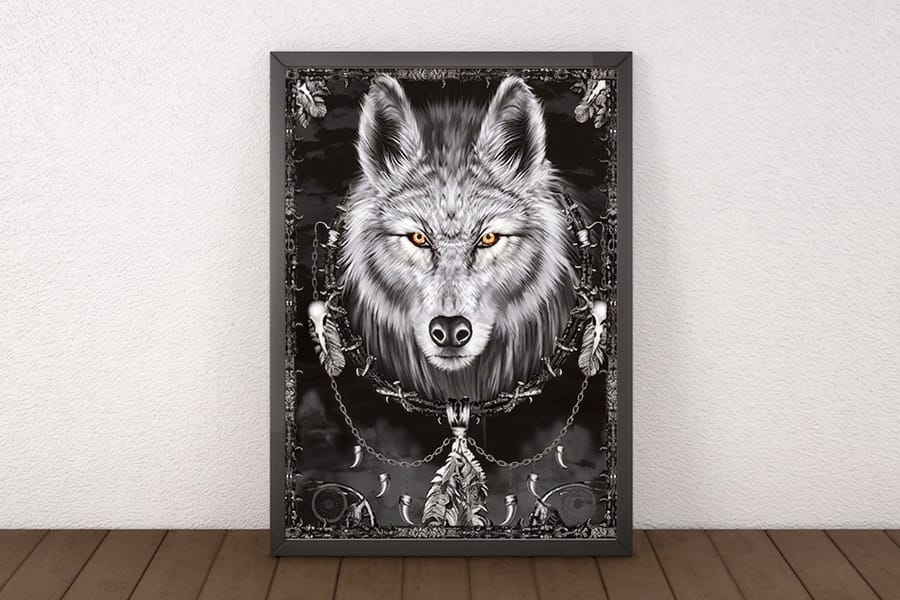
Before you touch a file, decide which effect you are building, because it changes how many frames you need and how you shoot or design them.
- Flip swaps between two images as the print tilts, perfect for a before and after or a logo that changes color.
- Animation plays four to twenty short frames like a tiny loop, so a character waves or a product spins.
- 3D depth uses layered art shot from slightly different angles to give real dimensional depth without glasses.
- Morph melts one image into another, and zoom pushes a subject toward or away from the viewer.
Flip and 3D are the friendliest place to start. Animation and morph look incredible but demand more frames and tighter alignment. Lenticular 3D postcards are a great first project, and the technique slots neatly into a wider marketing materials set so your whole campaign moves.
Choosing the right lens (LPI) for your project
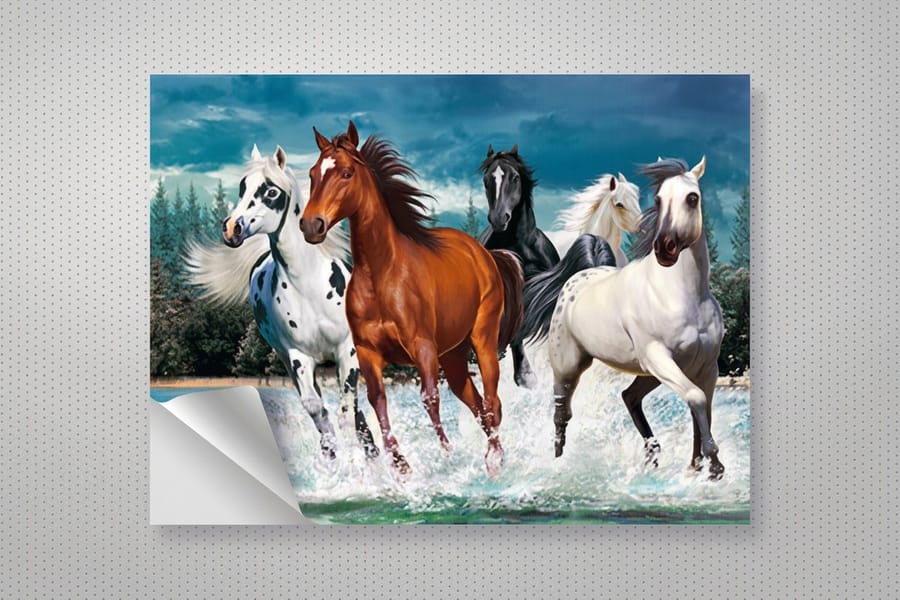
The lens you print behind is rated in LPI, or lenticules per inch. This single number decides how sharp your effect looks and how far away it reads. Lower LPI lenses have chunkier ridges that suit large posters viewed from a distance. Higher LPI lenses are finer and hold detail on something held in the hand.
A rough guide: 40 to 75 LPI works for posters and signage seen from several feet, while 75 to 100 LPI suits business cards, postcards, and stickers viewed up close. 3D effects usually want higher LPI for smooth depth, and fast flips can live at lower LPI. Unlike a purely ink based process such as flexographic printing, the lens pitch here is a physical part you match your file to, so confirm the exact LPI before you interlace.
Lenticular 3D business cards at 4OVER4.COM come matched to a set lens, which takes the guesswork out of this step.
Building your source frames
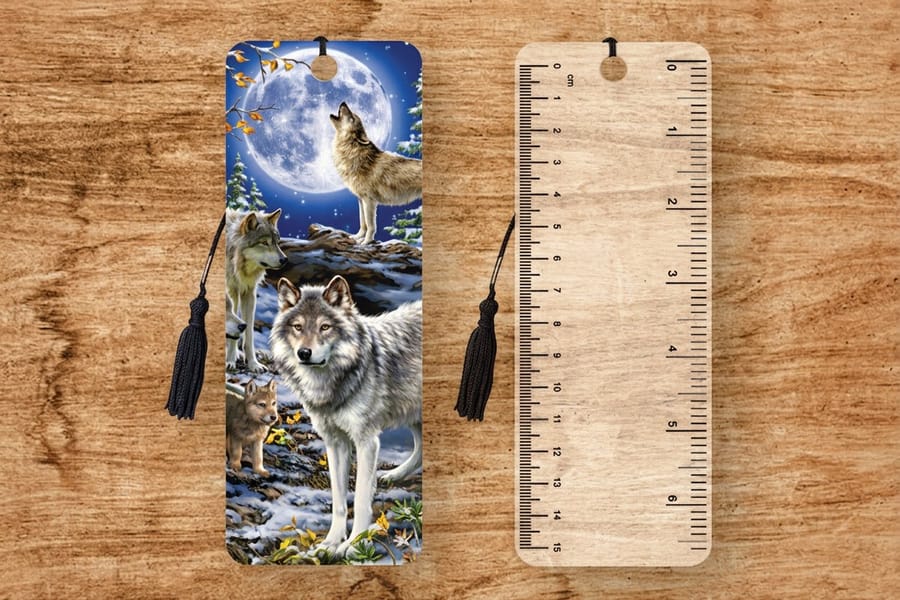
Your effect is only as clean as the frames feeding it. A frame is one complete image: one moment of the animation, one angle of the 3D scene, or one of the two pictures in a flip. Every frame must share the exact same canvas size, resolution, and framing so the interlacer can slice them evenly.
For a flip, prepare two finished designs. For an animation, export each step of the motion as its own frame. For 3D, either photograph the subject from several slightly shifted camera positions or build depth layers in your design software and let a 3D interlacer render the angles. Keep a fixed anchor point in every frame, something that does not move, so the effect pivots around it instead of drifting.
You can lay out flat frames the same way you would design a handout. If you are comfortable building a flyer, you can build lenticular frames, and our browser based online designer is a quick way to line them up.
Interlacing: weaving frames into one file
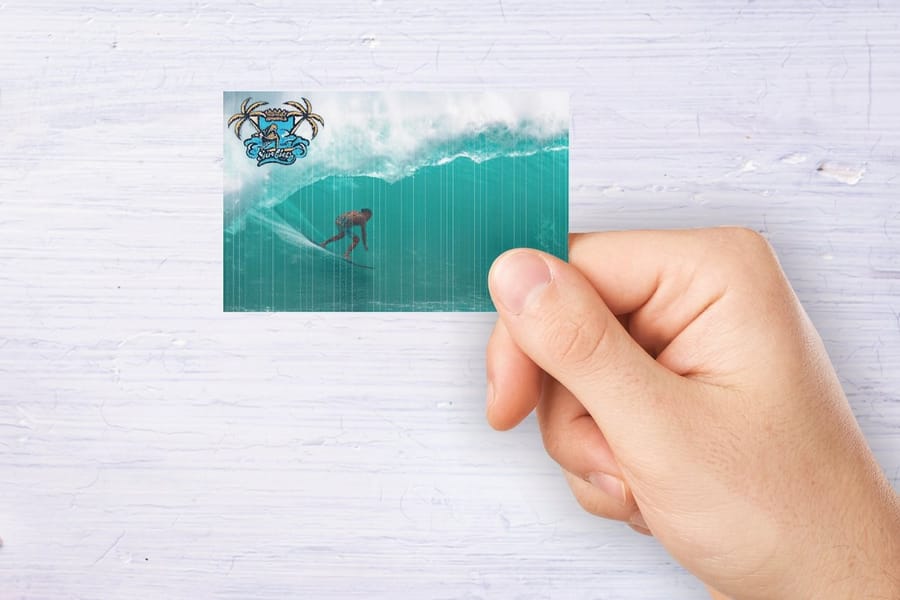
Interlacing is the heart of the whole process. Specialized software slices every source frame into fine vertical strips, then weaves those strips together in order so that one strip from each frame sits under a single lenticule. The output is one dense, striped master image that looks scrambled to the naked eye but reads perfectly through the lens.
The interlacer needs three inputs to get this right: your ordered frames, the exact lens LPI, and the final print resolution of the press. Feed it the wrong LPI and the strips will not line up with the ridges, which shows up as banding or a dead zone where the effect stalls. Because the strips are so fine, keep your colors clean and consider how a technique like spot color printing handles solid brand tones inside a busy interlace.
Save the interlaced file as a lossless format so compression never smears the strips together.
Can you make lenticular prints at home?
Yes, up to a point, and it is worth knowing where that point sits before you buy anything. The home route runs like this.
- Print the interlaced file on photo paper with an inkjet, at the highest resolution the printer offers. Plain paper spreads ink, and strips this fine cannot afford to spread.
- Buy a lens sheet and write down its stated LPI. That number is not a detail, it is the input the interlacer needs to slice against.
- Interlace at the lens pitch, in Photoshop or an interlacing tool, so your strip width matches the ridges exactly. Wrong pitch, no effect.
- Align by hand and hold it flat under glass. Slide the lens across the print until the effect snaps in, then weight it down.
Now the limits, because they are real. Registration drifts, so a hand-aligned sheet slips a fraction of a millimeter and the effect ghosts or goes dead across part of the image. Low-LPI sheets band, so you read the ridges instead of the picture. And without a laminator there is no way to bond the lens to the print under pressure, which leaves air and dust in the gap and lets the two layers separate over time.
Use the home route to test an idea before you commit artwork to it. Once the piece has to survive being handed to someone, the calibrated bonding is the job, which is why lenticular is usually ordered rather than made at a desk.
Setting up a print-ready lenticular file
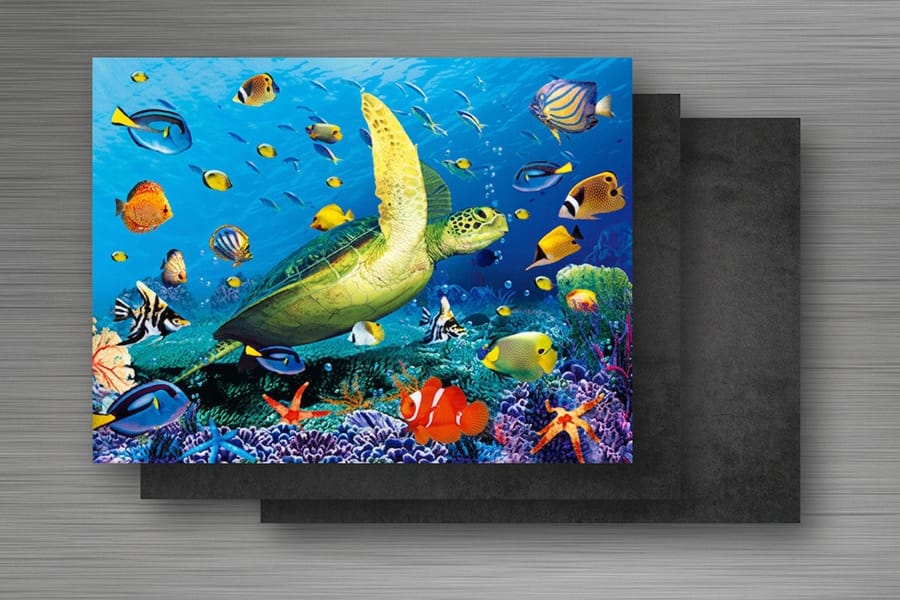
A print ready lenticular file is more demanding than a normal one because the alignment tolerance is tiny. Build the document at the printer native resolution, add the standard bleed on every edge, and keep the interlacing running in the correct orientation, vertical strips for a flip or animation and the direction your provider specifies for 3D.
Mark your file clearly, name the LPI and the effect, and keep the strips perpendicular to the lens ridges. This is the same discipline you use when you set up any precise print job, like following the fold marks when you learn how to fold a brochure. If you have never prepared a press ready file before, a low stakes order of free business cards is an easy way to practice bleed, resolution, and export settings first.
Send a proof friendly export and ask for a physical proof whenever the budget allows.
Printing, laminating, and bonding the lens

With the master interlaced and checked, the file goes to press. High quality lenticular work is printed at high resolution, then the lenticular lens is laminated directly onto the printed sheet under pressure so no air or dust gets trapped between the ink and the ridges. Precision here is everything, because the printed strips and the lens ridges have to marry up within a fraction of a millimeter.
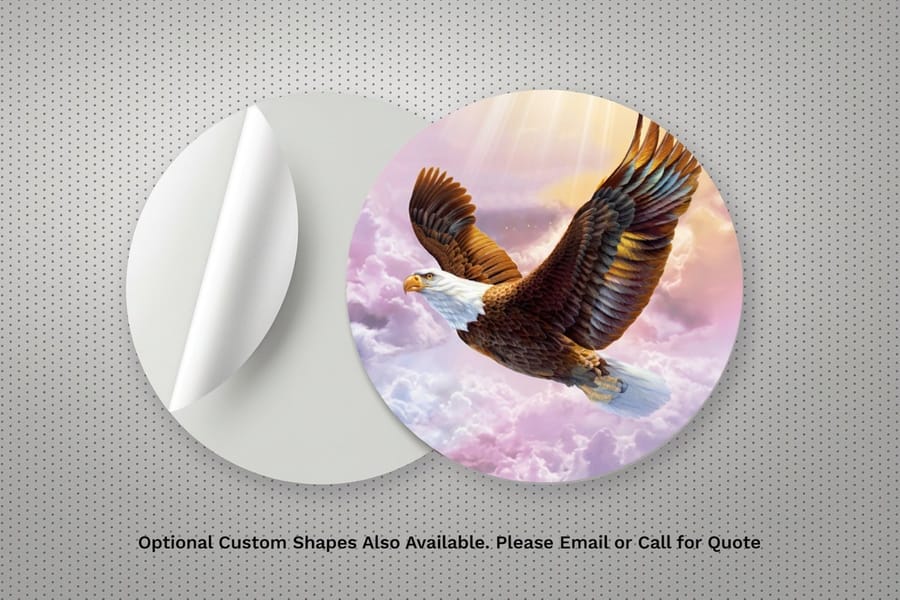
Two bonding methods dominate. In direct print, the image is printed onto the flat back of the lens itself. In laminate mounting, the image is printed on paper and the lens is adhered on top. Larger formats like lenticular 3D posters often use mounting, while smaller pieces such as lenticular 3D stickers can be printed and bonded in one tight pass.
This alignment step is why most people order lenticular from a shop with calibrated equipment rather than chasing it on a desktop printer.
Finishing, mounting, and quality-checking the effect

Finishing turns a bonded sheet into a product. The piece is trimmed so the lens ridges stay square to the cut, then it is mounted, magnetized, or die cut depending on what you are making. A lenticular sheet can become a rigid sign, a mailer, a magnet, or a card, and each format has its own trim and backing needs.
Handle the finished pieces by the edges, since fingerprints and scratches on the lens dull the effect. If your lenticular art is heading into a mailer, the same care applies as when you learn how to make envelopes that protect the print in transit. To carry the moving effect onto the fridge, our guide on how to make custom magnets pairs perfectly with lenticular 3D magnets.
Store finished lenticular flat and out of direct heat so the lens never warps.
Mistakes that flatten a lenticular print
Most failed lenticular prints trace back to a handful of avoidable errors, and knowing them up front saves a whole reprint.
Interlacing to the wrong LPI is the number one killer. The strips miss the ridges and the effect ghosts or disappears, so always confirm the exact lens pitch before you interlace. Too few frames makes animation and 3D look choppy, while drifting anchor points make the whole image swim as you tilt it. Low resolution frames turn into mush once they are sliced into thin strips, so start high.
The last common mistake is skipping a physical proof and printing the full run on faith. Tilt a single sample under real light first. When you are ready to go deeper on any print technique, our full guide hub collects every setup walkthrough in one place.
Wally explains lenticular
One lens, two pictures, endless double takes
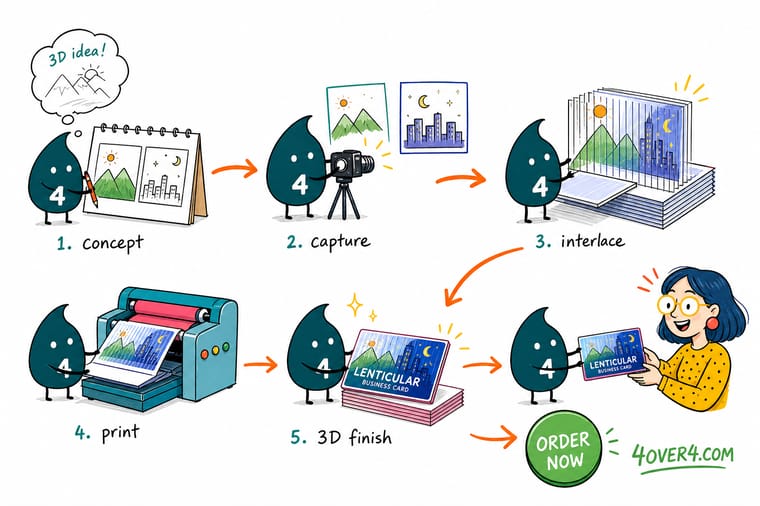
Wally thinks of a lenticular print as a tiny magic trick you can hold. The ridged lens hides two or more images and reveals just one at a time as you tilt it, so the picture flips, moves, or leaps into 3D. The whole craft is feeding the right sliced-up art to each ridge. Match the interlacing to the lens and the effect lands every time. Skip the guesswork and order lenticular built to your exact art at 4OVER4.
Order lenticular prints →Specs and pricing
3D lenticular business card specs and pricing
When you are ready to print, here is what a made to order 3D lenticular business card gives you at 4OVER4.COM, with live specs and price per unit straight from the configurator.

| Quantity | Price Per Unit | Total |
|---|---|---|
| 500 | $1.38 | $690.88 |
| 1,000 | 80.1¢ | $800.72 |
| 2,000 | 53.2¢ | $1,064.33 |
| 3,000 | 43.5¢ | $1,305.98 |
| 5,000 | 35.1¢ | $1,756.30 |
| 10,000 | 31.8¢ | $3,184.20 |
| 15,000 | 26.4¢ | $3,953.06 |
| 20,000 | 23.6¢ | $4,721.92 |
Print it
Order lenticular prints at 4OVER4


See it in use
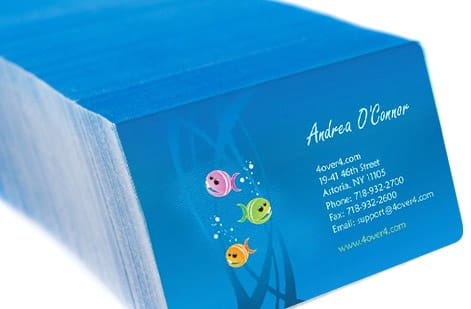
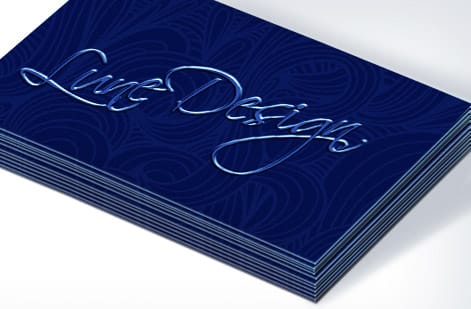
Real print work from our shop



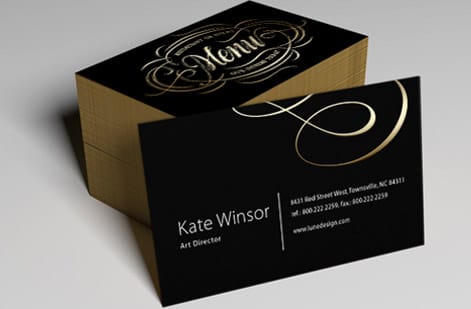

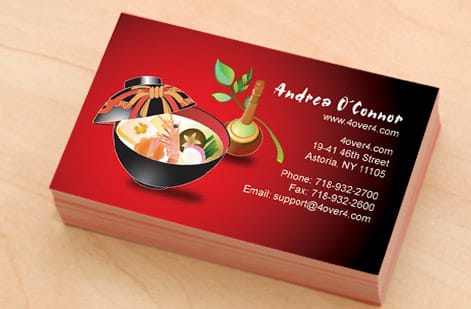
Explore more
Where to go next
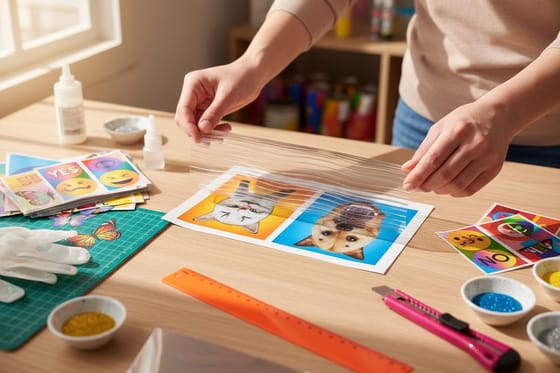
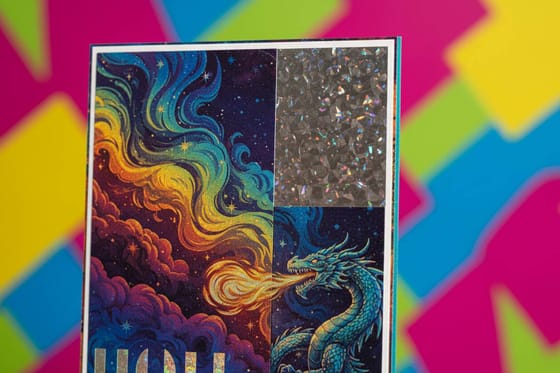


By the numbers
A thousand products, lenticular prints among them
Common Questions
Common questions about making lenticular prints
Can you give me some examples of lenticular printing?
The common ones are business cards that flip between a logo and a tagline, bookmarks that play a short animation, postcards with real 3D depth, and stickers and magnets that shift as you move past them. Packaging and point of sale panels use the same lens to catch a shopper on a shelf. Greeting cards are a favorite too, where snow appears to fall or a scene changes as the card is tilted.
How do you make lenticular photocards?
A photocard follows the same build as any small lenticular piece. Pick the lens first, and for something held in the hand that means a finer lens in the 75 to 100 LPI range. Prepare two matched photos for a flip, or a set of angles for 3D depth, all at the same canvas size and resolution with a fixed anchor point. Interlace them to that exact lens pitch, then print and bond the lens. Hand alignment drifts on anything larger than a card, so a calibrated bond is what keeps every copy identical.
What does a lenticular print cost?
More than a flat print, because the job adds interlacing, tight registration and a plastic lens on top of the ink. At 4OVER4.COM 3D lenticular business cards start at $690.88, and the price moves with size, quantity and the product you pick. The effect is the reason people keep the piece instead of dropping it, so the comparison worth making is against a card that gets thrown away rather than against the cheapest stock on the page.
What software do I need to make lenticular prints?
You need a dedicated interlacing program such as SuperFlip, 3DMasterKit, or a lenticular plugin for Photoshop. It slices your source frames into strips and weaves them to match a specific lens LPI. You still design the frames in normal tools like Photoshop or Illustrator, but the interlacing step is what a standard editor cannot do on its own.
What is LPI and how do I pick the right lens?
LPI stands for lenticules per inch, the number of lens ridges packed into each inch of the sheet. Lower LPI around 40 to 75 suits large posters viewed from a distance, while higher LPI around 75 to 100 holds detail on cards and postcards held close. Match your interlacing to the exact LPI of the lens you will print behind.
How many frames does a lenticular print need?
It depends on the effect. A simple flip uses just two images. A smooth animation usually needs eight to twenty frames, and a 3D depth effect commonly uses twelve or more angles for clean dimension. More frames give smoother motion but leave less resolution per frame, so balance frame count against the sharpness you want.
Can I make lenticular prints at home?
You can interlace files at home and even experiment with craft lenticular sheets, but consistent results need a press and lamination gear that align the image to the lens within a fraction of a millimeter. For anything customer facing, ordering from a shop with calibrated lenticular equipment is far more reliable than a desktop printer.
What is the difference between a flip and a 3D lenticular effect?
A flip swaps between two or more separate images as you tilt the print, so the picture changes. A 3D effect keeps one scene but adds real depth, making elements appear to sit in front of or behind the surface. Flip art is built from distinct frames, while 3D art is built from layered or multi angle views of the same scene.
Does 4OVER4.COM print custom lenticular products?
Yes. 4OVER4.COM prints 3D lenticular business cards, postcards, posters, stickers, magnets, bookmarks, notebooks, and greeting cards, each matched to a calibrated lens. Upload your interlaced art or supply your frames, and the production team handles the printing and lens bonding for a clean, repeatable effect.
Get Started
Ready to print a 3D lenticular piece?
Pick your product, upload your interlaced art or your frames, and we print and bond the lens so it flips, moves, and pops every time.
Legal Disclaimer
Gold Standard guarantees apply to all standard orders placed through 4over4.com. Price match requires verifiable proof of a competitor's published price for an equivalent product with matching specifications and turnaround time. Satisfaction guarantee covers manufacturing defects and print quality issues. Contact support with order number and documentation. On-time delivery rate based on tracked orders 1999 to 2026. Individual results may vary based on shipping carrier performance.
