
What Is Lenticular Printing and How Does It Work?


Lenticular printing layers an interlaced image under a ridged plastic lens, so a flat card can show depth, motion, or a full image flip as you tilt it. Here is how the effect works and where it pays off.
Lenticular printing pairs an interlaced image with a ridged plastic lens. Each tiny ridge points your eye at a different slice of two or more combined images, so tilting the print reveals depth, motion, or a complete image change with no screen and no app. It powers eye-catching business cards, bookmarks, greeting cards, and packaging.
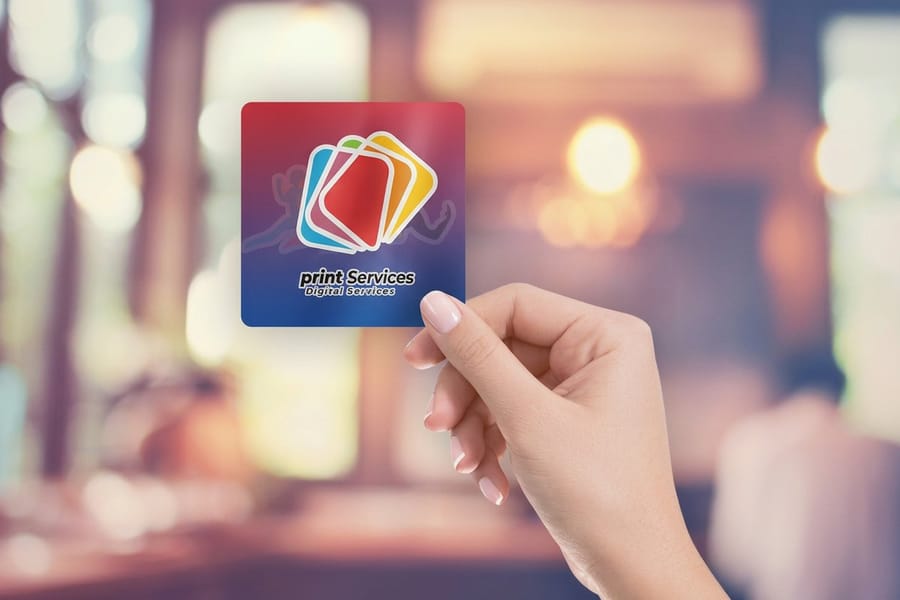
The short version
Lenticular printing in plain terms
Lenticular printing turns a flat sheet into something that moves. Interlaced images sit under a ridged lens, and as you tilt the piece the lens reveals different slices to create 3D depth, a flip between two designs, or short animation. The technique dates to the 1940s, but modern presses make it sharp, affordable, and easy to order. 4OVER4.COM prints lenticular products backed by more than 10,000 reviews and a track record of serving over 150,000 businesses.
Watch it printed
See 3d lenticular business cards on the press, in 149 seconds
How lenticular printing actually works
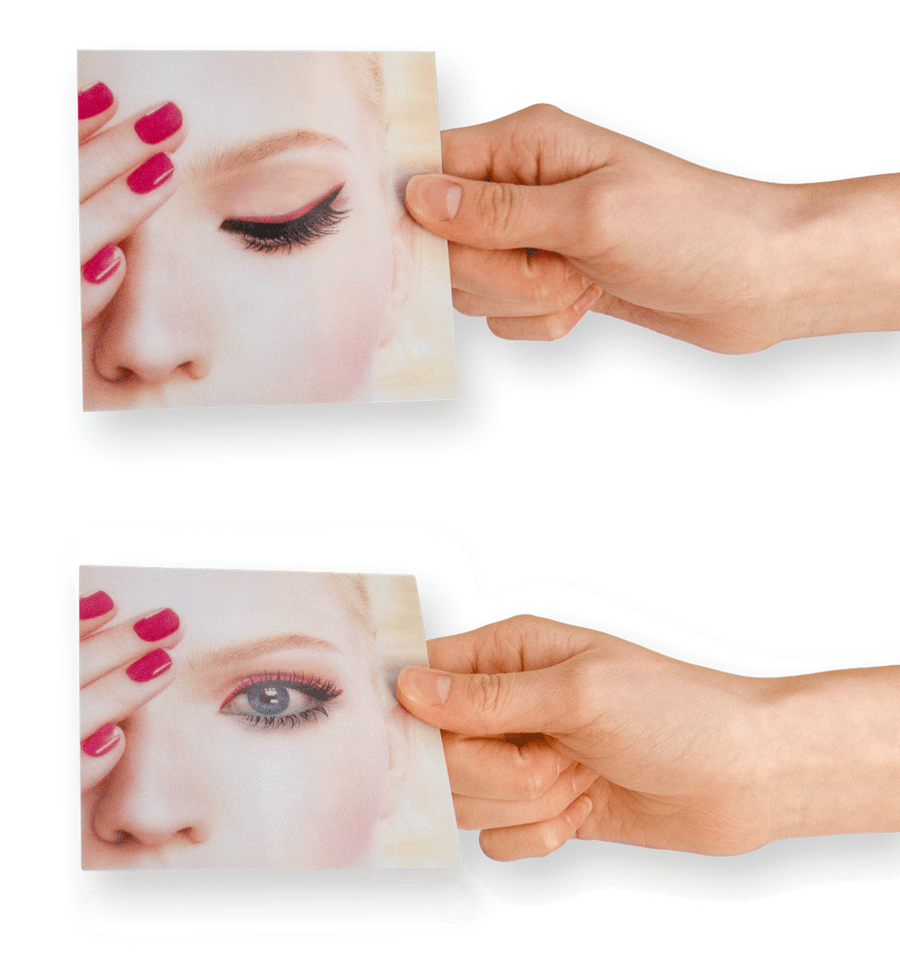
Lenticular printing works by pairing two things, an interlaced image and a lenticular lens sheet. First you slice two or more source pictures into narrow vertical strips and weave them into one composite file. Then a clear plastic layer covered in tiny parallel ridges, called lenticules, sits on top. Each ridge behaves like a miniature magnifying lens and points your eye at a different strip depending on your viewing angle.
Tilt the printed piece left or right and the lenticules reveal different slices of that composite. That shift is what your brain reads as movement, depth, or a full image change. Precision is everything here. The lenses per inch count, or LPI, has to match the interlacing resolution exactly or the effect falls apart, and a higher LPI gives smoother transitions and finer detail. If you have already handled the basics of print care like how to clean rubber stamps, lenticular opens a very different creative dimension.
Cut the card in half and you would see three layers: the stock, the printed strips, and the ridged lens bonded over them. One lenticule sits over exactly one A strip plus one B strip. Tilt left and the lens bends your line of sight onto the A strips, tilt right and it lands on the B strips, and your brain fills in the change as movement.
Getting there means slicing your source frames first. Interlacing takes two or more finished images, cuts each into strips the width of half a lenticule, and rebuilds them as one file in strict alternating order.
That is why lenticular files cannot be repurposed between lenses. A file interlaced for a 75 LPI card is wrong on a 40 LPI poster, because the strips no longer sit under the ridges. The interlacing and the lens are one specification, not two.
What the word lenticular actually describes
Lenticular means lens shaped. It comes from the Latin for a small lens, and it describes a profile rather than a product: a row of long half round ridges, each one a tiny cylindrical lens lying on its side. That is why the same word turns up in geology for a lens shaped rock body and in medicine for a part of the eye. In print it names the plastic sheet, never the ink.
The shape is the whole mechanism. Because each ridge is curved, it bends light from a narrow strip of the image below it toward your eye, and which strip that is depends on the angle you hold the piece at. Flatten the ridges and the effect vanishes, which is why the lens has to be molded rather than printed.
Four words cover the rest of the vocabulary.
| Term | What it means | Why it matters |
|---|---|---|
| Lenticular | Lens shaped, from the Latin for a small lens | Names the ridged sheet, not the printing |
| Lenticule | One half round ridge in that sheet | Each one feeds your eye a single strip |
| LPI | Lenses per inch across the sheet | 40 to 60 for posters, 75 to 100 and up for cards |
| Interlacing | Slicing frames into strips and weaving them into one file | Strip width has to match the lens or the effect fails |
The lenticular effects you can create
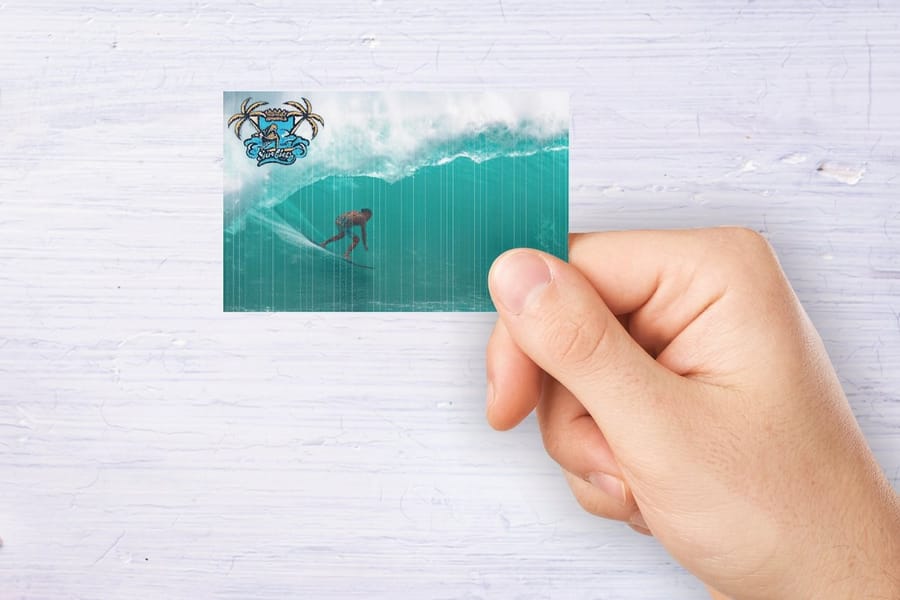
Lenticular gives you five core effects, and each one suits a different goal.
3D depth is the crowd favorite. It separates the foreground, midground, and background of one image onto different planes, so the finished print looks like a small window into a real scene. It flatters product shots, landscapes, and portraits.
Flip, sometimes called change, swaps between two completely different images. Tilt one way to show your logo, tilt the other way to reveal a tagline or a second design. It is perfect for before and after reveals or bilingual messaging. For more layouts that play with visual surprise, see how to fold a brochure.
Animation strings 8 to 15 frames together like a tiny flipbook to fake motion, think a spinning logo or a waving hand. Morph melts one image into another across 10 to 20 in-between frames, so a caterpillar can become a butterfly. Zoom makes a single element grow or shrink as you tilt, which is great for spotlighting one hero product.
Use the strip above to pick before you design. Frame count is the real decision: two frames and you are designing two posters that share a card, a dozen and you are designing a short animation where every frame has to read at postage-stamp size.
Where lenticular printing gets used
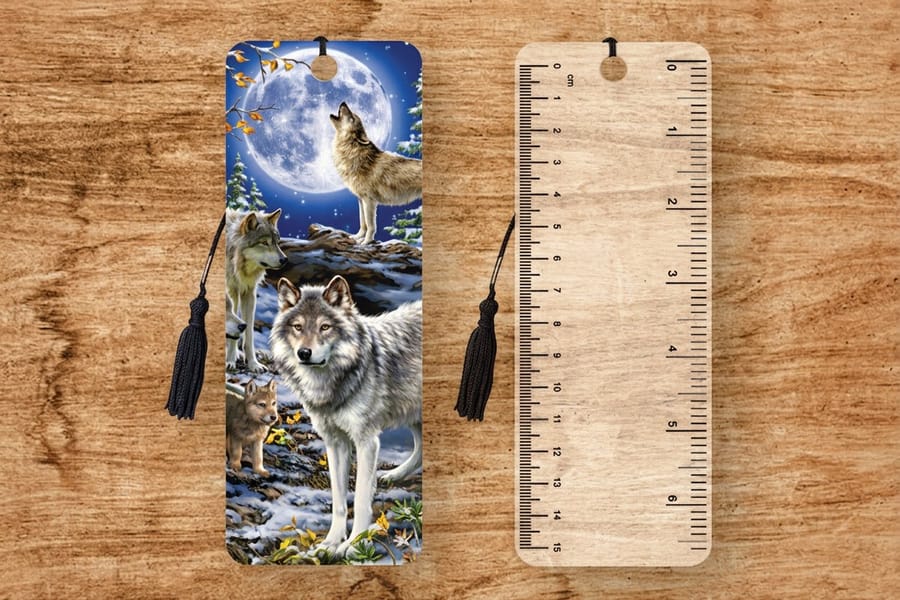
Almost any flat print gets more attention with a lenticular treatment. These are the formats people reach for most.
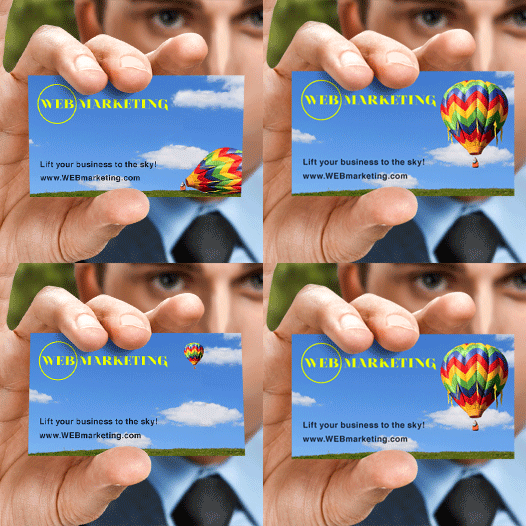
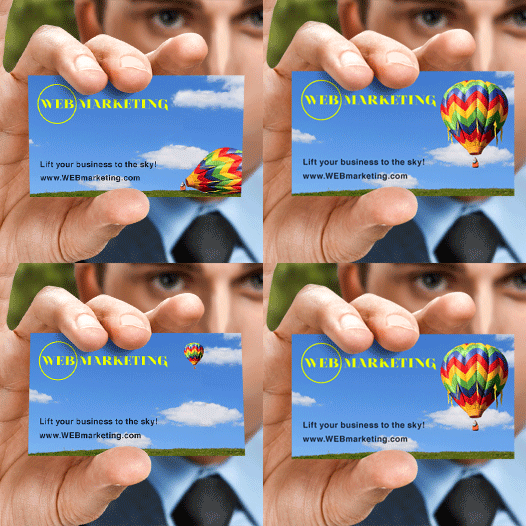
Business cards are the classic use. A lenticular card is impossible to ignore in a stack of plain stock, which is why 3D lenticular business cards let you pick flip, 3D, or animation so the card talks before you do.
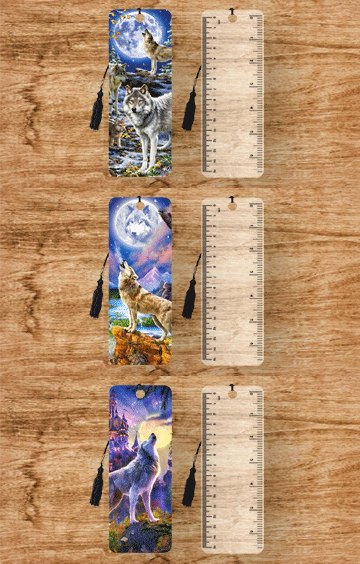
Bookmarks are a natural fit too. Libraries and publishers hand out 3D lenticular bookmarks as giveaways that people actually keep, because an animated scene turns a simple bookmark into a collectible.
Packaging and point of sale displays use lenticular panels to catch shoppers on a crowded shelf. A cereal box with a 3D character stands out in ways flat packaging cannot match.
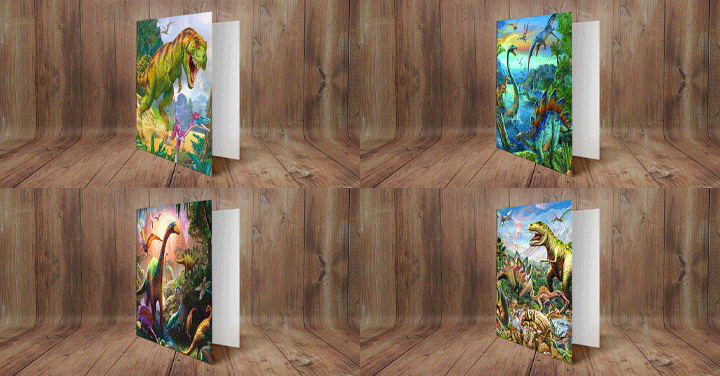
Greeting cards and invitations get a real upgrade, like a holiday card where snow appears to fall or a wedding invite that flips between the couple and the event details. Pair 3D lenticular greeting cards with custom envelopes by following how to make envelopes. For a full campaign, our guide to making flyers rounds out the print mix.
Setting up your lenticular print files

Prepping files for lenticular is different from a standard print job. You do not send one flat image. You send the individual source pictures, or the frames for animation, and the printer interlaces them. Those source files need to be high resolution, at least 300 DPI at final size and higher for busy animations.
For 3D depth, supply a layered PSD or AI file with each depth plane separated, since the more layers you split, the more convincing the depth. For flip and morph, send each image as its own high-res file at matching dimensions, resolution, and color profile, because mismatched files cause the registration errors that ruin the effect. For animation, export a numbered sequence and keep the motion simple and bold, as fine detail gets lost in the interlacing.
Color needs a little planning as well. The lens sits over the ink and mutes color slightly, so push your saturation up by 10 to 15 percent during prep. Always order a free sample kit to see how your colors read under the lens before you commit to a full run.
Choosing the right LPI for your project
LPI, or lenses per inch, sets both the quality and the kind of effect you can pull off. Lower counts in the 40 to 60 LPI range suit large format work like posters and signage where people stand a few feet back. Higher counts from 75 to 100 plus LPI are made for handheld pieces like business cards and bookmarks viewed just inches away.
LPI also caps how many frames you can interlace. A 75 LPI lens holds more frames than a 40 LPI lens at the same size, so animations run smoother and morphs feel gradual. The trade off is that high-LPI lenses are thinner and more delicate, which makes them a poor match for outdoor signage that has to survive weather. Large 3D pieces like 3D lenticular posters lean on lower LPI for exactly that reason.
Want the full production walk-through? Our companion guide on how to make lenticular prints covers concept to finished lens. Browse the wider printing guide hub for more, and if you like tactile products that people hold onto, custom magnets and 3D lenticular magnets are worth a look.
DIY lenticular printing vs professional printing
You can buy blank lenticular sheets online and try this at home. People do it, and for a one-off art piece it can be fun. Here is the honest version of how it goes.
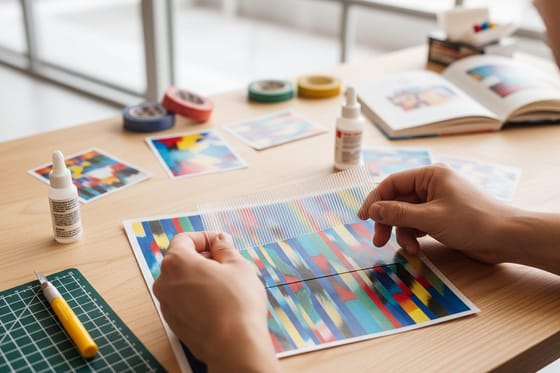
The at-home route is: interlace two images in software, print the composite on an inkjet, then lay a bought lens sheet over it and slide it around until the effect snaps into focus. Two things decide whether it works. The first is pitch matching. Your interlaced strips have to be the exact width of the lens ridges, and the pitch printed on the packaging is nominal, so most people run a pitch test print, a fan of slightly different strip widths, and pick the band that looks cleanest. The second is registration. The sheet has to sit square and stay square while the adhesive sets, because a rotation of a fraction of a degree across a card makes the effect drift from one end to the other.
What holds it back is not skill, it is tolerance. Inkjet paper stretches as the ink dries, so the strips you printed are not quite the width you calculated. Hand alignment gets you close on a business card and falls apart on anything postcard sized or larger. And you are aligning by eye, once, with adhesive that gives you seconds to fix it. The usual results are ghosting, where both images show at the same time, and banding, where the effect works in one corner and not the other.
The professional route is only worth the money in specific places, so here is where the line sits. Go professional when the piece is larger than a business card, when the run is more than a handful of copies, when you need more than two frames, when the effect has to look identical on every copy in the box, or when the piece is going to a customer rather than onto your own wall. A press prints the interlaced image directly onto the back of the lens itself, in register, with the pitch measured rather than guessed, which is the part a hand and a bottle of adhesive cannot reproduce.
If your project sits on the professional side of that line, browse the full range of lenticular printing products and pick the format before you start designing, because the lens decides the frame count and the frame count decides the artwork.
Lenticular vs holographic and AR prints
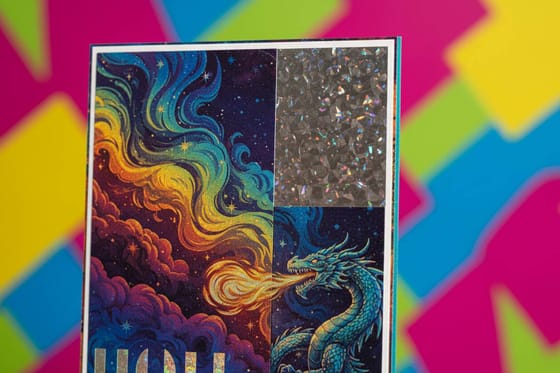
People mix up lenticular with holographic foil and AR prints, but they are not the same. Holographic foil uses metallic layers to throw rainbow shifting patterns. It refracts light, it does not show real images or animation, so it reads as decorative rather than informational.
AR, short for augmented reality, needs a phone and an app to scan a trigger and overlay digital content, while the print itself stays flat and static. Lenticular needs no app, no phone, and no viewer. Pick it up, tilt it, and the effect is already there. That self-contained quality is what makes it so strong for trade shows, retail, and direct mail, where asking someone to download an app kills the moment. A lenticular print also outlives digital gimmicks, since an AR experience depends on app support and server uptime while a lens keeps working the same way years from now. For a metallic 3D finish in the same family, explore Wonderfoil lenticular printing.
Why lenticular works, and how it is made
Why does lenticular earn its keep? Three reasons stand out. It is attention grabbing, lifting visibility by as much as 300 percent over static art, which suits stores, events, and ads. It is interactive, giving viewers moving visuals with no extra tools and pulling more engagement on packaging and campaigns. And it is durable, since the print lives under a sturdy lens that shrugs off scratches and wear for cost-effective long-term use.
The making of a lenticular piece follows four steps. You capture or build high-quality images from slightly different angles to create multiple viewpoints. You interlace those images into one composite with specialized software, keeping alignment tight for clean transitions. You apply the lenticular lens over the interlaced print, calibrating its position for clarity. Then you test from several angles to confirm the depth reads right.
You can prep all of this yourself in the browser with the online designer, and every lenticular order is backed by eco-friendly printing practices. Ready to shop the range? The full lenticular printing collection gathers every format in one place.
Mistakes that ruin lenticular projects
Even people who know the process trip over the same errors. Dodge these and your results stay sharp.
Starting with low-resolution source images is the big one. Interlacing slices your art into very thin strips, so any softness gets amplified. Begin at 300 DPI minimum, and 400 DPI or higher for animation sequences.
Overcrowding the frames comes next. Cramming 20 plus animation frames into a low-LPI lens produces a muddy, ghosted result, so keep the count realistic. Eight to twelve frames is the sweet spot for most handheld pieces.
Ignoring color shift under the lens catches first timers off guard, because the plastic layer dulls color. Boost saturation in prep and always proof before the full run. Finally, choosing the wrong effect for the product wastes budget. A dense animation on a tiny business card looks cluttered, so save detailed animation for larger formats like bookmarks or postcards.
Wally explains lenticular printing
One lens, two images, zero batteries
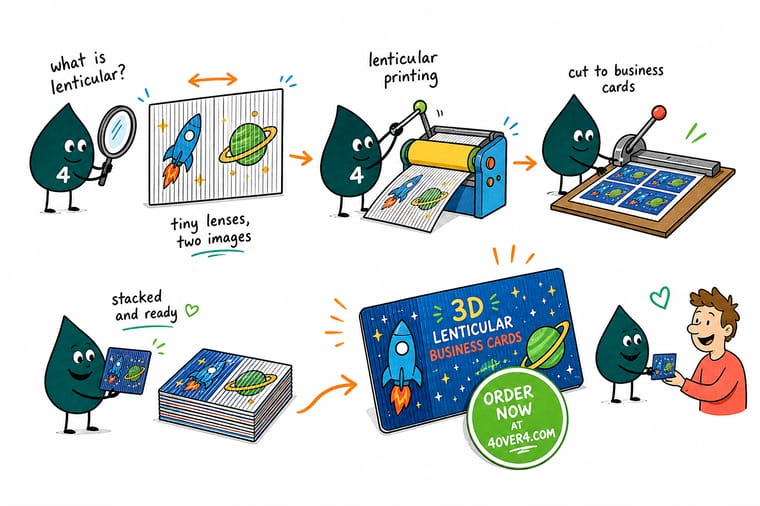
Wally holds a lenticular card up to the light and tilts it, and the ridged lens hands each eye a different slice of the artwork, so a logo becomes a tagline and a flat photo gains real depth. No app, no screen, just optics doing the work. Start from a flip or a 3D effect, keep your source files sharp, and let 4OVER4 handle the interlacing and the lens.
Order lenticular business cards →Specs and pricing
Lenticular business card specs and pricing
Here is what a made-to-order lenticular business card gives you at 4OVER4.COM, with live specs and price-per-unit straight from the configurator. Bookmarks, greeting cards, and postcards follow the same lens build at their own sizes.

| Quantity | Price Per Unit | Total |
|---|---|---|
| 500 | $1.38 | $690.88 |
| 1,000 | 80.1¢ | $800.72 |
| 2,000 | 53.2¢ | $1,064.33 |
| 3,000 | 43.5¢ | $1,305.98 |
| 5,000 | 35.1¢ | $1,756.30 |
| 10,000 | 31.8¢ | $3,184.20 |
| 15,000 | 26.4¢ | $3,953.06 |
| 20,000 | 23.6¢ | $4,721.92 |
Print it
Order lenticular products at 4OVER4
Start from a template
Free lenticular design templates
Skip the blank canvas. Drop your art into a ready-made layout sized for lenticular lenses, then send it straight to print.
Explore more
Where to go next



By the numbers
The shop that sits behind the lens sheet
Common Questions
Common questions about lenticular printing
What is another word for lenticular?
Lens shaped is the plain English equivalent, and biconvex is the technical one, meaning curved outward on both faces like a classic magnifying lens. In print you will also hear the sheet called a lens array or simply the lens. The ridges themselves are lenticules.
What is a lenticular cataract?
That is a medical term and it has nothing to do with printing. It refers to a clouding of the lens inside the eye, and the word lenticular is used there for the same reason it is used in print, because the part is lens shaped. If you searched for the eye condition, a doctor is the right source. If you searched for the print finish, the ridged plastic sheet described on this page is what you want.
Is lenticular the same as 3D?
Not quite. 3D depth is one of several effects a lenticular lens can produce, alongside flip, animation, morph and zoom. A 3D lenticular print separates a scene onto different planes so it gains real depth with no glasses. A flip print uses the same lens to swap between two unrelated images instead. So every 3D lenticular piece is lenticular, but plenty of lenticular pieces are not 3D at all.
What is lenticular printing used for?
Lenticular printing shows up on business cards, bookmarks, greeting cards, packaging, point of sale displays, and direct mail. Any printed piece that gains from motion, depth, or an image change is a strong candidate. 4OVER4.COM offers lenticular options across several formats for both personal and commercial work.
How many images can I combine in one lenticular print?
Flip effects work best with two images. Animation usually runs 8 to 15 frames for smooth motion, and a 3D effect uses a single image split into layers. The lens LPI and the print size set the ceiling on how many frames you can interlace before the effect softens.
Do lenticular prints cost more than standard prints?
Yes. Lenticular costs more than flat printing because it needs specialized interlacing, precise registration, and a plastic lens on top. For business cards and promotions where standing out is the whole goal, the attention it earns usually justifies the difference.
Can I design my own lenticular files at home?
You can prepare the source images at home in Photoshop or Illustrator. Send high-resolution files at 300 DPI or more, with separated layers for 3D or individual frames for animation. 4OVER4.COM handles the interlacing and lens alignment during production, so you do not need special lenticular software.
How durable are lenticular prints?
Very durable. The plastic lens shields the printed image from scratches, moisture, and everyday wear, so lenticular cards and bookmarks hold up well in wallets and drawers. The effect is a physical property of the lens, so it does not fade or degrade over time.
What file format should I use for lenticular printing?
Send source files as high-resolution TIFF, PSD, or PDF, and for animation export the frames as a numbered TIFF sequence. Avoid JPEG, because its compression adds artifacts that show up after interlacing. Work in CMYK at 300 DPI or higher.
Get Started
Ready to make print that moves?
Pick a lenticular format, choose a flip, 3D, or animation effect, and drop in your art. We handle the interlacing and the lens so every tilt lands clean.
Legal Disclaimer
Gold Standard guarantees apply to all standard orders placed through 4over4.com. Price match requires verifiable proof of a competitor's published price for an equivalent product with matching specifications and turnaround time. Satisfaction guarantee covers manufacturing defects and print quality issues. Contact support with order number and documentation. On-time delivery rate based on tracked orders 1999 to 2026. Individual results may vary based on shipping carrier performance.
