Content Hub
Stories, Ideas and Advice — Page 39
 story
story How to Layout Business Cards for Printing?
To layout business cards for printing, set the card size to 3.5 x 2 inches with a 0.125-inch bleed on all sides, ensuring important elements are within the 3.25 x 1.75-inch safe area. Use a high-resolution of 300 DPI and the CMYK color mode for print quality. Save the file in a print-ready format like PDF or TIFF with the correct bleed and crop marks included. Business cards are a marketing mainstay. However, business card information layout is challenging if you are unfamiliar with the process or technical requirements. So, we'd see how to layout and design business cards for printing to look attractive and consistent. We will also look at how to make your business card and the relevant information to put on your business card. After all, your business card represents you and your brand. Essential Design Elements for Business Cards The best business card design is attractive and orderly. But what design elements should a standard business card contain? Company logo : Your logo should feature prominently on the design. Some designs center the logo so that it's eye-catching and bold. In other formats, they appear to the top left/right, bottom center, or extended to the edges. Contact information: This includes your name, job title, company name, phone number, email address, and physical address (if applicable). Ensure this information is easy to read and properly formatted. White spaces: They are the space around the design elements on your card. White spaces help to declutter your design and enhance readability, so use them generously. Typography: Your font choice will impact your design's readability and visual appeal. Hence, use clear, legible fonts and avoid using too many different fonts. Images: Are you including images on your design? Ensure they are high-quality and relevant to your brand. You can place images side by side on the back of your card. Bleed and safe zone: Bleed is the area beyond the edge of the card that we trim during printing. However, the safe zone is the area within the card's borders where you should place essential design elements to ensure they are not cut. Ensure that your design considers these technical requirements. Step-by-Step Guide: How to Layout Business Cards for Printing Once you have a design in mind, consider professional digital printing services to bring your vision to life. These services can ensure high-quality printing and precise cutting for your fold-over business cards.Here is a step-by-step guide on how to layout business cards for printing: Step 1: Choose the right size and orientation Standard business cards measure 3.5 inches by 2 inches. This is the most popular size, but you have other options. Also, consider your card's orientation since this will impact the layout. The portrait orientation is popular, but the landscape mode looks novel. Step 2: Set up the document On your design software, create a new document and set the dimensions to your chosen size. Set the resolution to at least 300 DPI and choose CMYK color mode for print. Then add a bleed area of 0.125 inches around the edges of the document so there are no white spaces after trimming. Step 3: Choose the design elements Choose the design elements we mentioned, such as the company logo, contact information, white space, typography, and images. Remember, your chosen elements should be consistent with your brand identity. Step 4: Arrange the elements Arrange the design elements in a visually appealing and easy-to-read manner. Use a grid or alignment tool in your design program to properly align all the pieces. Then use enough white space to create balance. Step 5: Check the layout Ensure that all the design elements are within the safe zone and no information is outside the bleed area. Then, make the needed changes to align and position everything. Step 6: Save the file Save the file in a high-resolution format, such as PDF or TIFF, to preserve your colors during printing. Step 7: Submit for printing Submit the file on 4OVER4 to print business cards online. We'll review your design and send you free proof. You can edit your artwork and print when it’s perfect. Avoid These Common Mistakes as You Design a Business Card These are some mistakes that you should avoid when laying out your card design: Using low-resolution images Having a cluttered design without sufficient white space Using the wrong color mode Not including adequate bleed and safe zone Using too many fonts or fonts that are difficult to read Inconsistent branding in font and color choice Not proofreading to avoid spelling mistakes or incorrect information Effortless Design with Free Business Card Templates For those who may feel overwhelmed when they design a business card, a treasure trove of pre-designed templates is at your fingertips. Free business card design templates are revolutionary tools that allow anyone to curate professional and attractive cards with ease without deep knowledge of layout principles or design software. 4OVER4.COM offers an expansive selection of these templates tailored to various professional contexts—from corporate to creative, minimalistic to ornate, all depending on your card needs. The business card safe zone is already marked in the templates, giving no room for errors. Seamlessly integrate your personal details into these templates, which have been crafted with an understanding of balance, hierarchy, and aesthetic appeal. They are not only fashioned to be visually engaging but also align with printing specifications, including bleed and safe zones. This ensures a hassle-free transition from digital design to physical card, culminating in a polished and effective networking tool that impresses at first sight. Utilizing these resources, you’ll display efficiency and flair in your marketing strategy, proving that sophistication in design is readily accessible with just a few clicks. Key Elements of an Effective Business Card Layout There are important elements you must keep in mind when you design your business card. Many elements, such as your logo, contact information, and typography, help to produce an exceptional custom business card layout. But you must be attentive to the hierarchy of your design so that any viewer can understand the most important information on your business card. And that’s how to lay out personal business cards for printing. Finally, you should check out our cost-effective Standard business card product or browse our Wood, Metal, or Plastic cards for unique designs to order online.See our ultimate guide to business card printing for more information. FAQS Q: What contact information should I put on my business card? A: You should include your name, job title, phone number, email address, and company website (if applicable) on your business card. Q: How do I design a creative business card? A: To design a creative business card, you can play with unique shapes, colors, materials, and textures. Make sure the design reflects your brand and stands out from the crowd. Q: Can you provide some examples of great business card designs? A: Some examples of creative business card designs include ones with interactive features, unconventional materials, bold typography, and innovative layouts. Q: What should I include on the back of my business card? A: On the back of your business card, you can add additional information such as a tagline, social media handles, a QR code, or a brief list of services you offer. Q: How can I create a personal and professional business card? A: To create a personal and professional business card, make sure to balance your creativity with the necessary contact information and branding elements that represent your business effectively. Q: What are the benefits of using a business card stand? A: A business card stand helps keep your cards organized and easily accessible, making it convenient for potential clients or contacts to pick one up. Q: What information is essential to put on a business card for a small business owner? A: As a small business owner, make sure to include your business name, logo, tagline, and contact information, such as your phone number, email, and website, on your business card. Q: How can I learn how to design my own professional business card? A: You can learn how to design your own professional business card by researching design trends, using online design tools, or hiring a graphic designer to help create a custom card that suits your brand.
 story
story How To Make A Custom Dry Erase Board On A Budget
source Dry erase poster boards are a great way to bring in new content always for your business. Dry Erase Board Designs With so many styles of dry erase poster boards out here, it should become clear why having the right one is so important for the particular message you want to convey. Think hard about what your dry erase templates will communicate what your brand is about and help you seal the deal with your clients. Don’t be afraid to get an original dry erase board just like the one we’ve shared here. After all, the right one might just be what sparks the interest of a new customer! Let your creative self shine by displaying all your amazing ideas on a blank dry erase board that you can customize with different designs and get a feel of what the final look will be.
 image
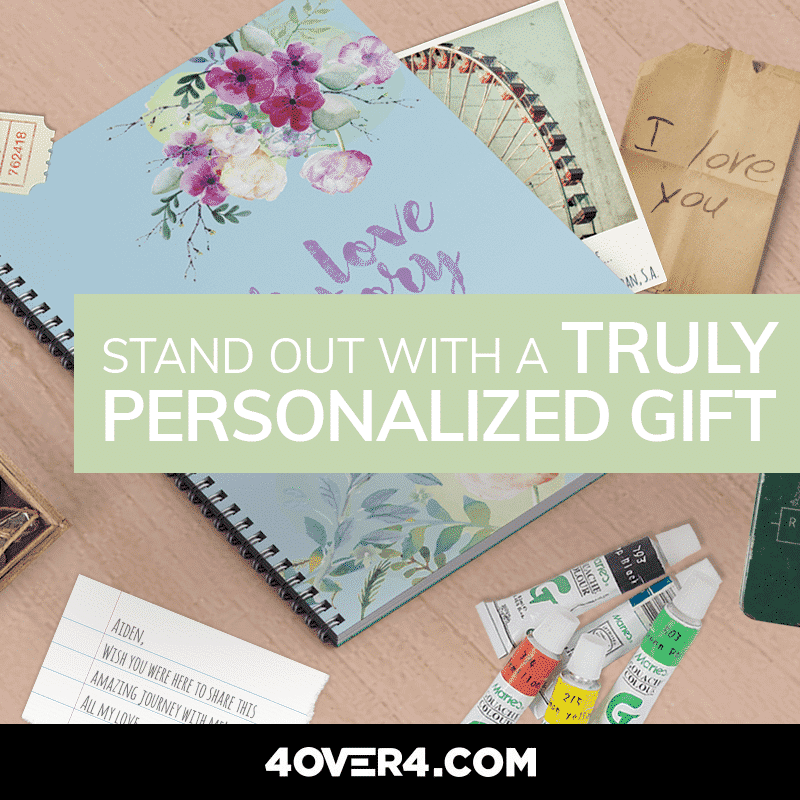
image How to Make a Scrapbook: A Perfect Gift for Your Loved Ones
In a world where everyone is used to digital photos and Facebook memories, taking the time to create a personalized gift idea is the perfect way ...
 story
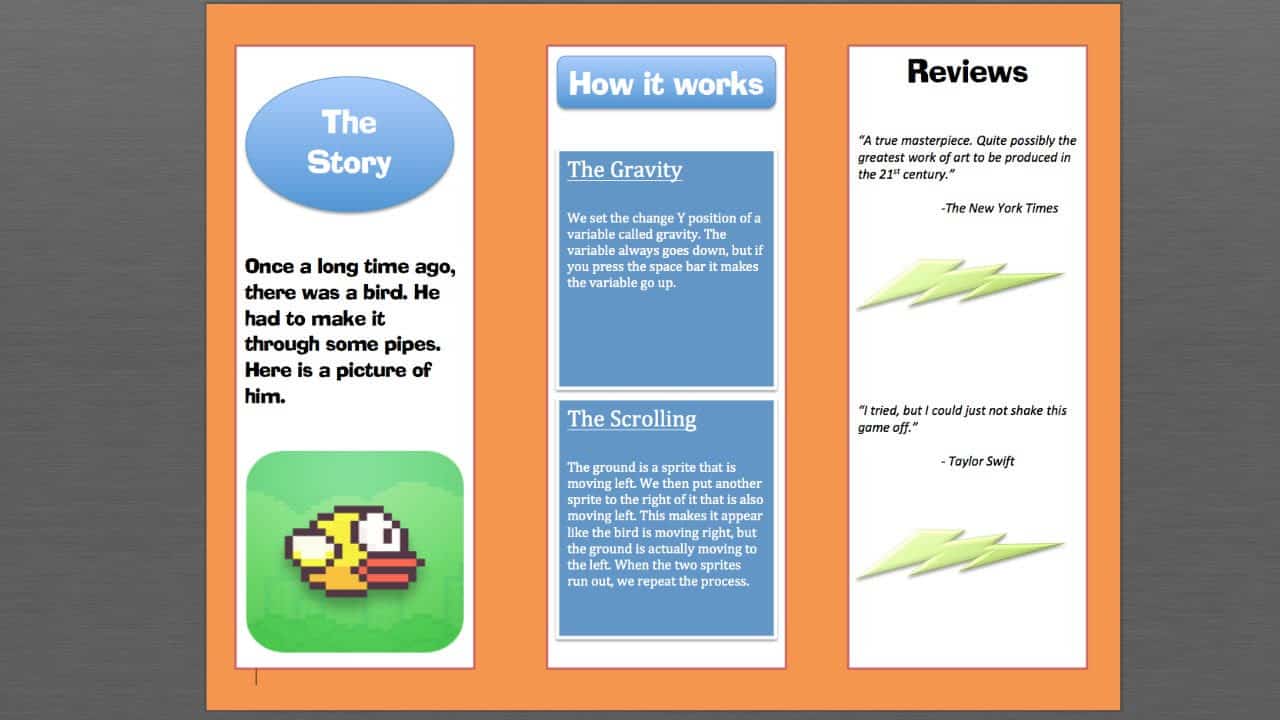
story How to Make a Stunning Custom Brochure in Microsoft Word
source Want an easy way to make your own brochure? Here is an easy step by step tutorial. Custom Brochure Templates With so many styles of brochures out here, it should become clear why having the right one is so important for the particular message you want to convey. Think hard about what your brochure design will communicate what your brand is about and help you seal the deal with your clients. Don’t be afraid to get an original custom brochure just like the one we’ve shared here. After all, the right one might just be what sparks the interest of a new customer! Let your creative self shine by displaying all your amazing ideas on a blank custom brochure that you can customize with different designs and get a feel of what the final look will be.
 story
story How to Make a Unique Magnetic Calendar
Calendars are crucial for every business and benefit in several ways. Making a unique magnetic custom calendar or dry erase calendar helps the receiver remember your brand and keep it for a year. The calendar helps you with organizing and planning as well as keeping you keep up-to-date with occasions and events. According to a study of calendar usage in the workplace 2011, 84% of people say calendars are essential in daily work activities. Whether deadlines, business meetings, or birthdays, you’ll always be amazed to have a calendar by your side. It is a great tool to promote and create awareness for your business . Branded calendar advertising, particularly magnetic calendar for fridge, enhances visibility for your customers makes it even more useful for your brand. Are you wondering how to personalize your calendar or make it unique? One of the most exciting ways that you may try is the use of magnets. They are not just useful but also an engaging way to reinforce your business, akin to employing a magnetic dry erase calendar whiteboard calendar whiteboard for constant brand presence. Let us check out some of the best industries that thrive with custom promotional magnetic calendars and how to make the calendar magnets. Which type of magnetic calendar is more effective in marketing? Imagine there are two types of magnetic calendars: small and big. The big one is like a mini poster, and the small one is like a postcard. Well, both are good for marketing, but the big one is more effective because it has more space to put information on, like your company logo and contact details. So, the big magnetic calendar is the winner for marketing! Best Industries for Magnetic Calendar Use Magnetic Calendar for Universities and Schools Ensure your school students, their parents, teachers, and other staff are well-informed about school events and schedules with magnetic calendars. It is practical, convenient, and a great reference tool for holiday schedules, sports, and events dates, etc. Calendar Magnets for Real Estate Agents Realtors can use calendar magnets to reach out to potential clients throughout the year. Choose from monthly or year-at-a-glance designs anytime, which is essential to gain valuable information apart from effective marketing. Servicing Businesses Magnetic Calendars Magnets can significantly enhance the visibility and prominence of servicing businesses like plumbing, home repair, lawn care, etc. Replacing your traditional business cards with custom calendar magnets can help the clients place your contact information right in front of their eyes. This way, your customers can get instant access to your business. Magnetic Calendars for Restaurants and Bars How about handing out the favorite sports team schedule to your restaurant customers? Let them gather in your bar or restaurant for the big game by handing out magnetic restaurant calendars and let them come back for every event. Spiritual and Religious Organizations The religious non-profits like synagogues, mosques, or churches can remind their visitors and members about future events with custom printed magnetic calendars. Design your custom printed calendars or customize your designs as per your choice with a trusted printing company like 4OVER4. How to Make Calendar Magnets Are you wondering how to make a magnetic calendar? It is super easy and fun to create one. Ensure you have the following things handy to make your calendar magnets. get some self-adhesive magnetic sheets from a nearby craft store to start making your own fridge calendar magnetic dry erase board. colored vinyl marker loose magnets spray glue stiff cardboard thin acetate sharp scissors craft knife, cutting mat, soft pencil, and metal ruler – essential tools for creating a DIY fridge calendar magnetic dry erase. Now, let us look at the steps to follow- Firstly, make sure that whichever surface you are using to create your calendar is free from dust, and it is dry and smooth. Lay the magnetic sheets on the flat surface and cover its smooth surface with colored vinyl. Start sticking from one end to the other using a soft cloth and ensure there are no air bubbles while sticking. Draw and cut out the blocks for the calendar on thick cardboard in any size you want and use it as a stencil to trace calendar blocks at the back of the plastic-covered magnetic sheet. Once you have traced the 35 blocks that are seven for each of the five rows, use a pair of scissors to cut them out. Next, choose the best typeface to type out the weeks, months, and days on your computer in your chosen size. Take a print of the typed-out texts on thin acetate and use spray glue to stick them on the magnetic sheet's vinyl side. Use a metal ruler, craft knife, and cutting mat to cut out the calendar blocks. Trace the guidelines using a pencil on the cupboard or fridge wherever you want to stick the blocks. Finally, pull off the plastic layer at the back of the magnetic sheet and stick the blocks, days of the week, and the months in the position. You can also use a planner, wall calendar, magnetic dry erase markers to erase the appointments or dates when necessary easily. It is an efficient and effective way to put your brand, face, and contact information in front of people. Benefits of Magnetic Calendar from a Professional Year-Long Value of Magnetic Calendar Magnetic calendars, especially fridge calendar magnetic dry erase types, offer year-long value as many clients and prospects instantly attract them and place it on their refrigerators. It stays more than 6 months and even a year when they find the calendar magnet useful, much like a monthly calendar that helps in organizing. DIY calendar magnets cannot give the professional look and precision that your customers would look for, unlike a pre-made magnetic dry erase calendar whiteboard. While creating products in bulk, it is best to seek help from professionals as it can add value to your magnet design. Range of Design and Styles Choosing a professional printer like 4OVER4 gives you the freedom to customize a range of styles and designs. Moreover, you get to browse from a whole new collection of magnetic calendar templates matching your brand and personality. In case you don’t find one, professional printing services always have their in-house team to customize your design by connecting with their customer care team. There is nothing like a magnetic calendar that can deliver a powerful combination of value. It can stay in front of people throughout the year, offer the flexibility of promotion, and usefulness daily. The best part about using a calendar as a promotional tool is that your customers will see it daily and the durable materials used at 4over4.com will ensure your calendars last a long time. When it comes to printing your custom calendar, explore the best printing options to ensure that your designs are reproduced accurately. From custom wall calendars to desktop calendars, choose a printing service that offers high-quality results. FAQs Q: What is a magnetic dry erase calendar? A: A magnetic dry erase calendar is a type of calendar that can be written on and erased repeatedly using dry erase markers. It typically has a magnetic backing to easily attach to metal surfaces such as refrigerators, making it a perfect calendar for refrigerator. Q: How can I make a unique magnetic calendar for 2024? A: To make a unique magnetic calendar for 2024, you can customize it with special events, holidays, and personalized designs that are specific to that year. You can also add your own colors, illustrations, or themes to make it stand out. Q: What are the benefits of using a magnetic dry erase calendar? A: Some benefits of using a magnetic dry erase calendar include easy erasability, reusability, and the ability to quickly update and change schedules or plans. It also serves as a visual aid, like a magnetic dry erase calendar whiteboard, to help organize tasks and deadlines. Q: Where can I purchase a magnetic dry erase calendar for my fridge? A: You can purchase a magnetic dry erase calendar for your fridge from various retailers, both online and offline. Websites like Amazon.com offer a wide selection of magnetic calendars in different sizes and designs. Q: How to maintain and clean a magnetic dry erase calendar? A: To maintain and clean a magnetic dry erase calendar whiteboard, you can use a soft cloth or dry erase eraser to regularly wipe off the writing. For stubborn marks, you can use a mild solution of water and vinegar. Avoid using abrasive cleaners as they may damage the surface. Q: Can I use dry erase markers on a magnetic calendar? A: Yes, you can use dry erase markers on a magnetic calendar. It is recommended to use only dry erase markers specifically designed for dry erase surfaces like those of a dry erase board to ensure easy erasability and prevent staining. Q: What are some unique features to look for in a magnetic dry erase calendar? A: Some unique features to look for in a magnetic dry erase calendar include magnetic backing for easy attachment, customizable templates, extra space for notes, color-coded sections, and durable, stain-resistant surfaces for long-lasting use.
 story
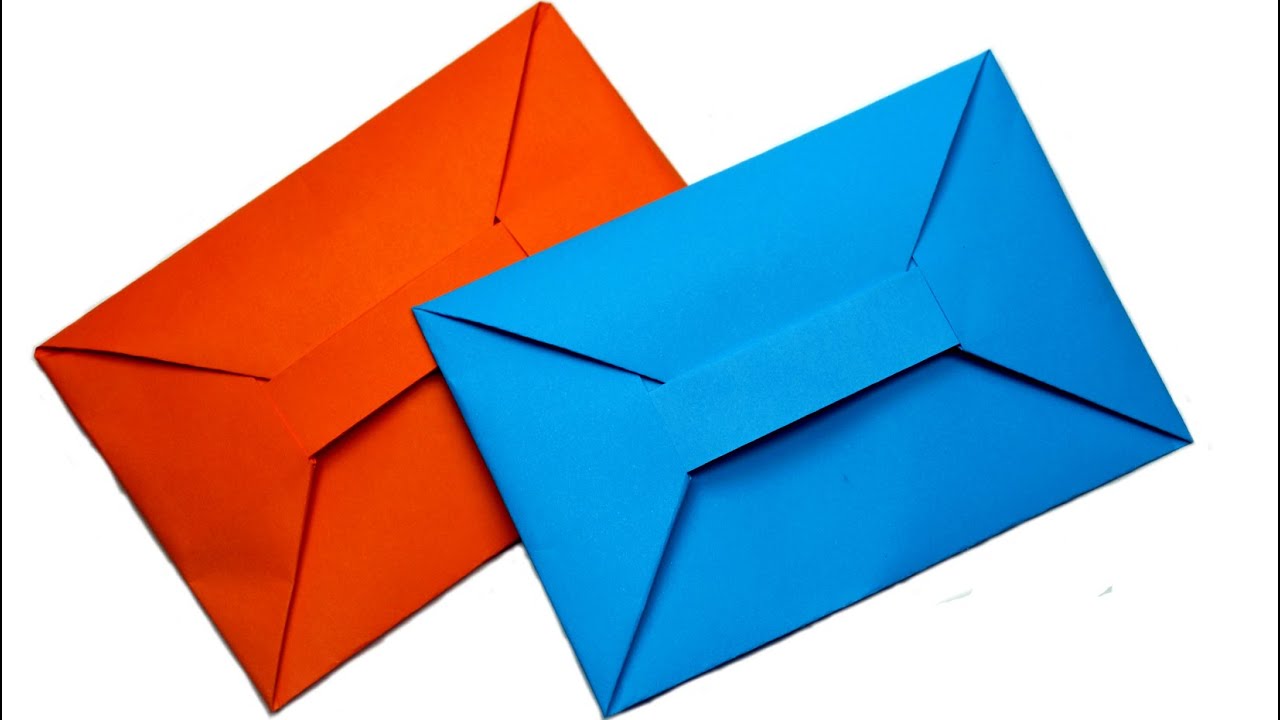
story How to Make Amazing Custom Envelope with A4 Size Paper
source Here is a quick and easy way to make a cute envelope in the comfort of your home. With so many styles of custom envelopes out here, it should become clear why having the right one is so important for the particular message you want to convey. Think hard about what your custom envelope will communicate what your brand is about and help you seal the deal with your clients. Don’t be afraid to get an original custom envelope just like the one we’ve shared here. After all, the right one might just be what sparks the interest of a new customer! Custom Envelope Templates Let your creative self shine by displaying all your amazing ideas on a blank envelope that you can customize with different designs and get a feel of what the final look will be. Do you have too much on your plate already? Just relax and let us do all the heavy lifting for you by checking out our services in the community section.
 story
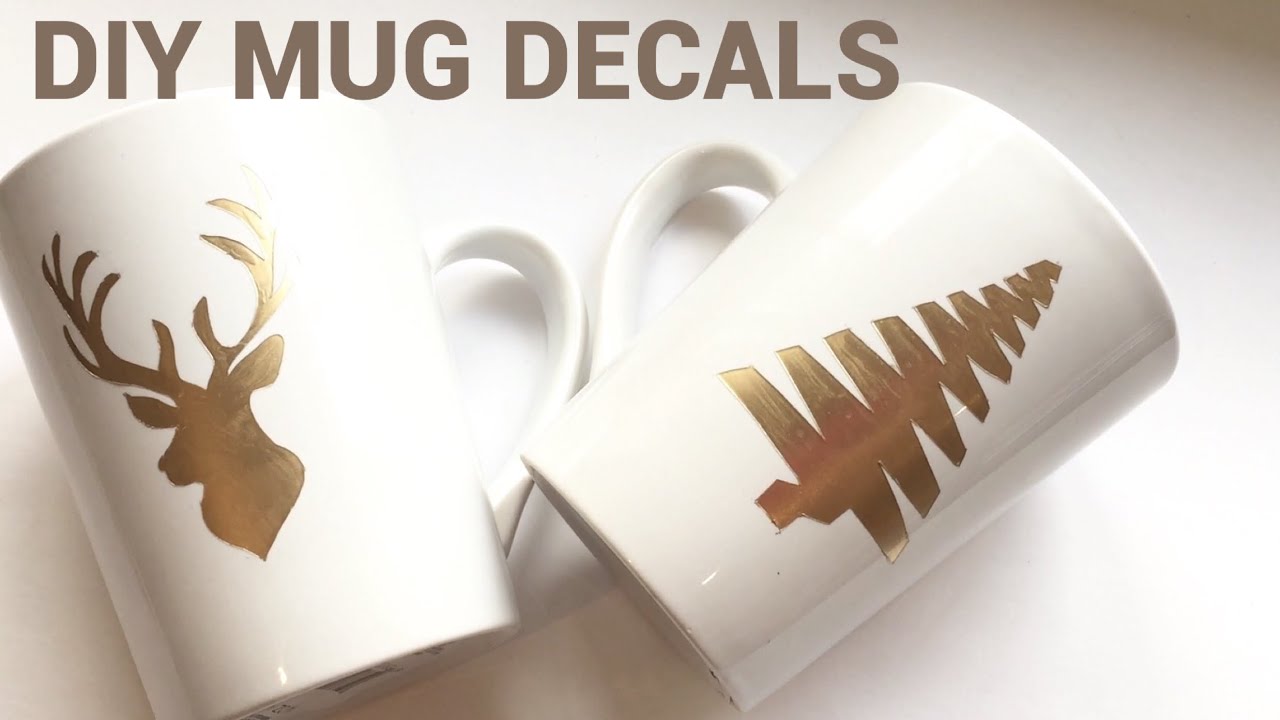
story How to Make Amazing Custom Mugs that Needs No Machine Input
source With so many styles of mugs out here, it should become clear why having the right one is so important for the particular message you want to convey. Think hard about what your custom mugs template will communicate, what your brand is about, and help you seal the deal with your clients. Don’t be afraid to get original custom mug just like the one we’ve shared here. After all, the right one might just be what sparks the interest of a new customer! Amazing Custom Mugs Design Let your creative self shine by displaying all your amazing ideas on blank custom mugs that you can customize with different designs and get a feel of what the final look will be.
 story
story How to make Beautiful Window Stickers / Peelies with Glass Paint
Window Decals Printing Making unique stickers can enhance your bare window panes. Learn how to make beautiful custom window stickers quickly. With so many styles of window stickers out here, it should become clear why having the right one is so important for the particular message you want to convey. Think hard about what your window sticker will communicate what your brand is about and help you seal the deal with your clients. Don’t be afraid to get an original window sticker just like the one we’ve shared here. After all, the right one might just be what sparks the interest of a new customer! Draw Attention with Window Stickers Let your creative self shine by displaying all your amazing ideas on a blank window sticker template that you can customize with different designs and get a feel of what the final look will be.
 story
story How To Make Business Cards On Google Docs?
In our digital age, networking and making a memorable first impression is crucial for professionals and business owners. We will show you an easy and cheap way to create a business card in Google Docs and print them online. Introduction to Google Docs for Business Card Design Google Docs is a widely used cloud-based word-processing platform by Google. Although not a complete design program, a simple and effective method exists to create business cards . Also, it provides a collaborative environment with various creative tools for making hassle-free card designs. How To Make Business a Cards On Google Docs? Here is our guide detailing how to create professional business cards in Docs: Setting Up Your Document in Google Docs Follow these steps to start making business cards in Google Docs: Open Google Docs and create a new document. Set the page size to match the dimensions of a standard business card (3.5 inches by 2 inches for the USA). Adjust the margins and orientation under File > Page setup as needed. Choosing a Template or Creating a Custom Design Using Google Docs lets you create and upload custom templates, but the custom template feature is only available for Business Standard and Business Plus, educational and non-profit accounts. To work with templates, click "Template Gallery" and then choose the Submit template option to upload a business card templates for google docs. Alternatively, you can select from the template list or search for suitable alternatives. Business card templates are convenient for quickly completing a design, but you can design your business card from scratch using shapes and text box elements. Adding and Formatting Text on Your Business Card Double-click on the card or highlight a specific element to start editing. Add your name, job title, company name, and contact details on a text box and drag them to position them on the design. Experiment with font styles, sizes, and colors to match your brand identity. Inserting Images and Logos Click on "Insert" in the menu, then select "Image." Upload your company logo or any relevant images. Then, resize and position the images accordingly. Customizing Colors and Fonts Use the "Custom" option in the color palette to match your brand's color scheme or a specific color. Ensure the color combination consistent and visually appealing. Experiment with the various font combinations to find a professional and easy-to-read style. Arranging and Aligning Elements To maintain a clean layout, use the alignment tools to align elements left, center, right, and justify alignment. Align the text and images for a polished look. Printing and Exporting Your Business Cards You can export or print your cards once you're satisfied with the design. Follow the below steps to do this: Go to the "File" menu and select "Print" to print the cards using a high-quality printer and business card paper. Alternatively, save the file as a PDF and use an online printing service like 4OVER4 to print and deliver your orders. And that’s how to create business cards in Docs. However, if you want a simpler and easy-to-use business card maker, try our free online designer tool with over 10,000 templates to choose from, custom fonts, colors, chips, and millions of free stock images. You can also learn how to design your print Products for free by following our comprehensive guide. Tips and Tricks for Designing Professional Business Cards Use the below tips for designing professional-looking business cards: Keep it simple: Focus on essential details and avoid cluttering the card with too much information. Use high-quality images: Ensure all images and logos are high-resolution for a crisp-looking end product. Test before printing: Preview and test the design before printing. Ensure there are no typos and that the elements align nicely. Conclusion how to create business cards in google docs? For those diving into the world of professional networking, business cards remain a fundamental tool. Not only does it convey your contact information, but it also reflects your brand's identity and professionalism. If you're keen on crafting a business card that stands out, our comprehensive guide on how to make business cards provides in-depth insights and creative ideas. Whether you're exploring the basics or seeking innovative designs, these resources offer invaluable tips to ensure your business cards make a lasting impression. Now you know how to create stunning business cards on Google Docs. Go ahead and create personalized and captivating cards to enhance your networking efforts. Is your card design ready? You can order Standard business card prints online at low-cost prices. Alternatively, you can browse our business card catalog for custom cards. FAQs Q: How can I make business cards on Google Docs? A: To create business cards on Google Docs, you can use a business card template or design your own card using Google Drawings. Simply search for "business card templates in Google Docs" or "business card designs in Google" to find editable options. You can also use Google Drive to store and share your business card designs. Q: Are there free business card templates available in Google Docs? A: Yes, you can find free business card Google Doc templates by searching for "business card template free Google Docs". These templates are customizable and easy to use for creating professional-looking business cards. Q: Can I make two-sided business cards using Google Docs? A: Yes, you can create two-sided business cards in Google Docs by designing both the front and back of the card separately. Use Google Slides or Google Drawings to create a two-sided layout for your business cards. Q: How do I use Google to make business cards? A: You can utilize Google Docs, Google Slides, or Google Drawings to make business cards. Start by selecting a business card template or designing your own layout. You can then customize the text, colors, and images to create a unique business card. Q: What are some tips for creating business cards in Google Docs? A: When making business cards in Google Docs, make sure to use a high-quality template or design. Include essential information like your name, contact details, and company logo. Experiment with different fonts and colors to make your business cards stand out. Q: Can I create personalized business card templates in Google Docs? A: Yes, you can personalize business card templates in Google Docs by adding your own text and images. Adjust the layout and design elements to fit your branding and style preferences. Save your customized template for future use. Q: How can I access business card designs in Google for my corporate needs? A: To find business card designs in Google suitable for corporate use, search for "card designs in Google Slides" or "corporate business card template Google Docs". Select a professional-looking design that reflects your company's image and branding.
 story
story How to make business cards using Word
Have you ever thought about how to make business cards in Microsoft Word? Yes, you read that right. It's so easy, convenient, and super fast. Now, settle down, and let's walk you through the step-by-step procedure of how to make business cards in Word. Introduction to Making Business Cards in Word Words might not be the first digital tool that comes to mind when it comes to making card designs. Yet its simplicity and widespread accessibility make it a viable option. This program offers you special tools to create even though you are not an expert. Now, it's time to dive into the nitty-gritty of how to create business cards using Word. How To Make Business Cards In Word Creating professional business cards on Word is a pretty straightforward process. Here is a quick guide: Setting Up Your Document in Microsoft Word Setting Up Your Document in Microsoft Word can be done easily by following a step-by-step guide or tutorial. To begin, open Word and start a new blank document. Next, choose a template for business cards by going to the page layout tab. You can create a business card by personalizing the card size, company name, and other information to the first ten cards on the page. Word has the tools to design a business card with borders and shading to make your business stand out. Once you have finished, simply align the cards on the page and use stock paper for home printing. If you prefer to use a template, Word offers a variety of options to choose from and customize to match your company's branding. By using a template, you can easily create your business cards in a professional manner. Just using Office Word, you can have your cards ready to go with ease. Choosing the Right Business Card Template Be careful to choose the right template that matches your personal or company branding by following these simple steps. Open a new document in Microsoft Word. Then, search for the Microsoft Word template using the scroll bar. Once you get your preferred design type, click on the Create icon to download the template to your Word document Customizing Text and Fonts The freedom to manipulate text elements on words affords you the opportunity to be more creative with designs. For example, you can switch fonts, change color and size just like a regular text. To change text: Highlight the entire name and select the font color icon to bring up the font color palette. To change the font type: select the text, go to the font section and click the arrow to see the font options available. Don't forget to proofread every detail on the card. Adding Images and Logo Click the flower image in the template to select it. From the menu at the top of the screen, select the Insert option and then click on the Picture Icon. Find the folder where you have saved your company logo and select it. Incorporating Colors and Backgrounds To add a background color to your design, follow these steps: Navigate to the "design" tab and click on page color. In the "page background" group, click on the page color. Then, choose your preferred color from the color palette to apply it as the background color of the entire card. Be sure that the color fits well with other design elements and doesn't hinder the readability of the text. Printing and Cutting Your Business Cards Once you're happy with the design you have achieved, you may decide to export or print your cards. To do this, adhere to the procedures below: You will first "Open" the document containing your business card design. Choose "Print" from the "File" menu or press Ctrl +P to print the cards. Be sure that your printer has a reputation for high-quality printing jobs. Alternatively, you may download the file as a PDF and print and deliver your orders using a reputable online printing service like 4OVER4. If you prefer a more straightforward and user-friendly business card creator where you wouldn't have to worry about margins, alignment and dielines, check out our free online designer tool. it has over 10,000 templates to select from, as well as millions of free stock pictures and custom fonts, colors, and chips. You may equally check out our business card catalog for top-quality designs that you can customize to meet your needs. Tips for Professional-Looking Business Cards Use high-quality card stock: A premium heavyweight card stock is more resilient and feels better in the hand, giving off a far more professional vibe. Quality support and special finishes: Quality support and special finishes can allow you to design a more tactile business card through embossing or debossing text or designs. Preview: Before you send your design to a printer ( or start printing if you are printing on your own), make sure you double or triple-check every single detail. Conclusion: Create Impressive Business Cards with Microsoft Word For those diving into the world of professional networking, business cards remain a fundamental tool. Not only does it convey your contact information, but it also reflects your brand's identity and professionalism. If you're keen on crafting a business card that stands out, our comprehensive guide on how to make business cards provides in-depth insights and creative ideas. Whether you're exploring the basics or seeking innovative designs, these resources offer invaluable tips to ensure your cards make a lasting impression. So, these are all it takes to know how to create business cards in Microsoft Word. You can start now to create high-quality business cards that will create a strong first impression on clients and prospects.
 story
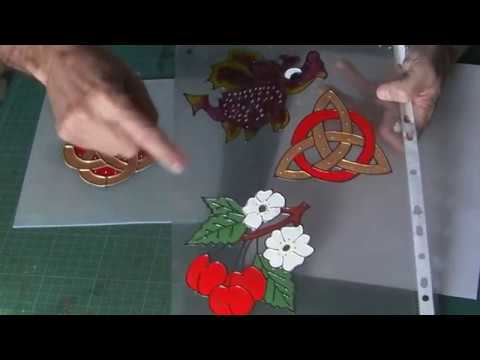
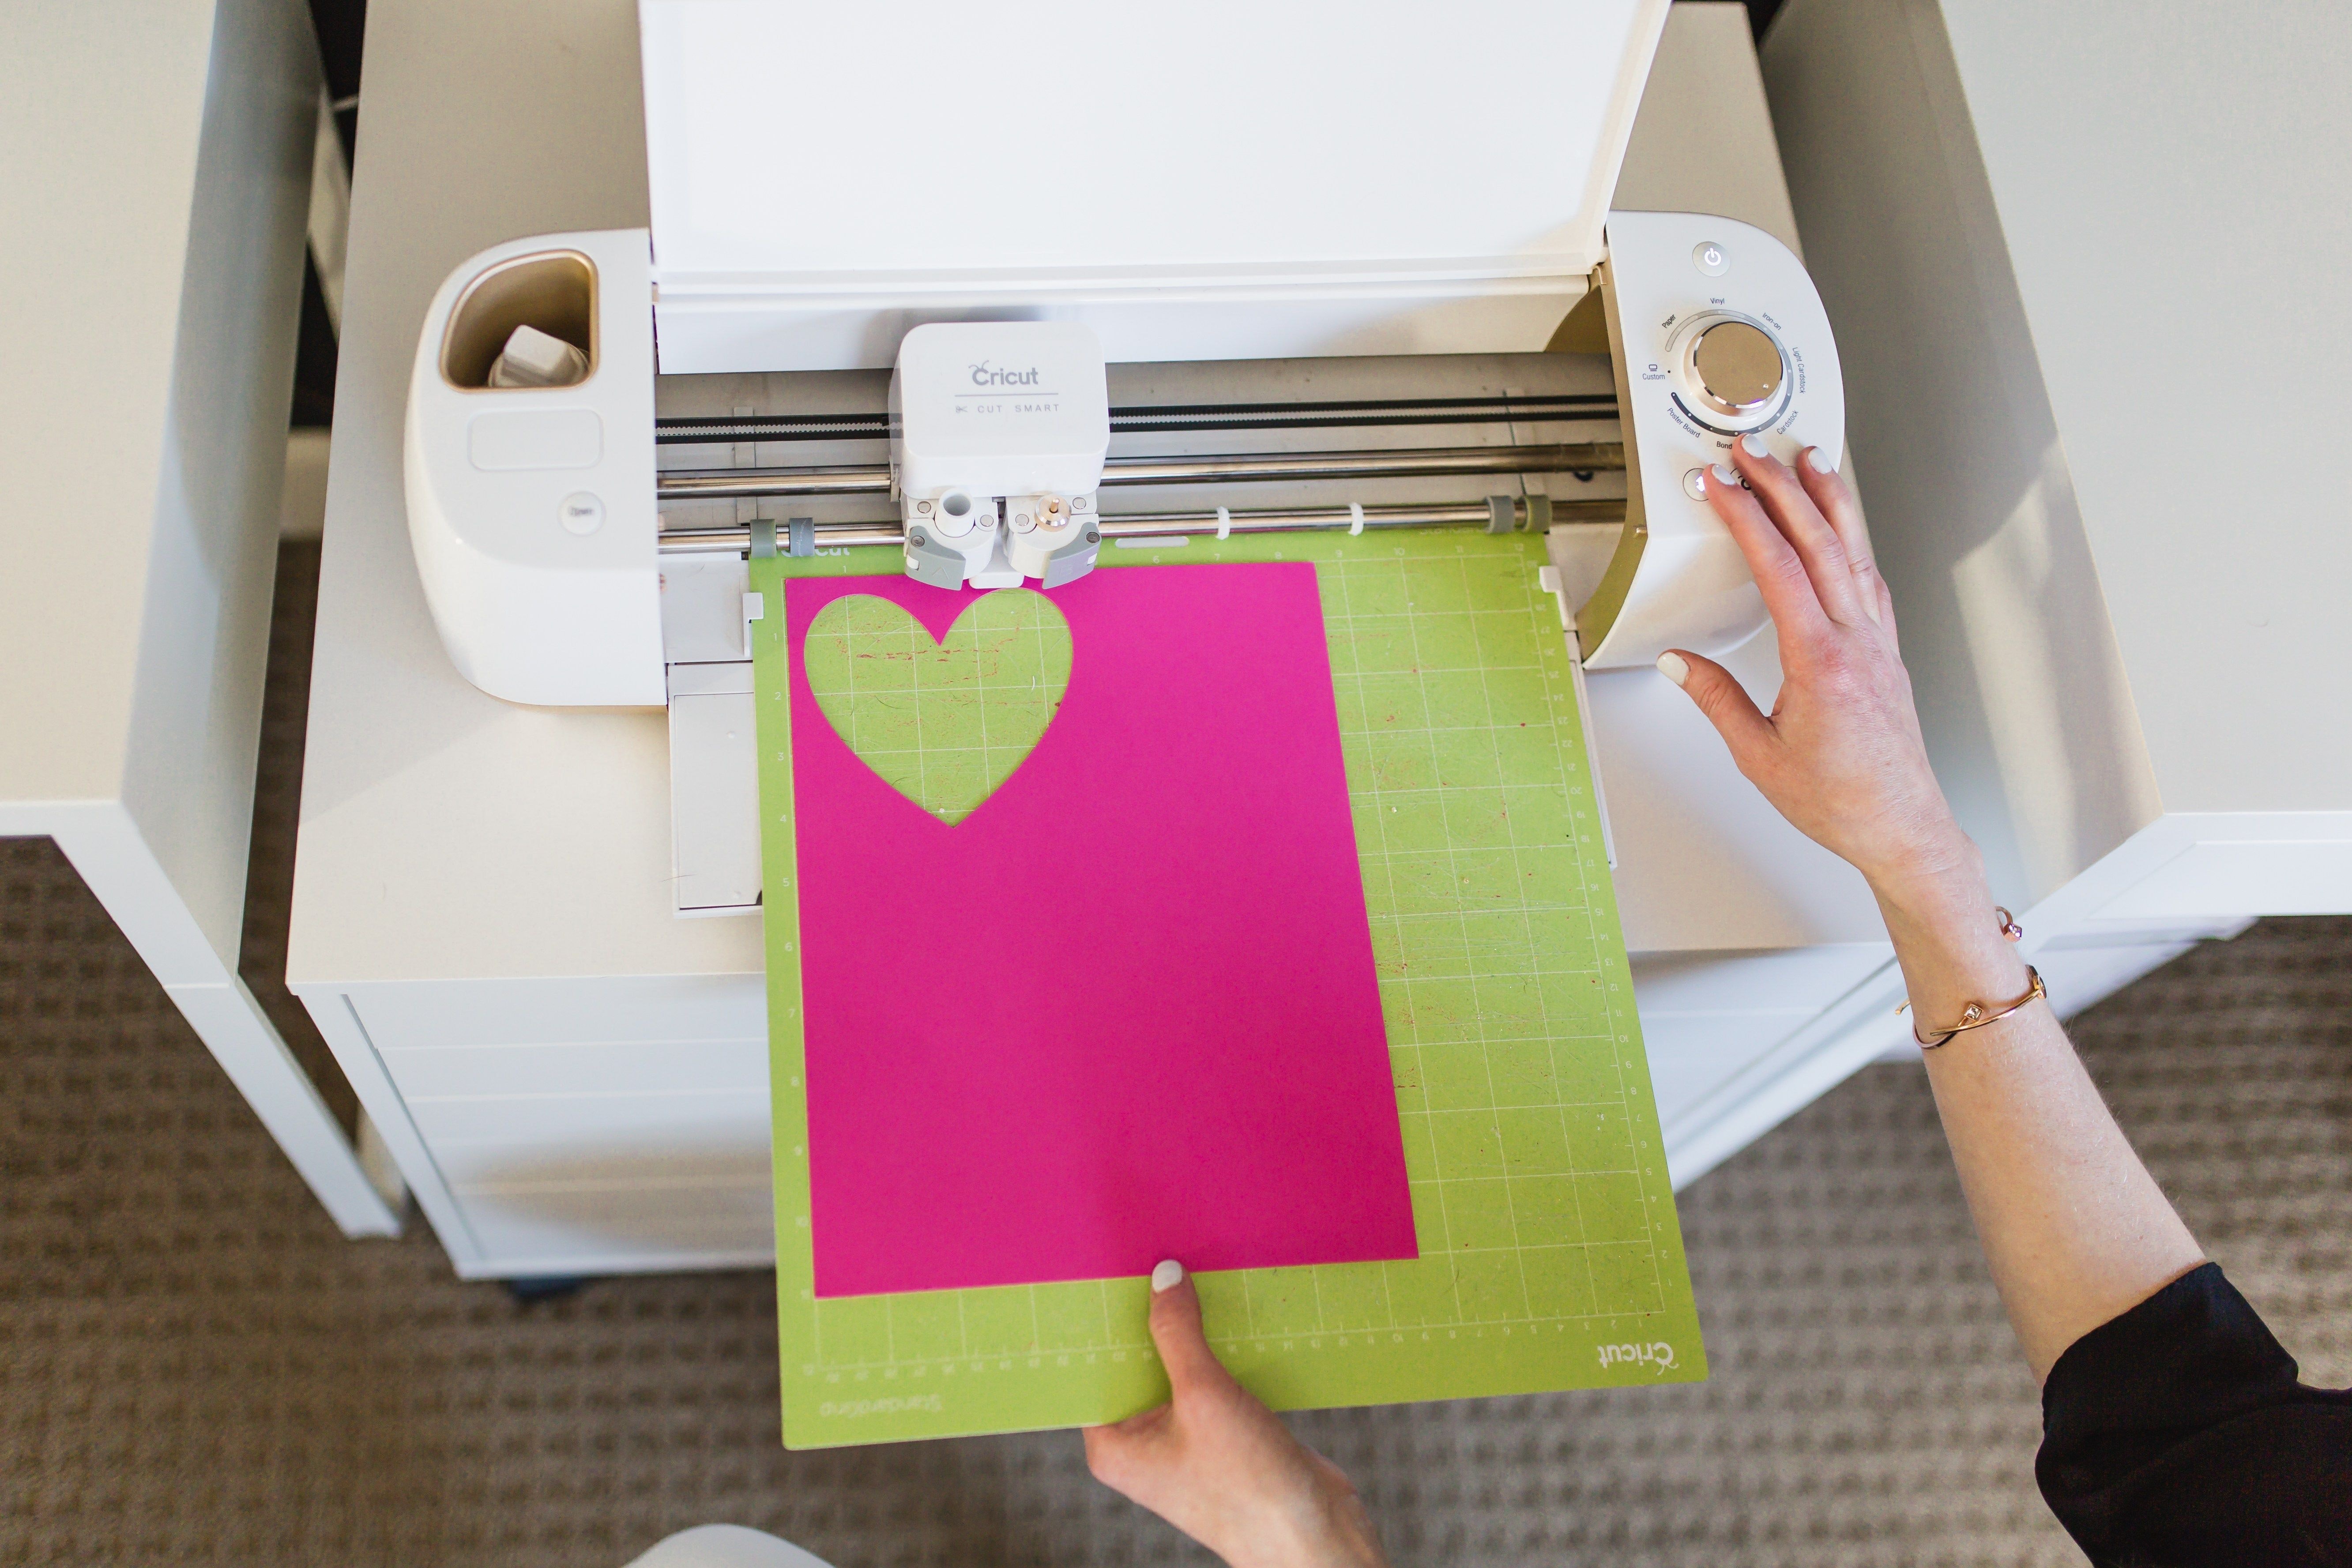
story How To Make Business Cards With Cricut Step By Step
A DIY cricut business cards project is a cost-effective and convenient option for designing your brand's cards. In addition, such a project allows entrepreneurs to have fun and showcase their creativity. But can Cricut make business cards? Cricut is a household brand for DIY crafts and projects. The machine has a cutting blade for precisely trimming materials such as paper, fabric, vinyl, and more. Cricuts are popular for their ease of use and versatility. But how can you make business cards with a Cricut machine? Can You Make Business Cards with Cricut and What Is It? Yes, Cricuts are ideal for making cards. You can use the Cricut Design Space or any other design software to create a design, then cut it out with a Cricut machine. The result is a professional-looking card that is cost-effective and meets your specific business needs. Cricut machines are popular for craft projects. You can use ready-made artwork when you upload the design to the machine. Alternatively, you can utilize Cricut's built-in library designs. In addition, a Cricut is suited for home decor, scrapbooking, party decorations, and more. How To Make Business Cards With Cricut Step By Step? The step-by-step process for how to make business cards on Cricut includes the following: 1. Choose a design software: Use software you're comfortable with, such as Adobe Illustrator, Photoshop, or CorelDraw, to create your unique design. Alternatively, use the in-built Design Space for Cricut. 2. Decide on the right paper: Select a card stock suitable for you and compatible with your machine. There's an exhaustive list of compatible paper types on the Cricut website. 3. Create your design: Use your design software to create the layout for your card. Include text, logo, and other appropriate design elements. Ensure that the software allows you to customize each element easily with a drag-and-drop feature. 4. Cut your card : Insert the card stock into your Cricut machine and connect it to the computer. Then, cut your card designs. 5. Assemble your cards: Remove the cut cards from the mat and arrange them. 6. Add finishing touches : Special addons like protective coating or glitter appearance will ensure your card is durable and unique. Voila! Your business cards are ready for distribution to prospects and partners. What Materials Do You Need to Make Business Cards on Cricut? Cricut Machine: Any model of Cricut is suitable. A computer or mobile device: This will connect to the Cricut and run the software. Design software: Use the Cricut Design Space or any software for your design. Card stock : Choose a card stock for your printing. Cutting mat: A cutting mat holds the card stock in place during the cutting process. Optional materials: Optional materials include foil, gloss, or a protective coating, depending on the design and finish you want. Benefits to DIY Business Card Using Cricut Making business cards yourself has several benefits, namely: Cost-effectiveness: DIY cards are more affordable than printed alternatives, especially when you only need a few quantities. Flexibility and convenience: Cricut allows you to make instant changes to your printed cards as needed. Also, you can print at home or in the office. Various options: Cricut supports several material and design options for a unique-looking card design. Fun and creative outlet: Making your business card can be a fun-filled activity that allows you to express personality, creativity, and style. Conclusions if you are asking, "Can I make business cards with Cricut?" Yes. You now know how to make business card with Cricut. You can check online for Cricut business card ideas you can play with to make your 9own unique card. Using Cricut for making a card is flexible and cost-effective. However, a printing service like 4OVER4.COM ensures making standard business cards is as easy as ordering online. We have a fast turnaround time and offer competitive prices alongside numerous customizations for a unique, professional-looking business card design. For those diving into the world of professional networking, business cards remain a fundamental tool. Not only does it convey your contact information, but it also reflects your brand's identity and professionalism. If you're keen on crafting a business card that stands out, our comprehensive guide on how to make business cards provides in-depth insights and creative ideas. Whether you're exploring the basics or seeking innovative designs, these resources offer invaluable tips to ensure your business cards make a lasting impression. Why are you waiting? Order your business cards online today FAQs Q: What materials do I need to create professional business cards with Cricut? A: To create professional business cards with Cricut, you will need cardstock, a printer, Cricut machine, Cricut Design Space software, and optionally a template or graphic design software. Q: How do I upload a template for my business cards in Cricut Design Space? A: To upload a template for your business cards in Cricut Design Space, simply click on the "Upload" button in the software and follow the on-screen instructions to import your template. Q: What is the process for creating double-sided business cards with my Cricut machine? A: To create double-sided business cards with your Cricut machine, you can design both sides separately in Cricut Design Space and then use the "print then cut" feature to align and cut both sides accurately. Q: How can I make a business card with my Cricut machine step by step? A: You can make a business card with your Cricut machine by following these steps: 1. Design your business card in Cricut Design Space. 2. Print the design on cardstock. 3. Use your Cricut machine to cut out the cards. Q: Are there any tutorials available online for creating business cards in Cricut Design Space? A: Yes, there are several tutorials available online that provide step-by-step guidance on how to create business cards in Cricut Design Space. You can find these tutorials on platforms like Pinterest, Reddit, and top blogs. Q: Can I use SVG files to enhance the design of my business cards in Cricut Design Space? A: Yes, you can use SVG files to add intricate designs, patterns, or shapes to your business cards in Cricut Design Space, allowing for more customized and creative options.
 story
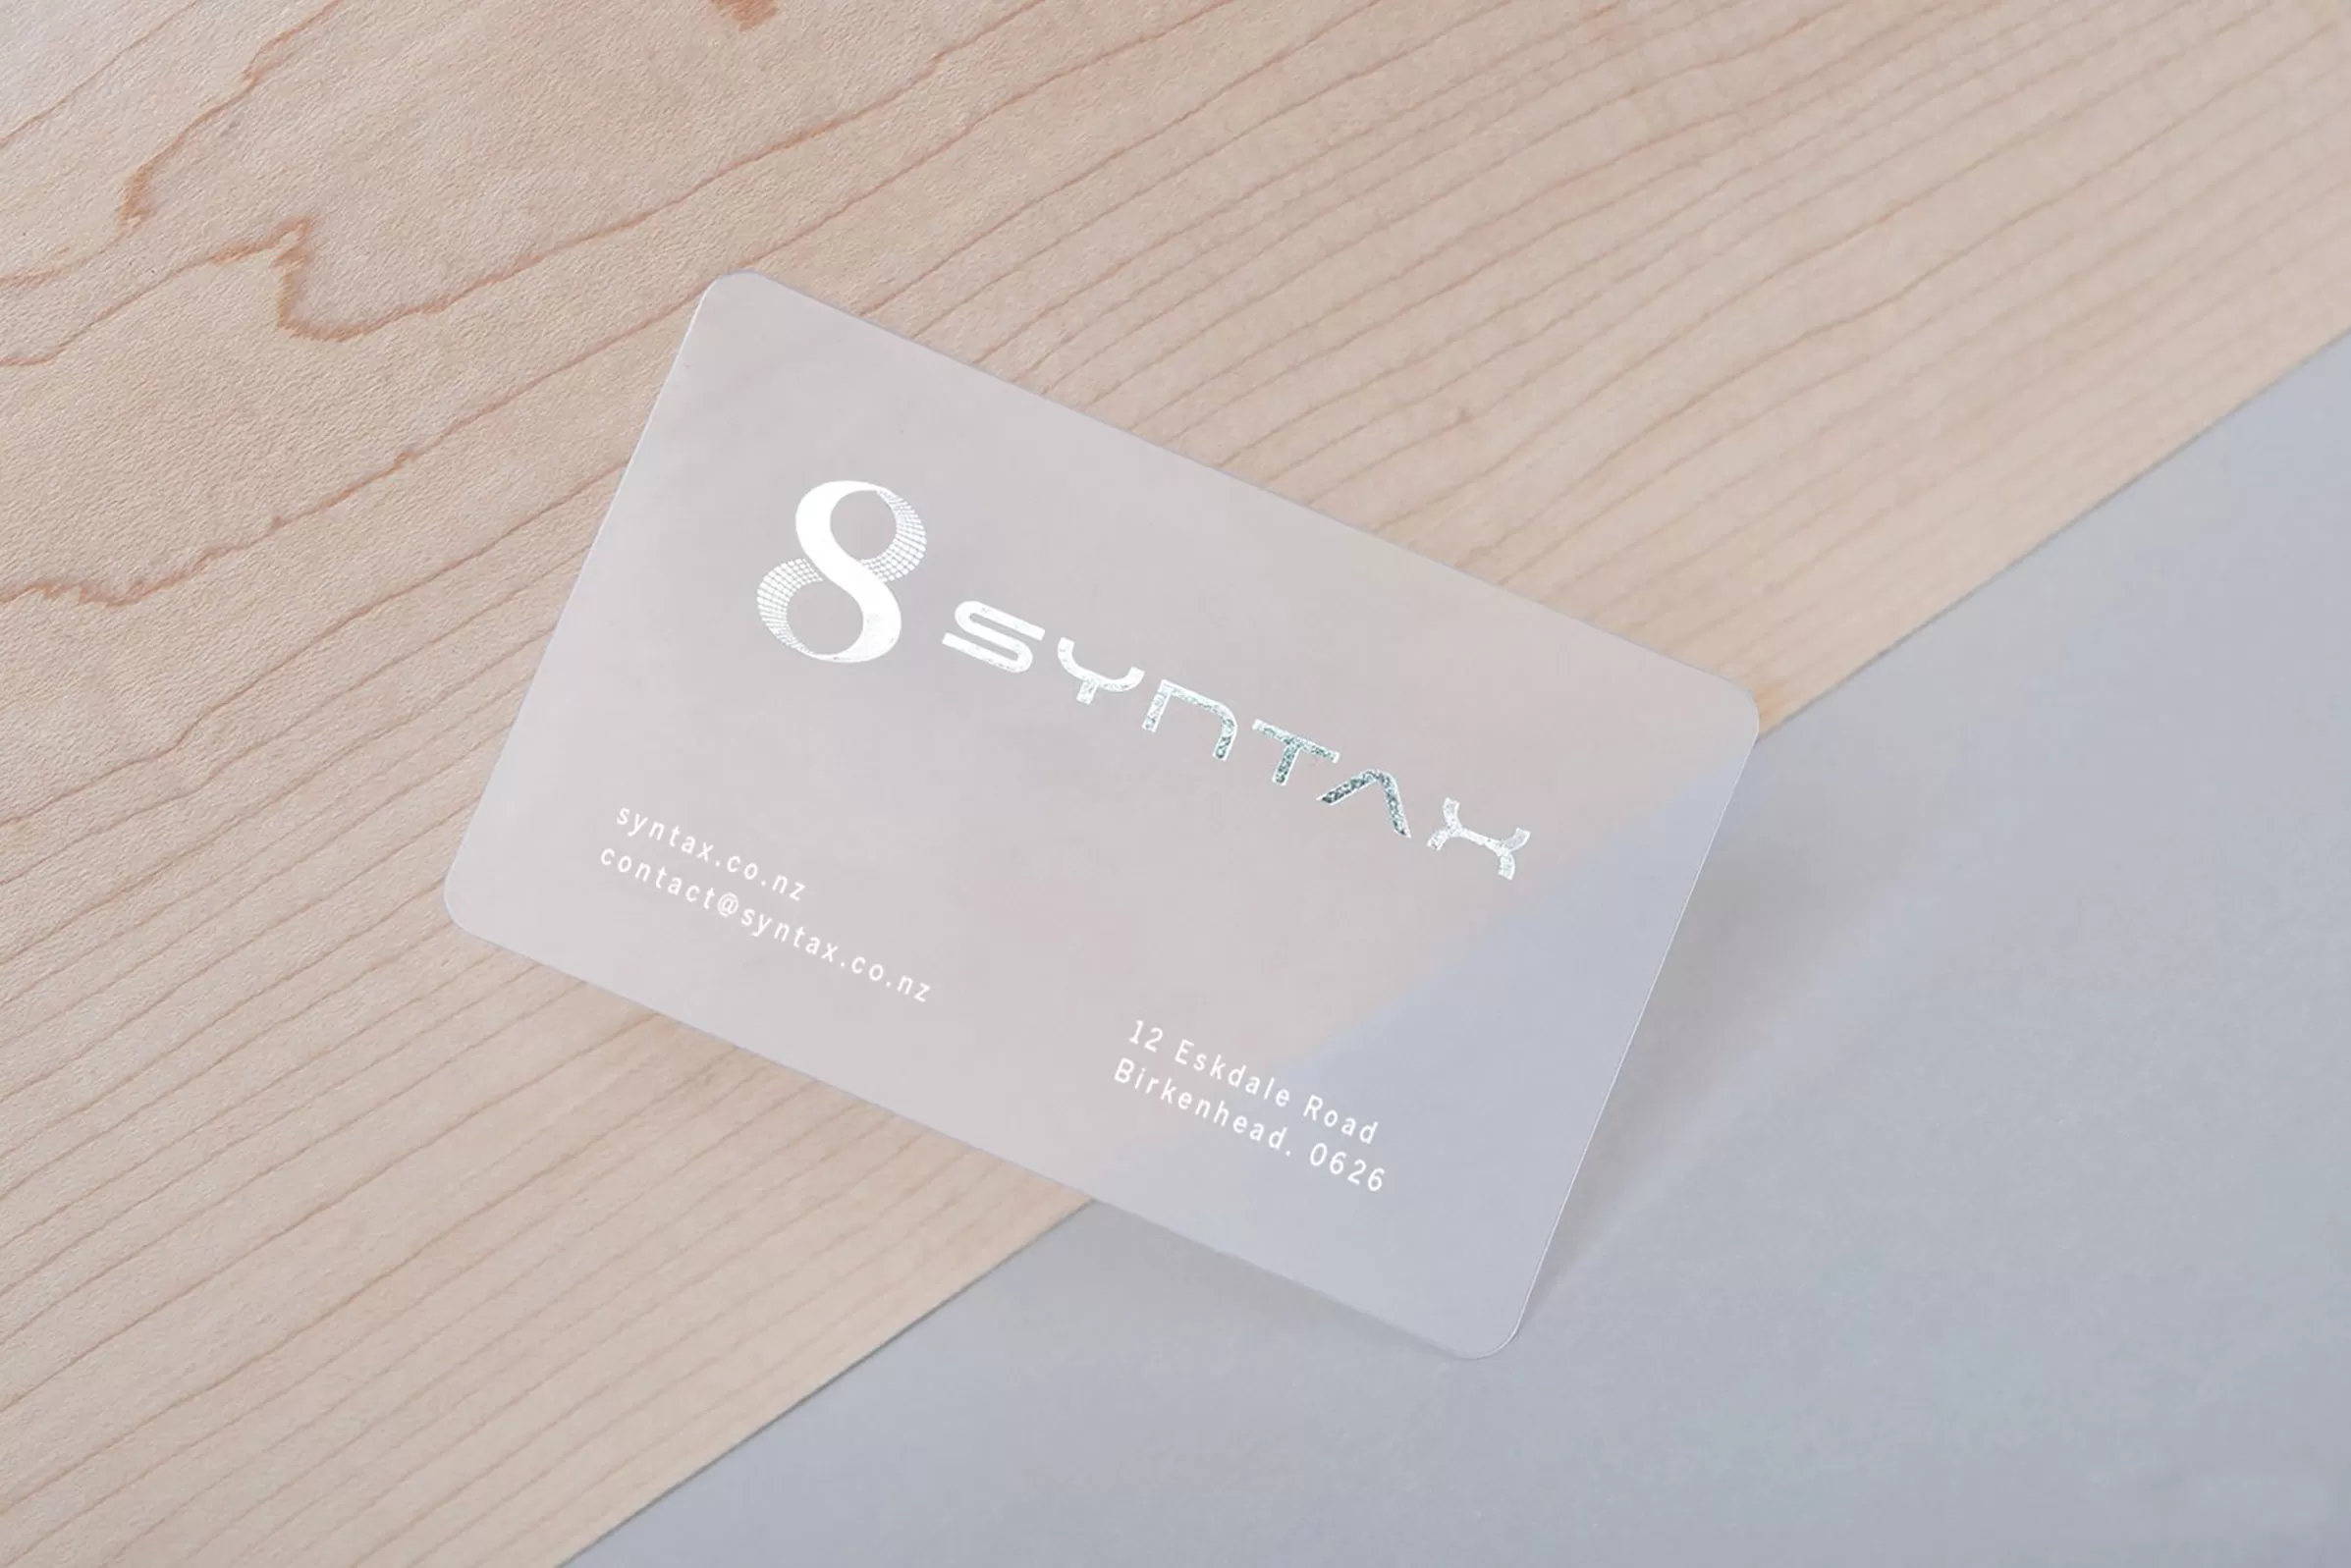
story How To Make Clear Business Cards
Clear business cards are a sleek and modern alternative to traditional cardstock. They make a bold statement and leave a lasting impression on recipients. This article will explore how to make clear business cards that stand out and elevate your professional image. Introduction to Clear Business Cards Professionals looking for a contemporary and chic approach to display their brand are increasingly choosing business cards produced from 30mil Clear Plastic (credit card thickness) or 20 Point Clear Plastic. These transparent cards provide a special and sophisticated replacement for conventional paper cards. They have exactly the same thickness as a credit card and radiate richness and toughness. Because they are made of sturdy, high-quality plastic, they are more resilient than their paper counterparts. Transparent cards can also be used to create Gift Cards, Discount Cards, Fundraising Cards, Hotel Key Cards, ID Cards, Loyalty Cards, Membership Cards, VIP Cards, and more. How to Make Transparent Business Cards If you are wondering about plastic business card printing, you are in the right place. Follow these crucial steps to generate eye-catching clear cards: Design Your clear business cards : Use specialized design tools to create a visually appealing business card design. You can easily customize templates you like. Letting ample space between items will allow the translucent material to stand out. To create a design that is distinctive and attention-grabbing, experiment with high-contrast elements. Choose High-Quality Plastic: For your transparent plastic business cards, pick the 30mil or the 20-point clear plastic. The 30 mil credit card thickness guarantees durability and sturdiness, although this alternative takes longer to produce. These plastic cards are waterproof and better for long-term use because they resist wear and tear compared to conventional paper cards. Leverage specialized printing methods: Equipment specific to printing transparent cards is needed. So, choose online printers that can handle the special characteristics of clear business cards. This guarantees the best print quality and durability. Printing Options With our advanced printing technique, you have the freedom to customize your cards with a variety of finishes, including: UV Gloss or Matte Silk Laminated Finish Foil Stamping & Spot UV Coating Magnetic Stripe & Encoding Barcoding with Numbering Sequential Numbering or Other Variable Data Embossed Numbering with Optional Gold or Silver Tipping Scratch Off with Pin Lanyard Slot These printing choices give your design more depth and sophistication, enabling you to produce aesthetically attractive and powerful clear business cards that amply convey your brand identity. Your product will be ready in 15 days because of all these customizations. Check our 20-point plastic card , which is ready in 4 days. Fewer customizations are available for the 20 pt plastic option, which is available in White, Frosted, and Clear varieties. Note that plastic cards come in White and Frosted for the 30mil and 20-point thickness. Tips for Creating Stunning Clear Business Cards Embrace simplicity: When the design is clear and straightforward, clear business cards shine. Make great use of white space to make the translucent material the center of attention. Consider using a basic design that emphasizes the most important information rather than overstuffing the card with text or graphics. Pick elements with a lot of contrast: Clear business cards give you a special chance to experiment with contrast. Choose dark-colored fonts and bold visuals against a light backdrop or the opposite to ensure readability and produce a visually arresting impression. Utilise unique Finishes: Using unique finishing is how to make clear business cards that stand out. To give your design more texture and depth, take into account possibilities like foil stamping, spot UV coating, or embossing. These finishes not only improve the appearance overall but also leave a lasting impression. Conclusions For those diving into the world of professional networking, business cards remain a fundamental tool. Not only does it convey your contact information, but it also reflects your brand's identity and professionalism. If you're keen on crafting a business card that stands out, our comprehensive guide on how to make business cards provides in-depth insights and creative ideas. Whether you're exploring the basics or seeking innovative designs, these resources offer invaluable tips to ensure your business cards make a lasting impression. Transparent business cards require careful design, material selection, and cutting-edge printing methods. By going for simplicity, deciding on high-quality plastic, utilizing modern printing, and making your cards unique, you will design attractive and powerful clear business cards that are memorable for your brand. FAQs Q: What are plastic business cards made of? A: Plastic business cards can be made of durable plastic materials such as clear, frosty, or white plastic. Q: Can I print on clear plastic? A: Yes, you can print on clear plastic to create a unique and modern look for your business cards. Q: What printing options are available for plastic business cards? A: You can choose to print on clear, frosty, or white plastic cards, as well as have the option for variable finishes on both sides. Q: Are white plastic business cards durable? A: White plastic business cards are made of a plastic material that is slightly thinner than a credit card but still durable and long-lasting. Q: Can I get plastic business cards with rounded corners? A: Yes, you can choose plastic business cards with rounded corners for a sleek and professional finish. The choices for rounded corner treatments are 1/8" or 1/4" radius Q: Are plastic business cards thinner than traditional paper business cards? A: No, plastic business cards are usually thicker than traditional paper business cards, making them more durable and unique. These cards are usually 0.02 to 0.03 inches thick, while traditional business cards are between 0.014 to 0.018 inches Q: Can I choose between clear, frosted, or white plastic business cards? A: Yes, you have the option to choose from clear, frosted, or white plastic to suit your branding and design preferences. See our plastic business card category page for more options.