
Spot UV Printing Explained


Spot UV lays a clear, UV-cured gloss over the exact areas you choose, so a logo or headline shines against a matte background. The mask file is where most jobs go wrong, and it is covered in full below.
To add spot UV, print your piece, then apply a clear UV-reactive varnish only to the areas marked on a separate mask layer and cure it under ultraviolet light in under a second. Keep the base matte so the gloss pops, mark the coating in solid 100% black, and pair it with 16pt or heavier stock for a premium, tactile finish.
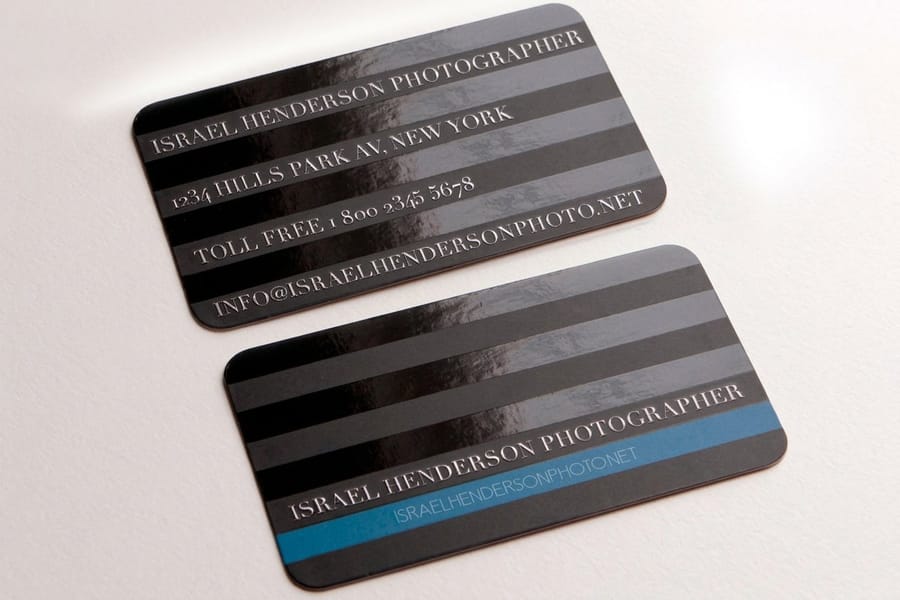
Quick tips
Quick tips for getting spot UV right
Use spot UV sparingly for the strongest effect. Coat 20 to 40% of a matte or soft-touch base, mark the gloss in solid 100% black on a separate mask layer, keep type at 8pt or larger, and print on 16pt or heavier stock. Order a proof so you can see and feel the finish before a full run. Do that and your logo or headline shines while the rest of the piece stays clean and matte.
What spot UV printing actually is
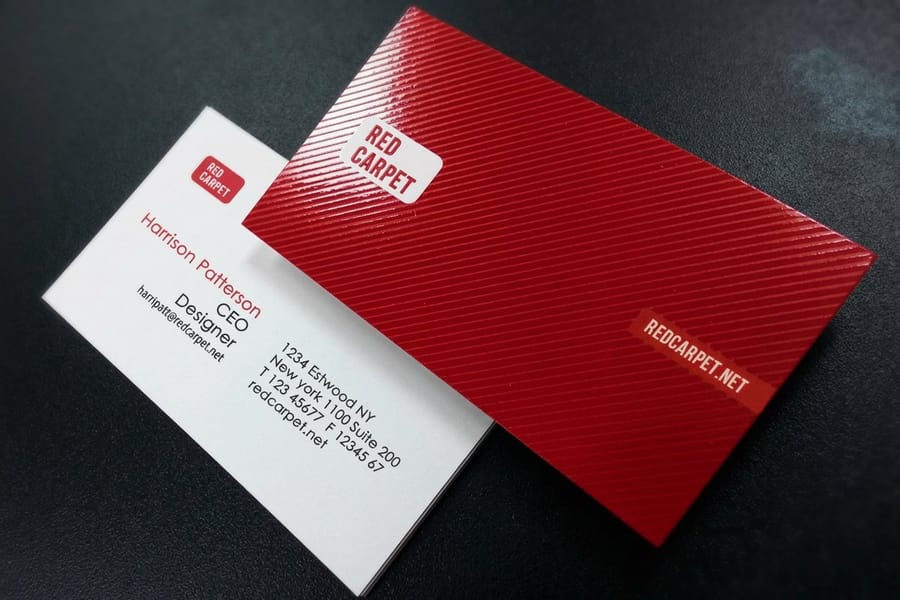
Most printed materials get tossed. A plain matte business card or a flat postcard gives nobody a reason to hold on. Spot UV changes that. When someone runs a thumb across a raised, glossy logo on an otherwise matte card, they pause. They notice. That tactile moment is what separates forgettable print from print people keep.
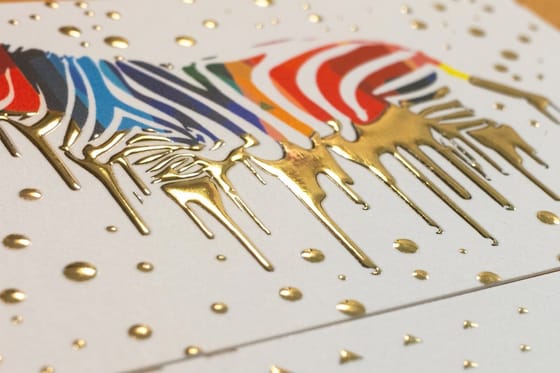
In plain terms, spot UV printing is a clear polymer coating applied to targeted areas of your design, then hardened instantly under ultraviolet light. The result is a high-gloss, slightly raised finish that catches the light and feels different under the fingers. 4OVER4.COM offers it across business cards, greeting cards, hangtags, and more, all customizable through the Online Designer.
You do not need to be a designer to get this right, and you will not overpay for the upgrade. Every order is backed by our satisfaction guarantee, so you can try a premium finish with confidence. Pair a spot UV piece with a scannable code and you connect print to digital in one move, which our complete guide to QR codes walks through step by step.
How the spot UV curing process works
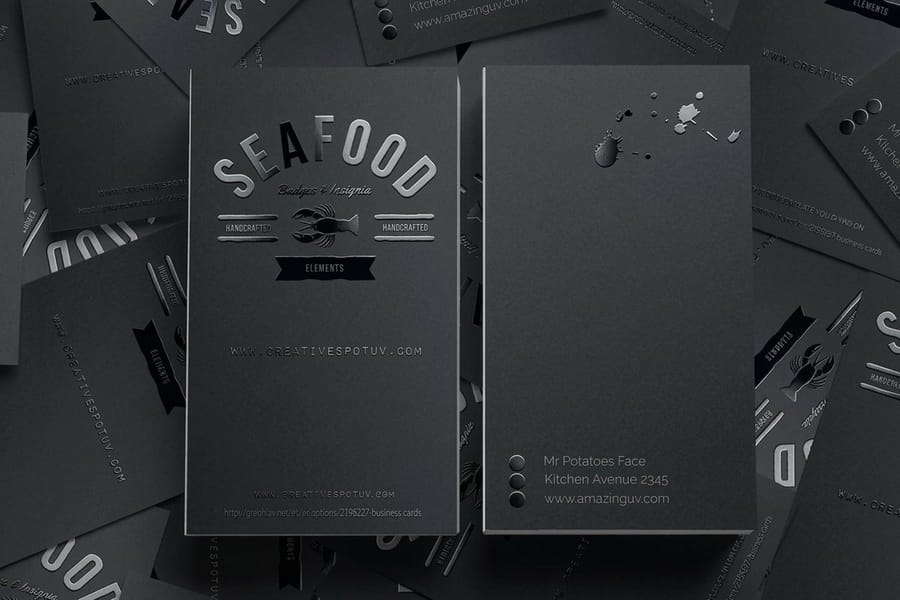
Spot UV starts after your base piece is already printed and dried. A clear, UV-reactive varnish is applied only to the areas you marked in your file. The piece then passes under an ultraviolet lamp, which triggers an instant chemical reaction that hardens the varnish in under a second. No drying time, no smudging, just a crisp glossy accent locked into place.
The spot part is what sets it apart from a full UV flood coating, which covers the entire surface. Full UV protects against scuffing and adds a uniform sheen, but it creates no contrast and draws attention to nothing in particular. Spot UV is selective. You choose exactly where the shine lands, a logo, a border, a pattern, while everything else stays matte. Many premium jobs actually use both, a matte laminate base with spot UV accents layered on top.
Raised spot UV and the third dimension
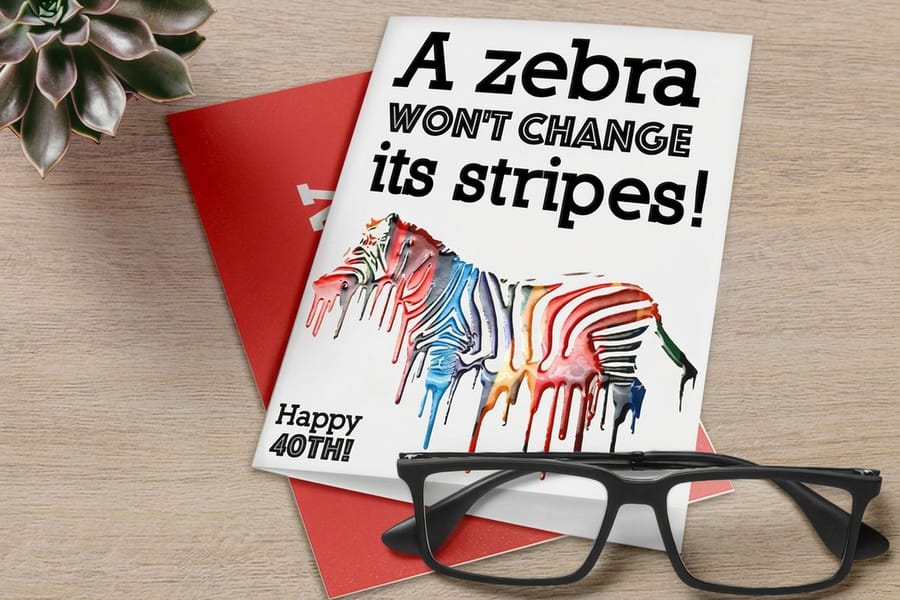
Standard spot UV sits nearly flush with the surface. Raised spot UV takes it further. The varnish goes on in thicker layers, building a texture you can feel with your eyes closed. Run a finger across a raised spot UV business card and the logo stands up from the stock like a subtle emboss.
The raised effect works best on a handful of elements:
- Logos and brand marks that should sit proud of the surface.
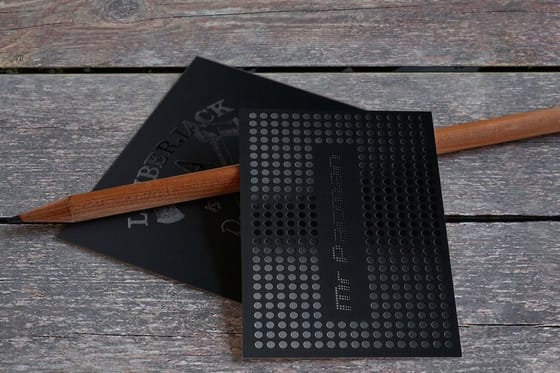
- Decorative patterns such as geometric lines, floral motifs, or abstract textures that add depth.
- Headlines or key text that pull the reader's eye to your most important message.
- Borders and frames that give the whole piece a premium, finished feel.
4OVER4.COM offers raised spot UV on business cards, greeting cards, and hangtags. The effect pairs especially well with heavier card stocks, where the tactile contrast is most noticeable.
Setting up your files for spot UV
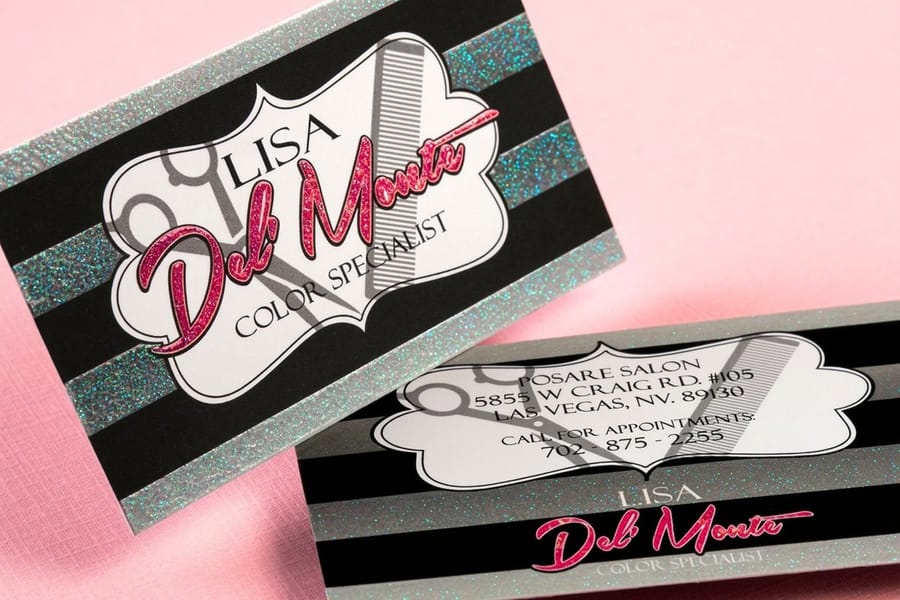
Your printer needs to know exactly where the gloss goes, and you say so with a separate layer in your design file, usually called the UV mask or spot UV layer. Design your piece as normal, then add a new layer named Spot UV. Fill every area you want coated with solid black at 100% K, and leave the rest transparent. Anywhere you place black on that layer receives the glossy coating.
Alignment is everything. If your logo is two inches wide on the artwork, the black shape on the mask must be exactly two inches wide in exactly the same position. Even a fraction of a millimeter off shows up as visible misalignment on the finished piece, so check it at 400% zoom before you submit. The same care applies to glitter and other coated stocks, from glitter spot UV business cards to soft-touch matte.
Keep the mask as a vector whenever possible for clean, sharp edges, and if you must use raster art, make it at least 300 DPI at final size. Submit as PDF, AI, or EPS with the UV layer kept separate from your print layers. Need a starting point? Grab ready-to-use files with proper bleed, trim, and safe zones from the blank templates library.
Copy this checklist next to your file and walk it line by line before you upload. Every item on it is something our prepress team sends artwork back for:
- One layer, named Spot UV. Not two, not a group buried inside the artwork layer. One clearly named layer means nobody has to guess which shapes are the mask.
- Solid 100% K and nothing else. No tints, no gradients, no drop shadows, no transparency effects. A 60% gray shape does not produce 60% gloss, it produces a mask the press cannot read cleanly.
- Hard edges only. Switch off anti-aliasing and feathering on the mask. A soft, blurred edge has no defined boundary for the coating to stop at, so it prints as a ragged edge.
- Same dimensions, same position, same page size. The mask file matches the artwork exactly, including bleed and trim, so the two line up when they are stacked. Confirm it at 400% zoom on the tightest detail you have.
- Vector first, 300 DPI at final size otherwise. Vector edges stay crisp at any size. Raster masks below 300 DPI show stepped edges once the gloss catches the light.
- Nothing too fine to hold. Keep coated text above 8pt and coated lines above 0.5pt, thinner than that and the coating breaks up instead of reading as a clean shape.
- Layer kept separate, file sent as PDF, AI, or EPS. The UV layer stays out of the print layers so it never prints as black ink, and flattening it into the artwork is the fastest way to lose the finish altogether.
Where spot UV makes the biggest impact

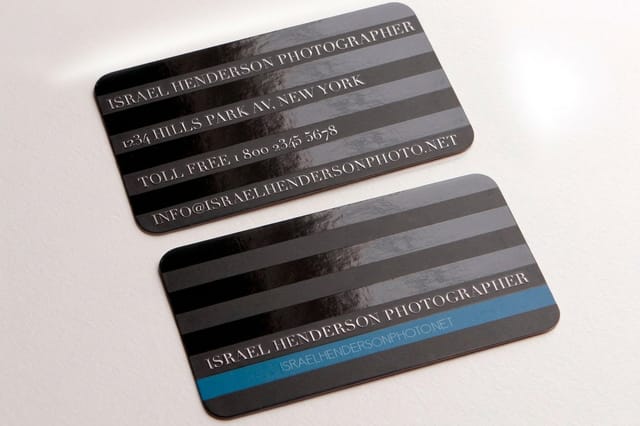
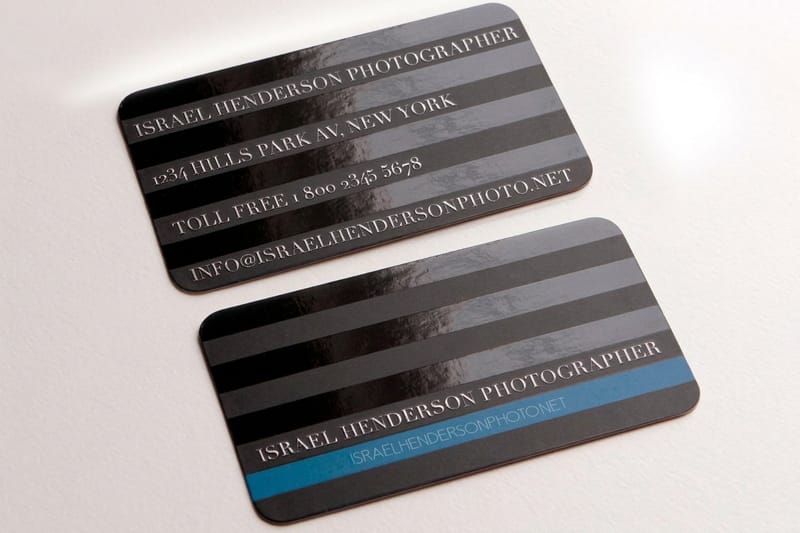
A matte business card with a spot UV logo reads as quality the instant it lands in someone's hand. Real estate agents, salon owners, and startup founders all use the finish to make cards worth a second look. The setup that works nearly every time is a 16pt or 32pt soft-touch matte base, gloss held back to the logo, the name, or a single rule under the title, and the front coated while the back stays uncoated so anyone can still write a number on it. See the range on spot UV business cards.
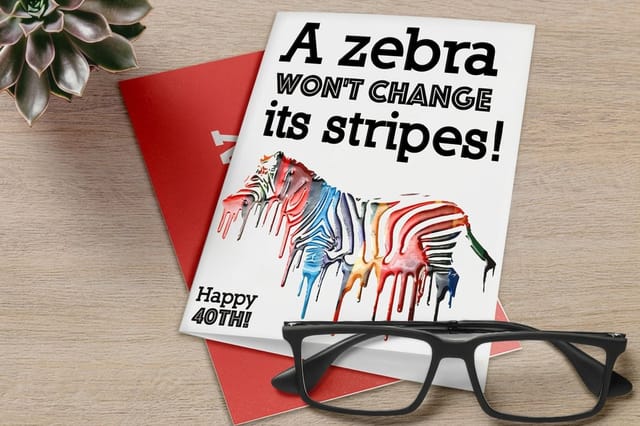
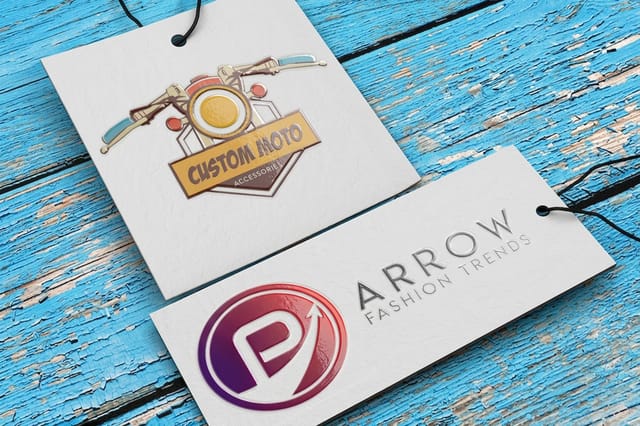
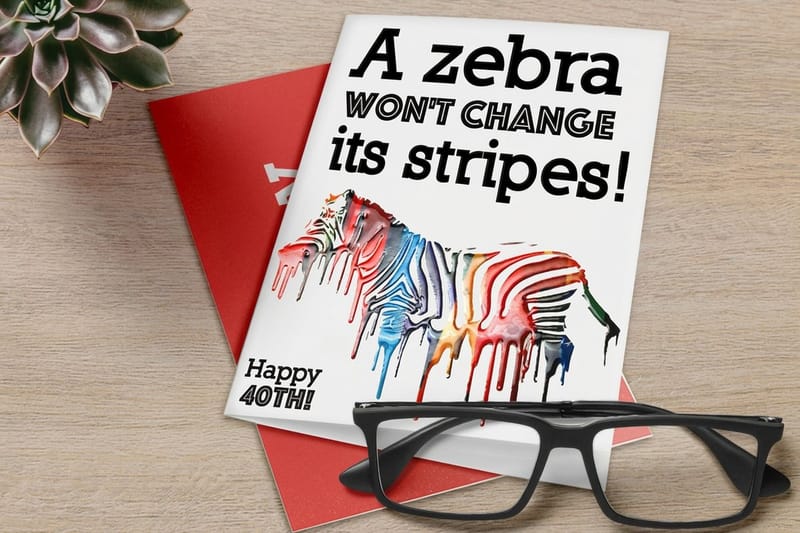
Spot UV on greeting cards and invitations adds a luxury feel without luxury pricing, a raised monogram on a wedding invite, glossy snowflakes on a holiday card, a name that shines on a thank-you note. Retail hangtags signal premium before a customer even touches the product, which is why clothing brands and artisan makers lean on them, and a small coated logo on a heavy tag costs far less than coating the whole face while doing the same job on the rack.
The finish is not limited to small formats either. Brochure covers, folder fronts, and postcards all benefit from selective gloss, and the rule that holds across all three is to coat one element per piece: the cover logo, the headline, or a single product silhouette. Gloss everything and there is no matte left for the shine to work against, which is the same trap as printing spot UV on a glossy base. If you are building a full campaign, our guides on how to make flyers, how to fold a brochure, custom magnets, and how to make envelopes keep your brand consistent across every piece.
Flat or raised is the last call to make per piece. Flat is the default on anything read at arm's length or mailed in volume, it shows as a gloss shift when the piece tilts under light and it keeps the upcharge down, which is why it is the usual pick on spot UV business cards. Raised is the one people feel, so it earns its higher cost on pieces that get handled and kept: invitations, hangtags, folder covers, anything handed over rather than posted. Browse the tactile side under raised spot UV printing, and if you cannot decide from a screen, order free paper samples and hold both.
Choosing the right paper stock for spot UV
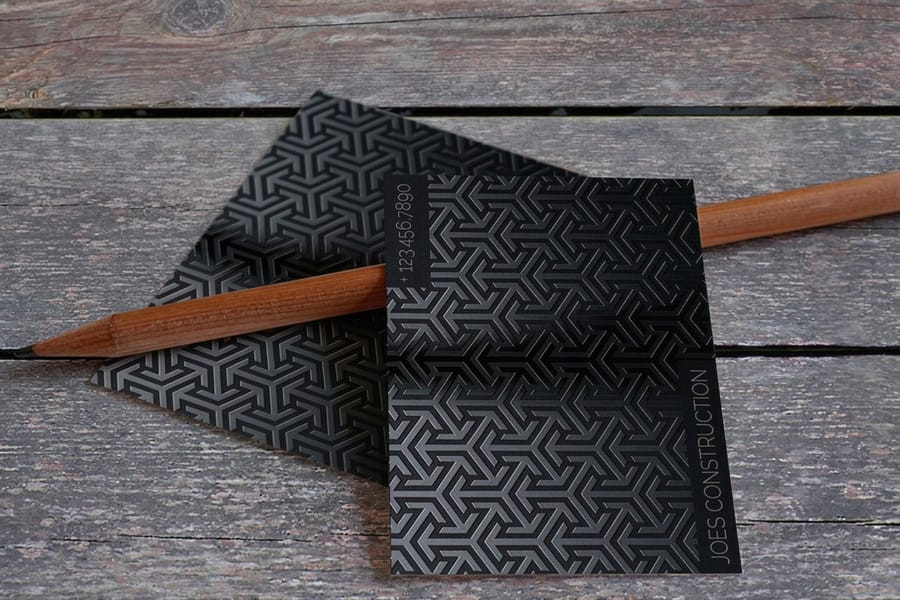
Spot UV lives on contrast, and contrast needs a matte or uncoated surface to work against. Apply gloss over a glossy base and the effect all but disappears, gloss on gloss just does not pop. A matte laminate or soft-touch matte base gives the coating something to push against, so the shiny areas jump off the surface. Soft-touch matte is the most popular pairing, its velvety, almost suede-like feel makes the gloss look even more dramatic by comparison. If you are weighing surfaces, our matte vs glossy business cards guide breaks down the trade-offs.
Weight matters too. Heavier stocks like 16pt and 32pt hold spot UV better and feel more solid in the hand, while a thin 10pt card loses some of the premium tactile payoff. If you are investing in a specialty finish, pair it with a stock that matches, and our paper weight guide helps you choose. Lamination usually forms the base layer under the coating, so the laminated business cards guide is worth a read, and for a completely different tactile route, 30mil clear plastic cards offer a modern, transparent alternative worth exploring alongside your spot UV pieces.
What does spot UV printing cost?
Spot UV is priced as an add-on to a print job, never as a job of its own, so the coating is rarely the biggest number on your invoice. Four things move the price: the product and how much sheet it uses, the quantity you run, whether the gloss lands on one side or both, and whether you choose flat spot UV or raised spot UV. Every price on the site is live, so set the product and the quantity, switch the coating on, and you can read the coated total against the plain total in the same window before you commit.
- Business cards, the cheapest place to try it. The sheet is small and the base is already a 16pt or 32pt matte or soft-touch laminate, so the coating adds the least here in absolute terms. Coating the front only holds the upcharge down and keeps the back writable, which is why agents almost always order it that way. Live pricing sits on spot UV business cards.
- Postcards, more coated area per piece. A postcard face is several times a card face, so the coating charge rises with it, but postcards are ordered in mailing quantities and that pulls the per-piece cost back down faster than any other product on this list.
- Folders, coating on top of an already expensive piece. The folder is die cut, scored, and glued before the gloss ever goes on, so the base job carries most of the cost and the spot UV adds a smaller share of the total than it does on a flat card.
- Packaging and hangtags, heavy board, small coated area. Same pattern as folders: the board weight and the finishing set the price, and a coated logo on the face adds less than coating the whole tag would. Compare on raised spot UV hangtags.
Quantity is the lever most people miss. The mask, the plate setup, and the curing pass happen once whatever the run length, so a short run carries that whole setup on very few pieces and the per-piece figure looks steep. Move up a quantity band and the same setup splits across more pieces, which is why the per-piece price at 500 lands below the per-piece price at 250, and 1,000 lands below 500 again. If the budget is tight, raise the quantity before you drop the finish, you usually end up with more cards for a similar spend.
Raised spot UV carries a higher upcharge than flat spot UV, and it is worth knowing why before you pick. Raised lays down a noticeably thicker layer of coating that you can feel with a fingertip, so it uses more material and needs a longer cure. Flat spot UV reads as a gloss shift you catch when the piece tilts under light, raised reads through touch as well as sight. Flat is the sensible default on anything mailed by the thousand, raised earns the extra on pieces people hold and keep. If you want to feel a coated stock before you spend anything, order free paper samples first.
Spot UV pitfalls that waste your money
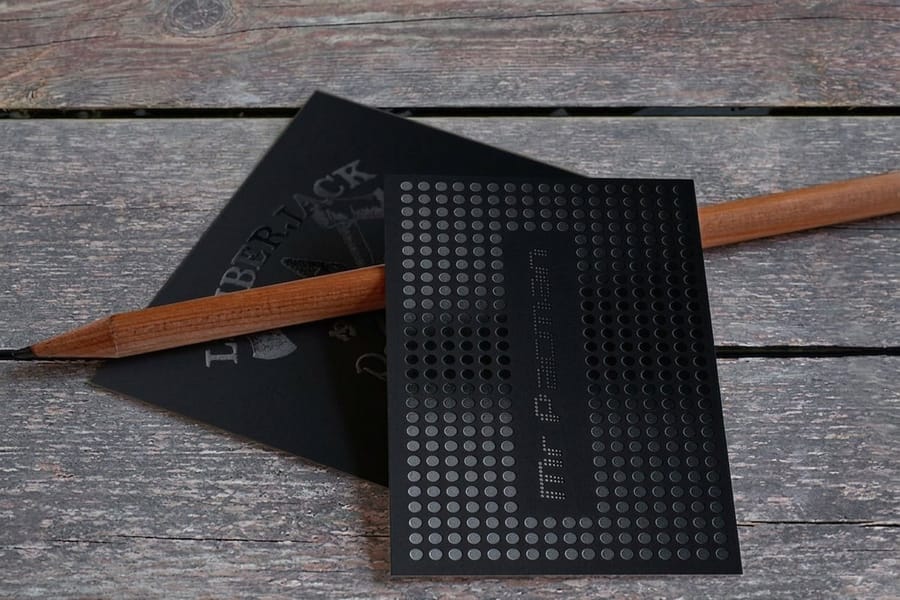
Understanding spot UV is one thing. Avoiding the file mistakes our prepress team catches most often is another. Steer clear of these and your run comes out clean the first time:
- Using spot UV on a glossy base. The coating vanishes against a shiny surface, so always start from a matte or soft-touch matte laminate.
- Misaligned UV mask layers. If the mask does not match the artwork exactly, the gloss lands in the wrong place. Check alignment at 400% zoom before submitting.
- Too-small UV elements. Fine text under 8pt or hairlines under 0.5pt do not hold the coating cleanly. Keep spot UV elements bold enough to register.
- Covering too much area. Coat 80% of the surface and you have basically done a full UV flood. Spot UV works best when it covers 20 to 40% of the design.
- Skipping the proof. Spot UV is hard to judge on screen, so order a proof and see and feel the finish before committing to a full run.
Once you have spot UV down, related finishes are worth exploring across our guide library. See how foil stamping layers metallic shine, and if your kit includes branded stamps, our guide on how to clean rubber stamps keeps every impression sharp.
Wally explains spot UV
Gloss where it counts, matte everywhere else
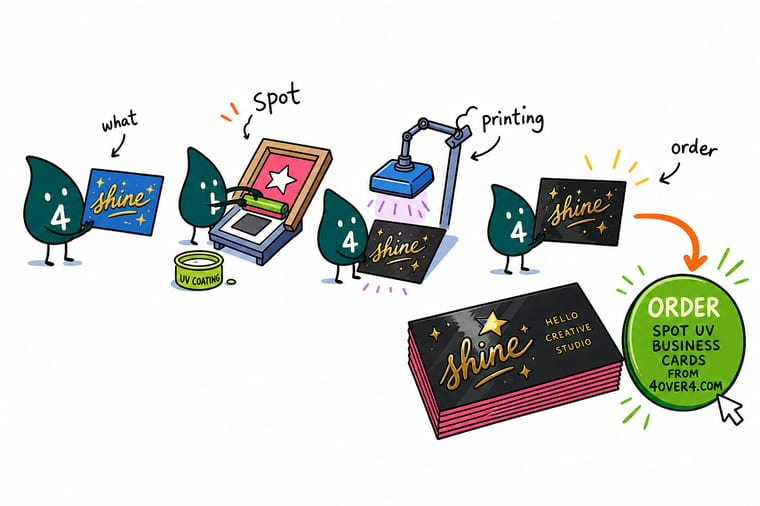
Wally treats spot UV like a spotlight: aim the gloss at one logo or headline and it shines against the matte around it, flood the whole card and the drama disappears. Keep the base matte, mark the coating in solid black on its own layer, and print on heavy stock so people feel the difference. Ready to see it in the hand? Order spot UV business cards built to your exact art at 4OVER4.
Order spot UV business cards →Specs and pricing
Spot UV business card specs and pricing
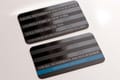
Here is what a spot UV business card gives you at 4OVER4.COM, with live specs and price-per-unit pulled straight from the configurator.
| Quantity | Price Per Unit | Total |
|---|---|---|
| 500 | 15.4¢ | $76.88 |
| 1,000 | 8.96¢ | $89.63 |
| 2,500 | 5.36¢ | $133.98 |
| 5,000 | 4.30¢ | $214.84 |
| 10,000 | 3.43¢ | $342.67 |
| 15,000 | 3.32¢ | $497.53 |
| 20,000 | 3.26¢ | $652.41 |
| 25,000 | 3.21¢ | $802.87 |
Print it
Order spot UV print at 4OVER4
See it in use
Spot UV cards off our own press



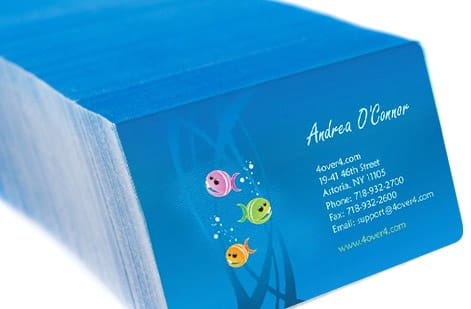
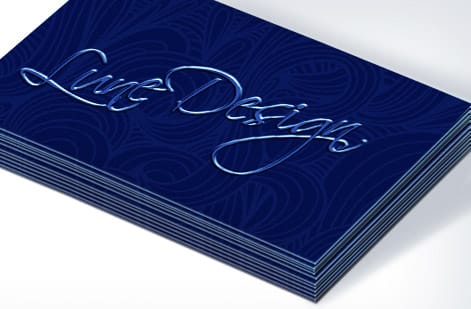
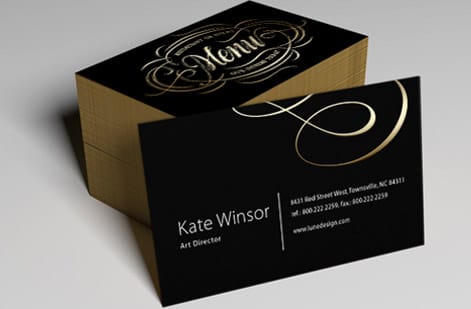

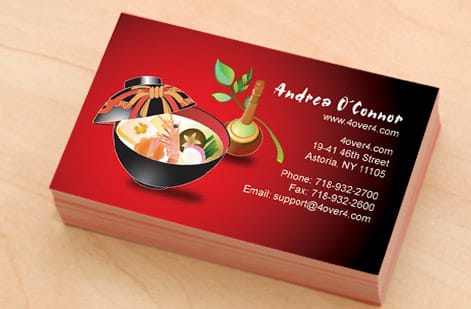
Explore more
Where to go next
By the numbers
Where spot UV sits in our catalog and our review count
Common Questions
Common questions about spot UV printing
What exactly is spot UV printing?
Spot UV printing is a finishing technique that applies a clear, glossy coating to specific areas of a printed piece. The coating is cured instantly under ultraviolet light, creating a shiny, slightly raised surface that contrasts with the matte areas around it. It is a design accent, not a full printing method.
Does spot UV work on any paper stock?
Technically yes, but it looks best on matte or soft-touch matte surfaces. Applying spot UV to a glossy base produces almost no visible contrast. For the strongest effect, pair spot UV with a matte laminate on 16pt or heavier stock.
How do I set up my file for spot UV printing?
Create a separate layer in your design file called Spot UV or UV Mask. Fill the areas you want coated with solid black at 100% K, and leave everything else transparent. That mask layer tells the printer exactly where to apply the varnish. If you want to bridge print and digital, our complete guide to QR codes shows how to add a scannable code to the same piece.
What is the difference between spot UV and raised spot UV?
Standard spot UV sits nearly flush with the surface, adding gloss without much texture. Raised spot UV applies thicker layers of varnish, creating a noticeable 3D texture you can feel with a fingertip. Raised spot UV is ideal for logos, monograms, and decorative patterns where tactile impact matters.
Can I use spot UV on text?
Yes, but keep text at 8pt or larger. Smaller type and thin serifs do not hold the coating cleanly, which can leave blurry or uneven gloss. Bold sans-serif fonts and headline-size text produce the crispest results.
How much does spot UV cost compared to standard printing?
Spot UV adds a modest premium over standard matte or gloss finishes, usually a small upcharge per unit. The exact cost depends on the product, the quantity, and how much surface area the coating covers. Each spot UV product page shows the live price before you order.
What does spot UV printing cost?
Spot UV is priced as an add-on to the print job, so the product, the stock, and the quantity set most of the total and the coating adds a share on top. Coating one side costs less than coating both. Raised spot UV carries a higher upcharge than flat, because it lays down a thicker layer that uses more material and needs a longer cure. The per-piece cost falls as the run grows, since the mask and the setup happen once whatever the quantity, so 500 lands below 250 per piece and 1,000 lands below 500 again. Set your quantity on spot UV business cards and the live total updates before you order.
How do I set up a spot UV mask file?
Build the artwork as normal, then add one extra layer named Spot UV. Fill every area that should be glossy with solid black at 100% K and leave the rest transparent, with no tints, no gradients, and no soft anti-aliased edges. The mask has to match the artwork exactly in size and position, including bleed and trim, so check the tightest detail at 400% zoom before you send it. Keep the mask vector where you can, use at least 300 DPI at final size if it has to be raster, keep coated text above 8pt and coated lines above 0.5pt, then submit as PDF, AI, or EPS with the UV layer separate from the print layers. Starting from a correctly sized file in the blank templates library removes most of the guesswork.
Get Started
Order 500 spot UV business cards from $76.88
Pick your product, mark where the gloss goes, and we print a matte piece with crisp, glossy accents that people notice and keep.
Legal Disclaimer
Gold Standard guarantees apply to all standard orders placed through 4over4.com. Price match requires verifiable proof of a competitor's published price for an equivalent product with matching specifications and turnaround time. Satisfaction guarantee covers manufacturing defects and print quality issues. Contact support with order number and documentation. On-time delivery rate based on tracked orders 1999 to 2026. Individual results may vary based on shipping carrier performance.
