
What DPI for Printing? Resolution Settings Explained


Set files to 300 DPI for anything read up close, ease off to 100 or 150 DPI for large-format work, and always check the pixels before you upload. Here is the resolution playbook that keeps every print sharp.
The standard DPI for printing is 300. That resolution keeps business cards, postcards, brochures, and other close-up pieces crisp, because at 300 DPI the eye cannot see individual ink dots. For large-format prints like banners read from a distance, 100 to 150 DPI is plenty. The one rule that never changes is to start from a high-resolution source, since no software can add detail that was never captured.
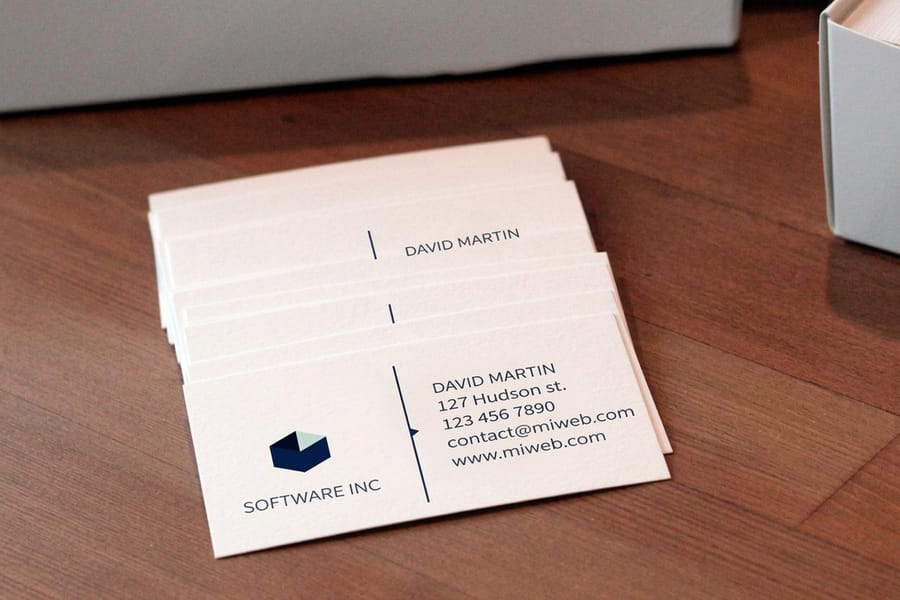
Quick tips
Quick tips for getting print resolution right
Set your document to 300 DPI before you design, not after. Match the resolution to viewing distance, keep logos and text as vector art, and confirm every photo is at least the print width in inches times 300. 4OVER4.COM runs a free file review on every order, so low-resolution files get flagged before they reach the press.
Watch it printed
See standard business cards on the press, in 167 seconds
300 DPI vs 600 DPI, which one you actually need
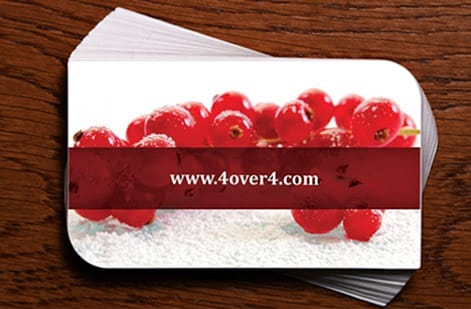
300 DPI is enough for photographs and full-color print, while 600 DPI only pays off for fine line art, small type, and scans you plan to enlarge. For everything you hold in your hand, a card, a flyer, a postcard, a brochure, 300 is the number to build to and 600 is wasted weight.
The reason is in the press, not the file. A full-color job is broken into a halftone screen, and the working rule is roughly twice the line screen, which is where 300 pixels per inch comes from. Go to 600 and you have quadrupled the pixel count and the file size to describe detail the ink cannot lay down. The proof is easy to see: print the same photo at 300 and at 600 on the same stock and nobody can pick them apart.
Line art behaves differently, because it is edges rather than tones, and edges keep getting cleaner as resolution climbs. That is where 600 belongs.
| What you are printing | Build the file at | Why |
|---|---|---|
| Photos and full-color artwork | 300 DPI | The halftone screen cannot reproduce more. Extra resolution only grows the file. |
| Black and white line art, engraved-style logos, hairline rules | 600 to 1200 DPI | Hard edges keep sharpening with resolution, so this is where the jump is visible. |
| Small type, logos, barcodes, QR codes | Keep them vector | Vector prints at the device's own resolution, so DPI stops being a question at all. |
| Scans you plan to enlarge | Scan so the final size still lands at 300 DPI | Doubling the print size halves the effective resolution, so capture the detail up front. |
| Banners and posters read from several feet | 150 to 200 DPI | Viewing distance does the work, and files stay a manageable size. |
Two traps to sidestep. Upsampling a 300 DPI image to 600 in Photoshop adds no detail, it invents pixels, and the result prints softer than the file you started with. And the 600 or 1200 dpi on a laser printer's spec sheet describes how finely that device places dots, not the resolution your image needs to be, so do not match one to the other.
Why DPI matters every time you hit print
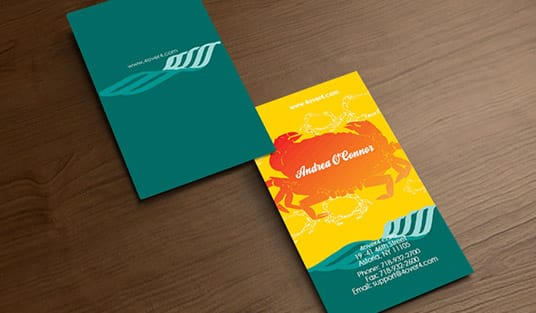
DPI stands for dots per inch, and it sets how many tiny ink dots your printer lays down across every inch of paper. More dots mean sharper detail. Fewer dots mean soft edges, pixelated photos, and text that reads fuzzy up close.
Knowing what DPI for printing you need is simple once you factor in the project. A billboard read from 50 feet away has nothing in common with a business card someone holds six inches from their face. This print resolution guide walks through both ends of that range, plus specialty work like spot color printing and the plates behind flexographic printing.
Get the resolution right and your next print job comes back crisp. Here is exactly how to set your files up so that happens every time.
What DPI actually means, and what it does not
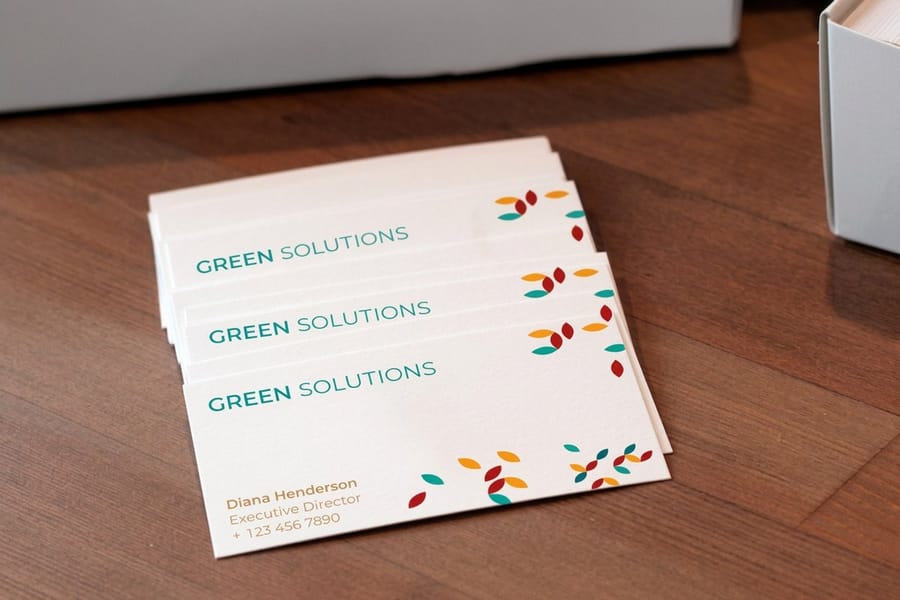
DPI measures print output, or how many dots of ink a printer places per inch. People often mix it up with PPI, pixels per inch, which measures what you see on a screen. While you design on a computer you work in PPI, and the moment the file reaches the printer that becomes DPI.
For file setup the two numbers are interchangeable. Set your document to 300 PPI in Photoshop or Illustrator and the printer outputs at 300 DPI. That is all there is to it.
What DPI cannot do is rescue a low-resolution image. Shoot a photo at 72 PPI, resize it to 300 PPI in your editor, and you have only stretched the same pixels wider. The picture gains no real sharpness, so you need enough pixel data from the very start.
300 DPI printing, the industry standard

300 DPI printing is the gold standard for anything held at arm’s length or closer. That covers the pieces people study up close:
- Business cards that get read at 6 to 12 inches, where every detail shows.
- Brochures and flyers where text and images need to stay razor sharp.
- Postcards and mailers, since first impressions happen fast.
- Booklets and catalogs that readers flip through closely.
- Stickers and labels, where small print demands high resolution.
At 300 DPI the human eye cannot pick out individual dots at normal reading distance, which is why it is the magic number. Drop lower and you risk visible pixelation, especially across photos and smooth gradients.
When you build print-ready files, 4OVER4.COM recommends setting your canvas to 300 DPI from the first click rather than designing at 72 DPI and scaling up later. Our guide hub has more tips on preparing files the right way.
When you can safely go below 300 DPI
Not every job needs 300 DPI. Large-format printing plays by different rules because the viewing distance grows fast.
150 DPI holds up well for posters read from three to five feet away, trade show displays and retractable banners, and window graphics or wall murals.
72 to 100 DPI is fine for vinyl banners hung above a doorway or across a building, billboard graphics read from 20 feet or more, and many sections of a vehicle wrap.
The rule of thumb is easy: double the viewing distance and you can roughly halve the DPI. A poster read from four feet needs about half the resolution of a business card read from one foot. Working on a handheld piece like custom flyers? Stay at 300 DPI. Building a banner for a conference booth? 150 DPI gives you a clean result without a giant file.
DPI for large format printing, with the pixel counts to hit
The rule of halving the DPI as the viewing distance doubles is easy to say and hard to apply until it is turned into pixels. Multiply the finished width and height in inches by the DPI you are aiming for and you get the smallest image that will hold up. For the common large sizes that looks like this.
- 18 by 24 inch poster at 200 DPI: 3600 by 4800 pixels. At 150 DPI, 2700 by 3600.
- 24 by 36 inch poster at 150 DPI: 3600 by 5400 pixels. A framed print read up close earns 200, which is 4800 by 7200.
- 36 by 48 inch print at 150 DPI: 5400 by 7200 pixels.
- 3 by 6 foot banner at 100 DPI: 3600 by 7200 pixels, and a 4 by 8 foot banner at the same DPI is 4800 by 9600.
Files that big get slow, so large format shops accept artwork built at a scale. Set the document to a quarter of the finished size and four times the DPI, so a 3 by 6 foot banner becomes a 9 by 18 inch file at 400 DPI, and the pixel count comes out identical. Keep every logo and line of type as vector inside it, so only the photos carry a DPI at all. Check the effective resolution at the finished size, then upload it to large format posters or vinyl banners and let the free file review confirm it.
How to check your image resolution
Before you upload anything, confirm the resolution. Here is where to look in the tools most people use.
- Adobe Photoshop: open Image then Image Size and read the Resolution field. It should say 300 pixels per inch for standard print, and the document dimensions should match your final size plus bleed.
- Adobe Illustrator: place your image, open Window then Links, and click the file to see its effective PPI. Anything under 300 prints soft.
- Canva: choose PDF Print on download and Canva exports at 300 DPI automatically. The PNG option drops to 96 DPI, which is screen only.
Prefer quick math? Multiply your print width in inches by 300 to get the minimum pixel width. A 4 by 6 postcard needs an image at least 1200 by 1800 pixels. Add the usual 0.125 inch bleed on each edge and you are looking at 1275 by 1875 pixels.
The right DPI for every print product
Here is what DPI for printing works best across the products people order most. The same numbers apply whether you lay out custom envelopes or a full stationery set.
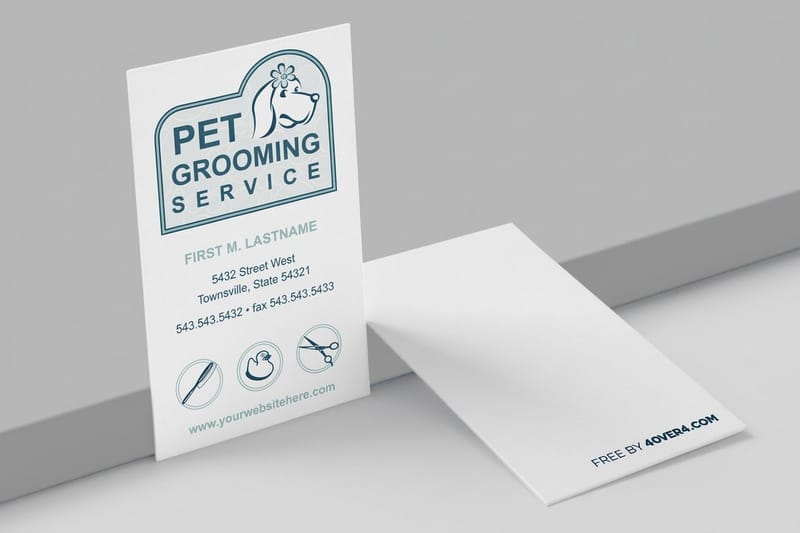
- Business cards: 300 DPI, no exceptions. They are small, held close, and represent your brand, so any softness shows instantly.
- Postcards and mailers: 300 DPI. The photo is the hero, and a low-res image on a thick, vivid postcard stands out for the wrong reasons.
- Brochures: 300 DPI on every panel. Images near fold lines can soften, so 300 gives you a buffer when you learn how to fold a brochure.
- Posters up to 24 by 36: 200 to 300 DPI. From a few feet away 200 DPI is fine, but a framed desk print earns the full 300.
- Banners and signs: 100 to 150 DPI, since they are read from a distance and higher numbers only bloat the file.
- Magnets: 300 DPI. Treat them like business cards, small format and close viewing, as covered in custom magnets.
When in doubt, default to 300 DPI. It never hurts a close-up piece, and it leaves room to resize down without losing quality.
Vector versus raster, and why it changes the rules
Here is the part that trips people up. DPI applies only to raster images, meaning photos, PNGs, and JPEGs. Vector graphics like logos, icons, and live text in Illustrator or InDesign are resolution independent, so they scale to any size with zero quality loss.
This is why designers keep asking for your logo as an AI, EPS, or SVG file. A vector logo prints perfectly on both a business card and a billboard. A JPEG logo looks great on the card and falls apart blown up on the billboard.
Best practice is to combine the two: vector art for text, logos, and shapes, and high-resolution 300 DPI photos for imagery. Browse the print showcase to see how clean, properly prepared files turn into real printed products.
File formats that protect your resolution
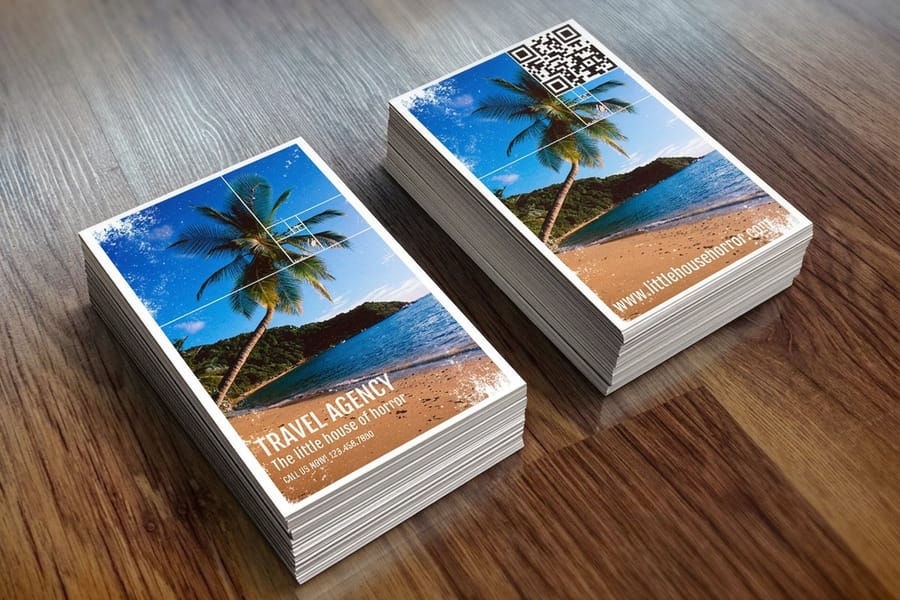
Your file format decides how much resolution survives the trip to press. A few hold up far better than others.
- PDF (Press Quality): best for print. It keeps resolution, embeds fonts, and supports CMYK, so always export as Press Quality or High Quality Print.
- TIFF: a lossless format that is great for photos. The file is large but the quality loss is zero.
- PNG: good for graphics with transparency. Confirm it is 300 DPI before you export.
- JPEG: fine for photos at maximum quality, around 10 to 12 in Photoshop. Each re-save compresses the image further, so avoid editing and saving the same JPEG over and over.
Skip GIF, BMP, and any web-first format. They do not carry the color depth or resolution that professional printing needs.
Color mode and DPI work as a pair
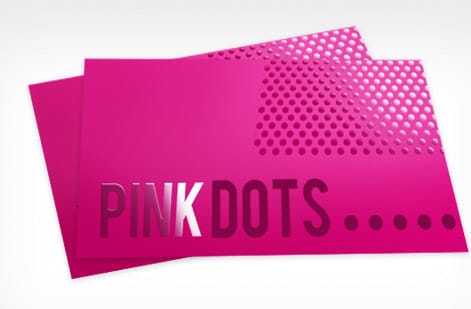
Resolution is not the only setting that decides how a file prints. Color mode matters just as much. Print runs on CMYK, the cyan, magenta, yellow, and black inks, while screens glow in RGB, the red, green, and blue light.
Design in RGB and flip to CMYK at the last second and your colors can shift. Bright greens and vivid blues often turn duller once they convert. Set the document to CMYK from the start and you see honest color through the whole design.
Pairing the right resolution with the right color mode is the same craft that runs through hands-on methods like keeping rubber stamps clean, where small details decide whether the final mark reads sharp.
Start from a print-ready template
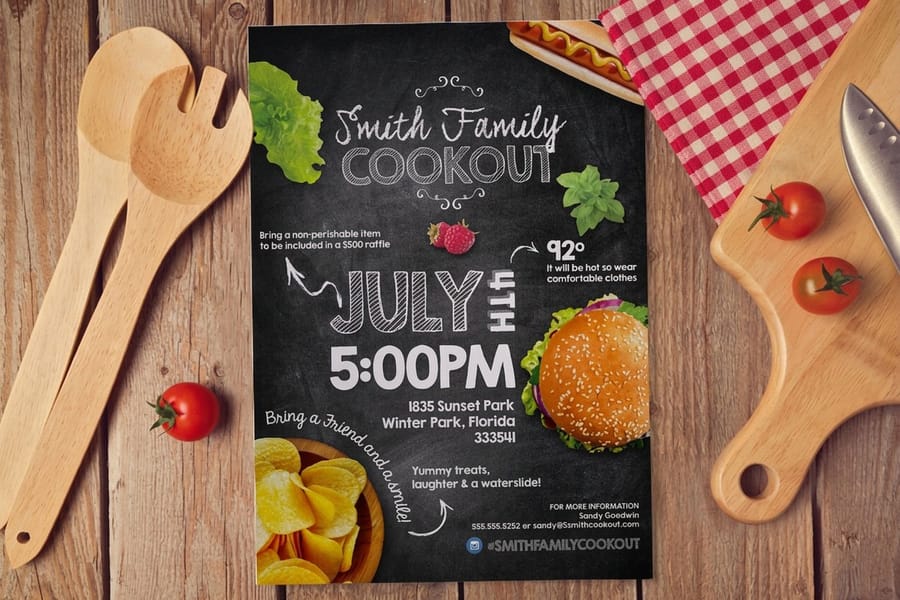
If you would rather not build resolution and bleed from scratch, start on a template that already has both dialed in. Our blank templates open at the correct print size with the bleed and safe margins in place, so your art lands exactly where it should.
Two easy places to begin are acrylic prints and dry erase prints. Drop your 300 DPI images in, keep vector text sharp, and export a press-ready PDF without guessing at the numbers.
Resolution mistakes that ruin print jobs
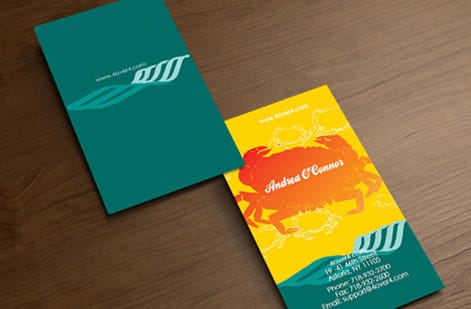
Even seasoned designers slip on DPI. These are the errors that show up most, and how to sidestep each one.
Upscaling low-res images. Dragging a 72 DPI web image into a 300 DPI document does not add detail. It just makes blurry pixels bigger, so always source images at the resolution you need.
Designing at screen resolution. Many programs default to 72 or 96 DPI, everything looks great on screen, then prints soft. Set your canvas to 300 DPI before you start.
Ignoring bleed. Your file needs to extend 0.125 inch beyond the trim line on all sides, or a background that barely reaches the edge will not cover the cut.
Downloading images from social media. Instagram, Facebook, and most platforms compress uploads to 72 DPI, so go back to the original file instead.
Confusing DPI with file size. A big file is not automatically high resolution, since a 50MB image can still be 72 DPI. Check the resolution, not just the megabytes. 4OVER4.COM offers a free file review that catches these before anything hits the press.
Products that reward a sharp file
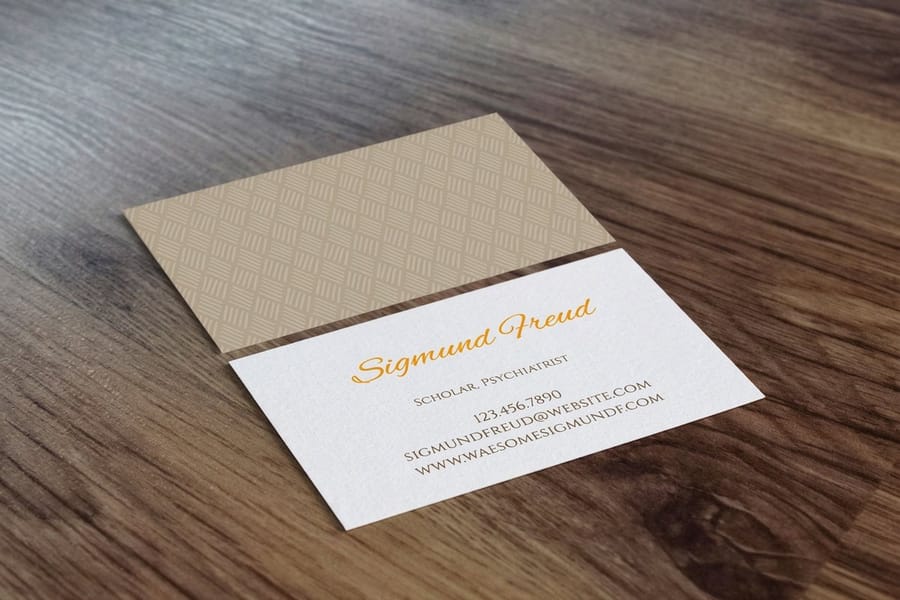
Once your files are dialed in at 300 DPI, put them to work. 4OVER4.COM prints 1,000+ products across every category, and each one looks its best when the resolution is right from the start.
Testing the waters with free business cards or building a full run of marketing materials, your art comes back crisp when the pixels are there to begin with.
Wally explains print resolution
300 DPI up close, less as you step back
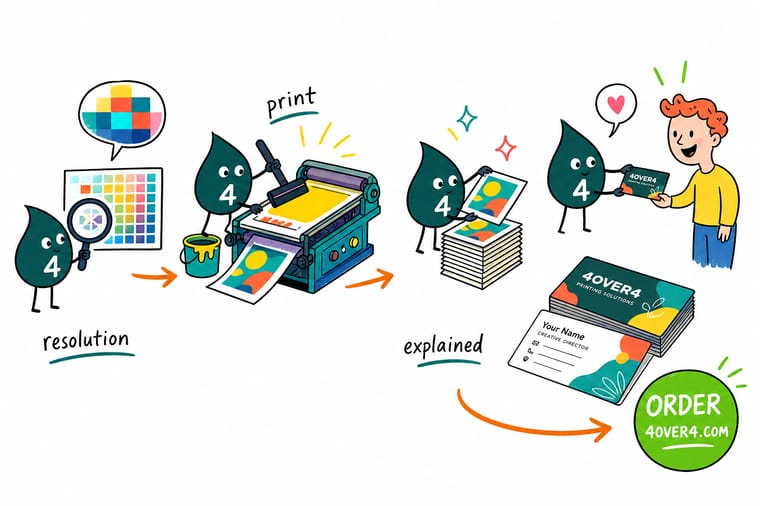
Wally thinks of DPI like grains of sand in a photo: pack 300 dots into every inch and a business card reads razor sharp, spread them thin and the edges turn to mush. The trick is to match the dots to how close the piece gets read and to start from a high-resolution source, because no slider can invent detail that was never there. Set your file to 300 DPI and let 4OVER4 handle the press.
Order business cards →Specs and pricing
Business card specs and live pricing
Once your file is set to 300 DPI, here is what a run of standard business cards gives you at 4OVER4.COM, with live specs and price-per-unit straight from the configurator.
| Quantity | Price Per Unit | Total |
|---|---|---|
| 100 | 17.6¢ | $17.57 |
| 200 | 11.5¢ | $23.07 |
| 300 | 9.15¢ | $27.46 |
| 400 | 7.96¢ | $31.86 |
| 500 | 7.25¢ | $36.26 |
| 600 | 6.77¢ | $40.64 |
| 700 | 6.43¢ | $45.04 |
| 800 | 6.18¢ | $49.43 |
Print it
Products that show off a sharp file
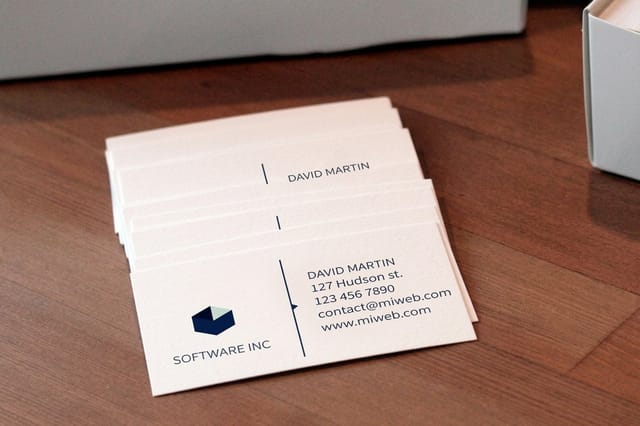
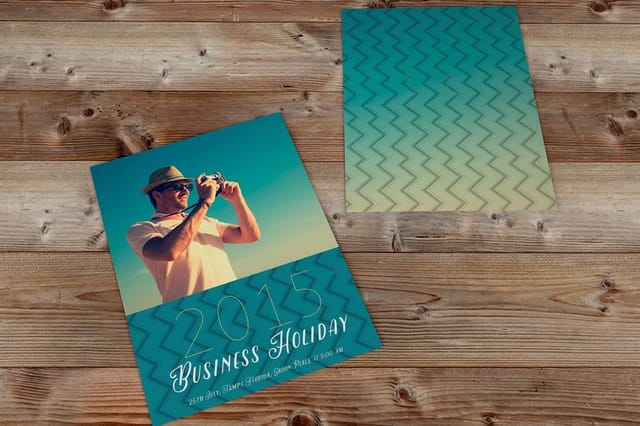
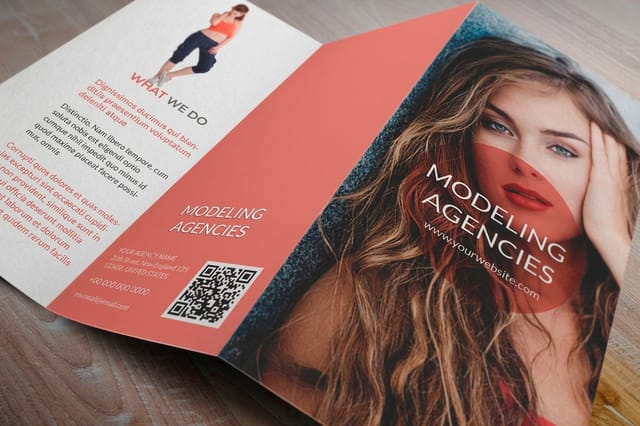
See it in use
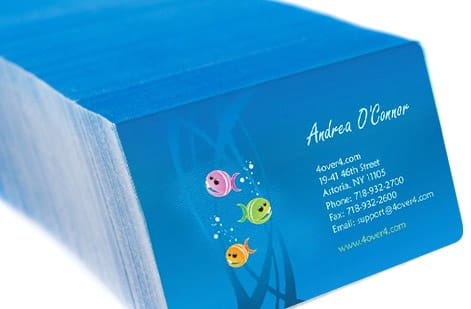
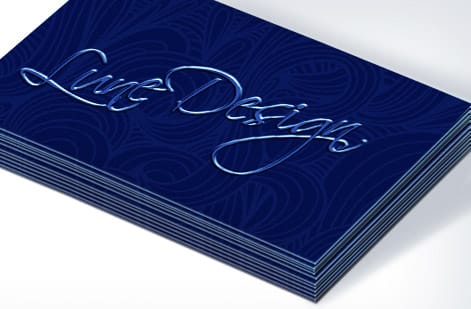
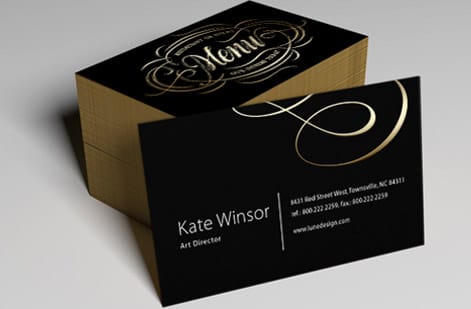
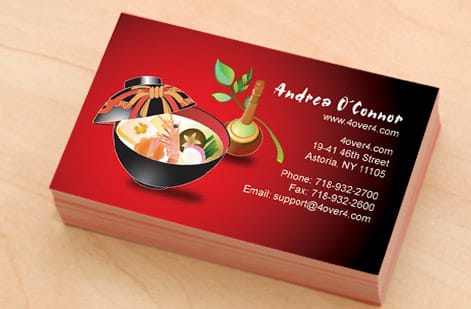
Real customer print work, done in-house




Explore more
Where to go next

By the numbers
300 DPI is the standard behind every one of these numbers
Common Questions
DPI for printing, your questions answered
What is a good DPI for large prints?
Between 100 and 200 DPI at the finished size, depending on how close people stand. A poster read from three to five feet looks sharp at 150 DPI, a framed print viewed up close earns 200, and a banner read from across a room or a parking lot holds up at 100. Measure the DPI at the printed size, not the size of the file on screen.
Is 600 or 1200 DPI better for printing?
Neither helps a photograph, because a full color press cannot lay down more detail than a 300 DPI file already carries. Both numbers earn their place only on black and white line art, engraved-style logos and hairline rules, where hard edges keep getting cleaner as resolution climbs. If you do have line art at 1200 DPI, keep it, but never upsample a 300 DPI photo to reach that figure.
What resolution do I need for a 16x20 print?
A 16 by 20 inch print read at arm's length wants 300 DPI, which is an image of 4800 by 6000 pixels. Hung on a wall and read from a few feet, 200 DPI is enough and the file drops to 3200 by 4000 pixels. Add 0.125 inches of bleed on each edge before you export, and keep any text or logo as vector so only the photo needs the pixels.
Is 600 DPI better than 300 DPI for printing?
Only for specific work. On photographs and full-color artwork it gives you nothing, because the halftone screen on press tops out well below 600, so all you gain is roughly four times the file size. Where 600 DPI does earn its place is black and white line art, engraving-style logos, hairline rules, and scans you intend to print larger than the original, since those are hard edges and edges keep improving with resolution. Never upsample a 300 DPI file to 600 to get there either, because the extra pixels are invented and the image prints softer, not sharper.
What DPI should I use for business card printing?
Use 300 DPI for business cards. They are viewed at close range, so every detail needs to be sharp. Set your file to 300 DPI at the actual print size of 3.5 by 2 inches plus 0.125 inch bleed on each side. That keeps text, logos, and photos crisp.
Can I print at 150 DPI and still get good results?
It depends on the product. For large-format items like banners and posters read from several feet away, 150 DPI produces clean results. For handheld items like flyers, postcards, or brochures, 150 DPI looks noticeably soft, so stay at 300 DPI for anything read at arm’s length or closer.
How do I increase the DPI of an existing image?
You cannot truly increase DPI without losing quality. Changing the resolution setting in Photoshop from 72 to 300 DPI just stretches existing pixels, so the image gains no new detail. Your best option is to go back to the original source file or re-photograph the subject. Some AI upscaling tools help, but results vary.
What is the difference between DPI and PPI?
PPI, or pixels per inch, describes screen resolution, meaning how many pixels make up each inch of a digital image. DPI, or dots per inch, describes print output, meaning how many ink dots the printer places per inch. During file setup they are functionally the same number, so a file set to 300 PPI prints at 300 DPI.
Does 4OVER4.COM check my file resolution before printing?
Yes. 4OVER4.COM provides a free file review with every order. If your resolution is too low for the selected product, the system flags it before production and you can upload a corrected file without delay. The prepress team also catches issues that automated checks sometimes miss.
What DPI for printing do I need for a poster?
For posters up to 24 by 36 inches, aim for 200 to 300 DPI. If the poster hangs on a wall and is read from three feet or more, 200 DPI is acceptable. For smaller posters displayed at close range, like framed desk prints, use 300 DPI. Larger posters can go as low as 150 DPI since the viewing distance increases.
Get Started
Ready to print from a sharp file?
Set your artwork to 300 DPI, drop in your logo and photos, and we print crisp, color-accurate results on 60+ paper types.
Legal Disclaimer
Gold Standard guarantees apply to all standard orders placed through 4over4.com. Price match requires verifiable proof of a competitor's published price for an equivalent product with matching specifications and turnaround time. Satisfaction guarantee covers manufacturing defects and print quality issues. Contact support with order number and documentation. On-time delivery rate based on tracked orders 1999 to 2026. Individual results may vary based on shipping carrier performance.
