
How to Customize a Banner From Size to Finished File


Four decisions, in a fixed order, and the artwork comes last. Each one changes something, carries a cost, and takes margin out of your design.
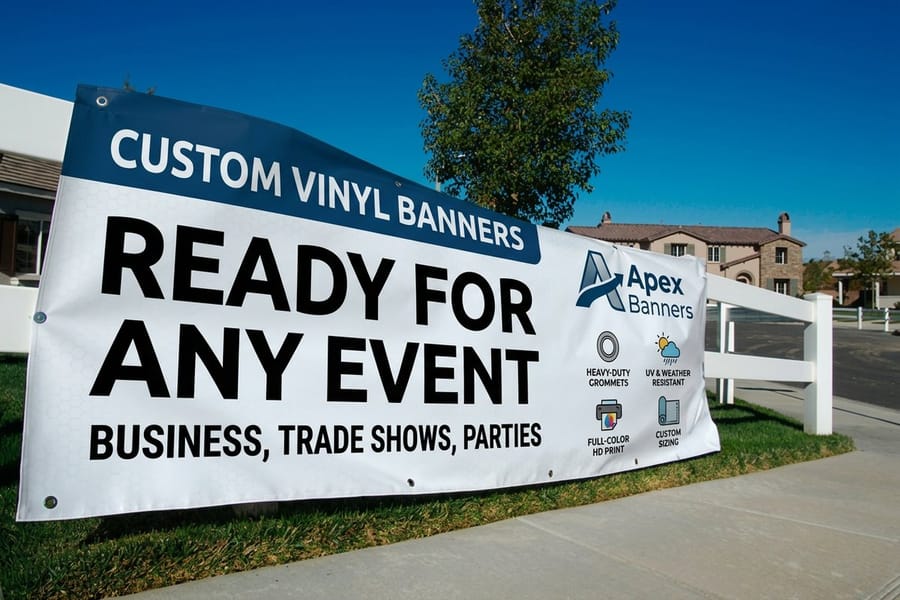
Customize a banner in four steps, in this order: set the size, pick the material for where it will hang, choose the finishing, then build the artwork to fit. Do it on the product page, where every option reprices live, before you open a design file. Reverse the order and you get a stretched logo and a phone number folded into the hem.
Quick answer
Size, material, finishing, then the file
Every banner choice cascades, so the order you make them in decides how much work you redo. Size fixes the canvas and most of the price. Where the banner hangs picks the material, and wind is the deciding factor rather than budget. Finishing decides how it attaches and quietly removes about 2 in of usable space on every edge. Artwork is built last, to the size you already chose, at 100 dpi at full scale.
The Four Choices, In The Order The Configurator Asks Them
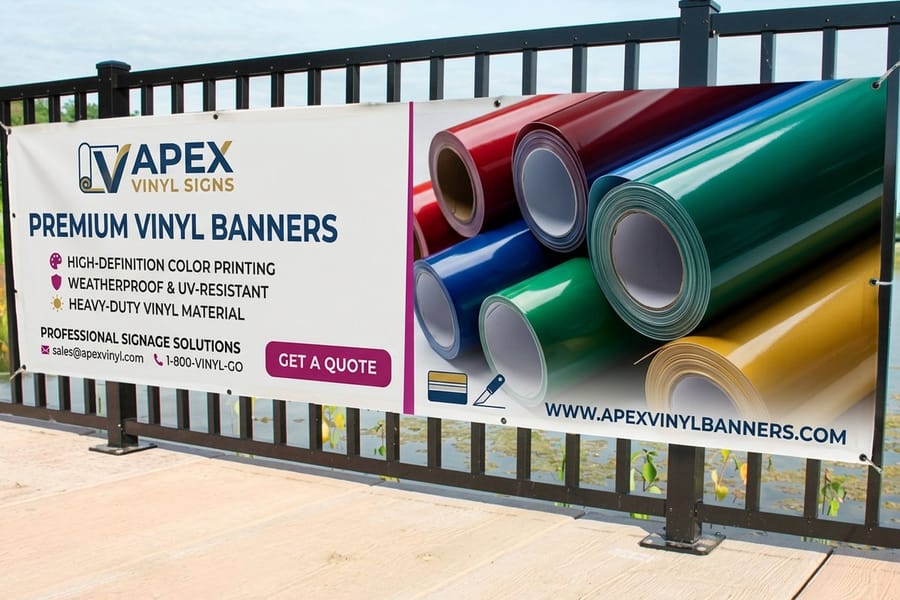
The banner product page asks for size, then material, then finishing, then quantity. That order is not arbitrary. Each answer narrows the next one, and the artwork is built last because it has to fit whatever the first three decided.
Size sets the canvas and most of the price, since banners are quoted by the square foot. Material follows from where the banner will hang, not from what looks nicest in a thumbnail. Finishing is how it attaches to the world: hems, grommets, pole pockets. Only then does artwork make sense, because the safe margin, the letter heights and the position of the logo all depend on the three answers above it.
People reverse this constantly. They design a beautiful 1920 by 1080 graphic, then try to make a banner out of it, and end up with a stretched logo and a phone number sitting where the hem folds over. Fifteen minutes in the configurator on vinyl banners before you open a design file saves the whole rebuild.
One practical note on quantity: the per unit price drops as the run grows, so if you know you need the same banner at three locations, price all three in one order rather than three separate ones.
Choosing A Size Before You Design Anything

Start from the reader, not from the wall. The working rule in sign shops is about one inch of capital letter height for every 10 feet of viewing distance. Letters 3 in tall read at roughly 30 feet, 6 in tall at roughly 60 feet. Decide how far back your audience stands, size the headline, and the banner size falls out of that.
Then check the space. Measure the gap between the two anchor points you actually have, whether that is a pair of fence posts or the width of a window, and subtract a few inches so the banner is not stretched drum tight. A banner pulled taut has nowhere to give in a gust, and that is when grommets tear out.
Price moves with area, which makes the trade-off easy to reason about. Going from 6 ft by 3 ft to 8 ft by 3 ft is 6 extra square feet, not a doubling. Going from 3 ft to 4 ft tall on an 8 ft banner is 8 extra square feet, which costs more than the extra width did. If you are choosing between wider and taller, wider is usually the cheaper way to buy legibility.
There is a hard limit worth knowing. Banner vinyl comes off a roll, so one dimension is capped by the roll width, and anything beyond it is welded from two pieces with a visible seam. Keep the smaller dimension under the roll width and you get one clean piece. Our standard banner sizes guide lists the sizes that hang cleanly in real spaces, and the whole range is priced on the banner printing collection.
Material Is Decided By Where The Banner Hangs
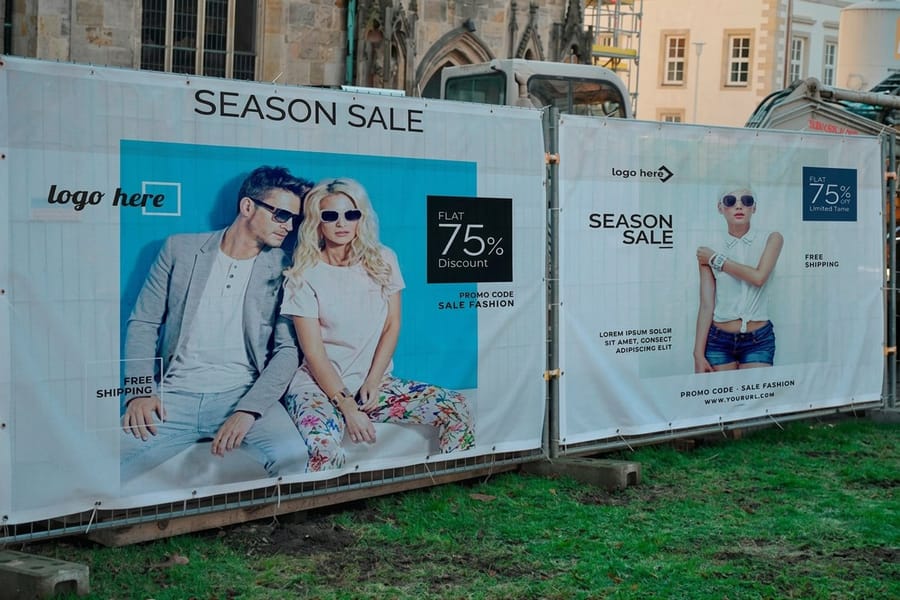
This is the one choice where a wrong answer ruins the banner rather than just disappointing you. Solid vinyl in a windy spot behaves like a sail. Fabric outdoors in rain goes limp and slow to dry. Match the material to the location and everything else is preference.
| Material | Best location | Behavior in wind | Starting price |
|---|---|---|---|
| 13 oz vinyl | Walls, fences, storefronts, event fronts with shelter | Catches wind. Needs slack and enough grommets, or a mesh swap. | $79 |
| Mesh vinyl | Open fencing, scaffolding, rooftops, anywhere exposed | Perforations let air through, so the banner stays put instead of billowing. | $75 |
| Fabric | Indoor events, stages, backdrops, anything photographed | Not for sustained outdoor wind. Hangs soft, no glare under lights. | $57.20 |
| Pole banners | Light poles, streetscapes, campus and downtown runs | Built for it. Pole pockets top and bottom keep the panel under tension. | $97.76 |
Two things people get wrong here. Mesh is not a cheap substitute for vinyl: the perforations reduce the ink coverage you see from close up, so a mesh banner read from 6 feet away looks softer than a solid one. And fabric photographs better than vinyl because it does not throw a hotspot back at a flash, which is why step and repeat backdrops are almost always fabric. If the banner will end up in press photos, that matters more than the price gap.
For a longer breakdown of the weights and weaves, read the banner material types guide, or compare the two outdoor options directly in vinyl banners against mesh banners.
Finishing Decides How The Banner Survives
Finishing is the step most people skip past, and it is the one that determines whether the banner is still up in three months. There are three options that cover almost every job.
- Hemmed edges. The printed face is folded back about an inch and welded, which doubles the material at the edge and stops it fraying. On anything outdoors this is not optional.
- Grommets. Metal eyelets punched into the hem, at the corners and roughly every 24 in along the edges. They are the attachment point for rope, bungee cord or zip ties.
- Pole pockets. A sleeve sewn or welded along the top, bottom or both, so a rod slides through. Cleaner than grommets indoors, and the only sane choice for a hanging banner with no side anchors.
The trade-off with grommets runs the opposite way to intuition. More grommets spread the load and reduce flapping, but every grommet is a hole, and a hole in tensioned vinyl is where a tear starts. The balance is corners plus every 2 to 3 feet, closer on a large outdoor banner and further apart on a small indoor one. If you are dealing with real wind, adding wind slits to solid vinyl is a worse answer than ordering mesh in the first place, because a slit weakens the panel without shedding much air.
Grommets also change what your artwork can do near the edge. The hem folds an inch of the printed face to the back and the eyelets sit inside that fold, so any element within about 2 in of the trim is either hidden or punched through. Keep type and logos inside that line. The grommet placement guide covers the spacing in detail, and the ways to hang a banner matches each finishing option to the surface you actually have.
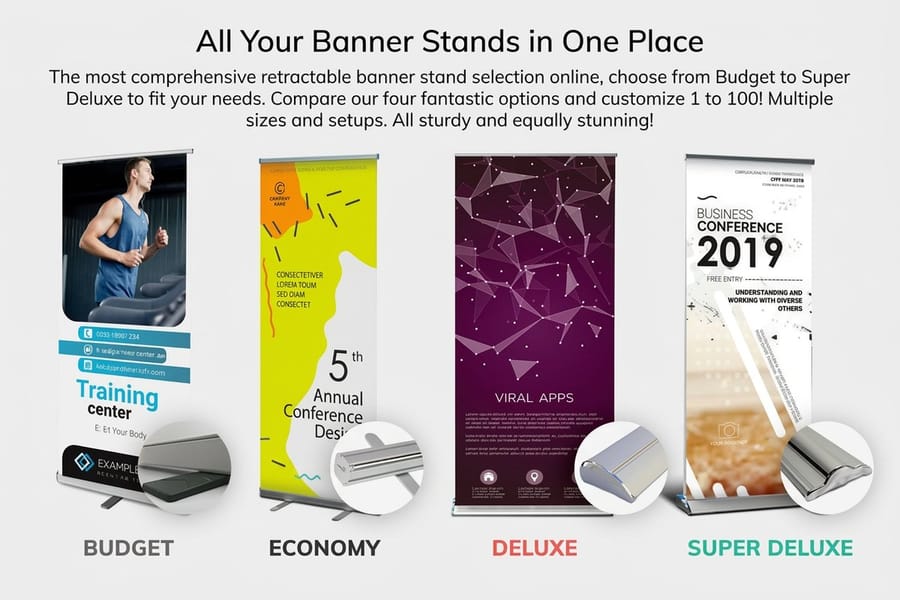
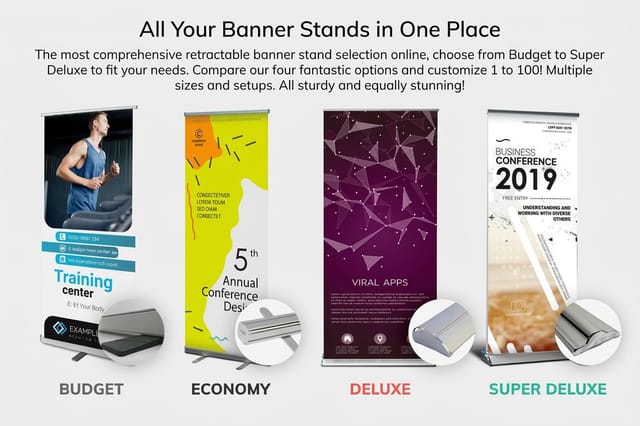
If the banner needs to travel to events and set up in a minute, skip the hardware question entirely and order a retractable banner stand from $139, where the graphic, the cassette and the pole arrive as one unit.
Uploading A File Or Designing It Online

With the size, material and finishing set, the artwork step is short. You have two routes and they end in the same place.
Design it online. The designer opens on a canvas already sized to your order, with the trim edge and the safe area marked. You place type, a logo and a background, and the file that goes to press cannot be the wrong dimensions because you never chose them twice. This is the route to take if you do not have a print ready file and do not want to fight with document setup.
Upload your own. Build the document at full size at 100 dpi, or at 1:10 scale at 300 dpi if your software struggles with a canvas 8 feet wide. Set the color mode to CMYK, keep photographs at 100 dpi or better at final size, outline the fonts, and export a single page PDF. Start from a correctly dimensioned file in the blank template library rather than typing the size in by hand, since that is where the safe margin usually goes missing. Our design templates give you a laid out starting point if you would rather edit than build.
Three checks before you send it. Is every piece of type at least 2 in inside the trim on all four edges. Is the headline tall enough for the viewing distance you sized for. Is there one message, not four, because a banner read at 40 feet gets about two seconds of attention.
Banners sit in the large format printing family, and the same file rules cover posters, signs and backdrops, so the habits you build here transfer. Once the file is uploaded, the configuration and the artwork travel together through checkout as one job.
Wally customizes a banner
Measure, choose the material, then draw
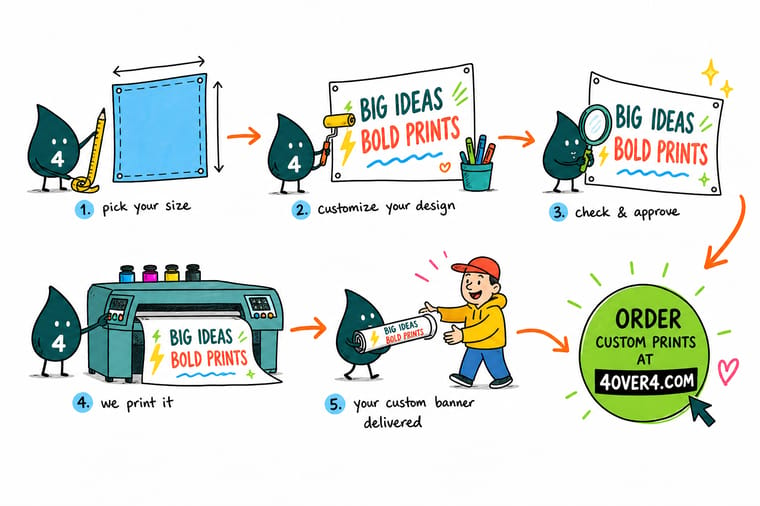
Wally measures the gap between the two posts first, because that number decides everything after it. Then he asks where the banner lives: sheltered wall means solid vinyl, open fence in the wind means mesh, indoor stage means fabric. He folds an inch of the edge back for the hem and punches grommets into that fold, which is why he keeps the headline 2 in inside the trim. The artwork is the last thing he draws, at the size he already picked.
Customize a vinyl banner →Specs and pricing
Banner materials, sizes, and starting prices
The same three materials side by side, with the live size, finishing and quantity options straight from the 4OVER4.COM configurator.


Print it
Order a banner built to your size

Explore more
Where to go next

By the numbers
Banners sized, hemmed and grommeted to order
Common Questions
Your banner customizing questions, answered
How do I customize a banner online?
Open the banner product page, set the size, choose the material, add the finishing you need, then set the quantity. The price updates as you go, so you can see what a foot of extra width or a set of grommets actually costs before you commit. Once the configuration is right you either upload a print ready PDF or build the artwork in the online designer, and the design canvas comes preset to the size you just chose. Doing it in that order matters, because a file laid out for 6 ft by 2 ft has to be rebuilt if you switch to 8 ft by 3 ft at the last minute.
What size should I make my banner?
Work backwards from how far away people will be standing. The rule sign shops use is roughly one inch of capital letter height for every 10 feet of viewing distance, so a headline read from 50 feet needs letters about 5 in tall. Fit that headline plus a logo and one line of contact detail on the banner and you have your minimum size. For most storefronts and event fronts that lands at 8 ft by 3 ft or 6 ft by 3 ft. Banner pricing runs on square footage, so going from 6 by 3 to 8 by 3 adds 6 sq ft of material rather than doubling the bill.
Do I need grommets on every banner?
No. Grommets are for banners you tie or bungee to a fence, a railing or a frame, and they are the standard outdoor choice. An indoor banner hung from a rod or a stand is better off with a pole pocket, and a banner going onto a wall with adhesive or a hook rail may need neither. Ask for grommets only where rope or a zip tie will pass through, because each one is a hole in the vinyl and holes are where a banner eventually tears.
Can I change the size after I upload my artwork?
You can change the order, but the file has to be redone. Scaling a 6 ft by 2 ft layout up to 8 ft by 3 ft changes the aspect ratio, which either stretches the logo or leaves bare vinyl on two edges, and the safe margin no longer sits where the hem will fold. If the size is genuinely uncertain, design at the largest option you might pick and let us know before the file goes to press rather than after.
What resolution does a custom banner file need?
Far less than a business card. Build the artwork at full size at 100 dpi, or at 1:10 scale at 300 dpi, and it will print sharp at the distance a banner is read from. A true 300 dpi file at 8 ft by 3 ft is around 28,800 by 10,800 pixels, which is slow to open and slow to upload for no visible gain. Keep photographs at or above 100 dpi at final size, set the document to CMYK, and outline your fonts before exporting the PDF.
Can I customize a banner without a designer?
Yes. The online designer starts you on a canvas already set to the size and material you picked, with the trim and safe area drawn in, so the two places people usually get it wrong are handled. If you would rather work in Illustrator, Photoshop or Canva, start from a correctly sized layout in the blank template library instead of setting up the document by hand. Either way, keep the message to one headline, one supporting line and one way to reach you.
Get Started
Order a vinyl banner at your size, printed in 3 business days
Set the size, pick vinyl, mesh or fabric, add hems and grommets, then upload your file or design it on the canvas we size for you.
Legal Disclaimer
Gold Standard guarantees apply to all standard orders placed through 4over4.com. Price match requires verifiable proof of a competitor's published price for an equivalent product with matching specifications and turnaround time. Satisfaction guarantee covers manufacturing defects and print quality issues. Contact support with order number and documentation. On-time delivery rate based on tracked orders 1999 to 2026. Individual results may vary based on shipping carrier performance.
