
Standoff Signage Hardware and Mounting Explained


Standoff hardware holds a sign panel off the wall on a small barrel, so it floats with a clean shadow line. Here is how the hardware works, which panels to use, and how to mount it straight.
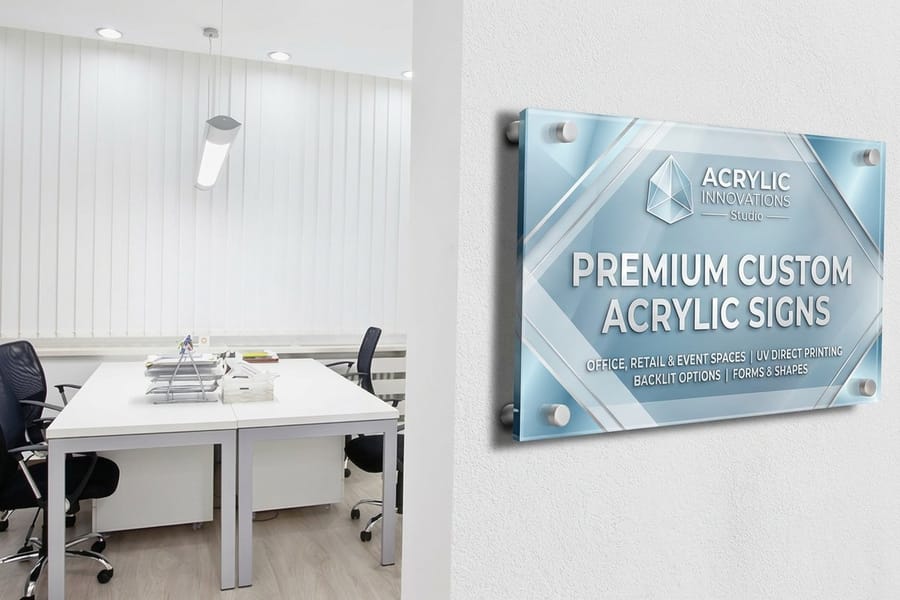
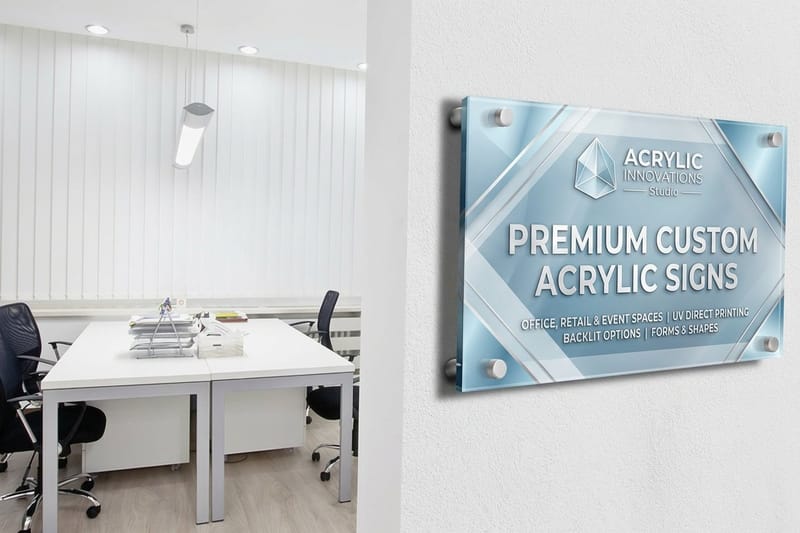
Standoff signage uses metal or acrylic hardware to hold a sign panel a fixed distance off the wall, which creates a floating, three dimensional look. Each standoff has a wall anchor, a barrel that sets the gap, and a cap that clamps the panel. Match the material to the setting, keep every hole an inch off the edge, and mount it with a level for a clean, professional result.
Quick tips
Quick tips for mounting standoff signage
Standoff signage floats a sign panel off the wall on a wall anchor, a barrel, and a cap, so the message reads with real depth. Match stainless hardware to the outdoors and acrylic panels to the lobby, keep every hole at least an inch from the edge, and check the install with a level. 4OVER4.COM prints the panel and matches the hardware so your sign lands clean and straight.
Watch it printed
See acrylic signs on the press, in 86 seconds
What is a standoff screw?
A standoff screw is a two-part mounting fastener made of a threaded barrel and a screw-on cap. The barrel anchors to the wall and sets how far the panel floats, and the cap clamps the sign panel in place, so the sign holds off the surface with no frame or glue.
If you arrived here looking for the small threaded spacers that hold a motherboard off a computer case, those are called standoffs too. This page is about the signage hardware.
Standoff screw sizes and dimensions
| Barrel diameter | Barrel length | Cap diameter | Typical use |
|---|---|---|---|
| 1/2 inch | 1/2 inch | 3/4 inch | Small acrylic plaques, room numbers, desk-height panels |
| 3/4 inch | 3/4 inch | 1 inch | Directional signs and menu boards up to about 18 by 24 inches |
| 1 inch | 1 inch | 1 1/4 inch | Lobby logo panels and reception signage, the most common pairing |
| 1 inch | 1 1/2 to 2 inches | 1 1/4 inch | Large panels where a deeper shadow gap is the point |
The barrel length is the number that changes the look, because it is the gap. The barrel diameter and the cap diameter mostly change how heavy the hardware reads against the panel. Bigger panels want bigger caps, both for holding power and so the hardware does not look undersized.
Why standoff signage deserves your attention
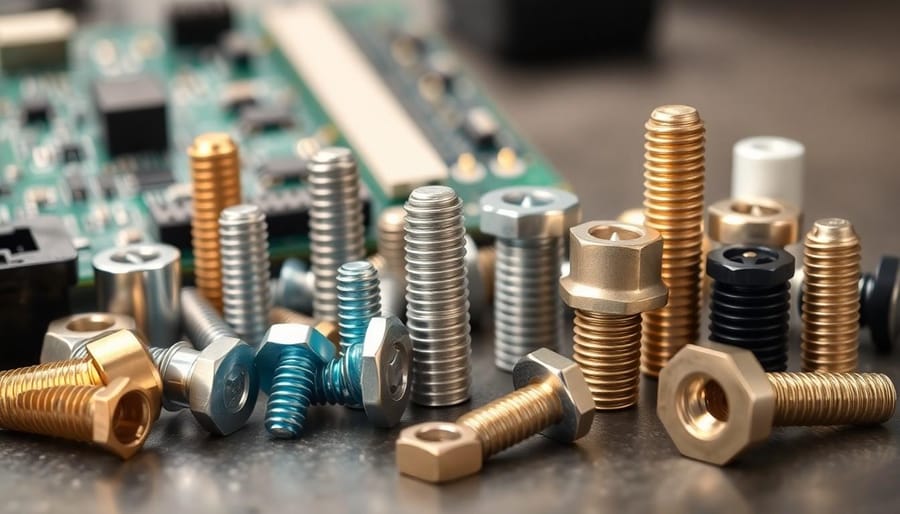
Standoff signage is a mounting method that uses cylindrical hardware to hold a sign panel a set distance away from the wall. That small gap between the panel and the surface creates depth, shadow, and a floating look that a flat mounted sign simply cannot match. Walk into a modern office, a dental practice, or a boutique hotel and the sign behind the reception desk is almost always mounted on standoffs.
With more than 25 years in the printing industry, 4OVER4.COM has helped over 150,000 businesses create branded materials that look sharp in person. Whether you are planning a lobby logo or a set of directional panels, understanding how standoffs work gives you real control over the finished result. Browse real projects in our print showcase for ideas, or check the current daily deals to save on your next sign project.
This guide walks through the hardware itself, the panel materials that pair with it, the settings where standoff signs earn their keep, and the installation steps that keep everything straight and secure.
How standoff hardware actually works

A standoff is a small cylindrical fastener with three parts. There is a wall anchor or screw that goes into the wall, a barrel that acts as the spacer, and a decorative cap on the front. The barrel is the part that matters most because it sets how far the panel floats off the surface. Barrels usually run from half an inch to two inches long, and custom lengths exist for specialty jobs.
The process is refreshingly simple. You drill holes through the sign panel and into the wall, seat the wall anchor first, thread the barrel onto the anchor to hold the panel at a fixed distance, then screw the cap onto the front so the panel is sandwiched in place. There is no adhesive and no framing, just clean hardware and a sign that appears to hover.
Because the hardware stays visible, it becomes part of the design rather than something to hide. You do not need special tools beyond a drill and a level, which is a big reason standoff mounting is so popular for custom acrylic signs and rigid panels.
Materials used for standoff hardware
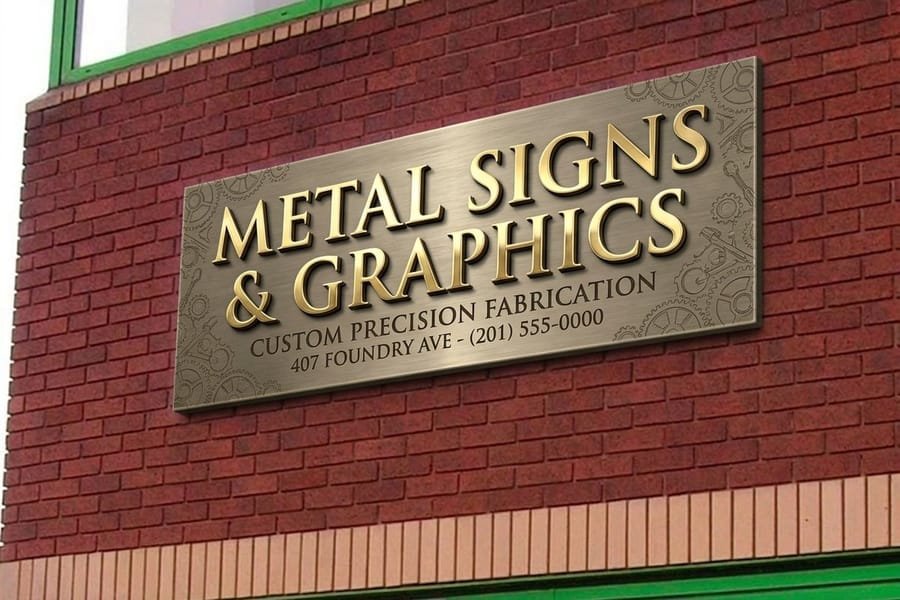
Standoff barrels and caps come in several materials, and each one suits a different environment and budget. Your choice affects both the look and how long the installation holds up.
- Stainless steel is the most popular choice for commercial signage. It resists corrosion, looks sleek, and holds up in high traffic areas.
- Brushed aluminum is lightweight and modern, a natural fit for contemporary offices and retail spaces.
- Brass gives a warmer, more traditional look, with good thermal conductivity and rust resistance for long term installs.
- Nylon or plastic is budget friendly and non conductive, common in electronics mounting and the occasional lightweight indoor sign.
- Chrome plated steel has a mirror finish that adds a high end feel to reception areas and showrooms.
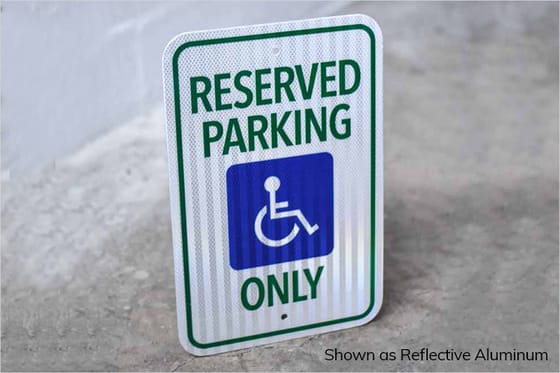
For outdoor standoff signage, stainless steel is the safest bet. For an indoor lobby, brushed aluminum or chrome delivers that polished, architectural feel. If visibility in low light matters, pair your panels with reflective aluminum signs so the message reads clearly at any hour. Durable aluminum signs and metal signs both take standoff hardware cleanly.
Panel materials that work with standoffs
The panel itself matters just as much as the hardware. Standoffs grip the panel through pre drilled holes, so the material has to stay rigid enough to hold its shape without sagging between mounting points.
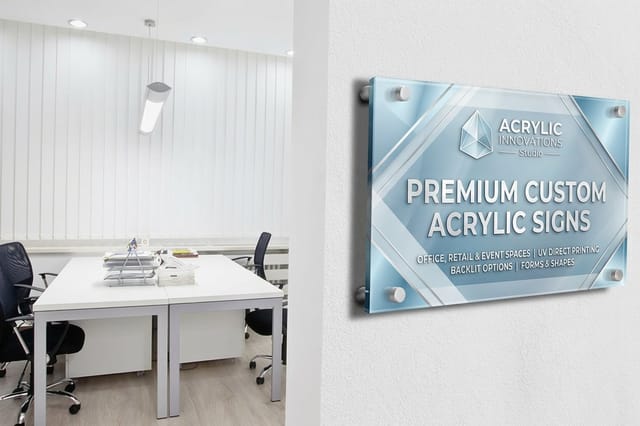
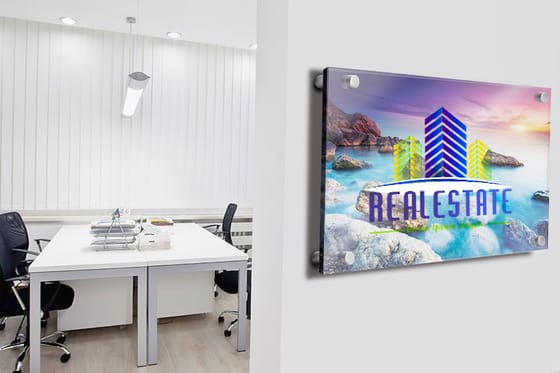
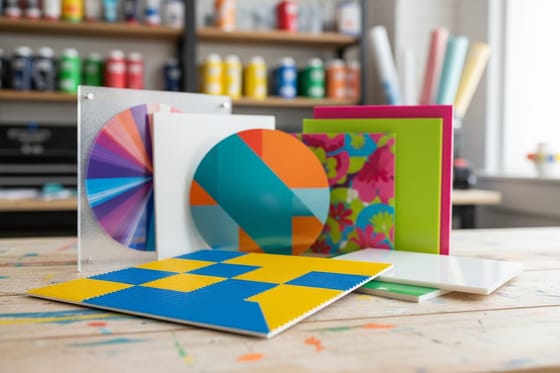
Acrylic, also sold as plexiglass, is the go to panel for standoff signage. It comes in clear, frosted, and colored options. Clear acrylic with vinyl lettering or direct printing creates the floating text effect you see in corporate lobbies, while frosted acrylic diffuses light for a softer look. Our custom acrylic signs are built for exactly this kind of display.
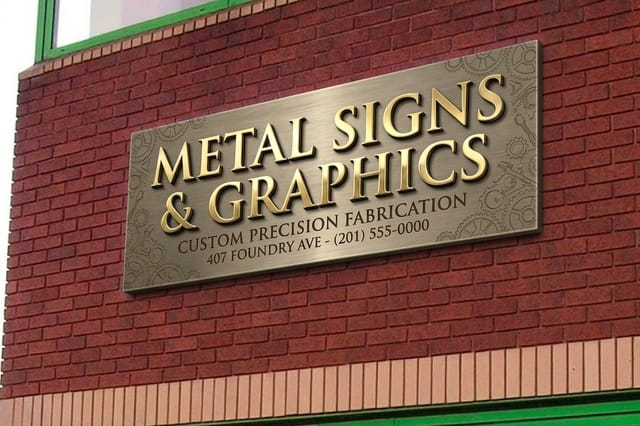
Dibond, an aluminum composite, is rigid, lightweight, and weather resistant, which makes it a strong pick for outdoor standoff signs or large indoor displays. It holds UV printed graphics with sharp detail, and aluminum sign panels give you that same rigid backing. PVC and foam board work for temporary or budget indoor jobs, and foam core signs are the lightweight option when a display only needs to last through an event.
Planning other printed pieces to match your signage? Learn how to make flyers that echo the panel design, or read how to fold a brochure for handouts that carry the same branding.
The main standoff configurations
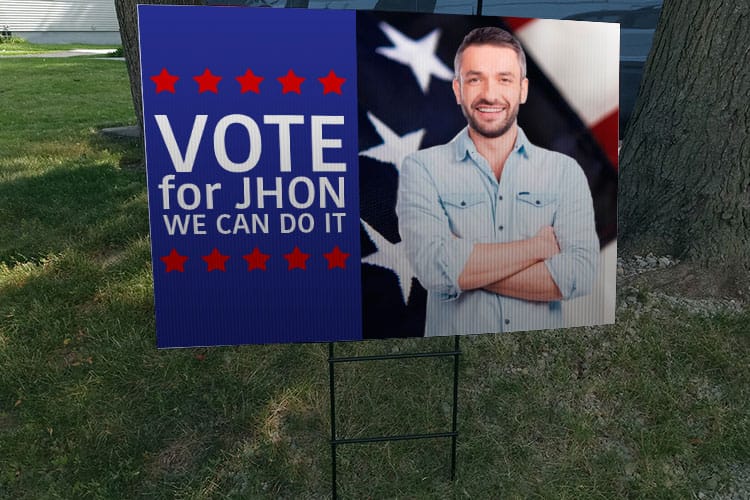
Beyond length and material, standoffs come in a few configurations. Knowing the difference helps you order the right kit the first time.
- Male to female standoffs have a male end that screws into the wall and a female end that holds the sign. They are stable, clean looking, and the most common pick for wall mounted sign displays.
- Male to male standoffs have a threaded end on both sides, ideal when you need to connect two components without a wall in between.
- Female to female standoffs have threaded holes at both ends, useful for joining two pieces in a controlled setup.
- Edge grip standoffs clamp onto the sides of the panel so you avoid drilling holes through the face, while through grip standoffs pass all the way through the panel for a sturdy hold on thicker material.
Match the type to the panel weight and the mounting surface. Through grip hardware gives the most secure attachment for heavy panels, while edge grip keeps the face of a clear acrylic sign completely clean.
Spacers, standoffs and the round or hex body
A spacer and a standoff are not the same part, and the difference is the thread. A spacer is a plain sleeve with a clear hole through it, so a screw passes all the way through and the sleeve only holds the gap. A standoff is threaded, so it fastens as well as spaces, which is what lets a sign panel hang on it with no bolt running through the face.
Body shape follows the same split. Round barrels are the signage shape, because the cap and the barrel read as one clean cylinder against the panel. Hex bodies exist so a wrench or a nut driver can grip them, which matters on an electronics chassis where the part is tightened hard and never seen. On a lobby sign a hex body looks like hardware borrowed from a machine.
The rule for a printed panel is round, threaded, hand tight. Reach for a spacer only when a bolt already runs through the assembly and something behind it has to be held clear.
Where standoff signage makes the biggest impact

Standoff mounted signs are not just functional, they make a design statement. A few settings show them off best.
Corporate lobbies and reception areas are where standoff signage really shines. A logo on clear acrylic with brushed stainless standoffs reads as professional the moment someone walks in, and the floating effect adds a depth that flat wall decals cannot reach. Many businesses pair the lobby sign with matching directional panels throughout the office.
Retail stores and restaurants use standoffs for menu boards, promotional signs, and wayfinding. The dimensional look pulls the eye more than a flat poster in a frame, and the hardware wipes clean, which matters in food service. Medical and dental offices lean on standoff signage for room identification and branded displays because acrylic panels are easy to sanitize and the hardware shrugs off cleaning chemicals. Trade shows and events use portable standoff systems with freestanding bases so you can display branded panels without drilling into venue walls.
See more real projects in our rigid sign showcase before you finalize a layout.
Designing your panel for standoff mounting
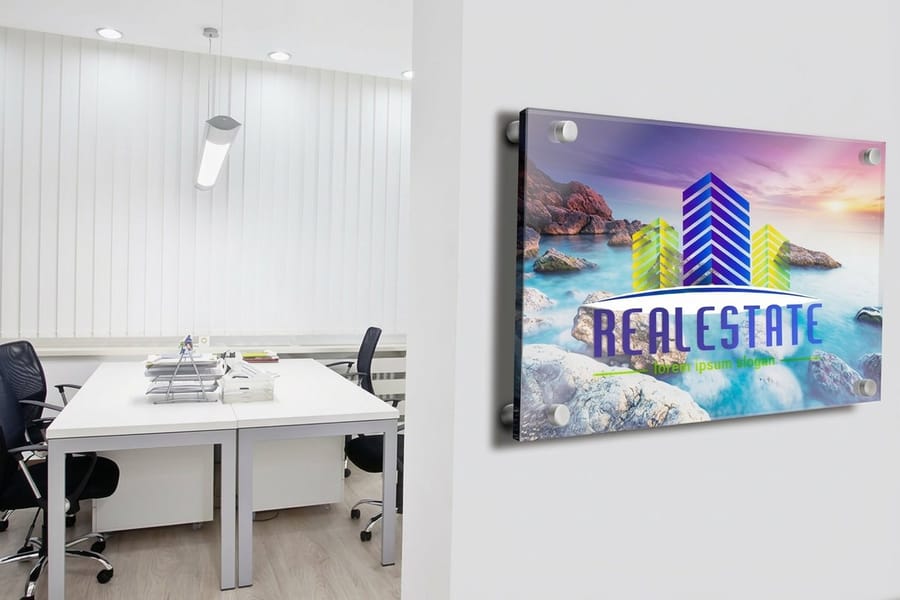
Designing a panel for standoff mounting takes a few considerations that standard print design does not.
Hole placement and spacing come first. Your holes need to match the barrel diameter, and since standard barrels are three quarters of an inch or one inch across, the holes should sit about one sixteenth of an inch wider. Keep every hole at least one inch from the edge so the panel does not crack, which matters most with acrylic. Four corner standoffs are standard for a rectangular sign, and any panel over 36 inches should add hardware every 18 to 24 inches along the longest edge to stop bowing.
File setup is the next step. Mark the standoff hole locations clearly, usually on a separate layer, and keep important text and graphics at least two inches away from each hole since the cap covers roughly half an inch of panel around it. Our free blank templates help you set files up correctly, and the wider guide hub covers design basics across many products.
Color and finish round it out. Standoff signs reward bold, high contrast designs that read from a distance. For clear panels, second surface printing puts the ink on the back so the acrylic protects it from scratches and UV. Matte finishes cut glare under office lighting, gloss finishes pop in retail, and UV resistant inks keep a window facing sign from fading. Premium acrylic prints ship with one inch standoff hardware already matched to the panel.
Installation tips for a clean, professional result
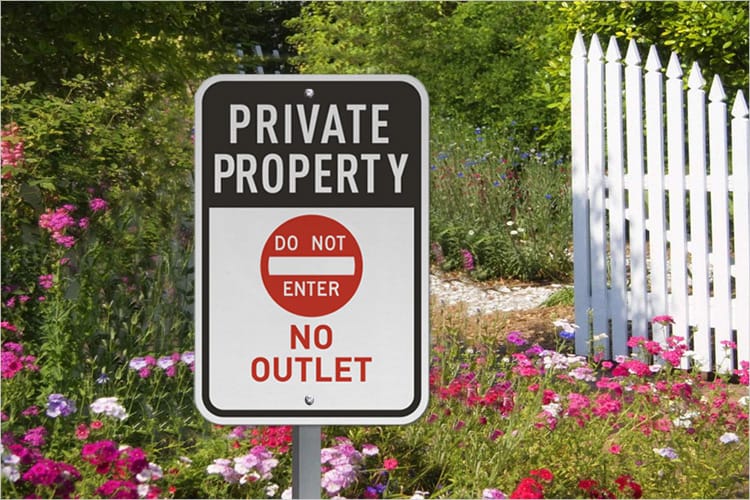
Even a beautifully designed standoff sign looks amateur if the install is sloppy. A few habits keep the result clean.
Use a level, every time. Nothing ruins a standoff sign faster than mounting it slightly crooked, because the floating gap magnifies any tilt and there is no frame to hide behind. Choose the right wall anchors. Drywall anchors handle lightweight acrylic under 10 pounds, heavier Dibond panels want studs or toggle bolts, and concrete or brick needs masonry anchors and a hammer drill. Measure twice and drill once, marking every hole with the panel as a template, since fixing a misaligned hole in drywall means patching and repainting. Clean the hardware before final assembly, because fingerprints on chrome or stainless show from across a room.
Indoor jobs are straightforward since the environment is controlled and most interior walls accept standard anchors. Outdoor standoff signage needs more planning. Use exterior rated stainless hardware, seal the anchor holes with silicone to keep water out, and leave a hair of room rather than over tightening, because acrylic can expand in heat. Wind load matters too. A 24 by 36 panel on two inch standoffs acts like a small sail, so windy spots call for shorter half inch or three quarter inch barrels and extra mounting points. Drywall, masonry, metal, and wood each want their own anchors, so know your surface before you pick up the drill.
Keeping the rest of your branded kit in good shape helps too. Our guide on how to clean rubber stamps covers care for print tools, and you can round out the collection with custom magnets and custom envelopes.
Mistakes that ruin standoff sign installations
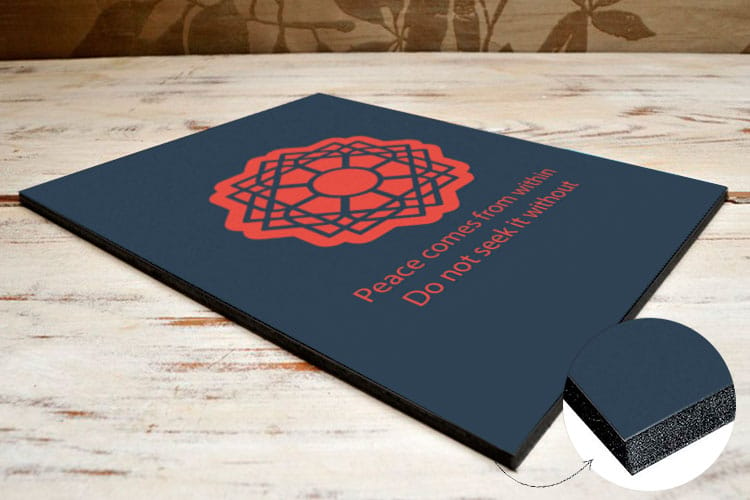
With the method covered, here is what tends to go wrong. These are the errors 4OVER4.COM sees most often from customers who tried a do it yourself install before asking for help.
- Drilling holes too close to the edge. Acrylic cracks when holes sit less than one inch from the edge, and this is the number one cause of ruined panels.
- Mixing hardware finishes. Brushed and polished standoffs on the same sign look unfinished, so buy all the hardware from one batch.
- Ignoring the wall material. Drywall anchors in a plaster wall will fail, so identify the wall before choosing anchors.
- Over tightening the caps. Cranking down on acrylic causes stress fractures that spread over time. Hand tight plus a quarter turn is plenty.
- Skipping the level. Even an eighth of an inch of tilt shows on a floating sign, so use a laser level for panels wider than 24 inches.
Avoid these and your standoff signage looks professional for years. With more than 150,000 businesses served, 4OVER4.COM knows what separates a polished install from a sloppy one.
Print products that complement standoff signage

The hardware is only half the story. The printed panel is where your brand actually comes to life, and 4OVER4.COM makes a range of rigid and flexible products that pair well with standoff mounting. For large outdoor displays, two sided blockout banners give you double sided visibility with no light bleed, and reflective aluminum signs keep a message readable after dark.
Standoff mounting earns its place for a few clear reasons. It improves visibility with a three dimensional effect that makes a display more striking. It adds durability by securing the panel firmly and spreading the load across several fasteners. It offers material variety across brass, aluminum, and acrylic to match any look. And it keeps maintenance easy, since a panel can be swapped without tearing out a frame, which is a real advantage anywhere signage changes often.
Ready to compare rigid options side by side? Browse the full signs and banners lineup to match a panel to your space.
Wally explains standoff signage
A floating panel is what makes a sign look built, not stuck on
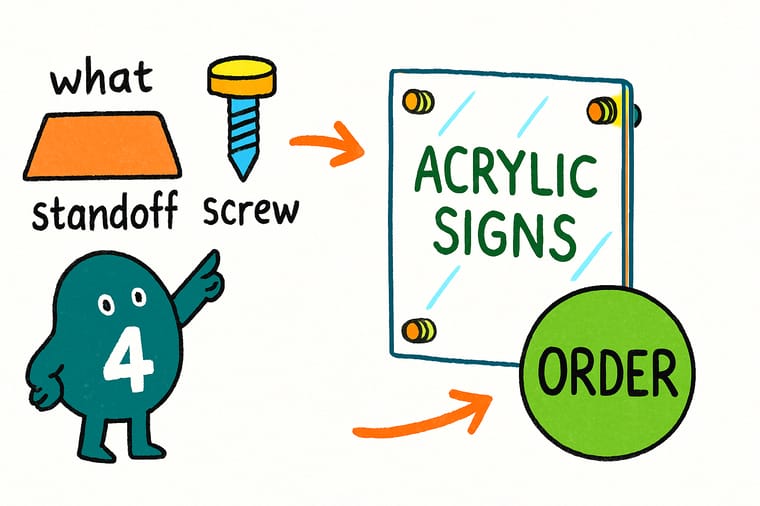
Wally treats a standoff sign like a tiny piece of architecture. The barrel sets the gap, the cap clamps the panel, and that small shadow is what turns a flat print into a display people notice. Pick stainless for the outdoors, acrylic for the lobby, keep every hole an inch off the edge, and check it with a level. When you are ready, 4OVER4 prints the panel and matches the hardware so your logo floats clean and straight.
Order acrylic signs →Print it
Order signs built for standoff mounting

See it in use
Acrylic and rigid signs we produced




Explore more
Where to go next




By the numbers
Materials we print on, and the years behind them
Common Questions
Your standoff signage questions, answered
What is the difference between a standoff and a nut?
A nut is a short threaded collar that clamps two things together with no gap between them. A standoff is a long threaded barrel whose whole purpose is the gap, so it sets a fixed distance and holds the panel there. You can stack nuts to fake a spacer, but they will not take a decorative cap, and a stack works loose under vibration where a single barrel does not.
How much weight can standoff screws hold?
The hardware is rarely the limit, the wall is. Four standoffs into studs, masonry or toggle bolts will carry far more than any printed panel weighs, while the same four in plain drywall anchors are good for a lightweight acrylic panel under about 10 pounds. Spread the load rather than raising it. A panel over 36 inches wants hardware every 18 to 24 inches along its longest edge, which also stops it bowing.
What are standoff screws used for?
In signage, standoff screws mount a rigid panel a set distance off a wall so it appears to float. They hold acrylic, dibond and PVC lobby signs, room identification plaques, directional panels, menu boards and glass partition graphics, with no frame and no adhesive. The same term also describes the small threaded spacers used inside electronics to hold a circuit board off a chassis, which is a different part for a different job.
What exactly is standoff signage?
Standoff signage is a mounting method that uses cylindrical metal or acrylic hardware to hold a sign panel away from the wall. The gap between the panel and the wall creates a floating, three dimensional effect. It shows up on lobby signs, directional panels, and branded displays in offices, retail stores, and healthcare spaces.
What panel thickness works best with standoffs?
Most standoff hardware fits panels between one eighth of an inch and half an inch thick. For acrylic, three sixteenths or one quarter of an inch gives a good balance of rigidity and weight. Dibond panels are usually about one eighth of an inch and work with standard hardware without any changes.
Can I install standoff signs on glass walls?
Yes. Glass mount standoffs use adhesive pads or clamp style hardware instead of drilled anchors, so they work on glass partitions, storefronts, and interior glass walls. They hold a little less than wall anchored versions, so they suit lighter panels under about five pounds.
How far from the wall should standoff signs be mounted?
Standard barrels create a gap between half an inch and two inches. For indoor lobby signs, three quarters of an inch to one inch is the most common choice, enough for a visible shadow without looking like the sign juts out. Outdoor signs often use shorter half inch barrels to cut wind resistance.
Do standoff mounted signs damage the wall?
Installing standoffs means drilling holes into the wall, much like hanging a heavy picture frame. Each standoff needs one anchor hole, so a four corner sign leaves four small holes. If you take the sign down later, patching those holes with spackle and paint is straightforward.
How do I clean standoff signage after installation?
Wipe acrylic panels with a soft microfiber cloth and a mild soap solution, and skip ammonia based cleaners because they cloud acrylic over time. For the metal hardware, a damp cloth followed by a dry buff keeps chrome and stainless looking sharp. Clean every two to four weeks in high traffic areas.
Get Started
Ready to mount a sign that floats?
Pick your panel and size, drop in your logo or art, and we print a rigid sign with standoff hardware matched to fit.
Legal Disclaimer
Gold Standard guarantees apply to all standard orders placed through 4over4.com. Price match requires verifiable proof of a competitor's published price for an equivalent product with matching specifications and turnaround time. Satisfaction guarantee covers manufacturing defects and print quality issues. Contact support with order number and documentation. On-time delivery rate based on tracked orders 1999 to 2026. Individual results may vary based on shipping carrier performance.
