
Image Resolution & DPI Explained for Print and Screen


Export web images at 72 to 150 PPI in sRGB as JPG or PNG, and export print files at 300 DPI in CMYK as PDF or TIFF. Here is what DPI really means and why the two destinations need different settings.
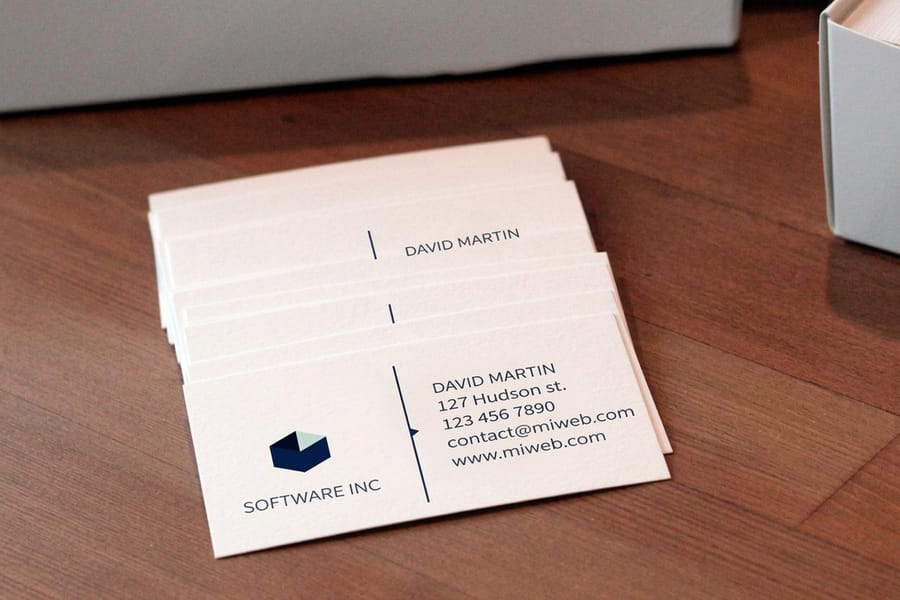
DPI, or dots per inch, counts how many ink dots a printer places in one inch of paper. Use 300 DPI in CMYK for anything read up close, such as business cards, postcards, and brochures, and 72 PPI in RGB for screens. The closer a piece is viewed, the higher the DPI it needs, so match the number to the viewing distance and keep a high-resolution master of every file.
Quick answer
The short version on DPI and image resolution
Set print files to 300 DPI in CMYK and web files to 72 PPI in RGB. 300 DPI is the professional print standard because it packs enough ink dots per inch that the eye cannot see them at reading distance, while a screen only needs 72 PPI. Match the resolution to how close the piece is viewed, keep a high-resolution master of every file, and the 4OVER4.COM upload check flags anything too low before it prints.
Watch it printed
See standard business cards on the press, in 167 seconds
Export settings
Photoshop export settings for web vs print
For web, use File then Export then Export As, set 72 to 150 PPI, sRGB and JPG or PNG. For print, use File then Save As, set 300 DPI, CMYK and PDF or TIFF with the profile embedded.
| Destination | Resolution | Color mode | File format |
|---|---|---|---|
| Website image | 72 PPI | RGB (sRGB) | JPEG or WebP |
| Social post | 72 PPI | RGB (sRGB) | JPG or PNG |
| Email graphic | 72 to 96 PPI | RGB (sRGB) | JPG or PNG |
| Business card | 300 DPI | CMYK | PDF or TIFF |
| Postcard | 300 DPI | CMYK | PDF or TIFF |
| Large format poster | 200 to 300 DPI | CMYK | PDF or TIFF |
| Destination | Photoshop menu path | What to set in the dialog |
|---|---|---|
| Screen files | File then Export then Export As | Format JPG or PNG, Image Size at your pixel width, Convert to sRGB checked |
| Print files | File then Save As | Format Photoshop PDF, preset Press Quality, Embed Color Profile checked |
| Formats Save As will not offer | File then Save a Copy | Pick TIFF or PNG there when Save As hides it because of layers or color mode |
Setting up the canvas rather than exporting it? Our guide on Business Card Dimensions in Photoshop: Exact Setup for Print covers bleed and canvas size, and the Printing Image Resolution Guide for Sharp Results covers what resolution each product needs before you get to the export dialog.
Why DPI decides whether a print looks sharp or blurry
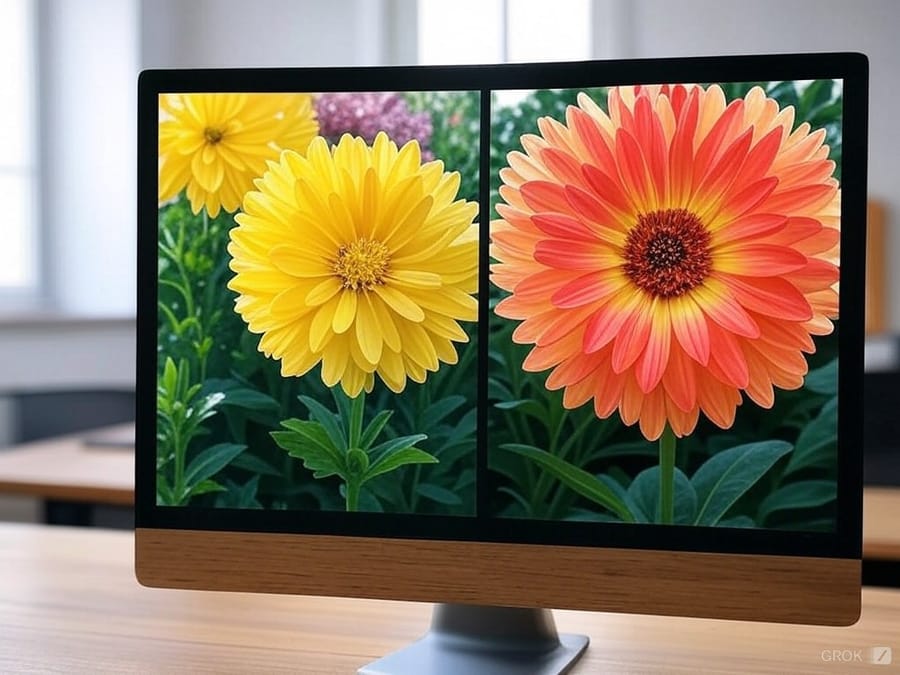
DPI is the single biggest factor between a print that looks professional and one that looks like a blurry mess. It does not matter how strong your design is. If the resolution is wrong, the final piece suffers, and that holds true for business cards, postcards, banners, and everything in between.
This guide covers what DPI actually means, how it differs from PPI, and which settings you need for different print formats. You will also learn how to check and adjust your image resolution before you upload a single file.
If you are new to preparing print artwork, our guide hub has dozens of walkthroughs, and the 4OVER4.COM Online Designer lets you build files at the correct resolution from the very start. Working on other print projects too? Our guide on how to clean rubber stamps keeps your stamped impressions just as crisp.
DPI versus PPI, and why the difference matters
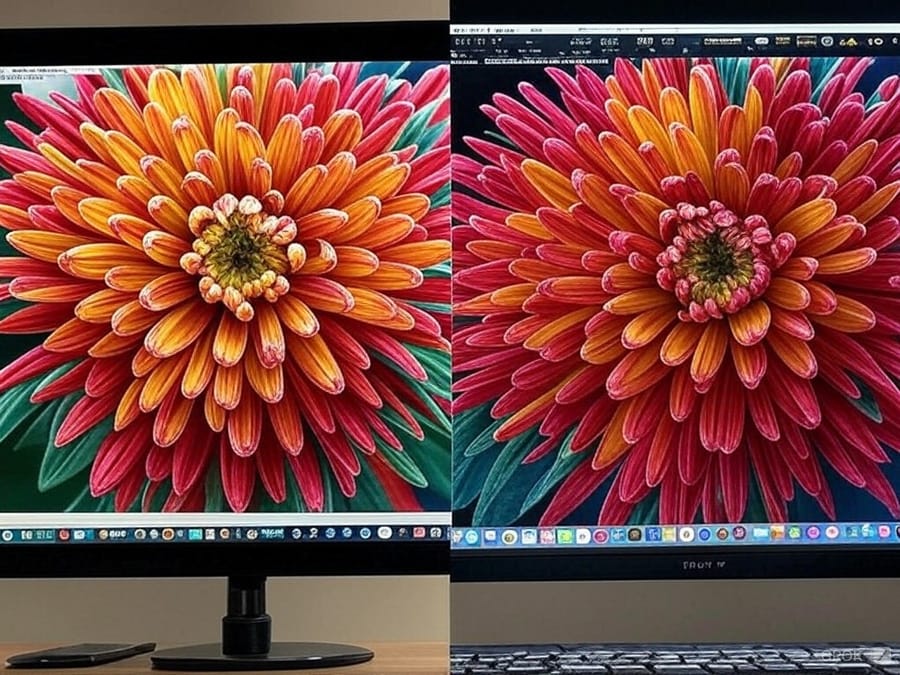
People use DPI and PPI interchangeably, and they really should not. PPI (pixels per inch) describes how many pixels sit in one inch of a digital image on screen. DPI (dots per inch) describes how many ink dots a printer lays down per inch on paper. One is about screens. The other is about physical prints.
When you design on your computer, you are working in PPI. When that file goes to a printer, DPI takes over. A file set to 72 PPI looks fine on your monitor but prints soft and fuzzy. A file set to 300 PPI gives the printer enough data to produce a crisp, sharp result.
Think of it this way. PPI is the language your screen speaks, and DPI is the language your printer speaks. You need both to be right if you want your prints to look the way you pictured them.
How pixel dimensions and DPI work together
Resolution is not just about DPI. It is about pixel dimensions too. An image that measures 3000 by 2400 pixels at 300 DPI prints at 10 by 8 inches. Take that same image and print it at 150 DPI and it covers 20 by 16 inches, but it looks half as sharp.
Here is the formula worth memorizing: print size = pixel dimension ÷ DPI. So a 1500-pixel-wide image at 300 DPI prints at 5 inches wide. At 72 DPI that same image stretches to almost 21 inches wide, and it looks rough up close.
Before you send any file to print, check both the pixel dimensions and the DPI setting. They work as a team. One number without the other tells you almost nothing useful.
Pixel dimensions for common print sizes at 300 DPI
To find the pixels you need, multiply each side of the print size in inches by 300.
| Print size | Pixels at 300 DPI |
|---|---|
| 3.5 x 2 in (business card) | 1050 x 600 |
| 4 x 6 in (postcard) | 1200 x 1800 |
| 5 x 7 in (invitation) | 1500 x 2100 |
| 8.5 x 11 in (flyer) | 2550 x 3300 |
| 11 x 17 in (small poster) | 3300 x 5100 |
| 18 x 24 in (poster) | 5400 x 7200 |
The 300 DPI standard, and when you can go lower
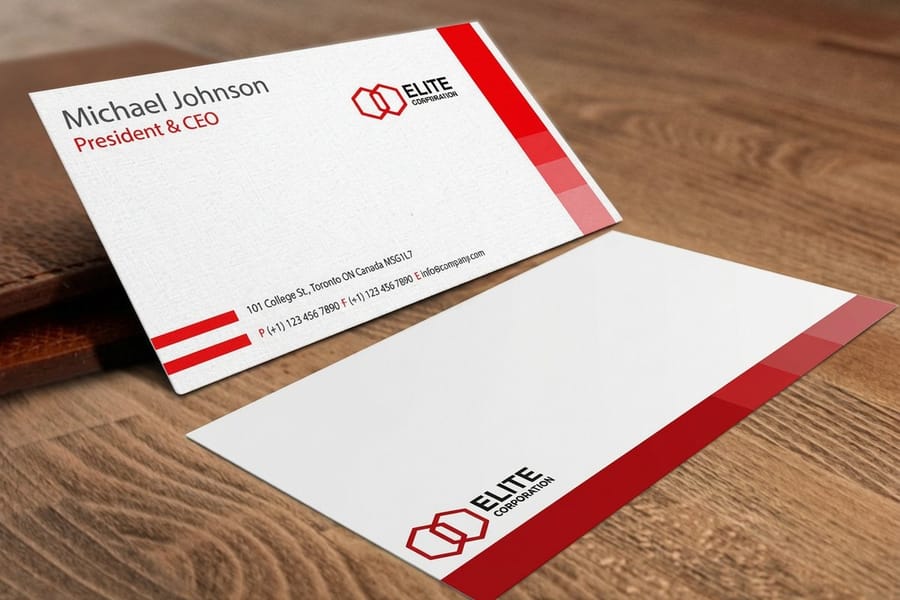
300 DPI is the industry standard for professional printing. Business cards, postcards, brochures, and flyers all need 300 DPI files for clean output. At that resolution the human eye cannot pick out individual dots at normal viewing distance.
Not everything needs 300 DPI though. Large-format prints like banners and posters are viewed from several feet away, so 150 DPI is often plenty. Billboards sometimes print at just 30 to 50 DPI because nobody studies them from two feet away.
The rule stays simple. The closer someone views your print, the higher the DPI you need. A business card sits in a person's hand, so it needs the full 300. A banner hangs across a booth, so it can breathe at a lower setting. If you are laying out a folded piece, our guide on how to fold a brochure covers the panel side of things.
DPI settings for common print products
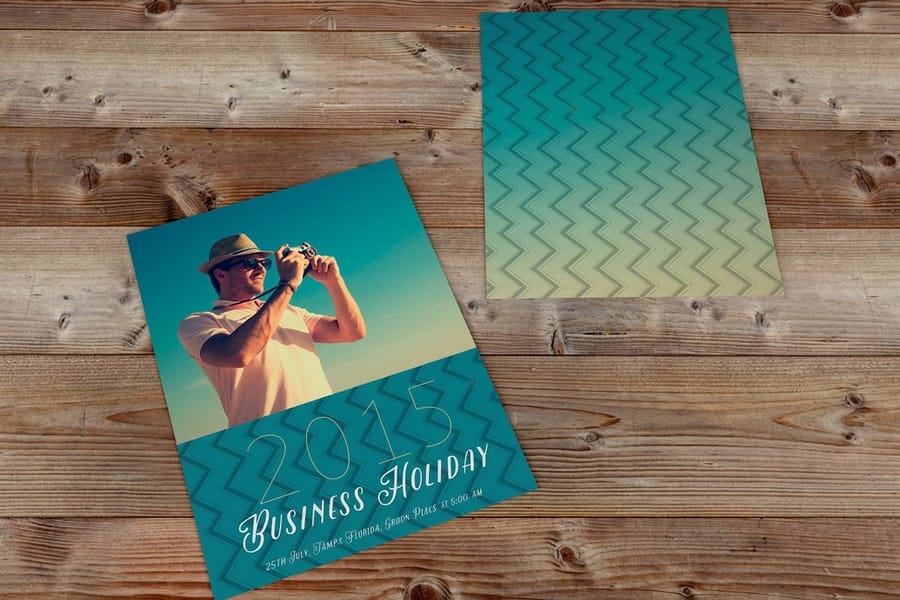
Different products have different sweet spots for resolution. Here is what works across the formats we print most often.
| Product | Recommended DPI | Why |
|---|---|---|
| Business cards | 300 | Held at arm's length, so every hairline and small cap has to hold |
| Postcards | 300 | Read up close, often with photography carrying the message |
| Brochures | 300 | Read in the hand, with vector kept for text and logos |
| Posters | 200 | Viewed from a few feet, so the eye stops resolving individual dots |
| Retractable banners | 150 | Read across a booth, and the file would be enormous at 300 |
| Vinyl banners | 100 | Seen from across a lot or a street, where detail is wasted |
| Billboards | 25 | Viewed from hundreds of feet, often at speed |
Two of those products have their own build guides: how to make flyers and custom magnets, which is a 300 DPI job like the cards.
When you are unsure, default to 300 DPI. You can always scale a file down without harm. You cannot scale it up without losing quality.
What happens when your DPI is too low
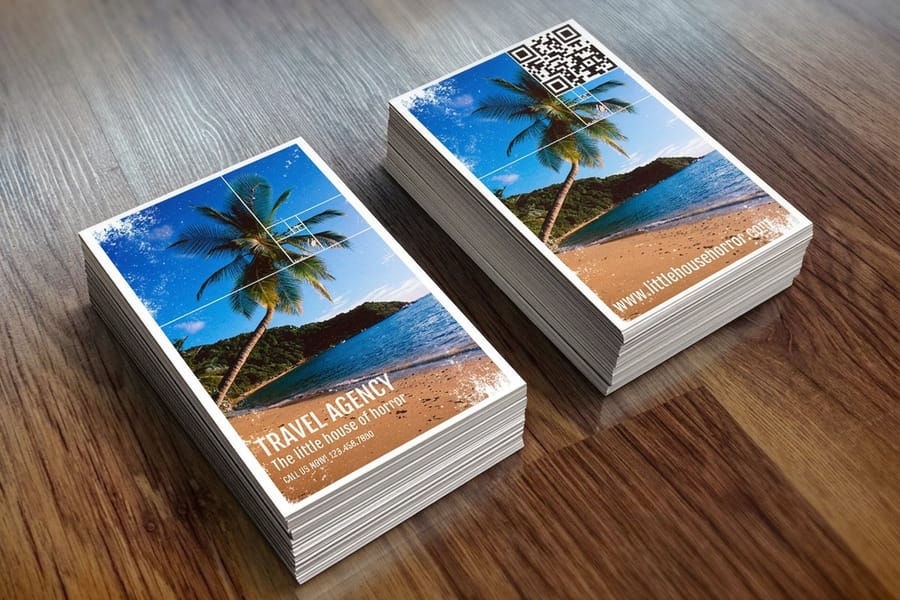
Low-resolution images pixelate, which means you start to see the individual squares that make up the picture. Text turns fuzzy, edges look jagged, and colors bleed into each other. It reads as unprofessional, and it is the number one reason print jobs disappoint people.
A common trap is pulling images straight from your website and using them for print. Web images are usually 72 PPI, which is fine for a screen and disastrous on paper. A logo that looks great on your homepage can look like it was printed on a potato once it lands in a business card file at 72 PPI.
Another issue is resizing small images by stretching them in design software. Making a 500-pixel image fill a 3000-pixel space does not add detail. It just makes the existing pixels bigger and blurrier. Always start from the largest source file you have.
How to check and change your image resolution
Checking your resolution is quick in almost any program. Here is where to look in the tools people reach for most.
- Adobe Photoshop: open Image then Image Size and read the resolution field in pixels per inch. Bump it to 300 if it is lower, and leave Resample unchecked when you want to see the true print size.
- Canva: export your design as a PDF Print file and Canva outputs at 300 DPI automatically.
- GIMP: open Image then Print Size and set the resolution to 300 pixels per inch.
- Mac Preview: open the image, choose Tools then Adjust Size, and check the resolution field.
- Windows: right-click the image, choose Properties then Details, and read the horizontal and vertical resolution.
If your image sits below 300 DPI and you cannot find a better source, you have two honest options. Shrink the print size so the existing pixels cover a smaller area at higher density, or try an AI upscaling tool. Upscalers keep improving, but they still cannot fully replace a photo shot at high resolution in the first place.
Lightroom export settings for print and for the web
Lightroom keeps every export choice in one dialog, File then Export, and the print and web recipes differ in four fields.
- File Settings. For print choose TIFF, or JPEG at quality 100, with the color space set to the printer's CMYK profile if you have it, or Adobe RGB when you do not. For the web choose JPEG at quality 76 to 85 in sRGB.
- Image Sizing. For print tick Resize to Fit, set the long edge to the finished size in inches and the resolution to 300 pixels per inch. For the web set the long edge in pixels, 2048 for a social post or 1600 to 2000 for a website, and leave the resolution field alone, because browsers ignore it.
- Output Sharpening. Sharpen for Matte Paper or Glossy Paper at Standard for print, and Sharpen for Screen at Standard for the web.
- Metadata and watermark. Strip location data for web files and skip the watermark on anything that goes to press.
Save each recipe as a preset, one named Print 300 and one named Web sRGB, so the settings stop drifting between jobs. Then read the pixel dimensions on the exported file, because the ppi field alone never proves a print will be sharp.
Vector versus raster, and why file format matters
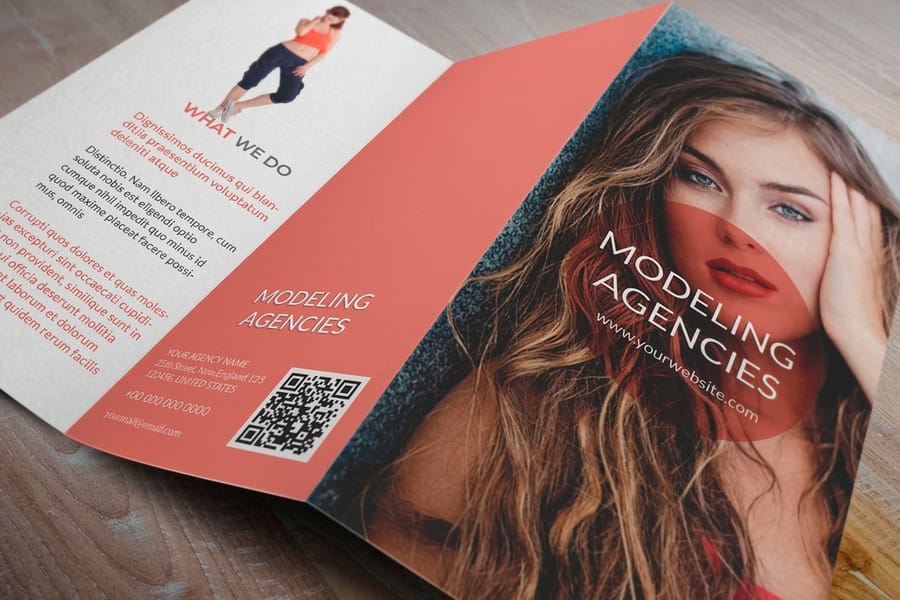
Raster images such as JPEG, PNG, and TIFF are built from pixels. They carry a fixed resolution, so enlarge them too far and they fall apart.
Vector images such as AI, EPS, SVG, and PDF are built from mathematical paths. They scale to any size without losing a single bit of quality. That is exactly why logos, icons, and type should stay vector whenever you can manage it.
For most print projects the ideal setup pairs vector logos and text with raster photographs at 300 DPI. That combination gives you the sharpest possible output. 4OVER4.COM accepts PDF, AI, PSD, and other common formats, and if you are laying out mailers our guide on how to make envelopes walks through the file setup.
Color mode and DPI, the setting people forget
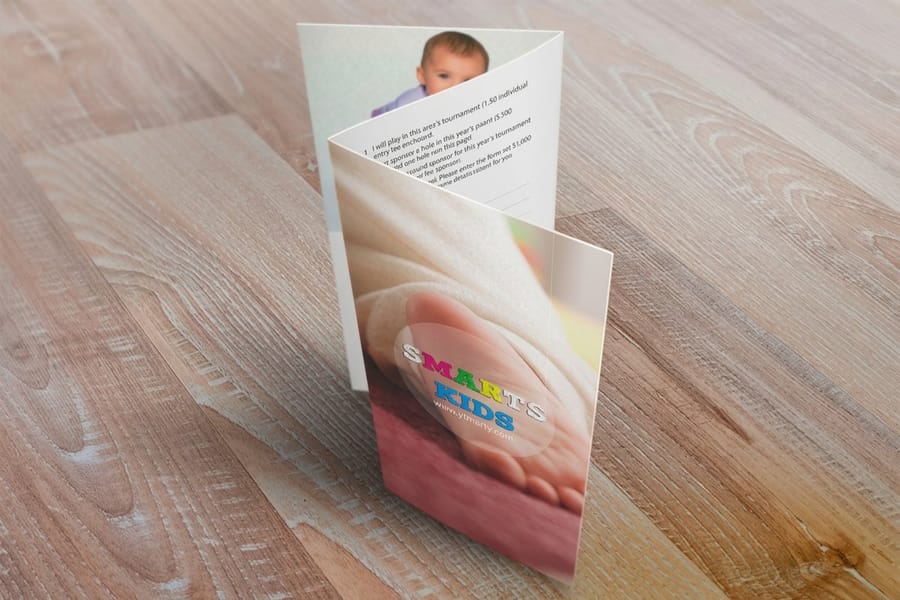
DPI is not the only setting that decides print quality, because color mode matters just as much. Screens use RGB, which stands for red, green, and blue. Printers use CMYK, which stands for cyan, magenta, yellow, and black. Send an RGB file to a press and the colors shift, so bright blues turn dull and vivid reds go muddy.
Set your file to CMYK and 300 DPI before you start designing rather than after. Converting color mode once you have already chosen your palette pushes every color off its mark. It is a small step that saves a big headache, and it matters even more on layered products like 3D lenticular postcards where color accuracy carries the whole effect.
File size and DPI, finding the balance
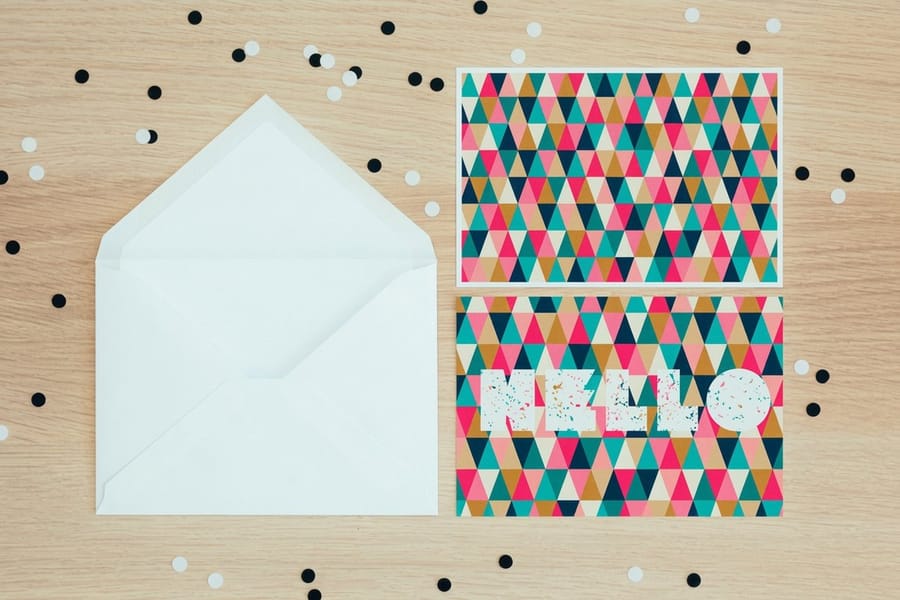
Higher DPI means bigger files. A 300 DPI image is roughly 17 times larger than the same image at 72 DPI, and that shows up when you upload artwork, email a proof, or store your design assets.
For print, resist the urge to compress files to save space. JPEG compression throws away data permanently, so reach for TIFF or PDF when you can because those formats hold quality.
For the web, compress freely. A 72 PPI JPEG loads fast and looks great on a screen. Just keep the original high-resolution file saved somewhere safe so you always have it for print. Browse the Showcase to see how well-resolved files translate onto finished products, and order free samples from 4OVER4.COM to feel the difference on real paper.
A quick DPI reference by use case
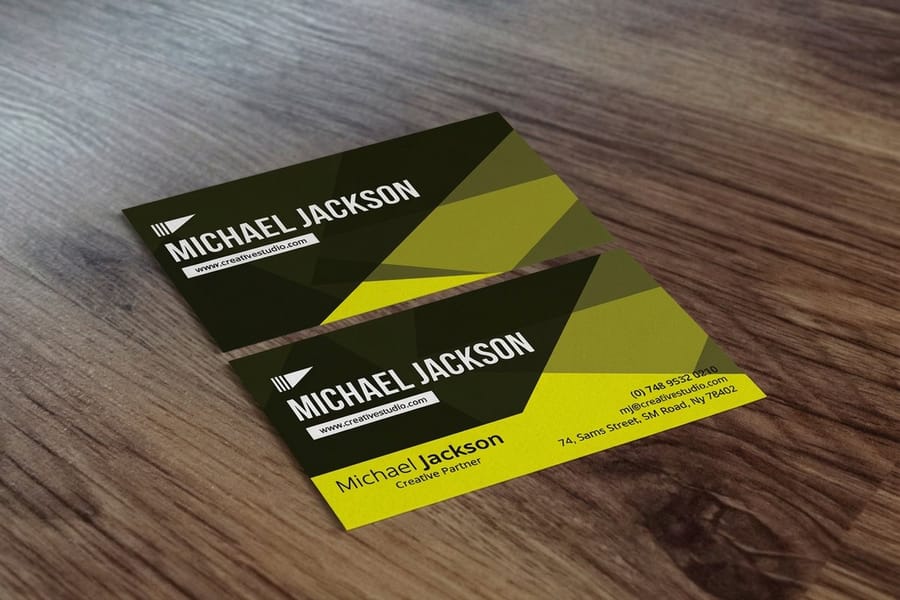
Keep this cheat sheet close whenever you are exporting artwork. It maps the right resolution and color mode to each common use case so you never have to guess.
- Social media posts: 72 PPI, RGB.
- Website images: 72 PPI, RGB, compressed as JPEG or WebP.
- Email graphics: 72 to 96 PPI, RGB.
- Business cards and stationery: 300 DPI, CMYK.
- Flyers and postcards: 300 DPI, CMYK.
- Posters: 200 to 300 DPI, CMYK.
- Large banners: 100 to 150 DPI, CMYK.
- Billboards: 30 to 50 DPI, CMYK.
Notice the pattern. Anything read up close wants 300 DPI, and anything viewed from a distance can drop lower without anyone noticing. Match the number to the viewing distance and your files stay lean without ever looking soft.
What else shapes your final image quality
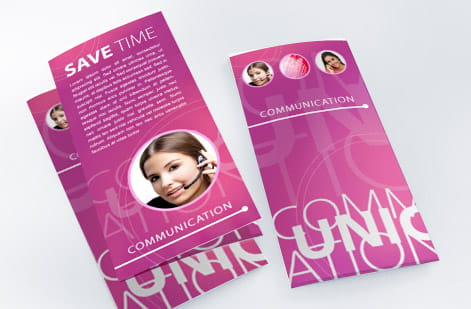
Resolution is the headline, but a few other factors quietly shape how sharp your final image looks. Knowing them helps you spot a weak file before it ever reaches the press.
- Capture device: higher-megapixel cameras record more detail, which gives you more room to print large.
- File format: TIFF and PNG hold fine detail, while heavy JPEG saves quietly strip it away.
- Compression: the harder you compress, the more quality you lose, and that loss is permanent.
- Resampling: the right resampling method keeps edges clean when you resize, and the wrong one softens them.
Put those habits together and the recipe is easy to remember. Aim for 300 DPI in CMYK for print and 72 PPI in RGB for the web, lean on TIFF or PNG for print masters, and let color management keep your screen and your paper in agreement.
Costly DPI mistakes that ruin print jobs
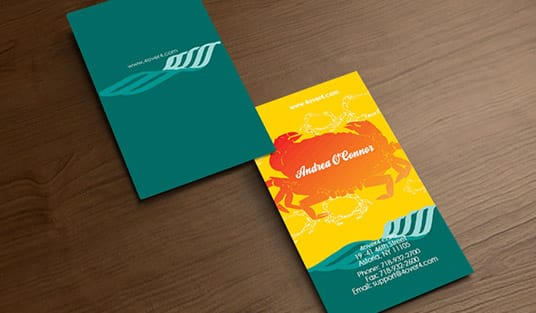
Now that image resolution and DPI make sense, here are the mistakes people hit most often and the simple ways to sidestep each one.
Using web images for print. That 72 PPI photo from your site will not hold up on paper. Track down the original high-resolution file, and if it does not exist, reshoot it or buy a stock image built for print.
Upscaling low-resolution images. Stretching a small file in Photoshop does not invent real detail. It only makes blurry pixels larger, so start at the right size from the beginning.
Ignoring bleed and trim. Even a perfect 300 DPI image needs to run past the trim line. Add 0.125 inches of bleed on every side so nothing important gets clipped.
Designing in RGB instead of CMYK. Screen colors will not match printed colors, so convert to CMYK before you upload to 4OVER4.COM.
Forgetting to recheck DPI after resizing. Cropping or scaling in design software can quietly change your effective resolution, so verify it as the very last step before export. When you are ready, our business card printing lineup and the green printing range both print in crisp CMYK.
Wally explains DPI
300 for paper, 72 for screens, and always keep the big file
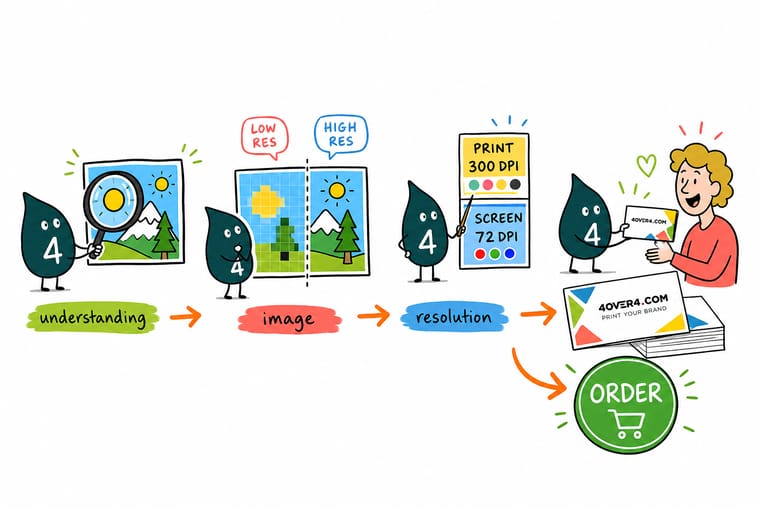
Wally thinks of DPI like seats in a theater. Pack 300 dots into every inch and the picture reads sharp from a card in your hand. Drop to 72 and the same art turns to mush on paper even though it looked fine on screen. Design in CMYK, keep your largest source file, and check the resolution one last time before export. When your artwork is ready, print it crisp at 4OVER4.
Order business cards →Specs and pricing
Standard business card specs and pricing
Business cards are the piece where DPI shows most, because they sit in someone's hand. Here are the live specs and price-per-unit for standard business cards at 4OVER4.COM, straight from the configurator.
| Quantity | Price Per Unit | Total |
|---|---|---|
| 100 | 17.6¢ | $17.57 |
| 200 | 11.5¢ | $23.07 |
| 300 | 9.15¢ | $27.46 |
| 400 | 7.96¢ | $31.86 |
| 500 | 7.25¢ | $36.26 |
| 600 | 6.77¢ | $40.64 |
| 700 | 6.43¢ | $45.04 |
| 800 | 6.18¢ | $49.43 |
Print it
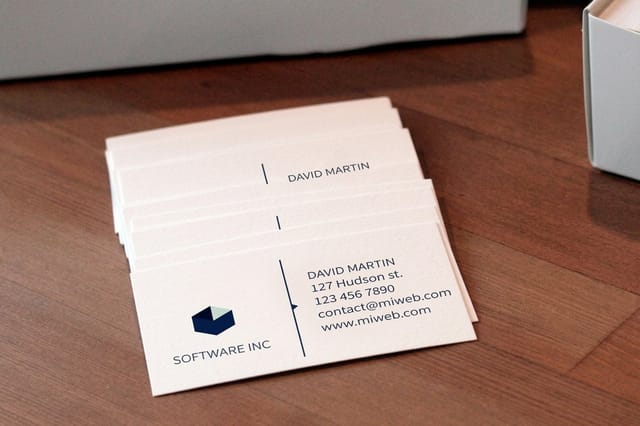
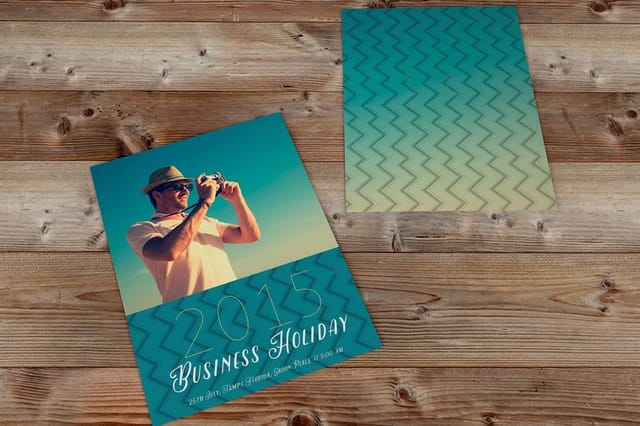
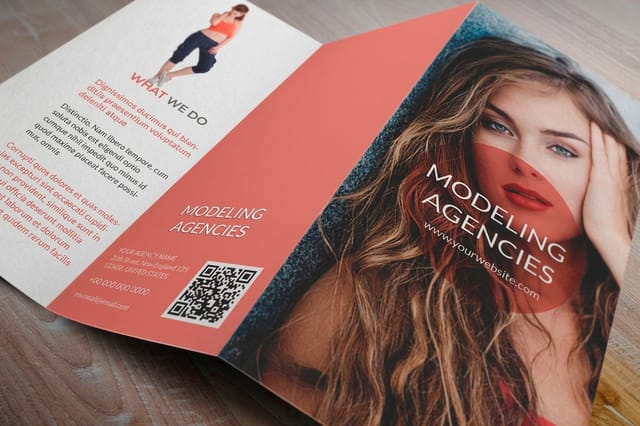
Print the products where 300 DPI counts most
See it in use
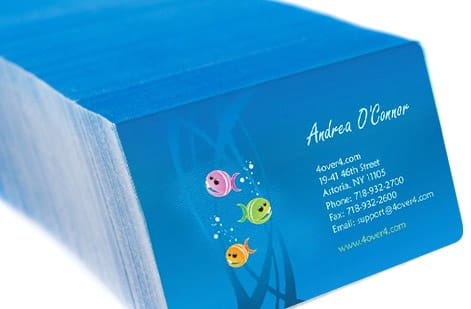
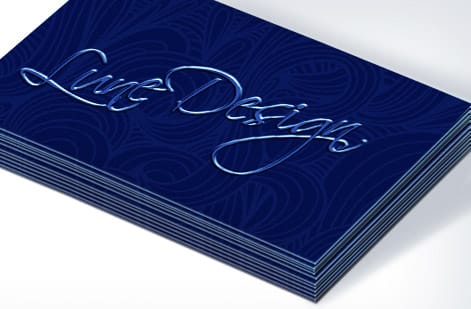
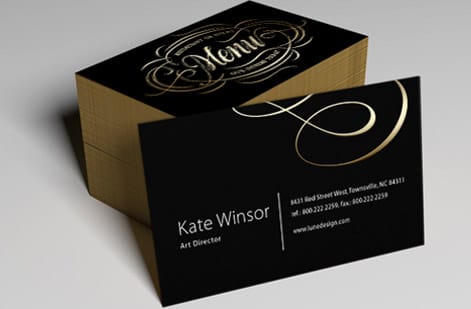
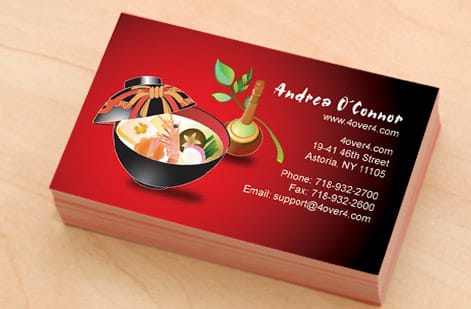
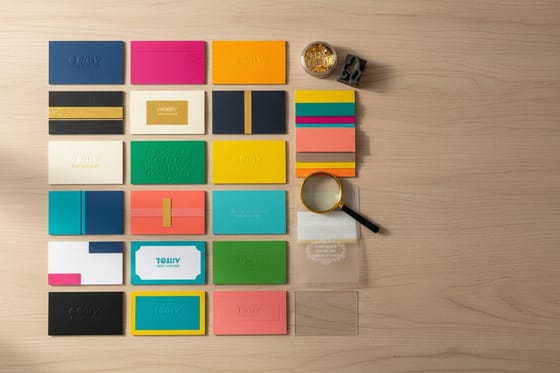
Cards printed from high resolution customer files




Explore more
Where to go next


By the numbers
Ten billion cards behind this resolution advice
Common Questions
Common questions about DPI and image resolution
What is the recommended resolution for different print sizes?
Multiply each side of the print in inches by 300 to get the pixels you need: a 3.5 by 2 inch business card needs 1050 by 600, a 4 by 6 postcard 1200 by 1800, an 8.5 by 11 flyer 2550 by 3300, and an 18 by 24 poster 5400 by 7200. Large pieces viewed from a distance can drop to 150 DPI, so a 4 by 8 foot banner works at 7200 by 14400 pixels.
Which DPI is better for print quality, 300 or 600?
300 DPI is the standard, and a 600 DPI file rarely looks sharper on paper because the eye cannot resolve the extra dots at reading distance. The higher setting makes files four times larger and slower to upload. Send 300 DPI at final size for cards, flyers and postcards, and save 600 only for fine line art that a press will reproduce as pure black.
What are the best Lightroom export settings for web use?
Export as JPEG, quality 76 to 85, color space sRGB, long edge 2048 pixels for social media or 1600 to 2000 pixels for a website, with Output Sharpening set to Screen at Standard. Leave the resolution field alone, since browsers read pixel dimensions and ignore ppi, and strip location metadata before the file goes public.
What DPI should I use for printing business cards?
Use 300 DPI for business cards. Because people hold a card just inches from their face, anything lower shows visible pixelation. Set your file to 300 DPI and CMYK color before you start designing. The 4OVER4.COM upload system flags low-resolution files so you can fix them before they print.
Can I convert a 72 DPI image to 300 DPI for print?
Technically yes, but it will not add quality. Changing the DPI number without adding real pixel data simply shrinks the print size. A 1000-pixel-wide image at 72 DPI becomes a 3.3-inch-wide image at 300 DPI. You cannot create detail that the original photo never captured.
What is the difference between DPI and PPI?
PPI, or pixels per inch, measures digital screen resolution. DPI, or dots per inch, measures printed output density. Put simply, PPI is for your monitor and DPI is for your paper. For print files, set your resolution to 300 PPI in your design software and the printer translates that into the right DPI.
Does DPI matter for web images?
Not really. Browsers display images by pixel dimensions, not DPI, so a 1200 by 800 pixel image looks identical whether it is tagged 72 or 300 DPI. For the web, focus on pixel dimensions and file compression, and save the high DPI settings for your print projects.
Why do my prints look blurry when the image looks sharp on screen?
Screens display at 72 to 96 PPI while printers need 300 DPI. An image that looks perfect on your monitor may only hold enough data for a small, low-quality print. Always check the actual pixel dimensions and DPI before you send files, because a sharp preview can still hide a low-resolution file.
Which file format preserves the best resolution for printing?
TIFF and PDF keep full image quality with no lossy compression. JPEG degrades a little every time you save, and PNG stays lossless but creates larger files. For the best results with 4OVER4.COM, submit a print-ready PDF at 300 DPI with CMYK color and 0.125 inches of bleed on every side.
Get Started
Ready to print at full resolution?
Upload a 300 DPI file, pick your stock and finish, and we print business cards, postcards, and brochures that stay razor sharp.
Legal Disclaimer
Gold Standard guarantees apply to all standard orders placed through 4over4.com. Price match requires verifiable proof of a competitor's published price for an equivalent product with matching specifications and turnaround time. Satisfaction guarantee covers manufacturing defects and print quality issues. Contact support with order number and documentation. On-time delivery rate based on tracked orders 1999 to 2026. Individual results may vary based on shipping carrier performance.
