
How to Make Custom Signs from Design to Print


Pick the right material, size text for the read, set up a print-ready file, and proof before you order. Seven steps, and the material choice at step one sets the other six.
To make a custom sign, start with its job and where it will live, then match the material to that spot: aluminum for long-term outdoor, Coroplast for short-term, foam board or PVC for indoors. Size the text for the viewing distance, build the file in CMYK with bleed and safe zones, proof every word, and order. Get those calls right and your sign reads clearly and lasts.
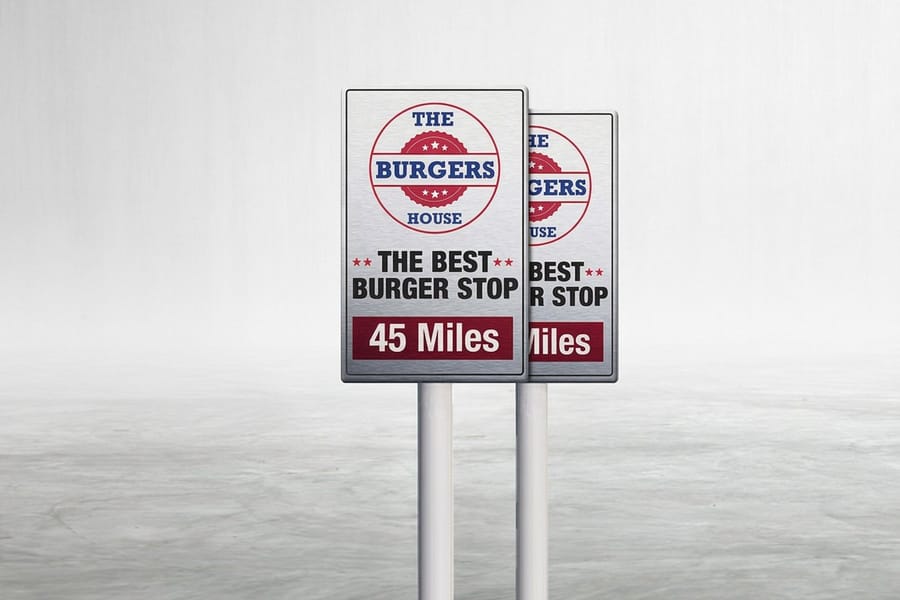
Quick tips
Quick tips for making custom signs
Match the material to where the sign will live, size the text for the viewing distance, and keep the message short enough to read in a glance. Design in CMYK with 0.125 inch bleed and a clean safe zone, then outline your fonts and approve the digital proof before you order. 4OVER4.COM customers who follow these steps get signs that stay sharp and readable for years.
Why custom signs earn their place
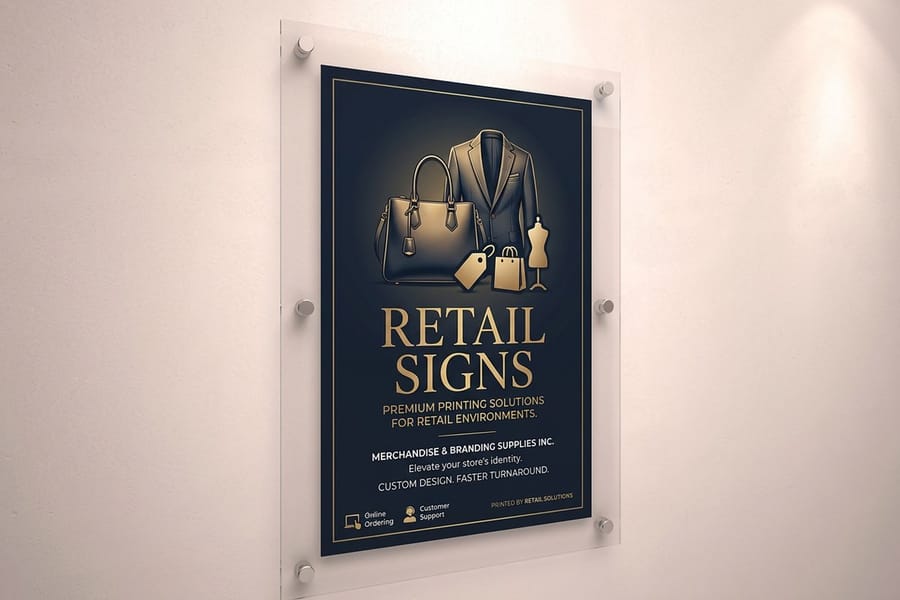
Custom signs pull foot traffic into storefronts, mark booth locations at trade shows, guide visitors through events, and put your brand in front of people who have never heard of you. They do a lot of quiet work, and the good news is you do not need a design degree to make one that performs.
This guide walks you through how to make custom signs from scratch, from choosing materials and sizing to setting up your file for print. An A-frame sidewalk sign and a mounted aluminum panel follow the same core process. If you are running other print projects alongside your signage, our guides on custom magnets and how to make envelopes pair nicely with a sign order.
Step 1: Define your sign purpose and placement
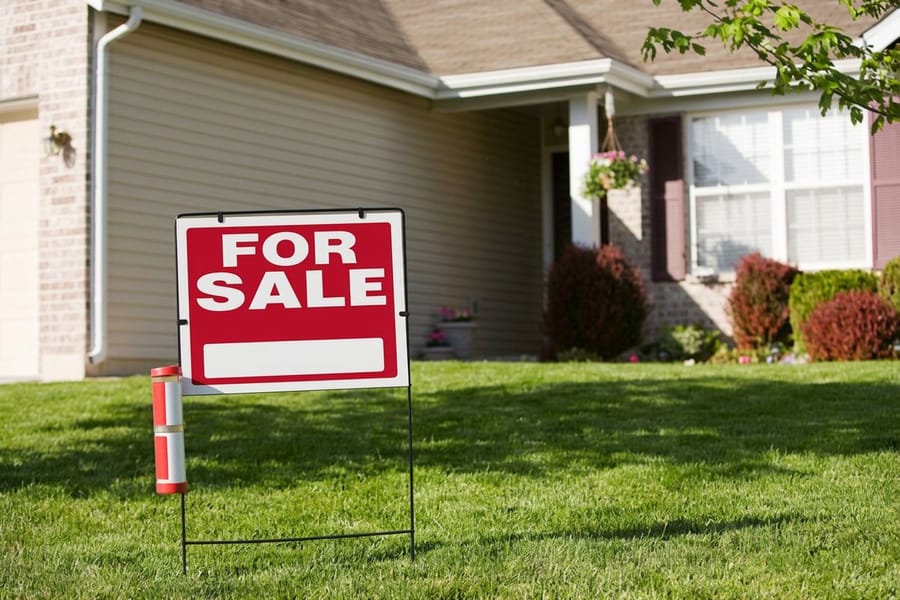
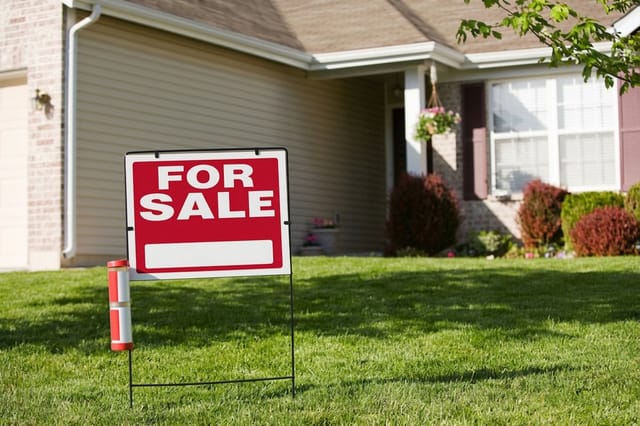
Before you open any design software, answer two questions. What do you want this sign to do, and where will it live? A real estate yard sign has different demands than a restaurant menu board, an outdoor banner at a 5K race needs weather-resistant material, and a directional sign inside a conference center only needs to be readable from twenty feet away.
Purpose drives every decision that follows. A sign meant to attract walk-in customers needs bold color, large text, and high contrast, while a sign that sits at a checkout counter can use smaller type and more detail because people read it up close. Write down these specifics before you design:
- Indoor or outdoor placement, which sets your material choice
- Viewing distance, or how far away most people will be when they read it
- Duration, whether this is a permanent installation or a weekend event sign
- Single message or double-sided visibility
Can I design my own sign online? Yes, and you do not need design software on your machine to do it. Open the sign you want, set the size and the quantity, then either upload a print-ready file or build the sign on screen in the browser: type the message, place your logo, choose the colors, and keep every word inside the safety margin so nothing is trimmed off at the edge. You approve an on-screen proof before the job goes to press, so the layout you sign off is the layout that prints. If you would rather not start from a blank rectangle, open a layout that already works and swap in your own words. Most people make your own sign for a lawn or event this way, step up and make your own sign in aluminum when it has to stand outside for years, and browse the wider make your own sign range of yard sign printing when one job needs several sizes at once.
For more ideas on complementary print materials, the 4OVER4.COM guide hub covers dozens of product types.
Step 2: Choose the right sign material
Material choice makes or breaks a sign. The most common options stack up like this, with the job each one suits.
Aluminum is the go-to for long-term outdoor use. It resists rust, holds up in rain and sun, and looks professional for years, so custom aluminum signs are a strong pick for anything permanent. Corrugated plastic, often called Coroplast, is lightweight and low cost, which makes Coroplast signs the usual pick for yard signs, campaigns, and short promotions, though colors fade after a few months in direct sun.
Foam board shines indoors for trade show displays, point-of-sale signs, and office directories. Vinyl banners give you the biggest canvas for the lowest cost per square foot, and business banners hang from fences or stands and roll up for easy transport and reuse. Acrylic and PVC bring a polished, modern look to lobbies, waiting rooms, and retail displays.
Side by side, in the size we print most of each, here is what you are actually buying:
- Coroplast yard sign, 18 by 24 inches. The cheapest way to put a message on a lawn. Light enough to carry a stack under one arm, fluted so a stake slides straight into it, and readable from about 20 feet once the headline is 2 inches tall. Outdoor life is a season rather than a decade, because the color starts to fade after a few months in direct sun. Order it for open houses, campaigns, and weekend events, and order a few spares.
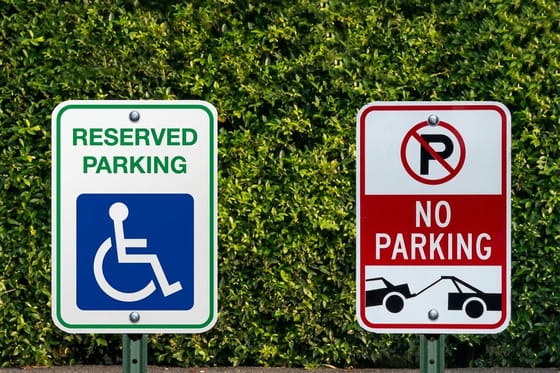
- Aluminum, 18 by 24 inches. The same footprint that stays put for years. It does not rust, it does not flap in wind, it does not soften in rain, and it can be drilled for posts or wall mounts. This is the one for parking, safety, address, and hours signs you do not want to reprint next spring, and it is worth paying for the moment the sign outlives one season.
- PVC, 12 by 18 inches up to 24 by 36 inches. Rigid, smooth, and light, so it takes screws or standoffs on a lobby wall without the weight of metal behind it. Indoors it lasts as long as you want it to. Use it for directories, waiting rooms, and retail displays where the sign is read from a few feet away and the finish is part of the impression.
- Vinyl banner, 36 by 48 inches and larger. The lowest cost per square foot on this list, which is why it wins whenever the sign needs to be big before it needs to be permanent. Hemmed and grommeted for a fence, a rail, or a stand, and it rolls up after the event and comes back out for the next one.
The short version: if it has to survive a winter outdoors, aluminum. If it has to survive a weekend, Coroplast. If it hangs on an interior wall, PVC. If it has to be seen from across a parking lot on Saturday, a banner. Sizes and quantities for all of them are set on the product page, so you can compare the same job two ways before you commit.
Step 3: Size your sign for readability
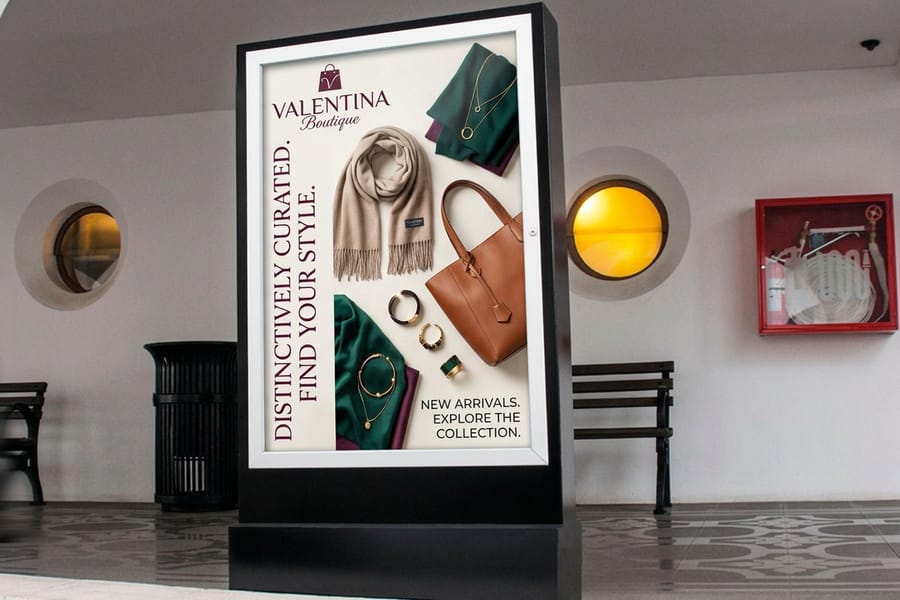
The number one mistake people make with custom signs is text that is too small. A sign nobody can read is just expensive decoration.
One rule of thumb holds up. For every 10 feet of viewing distance, your letters need to be at least 1 inch tall. So a sign meant to be read from 50 feet away needs headline text that is at least 5 inches tall. Common sizes and their best uses:
- 12 by 18 inches for directional signs, desk signs, and small retail displays
- 18 by 24 inches for yard signs, real estate signs, and event markers
- 24 by 36 inches for storefront window signs and trade show panels
- 36 by 48 inches and larger for building-mounted signs, banner stands, and large outdoor displays
When in doubt, go bigger. You can always add white space to a larger sign. You cannot make a small sign readable from farther away.
Step 4: Design your sign file

With purpose, material, and size locked in, it is time to design, and you have a few paths. Start from a template. 4OVER4.COM offers blank sign templates sized to exact print specs, with bleed lines, safe zones, and trim marks already set, so you do not have to guess. If you have ever made flyers, the file setup is nearly identical.
Or design from scratch. Use Adobe Illustrator, Photoshop, or InDesign, or a free tool like Canva. Just work in CMYK color mode rather than RGB, and keep resolution at 150 DPI or higher for large-format signs and 300 DPI for smaller ones. A few principles keep signs readable:
- Limit your fonts to two, one for headlines and one for body text
- High contrast is non-negotiable, so use dark text on light or white text on dark
- Leave breathing room and keep important content at least 0.5 inches from any trim line
- One clear call to action, whether that is a phone number, website, or QR code
Juggling several print projects at once? Learn how to fold a brochure for any handouts that travel alongside your signage.
Step 5: Prepare your file for print
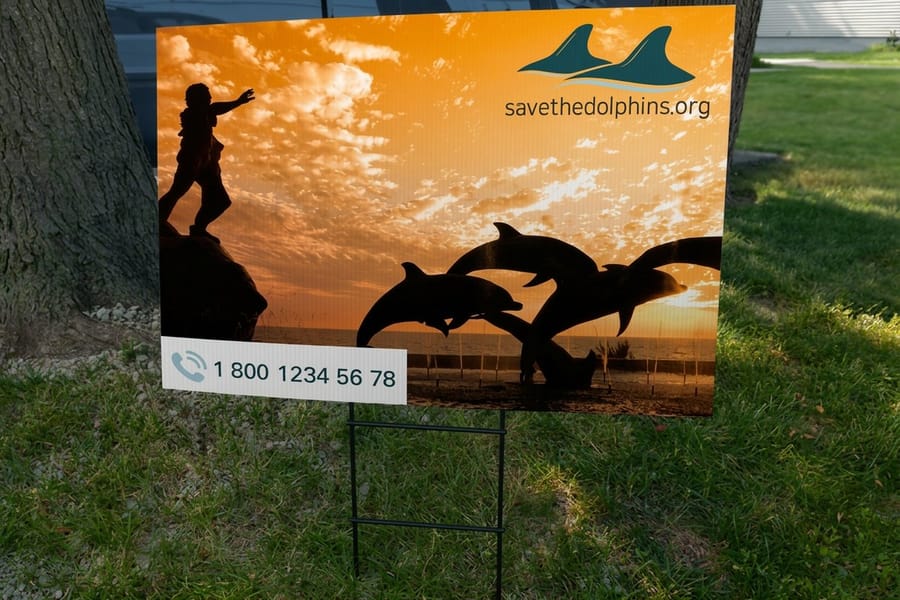
File prep is where DIY signs either come together or fall apart. Run through this checklist before you export:
- Bleed: extend your background color or image 0.125 inch past the trim line on all sides so there are no white edges after cutting
- Safe zone: keep all text and logos at least 0.125 inch inside the trim line
- Resolution: 150 DPI for signs viewed from 5 feet or more, 300 DPI for anything viewed up close
- Color mode: CMYK for full-color printing, with Pantone spot colors if your brand needs exact matching
- File format: PDF is the safest, and AI, EPS, and PSD also work with most printers
Outline your fonts. This is the step most people skip, and it causes the most trouble. Outlining converts text into vector shapes, so the printer does not need your exact font file installed to reproduce your sign correctly.
Step 6: Choose your print and finish options
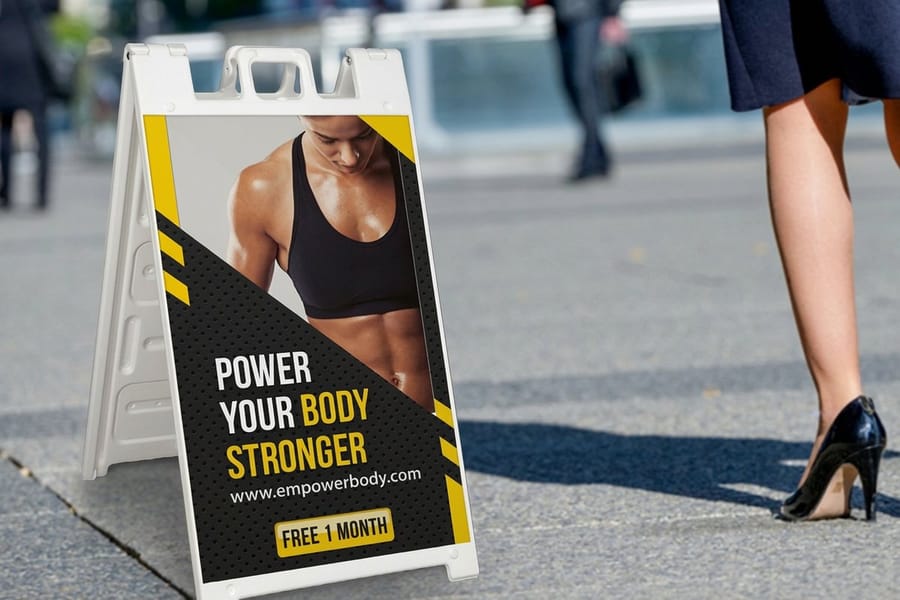
Once the file is ready, you will pick print specs, and for signs the main calls are simple. Single-sided versus double-sided: A-frame and hanging signs earn their keep printed on both sides, while wall-mounted signs only need one. Finish: matte cuts glare and suits outdoor signs in direct sun, and gloss makes colors pop for indoor retail displays.
Mounting and hardware matter too. Some signs ship with grommets, H-stakes, or stand hardware, so decide what you need before ordering and everything arrives together. With 1,000+ products in the catalog, you can match sign materials to other branded items like stamps and labels. If you keep rubber stamps for branding, here is how to clean rubber stamps so they stay sharp.
Step 7: Review, proof, and order
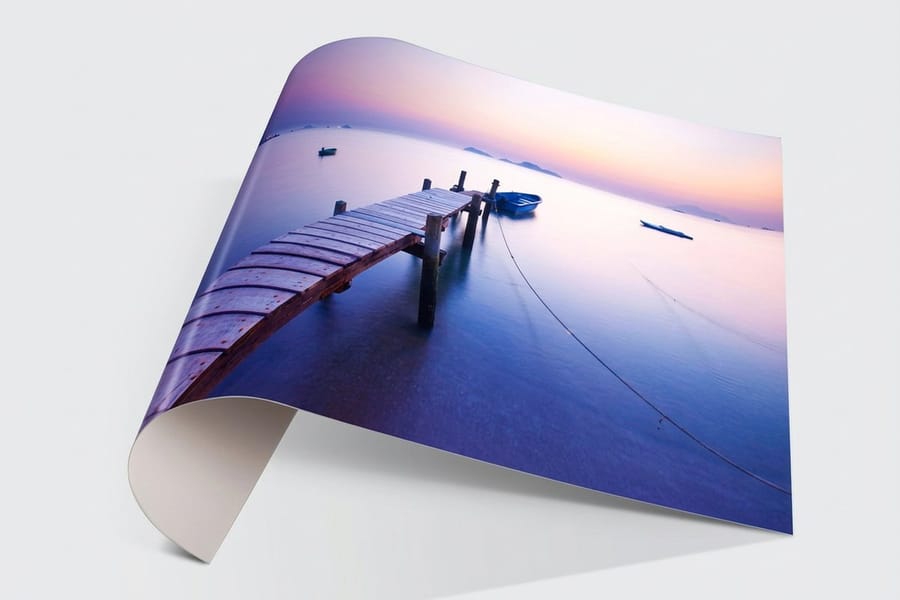
Do not skip the proof. Read every word on your sign out loud. Check phone numbers by dialing them, verify web addresses by typing them into a browser, and let someone who has not seen the design look at it with fresh eyes.
Common things people miss during proofing:
- Misspelled business names, which happens more than you would think
- Wrong phone numbers or outdated addresses
- Low-resolution logos that looked fine on screen but print blurry
- Text too close to the edge that gets trimmed off
Once you are confident, upload your file and place the order. 4OVER4.COM provides a digital proof so you can see exactly how your sign will look before it goes to press.
Pitfalls that ruin custom signs, and how to dodge them
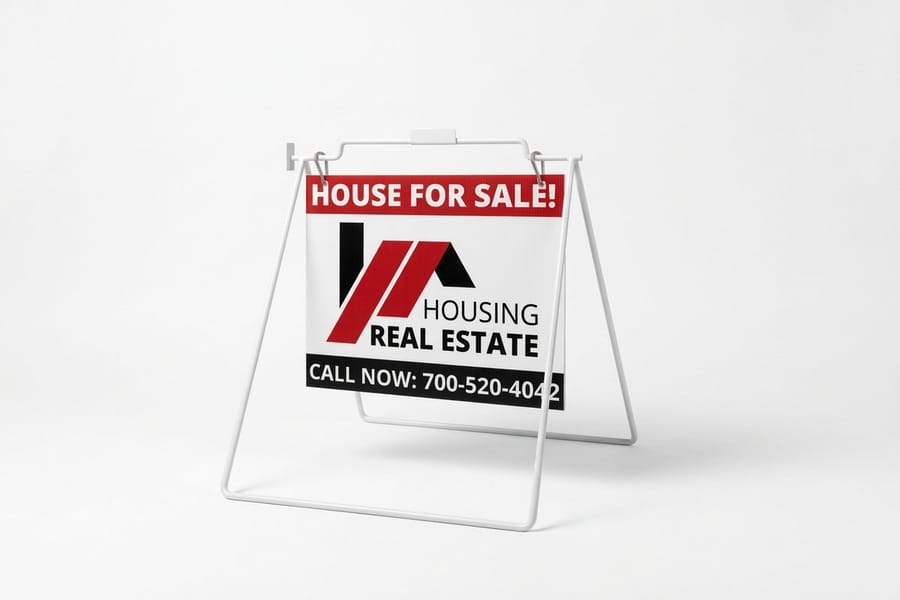
Even experienced designers trip on these. These are the most common mistakes when learning how to make custom signs, with a fix for each.
- Using RGB instead of CMYK. Your screen shows RGB, printers use CMYK, and colors shift if you do not convert. That bright red on your monitor can print as a muddy maroon.
- Ignoring bleed and safe zones. No bleed means white edges, and text in the bleed zone means chopped-off words. Follow the template guides exactly.
- Too much information. A sign is not a brochure. People glance at signs for three to five seconds, so if your message takes longer than that to absorb, cut it down.
- Choosing the wrong material for the environment. Foam board outside in the rain warps in a day, so match the material to where the sign will actually live.
- Skipping the proof. 4OVER4.COM sends a digital proof for a reason. One typo on 50 signs is an expensive mistake, so always review it.
Slow down on these five and your sign does its job the first time. If you want a second set of eyes, the free digital proof catches most of them before anything prints.
Wally explains custom signs
A great sign says one thing, and says it from across the street
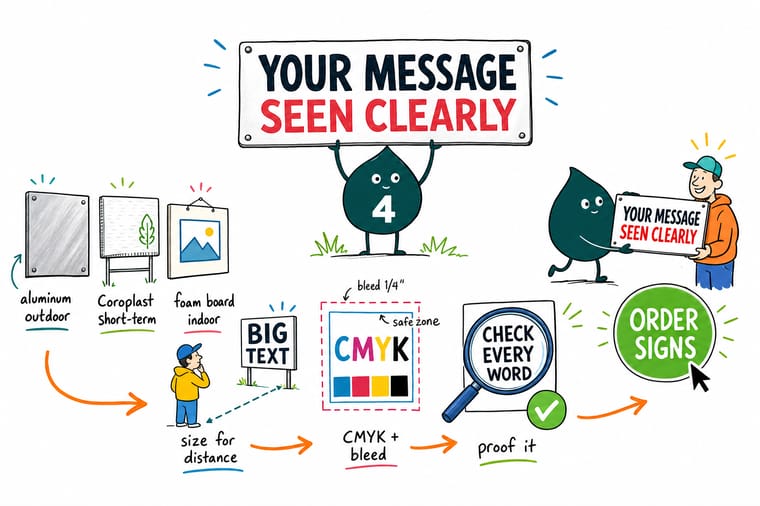
Wally treats a sign like a billboard for a single idea: pick the material for where it lives, size the type for the read, and cut the words until only the message is left. Get the file right in CMYK with bleed, proof every letter, and order once. When you are ready, 4OVER4 prints it sharp on aluminum, Coroplast, or vinyl and ships it ready to stand.
Order aluminum signs →Templates
Ready-made sign templates
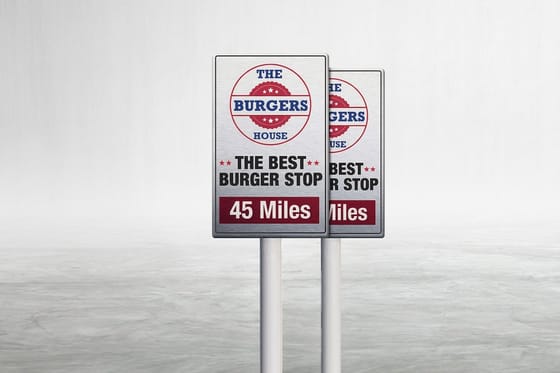
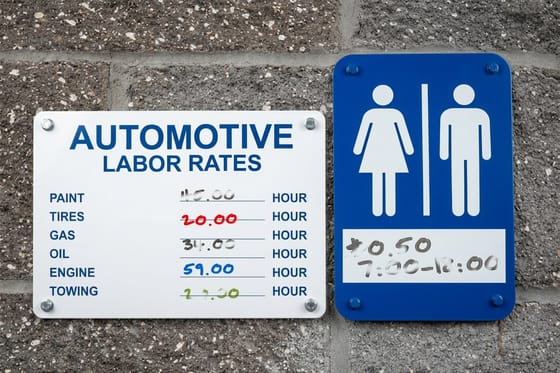
Start from a print-ready file. These blank templates already include bleed, safe zones, and trim marks, and the design templates open straight in the 4OVER4.COM online designer.
Specs and pricing
Custom aluminum sign specs and pricing
When you are ready to order, here is what a made-to-order aluminum sign gives you at 4OVER4.COM, with live specs and price-per-unit straight from the configurator.

| Quantity | Price Per Unit | Total |
|---|---|---|
| 1 | $36.00 | $36.00 |
Print it
Best sign products to bring your design to life
Whether you need a sidewalk A-frame or a permanent mounted panel, 4OVER4.COM has you covered, with same-day printing on select items. Building a brand from scratch? Pair your signage with free business cards so every sign points people somewhere and a card in their hand keeps you top of mind.

See it in use
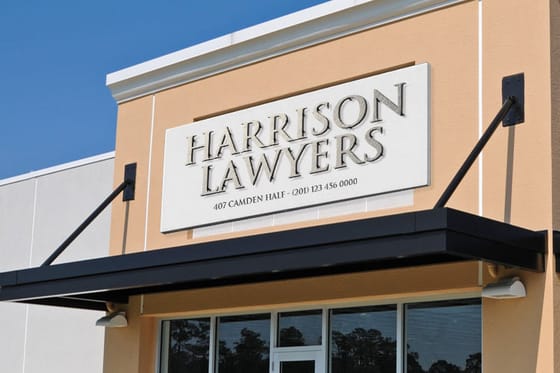
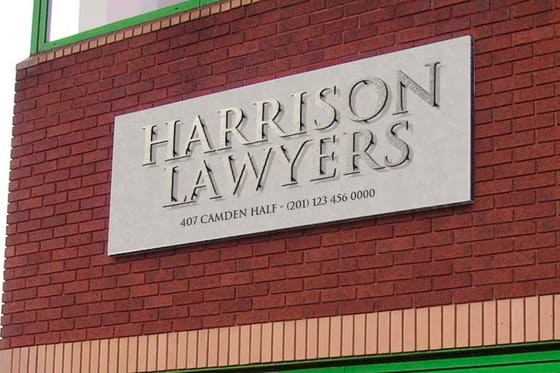
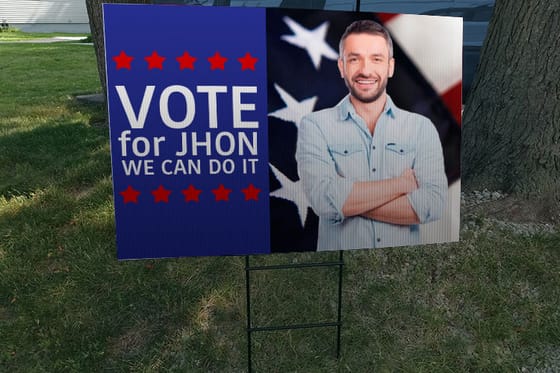
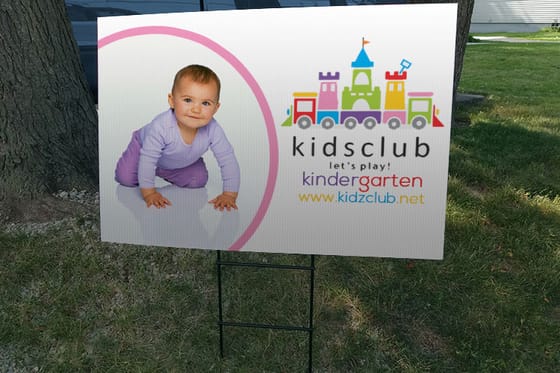
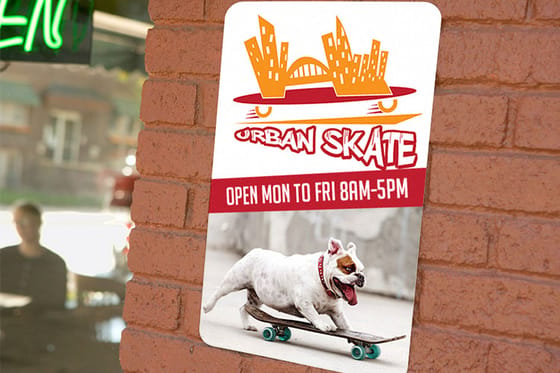
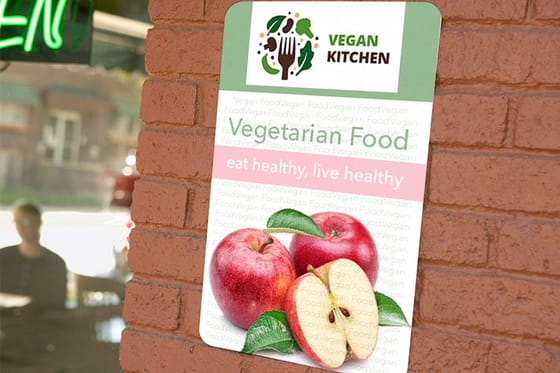
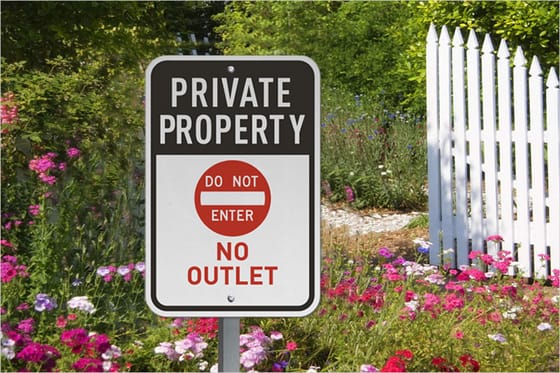
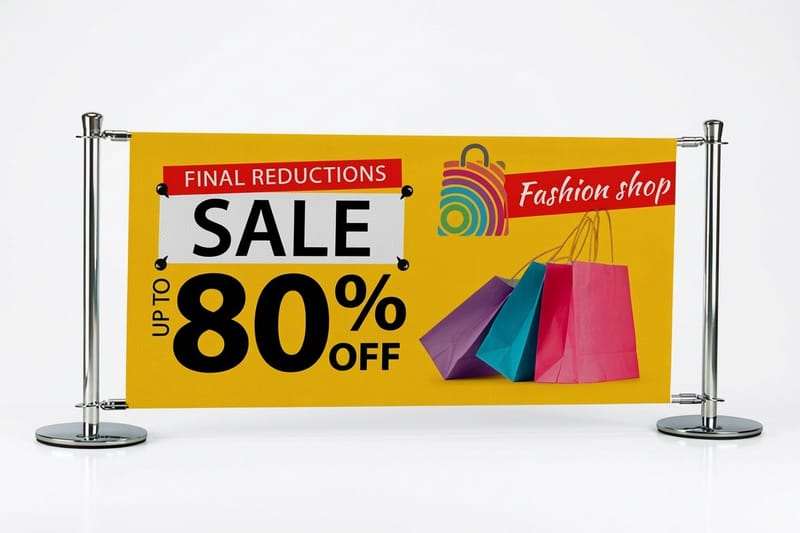
Signs we cut and printed for customers
Explore more
Where to go next



By the numbers
Coroplast, aluminum and banner in one shop
Common Questions
Common questions about making custom signs
What file format should I use for custom sign printing?
PDF is the most reliable format for sign printing. It preserves fonts, colors, and layout exactly as you designed them. 4OVER4.COM also accepts AI, EPS, and PSD files. Always outline your fonts and set your color mode to CMYK before exporting.
What resolution do I need for a large custom sign?
For signs viewed from 5 feet or more, 150 DPI is the minimum. For smaller signs or anything viewed up close like counter and desk signs, use 300 DPI. Higher resolution means sharper text and crisper images.
How do I choose between aluminum and corrugated plastic signs?
Aluminum is best for permanent outdoor signage because it resists rust and UV fading for years. Corrugated plastic, or Coroplast, is the budget-friendly option for temporary use like yard signs, event markers, and short-term promotions that last a few months.
Can I design a custom sign without professional software?
Yes. Free tools like Canva work fine for basic sign designs. 4OVER4.COM also provides blank templates with bleed lines and safe zones already built in, so you just drop in your content. For complex designs with vector graphics, Adobe Illustrator gives you the most control.
How long does it take to get custom signs printed and delivered?
Turnaround depends on the product and quantity. Many sign products at 4OVER4.COM ship within a few business days of proof approval, and select items qualify for expedited production if you are working against a deadline.
What is the biggest mistake people make when designing custom signs?
Cramming too much text onto the sign. People glance at signs for three to five seconds. If your message cannot be absorbed in that window, it will not work. Stick to one headline, one call to action, and as few words as possible, and let white space do the heavy lifting.
Get Started
Order a business banner from $43.92
Pick your size, upload your artwork, and we print a sharp, weather-ready sign that does its job from day one.
Legal Disclaimer
Gold Standard guarantees apply to all standard orders placed through 4over4.com. Price match requires verifiable proof of a competitor's published price for an equivalent product with matching specifications and turnaround time. Satisfaction guarantee covers manufacturing defects and print quality issues. Contact support with order number and documentation. On-time delivery rate based on tracked orders 1999 to 2026. Individual results may vary based on shipping carrier performance.
