
How to Make Business Cards Step by Step


Set the standard size, build your file in CMYK with bleed, lead with a clean hierarchy, then choose the paper and finish that fit your brand. Here is the full walkthrough from blank canvas to print-ready file.
To make a business card, start with the standard 3.5 by 2 inch size, set your file to CMYK at 300 DPI with 0.125 inch bleed, and build a clear hierarchy with your name on top. Pair two readable fonts, keep to two or three brand colors, then choose a paper stock and finish before you proof and print. A little care up front is what turns a card people toss into a card people keep.
Quick tips
Quick tips for making business cards that get kept
Design at the standard 3.5 by 2 inch size in CMYK at 300 DPI with 0.125 inch bleed, and lead with a clear hierarchy so your name reads first. Pair two fonts, hold to two or three brand colors, and match the paper stock and finish to how the card will be used. Proof at actual size before you order. 4OVER4.COM customers who follow these steps get sharp, professional cards on the first run.
Watch it printed
See standard business cards on the press, in 167 seconds
Why your business card is worth getting right
A business card is often the first physical thing someone holds that represents your brand. That three-and-a-half-inch rectangle carries real weight. Get it wrong and it ends up in the trash. Get it right and people actually keep it.
This tutorial walks you through every stage of making business cards, from a blank canvas to a print-ready file. You will learn layout rules, typography basics, paper selection, and how to avoid the mistakes that make cards look amateur. 4OVER4.COM has printed over 10 billion cards and serves 150,000+ businesses, so the advice here comes from real production experience.
Whether you are building cards in the Online Designer or in professional software like Adobe Illustrator, these steps apply. If you are working on other print projects alongside your cards, our guide on how to make custom magnets walks through a similar design-to-print process for a different format. With 60+ paper types and multiple finishes on hand, you have room to make the card yours.
How to make business cards with a Cricut, step by step
Print Then Cut is the Cricut feature that makes business cards possible, because the machine reads registration marks around your printed sheet and cuts each card to the exact trim line.
- Set up the card in Design Space. Open a new canvas, drop in a rectangle, and set it to 3.5 by 2 inches. That single shape is your card. Duplicate it later, but get one right first.
- Add the design and set it to Print Then Cut. Place your text, logo and background on the rectangle, select everything, flatten it, and Design Space switches the whole group to a printable image with the rectangle as the cut line.
- Run Print Then Cut calibration. Do this once per machine and printer pair. Design Space prints a calibration sheet, the machine scans and cuts it, and you tell it which line landed closest. Skip this and every card cuts a hair off center.
- Print on your home printer. Send the sheet at the highest quality setting and pick the paper type that matches your stock, not plain paper. Let the ink dry before it touches the mat or the sensor smears the registration box.
- Load the cardstock on a light grip mat. Line the top left corner of the sheet to the corner of the mat, burnish it down with your hand, and feed it in straight.
- Choose the cardstock material setting and the fine point blade. Cardstock for intricate cuts is the safe setting for heavier stock. Check that the fine point blade is seated in clamp B before you start.
- Cut and unload. The scanner reads the registration marks first, then the blade runs the trim lines. Wait for the unload arrow before you press it, and pull the mat away from the cards rather than the cards off the mat so they do not curl.
- Weed, stack and check the edges. Lift the waste grid away, square the stack, and look down the edge of it. Any card whose trim wandered belongs in the bin, not in your pocket.
Three Cricut limits decide whether this works at all. Print Then Cut prints inside a 6.75 by 9.25 inch area on US Letter, so plan on nine cards per sheet at most rather than a full-bleed grid. The fine point blade handles cardstock up to roughly 100 lb cover, about 270 gsm, and anything thicker wants a deep point blade or a different plan. And the registration marks only read against a white or very light background, so a card design that bleeds dark color to the edge of the sheet will stop the scan cold.
Design principles that apply to any business card
The eight steps below are the design side of the job, and they hold whether the card comes off a Cricut mat or off a press. Size, file setup, hierarchy, type, color, stock, finishing and proofing are the same decisions either way. Work through them once and you can reuse the file for both routes.
Step 1: Decide on card size and orientation
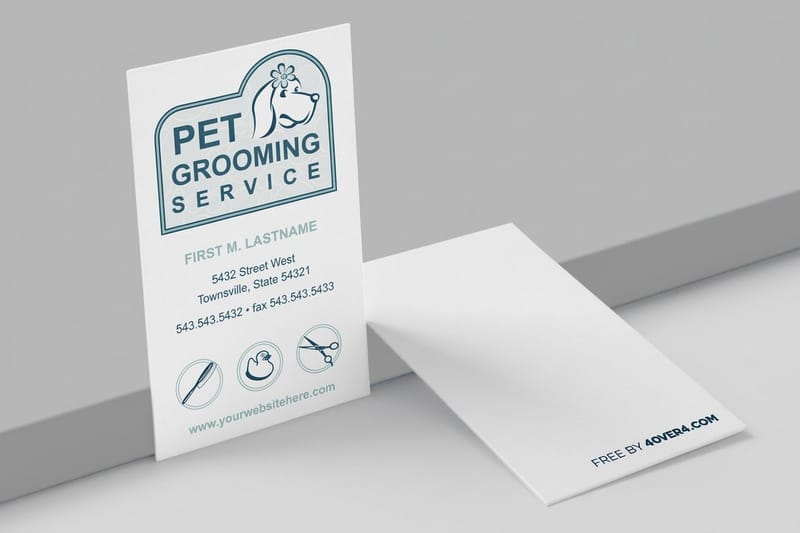
The standard business card size in the U.S. is 3.5 by 2 inches. That is your safe bet. It fits wallets, cardholders, and Rolodexes. You can go landscape or portrait, and landscape is traditional while portrait feels modern and stands out in a stack.
Non-standard sizes exist too, like square cards, mini cards, and oversized cards. They grab attention, but they do not always fit where people store cards. If you are in a creative field such as photography, design, or art, a unique shape can reinforce your brand. For corporate or professional services, stick with standard. The goal is to be memorable, not inconvenient. If you want to push the format, 3D lenticular business cards offer a completely different visual experience.
Step 2: Set up your file correctly
File setup is where most DIY business cards go wrong. Get these four specs right before you place a single element.
- Resolution: 300 DPI minimum. Anything lower prints blurry. Your screen may look fine at 72 DPI, but print does not forgive low resolution.
- Color mode: CMYK, not RGB. RGB is for screens and CMYK is for ink on paper. Colors shift dramatically if you submit an RGB file.
- Bleed area: Add 0.125 inches of bleed on all sides, so your document is 3.75 by 2.25 inches total. Bleed prevents white edges when cards are trimmed.
- Safe zone: Keep all text and important elements at least 0.125 inches inside the trim line. Text too close to the edge gets cut off or looks cramped.
If you are using Canva, Photoshop, Illustrator, or InDesign, set these specs before you start designing. Do not try to fix them after, because changing resolution or color mode later degrades quality.
Step 3: Choose your layout and information hierarchy
Every business card needs a clear visual hierarchy. The reader's eye should land on the most important information first. Here is the priority order:
- Your name as the biggest or boldest text element.
- Your title or role immediately below your name.
- Company name and logo, prominent but not competing with your name.
- Contact information such as phone, email, website, and social handles.
Do not cram everything onto the front. Use the back of the card. A common approach puts the logo and name on the front and full contact details on the back, or essentials on the front and a QR code linking to your portfolio on the back. White space is not wasted space. It makes your card easier to read and more professional. If you are also working on related print materials, our guide on how to make flyers covers similar layout principles for a larger format.
Step 4: Pick fonts that work together

Two fonts is the sweet spot. Use one for headings such as your name and company name, and one for body text such as contact info and a tagline. Three or more fonts make a card look chaotic.
Sans-serif fonts like Helvetica, Montserrat, or Inter feel clean and modern. Serif fonts like Garamond, Playfair Display, or Times New Roman feel traditional and established. Script fonts can work for creative brands, but make sure they stay legible at small sizes. The minimum font size for business cards is 8pt, and anything smaller makes people squint. Your name should be 10 to 12pt or larger.
Avoid decorative fonts for contact information. Nobody wants to decode a phone number written in a handwriting font, so keep it readable.
Step 5: Work with color intentionally
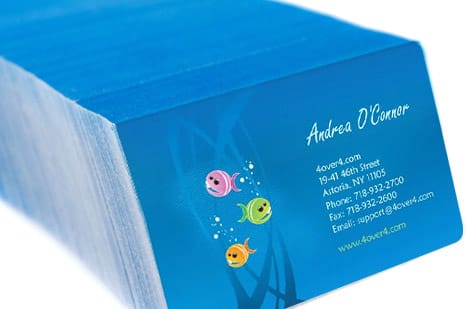
Color communicates before anyone reads a word. Blue signals trust. Black signals sophistication. Red signals energy. Green signals growth or sustainability. Pick colors that match your brand and limit yourself to two or three colors max.
If your brand has established colors, use them. Consistency across your website, social media, and business cards builds recognition. If you are starting fresh, look at your industry. Real estate agents lean toward navy and gold. Tech startups favor bold, clean palettes. Creatives can push boundaries.
One practical tip: dark backgrounds with light text look striking on screen but can be tricky in print, because heavy ink coverage shows fingerprints on glossy finishes. Matte or soft-touch finishes handle dark designs better. For more design ideas across different print types, browse the guide hub for tutorials on everything from brochures to envelopes.
Step 6: Select your paper stock and finish
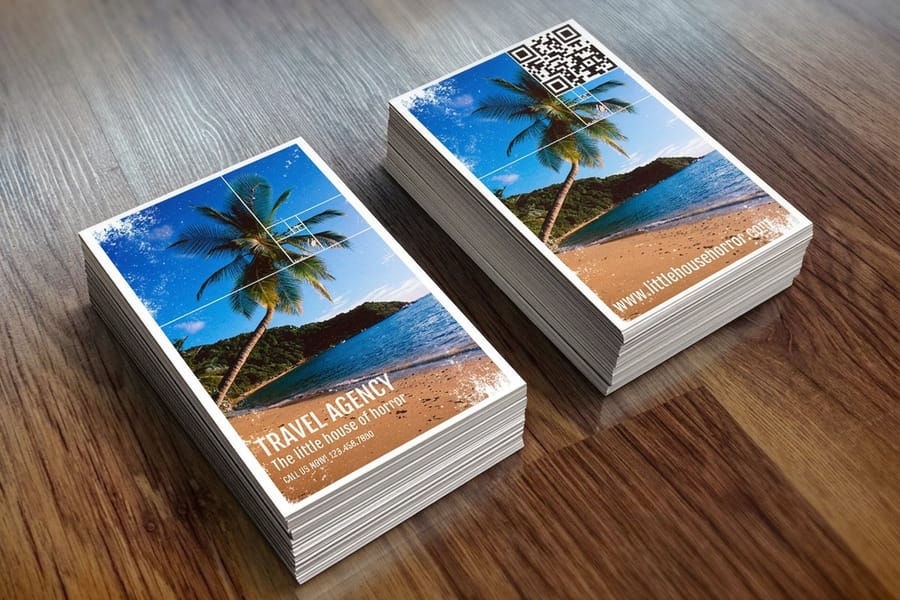
Paper choice changes everything about how a card feels in someone's hand. This is where the physical experience of your brand lives.
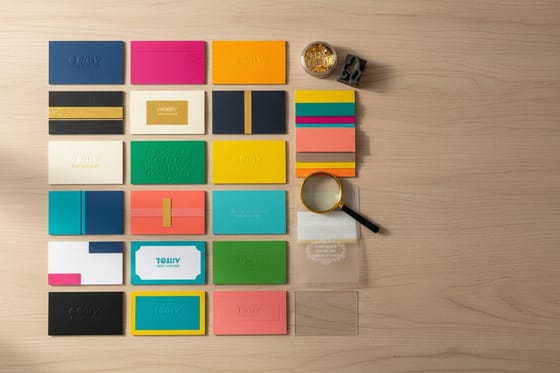
14pt cardstock is the standard. It is professional, affordable, and works for most situations, roughly the thickness of a playing card. 16pt adds more heft, about the thickness of a credit card. 32pt ultra-thick stock is a statement piece that is rigid and impossible to ignore. Hand someone a 32pt card and watch their eyebrows go up.
Finishes matter just as much as thickness:
- Matte: Smooth, non-reflective, and easy to write on. Professional and understated.
- Gloss: Shiny, with vivid colors that pop. Great for photography or image-heavy designs.
- Soft-touch (velvet): Silky, almost velvety texture that people rub their thumbs across.
- Uncoated: Natural, organic feel. Works well for eco-friendly brands or letterpress-style designs.
- Spot UV: Selective glossy coating on specific areas like your logo, while the rest stays matte, adding depth and contrast.
4OVER4.COM offers 60+ paper types across these categories. If you are unsure which stock feels right, order free samples before committing to a full run. You can also start from a ready layout in our design templates, several of which pair matte stock with elegant type.
Step 7: Add finishing touches and special elements
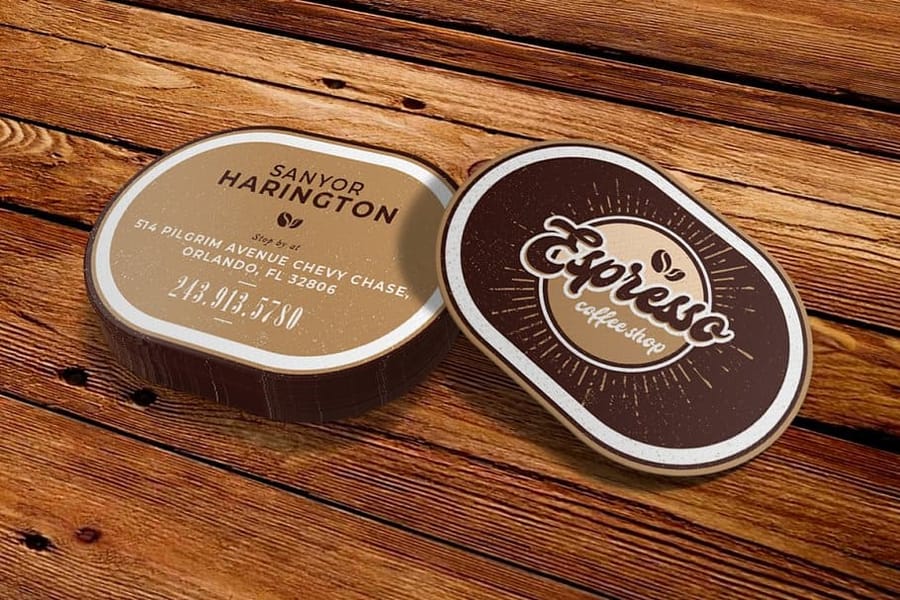
Once your base design is solid, consider what makes your card unforgettable. Pick one or two accents that align with your brand rather than stacking all of them.
- QR codes: Link to your website, LinkedIn, portfolio, or a landing page. Keep the code at least 0.75 by 0.75 inches so phones can scan it easily.
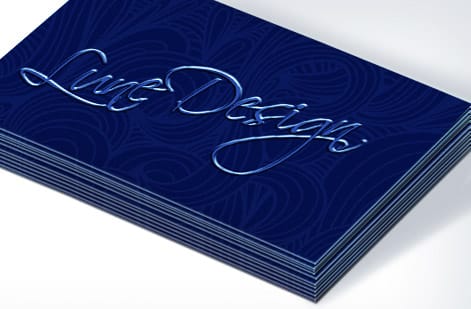
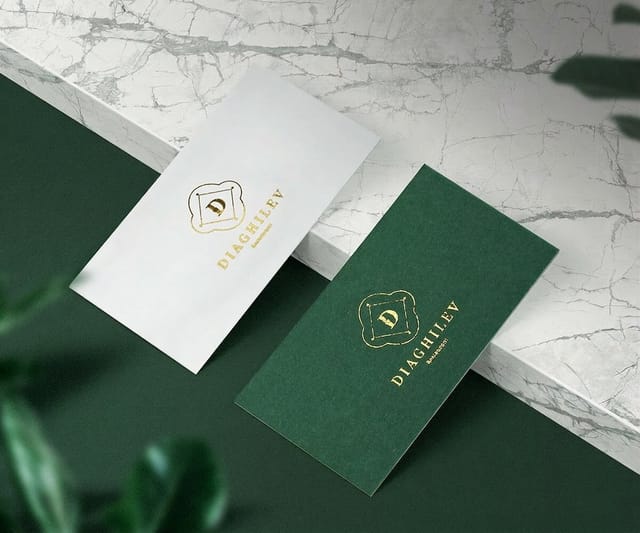
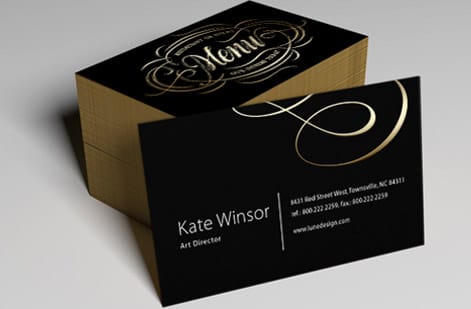
- Foil stamping: Metallic gold, silver, or rose gold accents add a luxury feel.
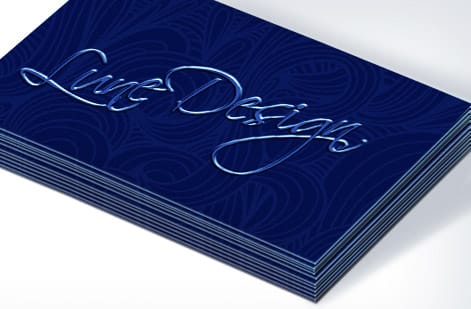
- Embossing or debossing: Raised or pressed-in elements create a tactile experience.
- Rounded corners: A subtle touch that softens the card and prevents dog-earing.
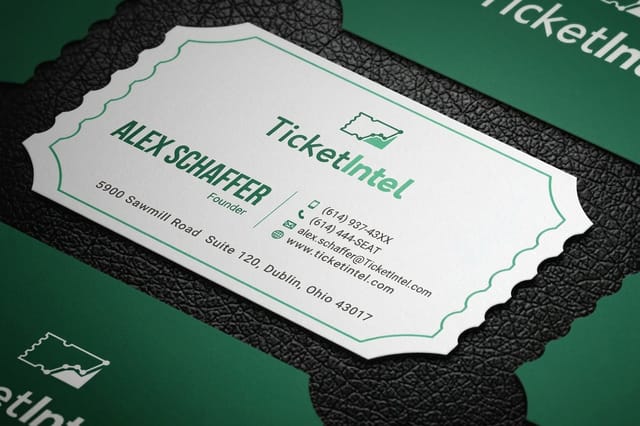
- Die-cut shapes: Custom-shaped cards that break the rectangle entirely.
Match the finish to the message. A real estate agent might go with foil-stamped gold text on a thick matte card, while a DJ might choose a die-cut any shape business card with spot UV. If you want a dramatic base to build on, start from black business cards. And if you are creating branded stationery to match your cards, our guide on how to make envelopes keeps the whole set consistent.
Cutting your own business cards with a Cricut
A Cricut machine is a tempting way to make small batches of cards at home. It gives you full creative control to bring personalized designs to life without outsourcing, it keeps costs down when you reuse materials and pair them with free business card options, and its detailed cutting delivers clean shapes and consistent angles.
The materials you feed it change the whole feel. Textured paper offers a unique tactile experience, metallic cardstock adds a sleek, eye-catching finish, kraft paper gives an eco-friendly rustic look, and glitter sheets deliver a bold, playful aesthetic. Card stock in the 80 to 110 pound range is the workhorse, and it comes in matte for a professional, writable surface, gloss for bright, punchy logos, and uncoated for minimalist designs. Specialty papers like pearl, recycled, or bamboo round out the options.
A few habits keep home-cut cards looking sharp. Avoid borders, because they magnify any cutting error and throw off the balance. Use thick cardstock such as 350 GSM for a sturdy result. Keep edges consistent with a ruler or the machine's cutting guide, and lean on ready-made design templates for alignment. When you want foil accents, embossing, spot gloss, or 18pt soft-touch stock at scale, that is the point to hand the job to production printing instead of a desktop cutter.
When to print business cards professionally instead
The Cricut wins at ten cards. It stops winning somewhere in the low hundreds, and it is worth knowing where that line sits before you buy a third pack of cardstock.
Cost. At 100 cards your Cricut run costs a sheet of cardstock and a printer cartridge per twelve sheets or so, plus the mat and blade wear, plus about an hour of your evening. At 500 the ink alone becomes the expensive part, the mat has lost its grip, and the hour has become five. A press run prices the other way round: the setup is spread across the whole quantity, so the per-card cost falls as the run grows. Check the live price table on standard business cards and compare it against what a full cartridge and a stack of cardstock actually cost you.
Stock thickness. A fine point blade handles cardstock to roughly 100 lb cover. A press handles 14pt, 16pt and 32pt, and 32pt is thicker than anything you can feed through a home printer at all. If you want a card that feels like a credit card in the hand, the home route cannot get you there.
Finishes. Foil stamping, embossing, spot UV, edge painting, soft touch lamination and die cut shapes all need production equipment. A Cricut can cut a shape, but it cannot lay foil or raise a surface. Browse foil business cards and die cut any shape business cards to see what that gap looks like in practice, or start from the full business cards range.
Step 8: Review, proof, and print
Before you hit order, run through this checklist:
- Spell-check everything twice, then have someone else check it.
- Call the phone number on the card, visit the URL, and test the QR code.
- View the design at actual size, 3.5 by 2 inches on screen. Does it look crowded, and can you read everything?
- Check that all text is inside the safe zone.
- Confirm your file is CMYK, 300 DPI, with proper bleed.
4OVER4.COM provides a free digital proof before printing, so use it and zoom in on every detail. It is far cheaper to catch a typo on a proof than on 500 printed cards. When you are ready, choose your quantity based on how quickly you go through cards, since larger quantities drop the per-card cost. Networking-heavy professionals might burn through 500 in a month, while others need 250 for the year. Need them fast? Same day printing gets your order produced and shipped within hours.
Want to see what other businesses have created? Browse the showcase for real-world business card designs across dozens of industries. For related collateral, our guide on how to fold a brochure covers another common business piece, and if you keep rubber stamps for your brand, how to clean rubber stamps keeps that equipment in top shape.
Mistakes that ruin business cards, and how to dodge them
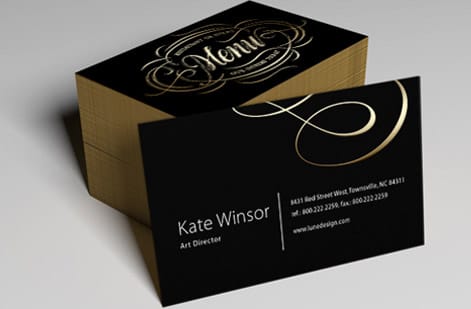
Even with a solid plan, people trip on the same problems. Avoid these and your cards look professional the first time.
- Using RGB instead of CMYK. Your bright blue turns muddy purple, so always design in CMYK for print.
- Forgetting bleed. No bleed means white edges on trimmed cards, so add 0.125 inches on every side.
- Too much information. Your card is not a brochure, so include essentials only and use the back for extras.
- Tiny fonts. If someone over 40 cannot read it without glasses, the font is too small. Keep any text at 8pt minimum.
- Low-resolution images. A logo that looks great on Instagram turns into a pixelated mess at 72 DPI on paper, so use 300 DPI.
- Ignoring the proof. 4OVER4.COM sends a free proof for a reason, so review it carefully before approving.
- Choosing paper blindly. A glossy finish on a card people will write on is a bad call, so match the finish to how the card gets used.
Handle those and the rest of the process is easy. When you are ready to print your design, the products below give you specs, pricing, and real reviews to choose from.
Wally explains business cards
A card people keep starts with the file, not the flourish
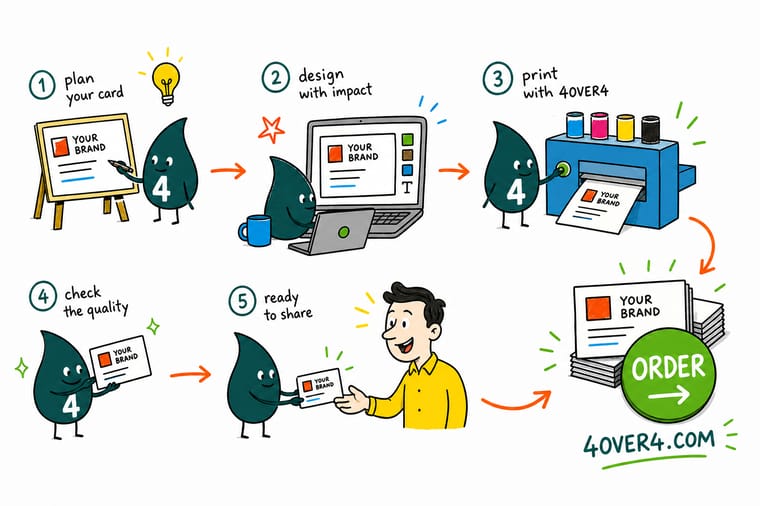
Wally treats a business card like a tiny billboard you hand over in person: get the size, bleed, and hierarchy right and it reads clean every time, skip them and the trim eats your name. A Cricut is fun for a handful at home, but when you want foil, soft-touch stock, or a run that all matches, let 4OVER4 print it to your exact design.
Order business cards →Specs and pricing
Standard business card specs and pricing
When your design is ready, here is what a run of standard business cards gives you at 4OVER4.COM, with live specs and price-per-unit straight from the configurator.
| Quantity | Price Per Unit | Total |
|---|---|---|
| 100 | 17.6¢ | $17.57 |
| 200 | 11.5¢ | $23.07 |
| 300 | 9.15¢ | $27.46 |
| 400 | 7.96¢ | $31.86 |
| 500 | 7.25¢ | $36.26 |
| 600 | 6.77¢ | $40.64 |
| 700 | 6.43¢ | $45.04 |
| 800 | 6.18¢ | $49.43 |
Print it
Best business card options to print your design
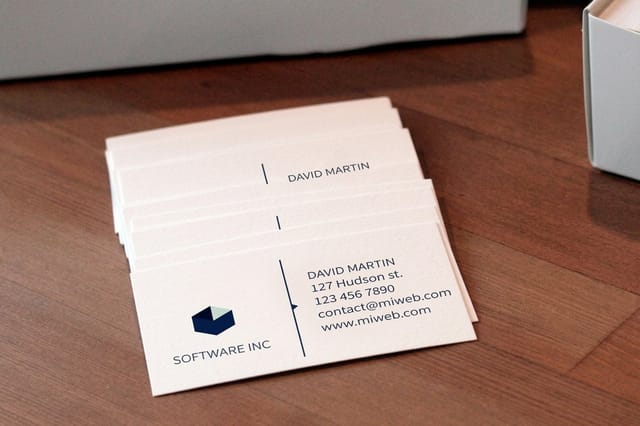
See it in use
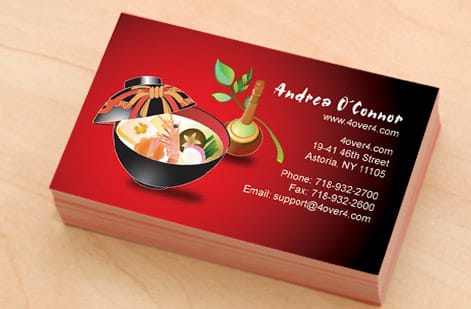
Business cards we printed from finished designs




Explore more
Where to go next



By the numbers
Ten billion cards printed, and the paper types they used
Common Questions
Common questions about making business cards
What I wish I knew before getting a Cricut?
Three things decide whether it makes business cards you will hand out. Print Then Cut only uses a 6.75 by 9.25 inch area of a letter sheet, so you get nine cards per sheet, not a full grid. The fine point blade tops out around 100 lb cover, so the credit card feel of 16pt or 32pt stock is out of reach. And the registration marks need a white or light border to scan, so a design that bleeds dark color to the sheet edge stops the machine. Run the calibration once per printer and it cuts true after that.
What do I need to make cards with my Cricut?
A Cricut with Print Then Cut, Design Space on a computer, an inkjet or laser printer, cardstock in the 80 to 110 lb range, a light grip mat, and the fine point blade seated in clamp B. Set a 3.5 by 2 inch rectangle in Design Space, flatten your art onto it, print at the highest quality setting, let the ink dry, then load the sheet square to the top left corner of the mat.
Can I use a Cricut machine to make business cards?
Yes, for a small batch. Print Then Cut prints the cards on your own printer and the machine reads the registration marks and trims each one to the 3.5 by 2 inch line. It wins at ten cards and loses somewhere in the low hundreds, where ink, mat wear and time cost more than a press run. For heavy stock, foil or spot UV, order Standard Business Cards, which start at $17.57, from the same file.
What software do I need to design business cards?
You can design business cards in Adobe Illustrator, Photoshop, InDesign, Canva, or directly in the 4OVER4.COM Online Designer. The key requirements are CMYK color mode, 300 DPI resolution, and proper bleed setup at 0.125 inches. Free tools like Canva work fine for simple designs, while professional software gives you more control over typography and layout.
What's the standard business card size?
The U.S. standard is 3.5 by 2 inches at trim size. Your file should be 3.75 by 2.25 inches to include 0.125 inch bleed on all sides. This size fits standard wallets and cardholders. 4OVER4.COM also offers square, mini, and oversized options if you want something different.
How do I choose the right paper stock for my business cards?
Match the paper to your brand personality. 14pt cardstock is professional and budget-friendly. 16pt feels like a credit card, solid and heavy in the hand. 32pt ultra-thick makes an immediate impression. 4OVER4.COM offers 60+ paper types including kraft, linen, and pearl finishes, so order free samples to feel the difference before committing.
What file format should I submit for printing?
PDF is the preferred format for business card printing because it preserves fonts, colors, and resolution accurately. 4OVER4.COM also accepts AI, PSD, and EPS files. Always flatten your layers, embed fonts, and convert to CMYK before exporting. A print-ready PDF at 300 DPI with bleed marks gives you the best results.
How many business cards should I order?
Start with 250 to 500 if you are testing a new design. Heavy networkers go through 500 or more per month. Ordering larger quantities of 1,000 or more drops the per-card cost a lot. 4OVER4.COM prints over 10 billion cards and offers quantity-based pricing, so bigger orders mean better value per card.
Can I design business cards without any graphic design experience?
Yes. This tutorial covers the fundamentals anyone can follow. The 4OVER4.COM Online Designer includes pre-built templates you customize with your text, logo, and colors, so you need no design software. Pick a template, adjust the details, and order. The templates already have correct sizing, bleed, and safe zones built in.
Get Started
Ready to print your business cards?
Pick your size, stock, and finish, drop in your design, and we print sharp, professional cards that make the right first impression.
Legal Disclaimer
Gold Standard guarantees apply to all standard orders placed through 4over4.com. Price match requires verifiable proof of a competitor's published price for an equivalent product with matching specifications and turnaround time. Satisfaction guarantee covers manufacturing defects and print quality issues. Contact support with order number and documentation. On-time delivery rate based on tracked orders 1999 to 2026. Individual results may vary based on shipping carrier performance.
