
How to Cover Furniture with Vinyl Wrap Step by Step


Clean and sand the surface, pick a 3 to 5 mil self-adhesive vinyl, apply it with the hinge method, then heat the corners and trim. Here is the full routine that turns tired furniture into a piece that looks factory-fresh.
To cover furniture with vinyl, prep first: clean, sand, and dry the surface so the adhesive grips. Choose a 3 to 5 mil self-adhesive vinyl, cut it with about 3 cm of overhang, then apply with the hinge method and squeegee from the center outward. Heat corners and curves so the film wraps without bunching, trim with a fresh blade, and let it cure for 24 to 48 hours. Proper prep is what gives you a smooth, durable finish.
Quick tips
Quick tips for covering furniture with vinyl
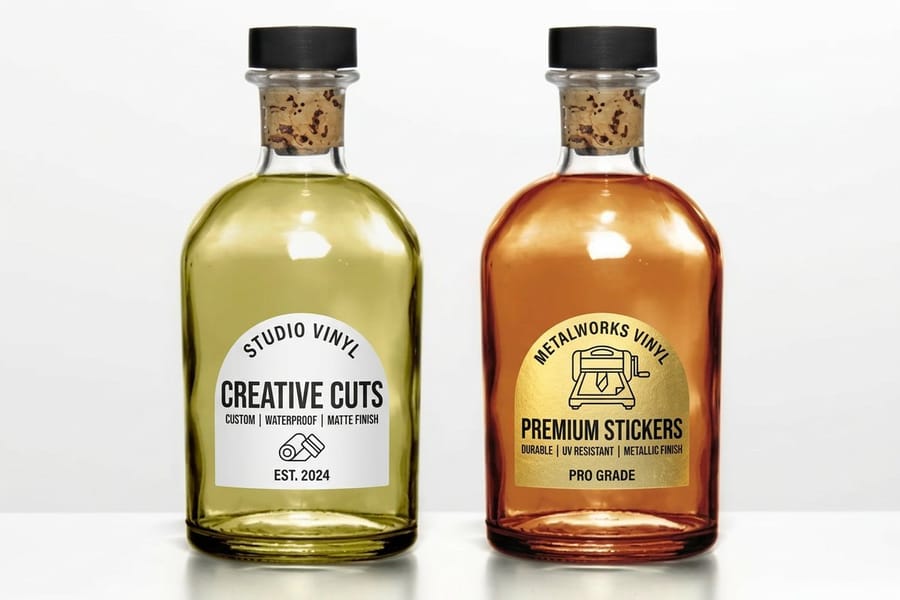
Cover furniture with vinyl in six moves. Clean and sand the surface, pick a 3 to 5 mil self-adhesive vinyl, measure with overhang, apply with the hinge method, heat the corners, then trim and cure for 24 to 48 hours. Prep is the step that decides whether your wrap looks factory-fresh or peels within a week.
Watch it printed
See die-cut stickers on the press, in 124 seconds
Give old furniture a fresh look with vinyl
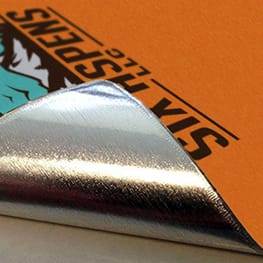
Vinyl wrapping is not just for cars anymore. It is one of the fastest, most affordable ways to breathe new life into tired tables, cabinets, desks, and countertops. Whether you are covering a scratched-up dresser or rebranding a retail display, vinyl gives you a clean, polished result without the mess of paint or the cost of replacement.
Learning how to cover furniture with vinyl can save you hundreds of dollars compared to buying new pieces. 4OVER4.COM has printed more than 10 billion products since 1999, and that deep print expertise extends to custom vinyl material built for furniture projects. Every order is backed by our 5 Gold Guarantees, so the material you get actually sticks and stays put.
This guide walks you through every step, from surface prep to final trimming. You will also find tips on adding functional touches like scannable codes with our free QR Code Generator for branded furniture pieces. Let us get into it.
What a furniture vinyl wrap can do besides hide scratches
Most people reach for a furniture vinyl wrap to cover a worn top. The film earns its keep in a few other jobs too, and knowing them changes which vinyl you buy.
- Try a color before you commit. A calendered wrap on a cabinet door shows you how a navy or a sage reads in your light for a few years, and it lifts with a hair dryer when you change your mind.
- Dress a rental or a set. Wrapped counters and desks go back to bare laminate at move-out, which paint never does.
- Refresh a kitchen without a contractor. Cabinet fronts, a fridge door and a bullnose counter edge are flat or gently curved surfaces that cast film handles well.
- Turn a table into a tool. Dry erase vinyl makes a meeting table writable, and frosted etched vinyl gives a glass shelf privacy without replacing the glass.
- Brand a fixture. A printed panel on a reception desk or a trade show table carries a logo, a pattern or a QR code, and a set of die-cut stickers from $93.37 handles the smaller accents.
Every one of these is easier, cheaper and more reversible than buying, painting or replacing the piece, which is the whole case for vinyl.
Choose the right vinyl for your furniture

Not all vinyl is created equal. For furniture, you want a self-adhesive vinyl with a thickness between 3 and 5 mil. Thinner vinyl tears easily during application. Thicker options are harder to work around corners. Matte finishes hide imperfections better, while gloss finishes make color pop but show every fingerprint and dust speck.
Consider the furniture's purpose. A kitchen table needs waterproof, scratch-resistant vinyl. A decorative shelf can get away with thinner, more affordable material. For pieces that see heavy daily use, look for vinyl rated for high-traffic surfaces.
If you are working on a branded project like wrapping a reception desk or a trade show table, 4OVER4.COM custom printing lets you match exact brand colors and add logos. Order our free samples to feel the material quality before you commit to a full project.
Cast versus calendered vinyl
Calendered vinyl is the cheaper, thicker film that suits flat panels and short-term projects, while cast vinyl is thinner, more stable and conforms to curves and edges without lifting, which is what you want on a rounded chair or a cabinet with a profiled front.
| Film | Thickness | Conformability | Expected life indoors | Cost |
|---|---|---|---|---|
| Calendered | Around 3 to 4 mil | Flat panels, gentle curves, straight edges | 3 to 5 years | Lower per square foot |
| Cast | Around 2 mil | Rounded corners, recesses, profiled fronts | 5 to 8 years | Higher per square foot |
A flat desktop or a plain cabinet side takes calendered film without complaint. A curved chair back, a bullnose counter edge, or a drawer front with a routed profile is where calendered film starts pulling away from the corner a week later, and cast film does not.
Vinyl wrap materials for furniture, what to buy
These are the 4OVER4.COM vinyl materials that work on furniture, and where each one fits.
- Front adhesive vinyl sticks from the printed face, so it is the pick for glass table tops and glass cabinet doors where the design has to read from the other side.
- Clear adhesive vinyl leaves the wood grain or the painted color showing through, which suits a logo or a pattern laid over a finish you want to keep.
- Frosted etched vinyl gives glass shelves and cabinet fronts an acid-etched look without touching the glass.
- Dry erase vinyl turns a table top or a cabinet panel into a writable surface, useful on meeting tables and kids furniture.
- Decals and die cut stickers handle the accent work, a monogram on a drawer front or a set of numbers on lockers, instead of a full panel wrap.
Gather your tools before you start

Having everything within arm's reach prevents sticky situations, quite literally. Here is what you want on the table before you peel a single backing sheet.
- Squeegee or flat plastic card for smoothing out bubbles.
- Sharp utility knife or precision blade because dull blades cause ragged edges.
- Metal ruler or straight edge for clean, accurate cuts.
- Heat gun or hair dryer to soften vinyl around curves and edges.
- Spray bottle with soapy water so you can reposition during wet application.
- Measuring tape because you measure twice and cut once.
- Microfiber cloths for cleaning and drying the surface.
Skip the household scissors. They create uneven edges that are impossible to hide once the vinyl is down. A fresh blade in your utility knife makes all the difference.
Prepare the surface properly

This is where most DIY projects fail. Vinyl sticks to smooth, clean, dry surfaces. It does not stick to textured wood grain, fabric, or flaking paint. Full stop.
Sand rough surfaces with 220-grit sandpaper until they feel smooth to the touch. Wipe away all sanding dust with a damp microfiber cloth, then wipe again with a dry cloth. Any leftover dust particles create bumps under the vinyl that only get more noticeable over time.
For glossy or varnished furniture, a light scuff with fine sandpaper gives the adhesive something to grip. Clean the surface with isopropyl alcohol after sanding to remove oils from your hands and any residue from cleaning products. Let it dry completely, because even slight moisture trapped under vinyl leads to bubbling within days.
Measure and cut with extra room

Measure each surface of the furniture piece individually. A dresser top, front face, and sides are separate cuts, so do not try to wrap everything with one sheet unless you are experienced.
Add at least 3 cm, about 1.5 inches, of extra material on every side. This overhang gives you room to adjust alignment and wrap neatly around edges. You trim the excess after application. Cutting vinyl to exact size before applying almost always leaves gaps or short edges.
Use a metal ruler and a sharp blade on a cutting mat. Mark your measurements on the backing paper side with a pencil, because marks on the vinyl face are permanent. Our guide hub has more precision-cutting walkthroughs, and if you print alongside your wrap you may find how to make flyers helpful for layout and trimming principles.
Apply the vinyl without bubbles
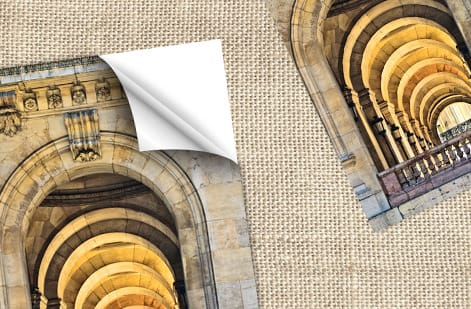
Here is where patience pays off. Do not peel the entire backing off at once. That is the fastest route to a wrinkled mess.
The hinge method works best. Peel back about 5 cm of backing from one edge. Align that exposed edge precisely with the furniture edge and press it down firmly with your squeegee. Now slowly peel the backing away while you press the vinyl down with the squeegee in smooth, overlapping strokes.
Work from the center outward toward the edges. Apply firm, even pressure and move slowly, because rushing creates air pockets that are hard to fix later.
The wet application method suits large flat surfaces. Spray a light mist of soapy water on the furniture before laying the vinyl. This lets you slide and reposition the vinyl before it grips. Once aligned, squeegee from the center outward to push water and air out. The vinyl bonds fully as the water evaporates over 24 to 48 hours.
Small bubbles under 1 cm often disappear on their own within a few days. Larger bubbles need attention. Prick them with a pin at a 45-degree angle, then press flat with your squeegee.
Handle edges, corners, and curves
This is where your heat gun earns its spot on the tool list. Vinyl becomes pliable when heated to around 150 to 170 degrees Fahrenheit, which is 65 to 75 degrees Celsius. Keep the heat gun moving, because holding it in one spot melts or warps the vinyl.
For 90-degree edges, heat the overhanging vinyl, fold it around the edge, and press firmly. For inside corners, make a small relief cut at the corner point so the vinyl folds neatly without bunching. For rounded corners, apply heat in short bursts while you stretch the vinyl gently around the curve, tucking and pressing as you go.
Trim excess vinyl with your utility knife held at a shallow angle against the furniture edge. A fresh blade is non-negotiable here, because a dull blade tears vinyl instead of cutting it cleanly. Precision matters as much here as it does when you learn how to fold a brochure or when you make custom magnets.
Finishing touches and maintenance

After application, go over the entire surface one more time with your squeegee. Pay extra attention to edges and seams, because this final pass locks everything down.
Let the vinyl cure for 24 to 48 hours before you place heavy objects on it or clean it. During this time the adhesive reaches full bond strength. Avoid exposing newly applied vinyl to extreme heat or direct sunlight while it cures.
For ongoing care, clean vinyl-wrapped furniture with a damp microfiber cloth and mild soap. Avoid abrasive cleaners, acetone, or anything with ammonia, because these break down the adhesive and dull the finish over time. For more upkeep tips on your creative projects, read our guide on how to clean rubber stamps.
Adding custom branding to vinyl-wrapped furniture
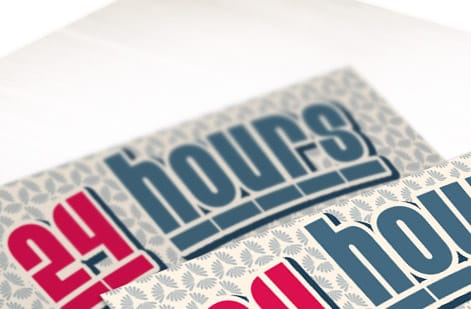
If you are wrapping furniture for a business, think retail displays, event tables, and reception desks, custom-printed vinyl takes the project to another level. 4OVER4.COM prints bright, full-color vinyl that holds up to daily wear.
You can also pair vinyl-wrapped furniture with complementary print materials. Custom stickers, branded envelopes, and coordinated signage create a cohesive look. Our guide on how to make envelopes covers branded stationery that matches your wrapped-furniture aesthetic.
Want the artwork done for you? Build your panels in the browser with our online designer, then send them straight to print on die-cut stickers cut to any shape your furniture needs.
Best vinyl products for your furniture project
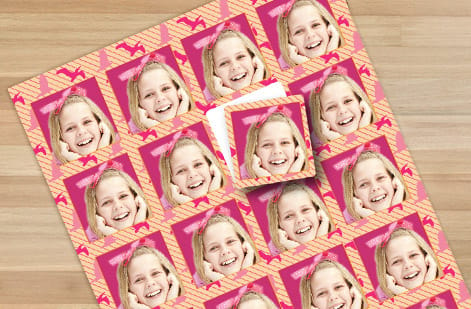
When you are ready to cover furniture with vinyl, the right material makes the job easier and the results more durable. 4OVER4.COM offers custom die-cut stickers and custom vinyl prints that work beautifully for accent details, branded panels, and decorative elements on wrapped furniture.
- Solid color vinyl wraps come in a wide array of colors and work well for clean, simple updates. A bright blue or pastel pink wrap can completely transform a dull side table.
- Wood grain vinyl wraps replicate real wood textures and offer an affordable way to get rustic or traditional looks on cabinets and shelves.
- Metallic vinyl wraps add a modern, futuristic touch that suits accent pieces like bar carts and coffee tables.
With more than 10,000 reviews and a 4.8 out of 5 star rating, 4OVER4.COM customers trust the print quality for projects that need to look sharp and last. Browse the full range in sticker printing or the wider sticker and label printing lineup.
Mistakes that ruin vinyl furniture projects

Even experienced DIYers make these errors when they learn how to cover furniture with vinyl. Avoid them and you save material, time, and frustration.
- Skipping surface prep. Dust, moisture, and oils cause bubbles and peeling within days. Clean and dry every time, no shortcuts.
- Peeling all the backing off at once. The vinyl sticks to itself, wrinkles, and becomes unusable. Peel gradually as you apply.
- Using dull blades. Ragged cuts along edges look amateur and start peeling first. Swap blades often.
- Applying to textured or porous surfaces. Vinyl needs smooth surfaces. Raw wood, fabric, and heavily textured paint will not hold adhesive.
- Overheating with the heat gun. Too much heat warps, melts, or discolors vinyl. Keep the gun moving and use short bursts.
- Not leaving overhang for trimming. Cutting vinyl to exact size before applying almost always leaves gaps. Add 3 cm minimum on every side.
4OVER4.COM has helped more than 150,000 businesses with custom print and vinyl projects. That experience shows in the material quality, because proper vinyl from a trusted printer applies easier and lasts longer than bargain-bin alternatives.
Wally explains vinyl wraps
Prep beats product every single time
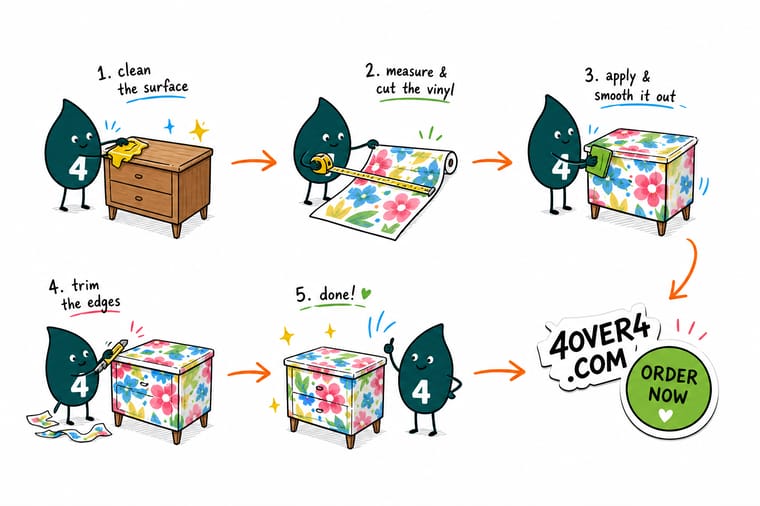
Wally treats furniture like a giant sticker: the surface has to be clean, dry, and smooth or nothing sticks for long. Sand it, wipe it, and squeegee from the center out with the hinge method, and a tired dresser reads brand new. For branded panels and accents, skip the hardware-store roll and order custom-printed vinyl cut to your exact shape at 4OVER4.
Configure custom vinyl stickers →Blank templates
Free blank templates to start your project
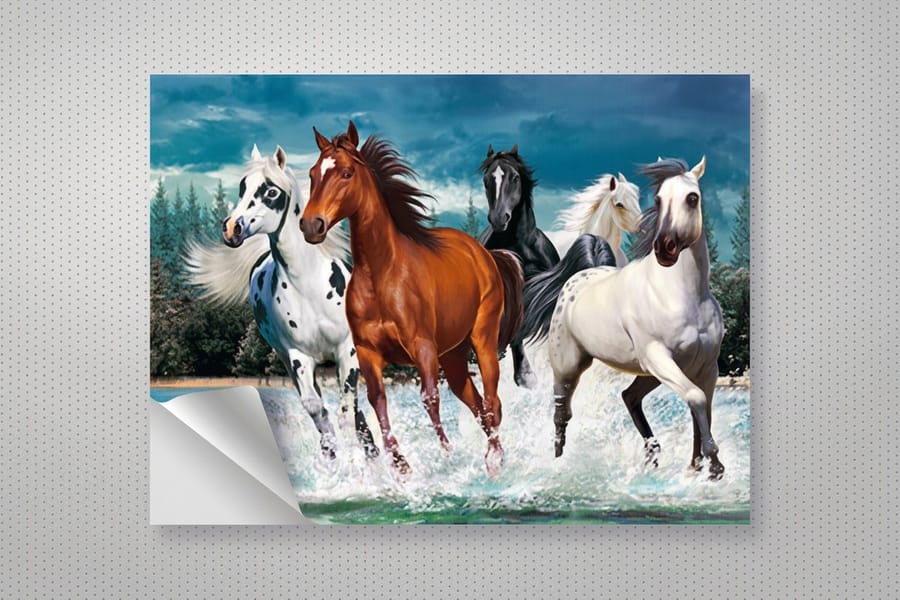
Grab a print-ready blank, drop in your design, and match your wrapped furniture with coordinated custom stickers.

Specs and pricing
Custom die-cut vinyl sticker specs and pricing
When you want custom-printed vinyl for accent panels, logos, or full furniture wraps, here is what a made-to-order die-cut sticker gives you at 4OVER4.COM, with live specs and price-per-unit straight from the configurator.
| Quantity | Price Per Unit | Total |
|---|---|---|
| 25 | $3.73 | $93.37 |
| 50 | $1.91 | $95.56 |
| 100 | 100.0¢ | $99.95 |
| 200 | 56.3¢ | $112.59 |
| 300 | 41.4¢ | $124.13 |
| 400 | 33.9¢ | $135.65 |
| 500 | 29.2¢ | $146.10 |
| 600 | 26.4¢ | $158.17 |
Print it
Order custom vinyl and stickers at 4OVER4
See it in use
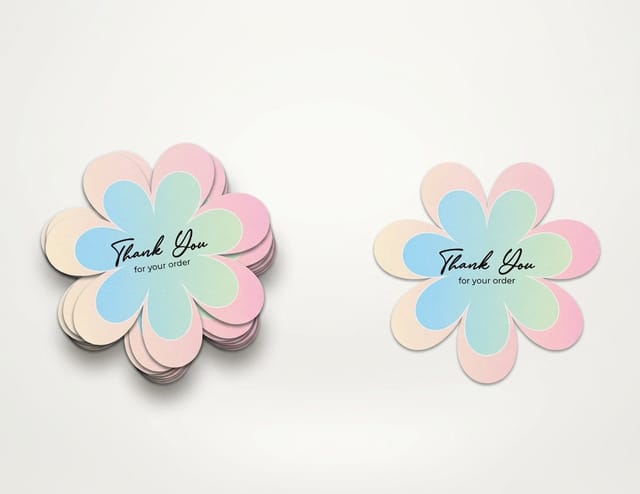
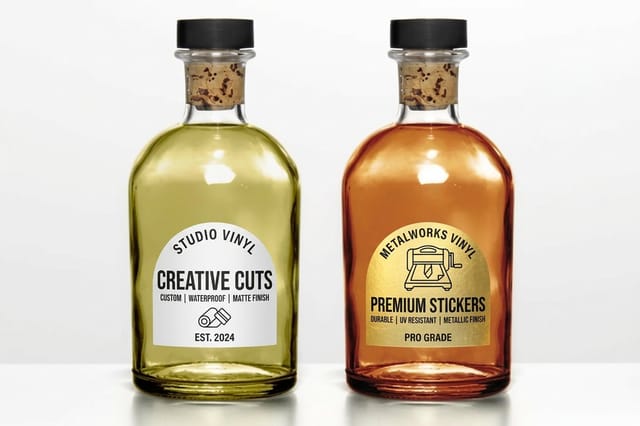
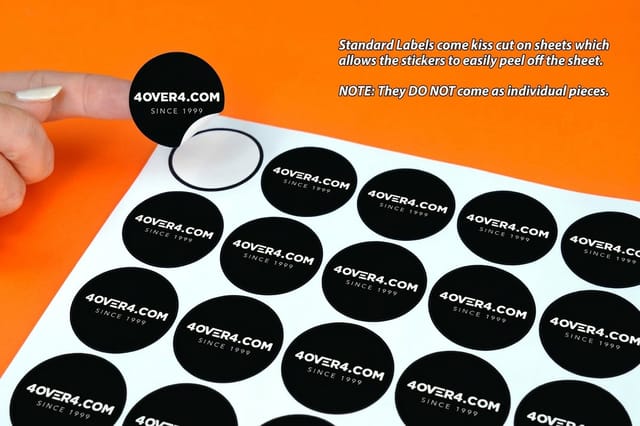
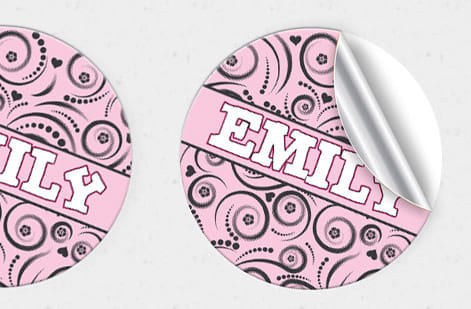
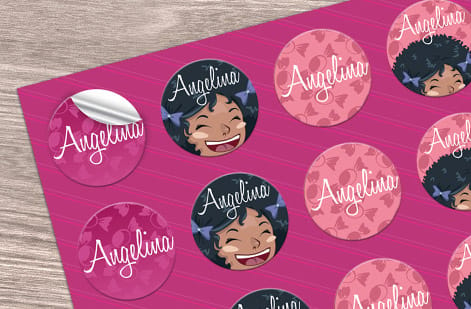
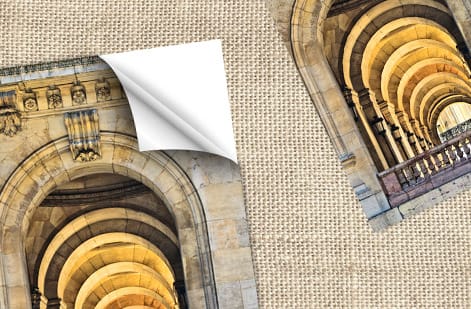
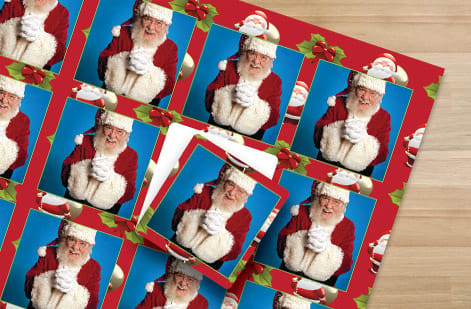
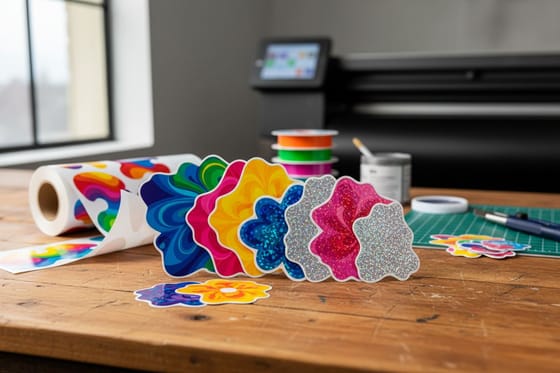
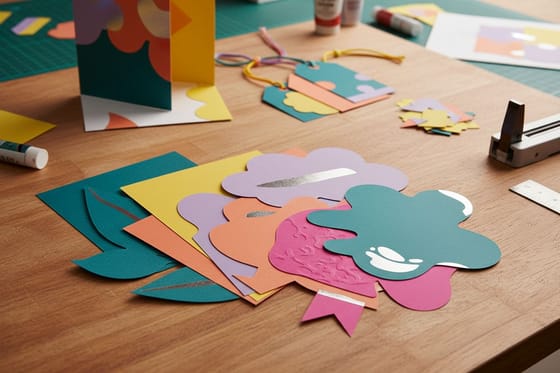
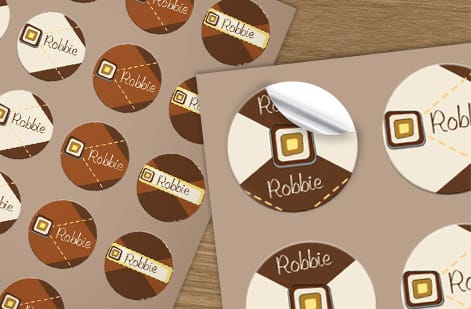
Custom vinyl work from customer orders




Explore more
Where to go next



By the numbers
Prints since 1999, and the years of vinyl work behind them
Common Questions
Common questions about covering furniture with vinyl
Can you vinyl wrap kitchen cabinets and countertops?
Yes, and kitchens are where furniture vinyl wrap gets the most use. Cabinet fronts are flat or gently profiled, so calendered film covers a plain door and cast film handles a routed or curved front. A countertop needs a waterproof, scratch resistant vinyl rated for high traffic, a full wipe with isopropyl alcohol before it goes down, and a 24 to 48 hour cure before you set a hot pan or a wet dish on it. Keep the seam away from the sink edge and the wrap will outlast most rental leases.
Is vinyl wrap cheaper than replacing or painting furniture?
Almost always. A wrap costs the film plus an afternoon, a new piece costs the piece, and paint costs primer, two coats, drying time and a sanded surface that never quite goes back. Against buying new, a wrap saves hundreds of dollars on a dresser or a desk, and it comes off cleanly with heat when you want the original finish back, which paint cannot offer. The one case where paint wins is a heavily carved or raw wood piece, because vinyl needs a smooth sealed surface to bond.
What type of vinyl works best for covering furniture?
Self-adhesive vinyl between 3 and 5 mil thickness works best for furniture. Matte finishes hide surface imperfections, while gloss finishes deliver bolder color. For high-use surfaces like tables and countertops, choose vinyl rated for scratch and water resistance. Custom vinyl prints from 4OVER4.COM give you exact color matching for branded furniture pieces.
Can I remove vinyl from furniture later without damage?
Yes. Most quality adhesive vinyl removes cleanly when you heat it with a hair dryer or heat gun. Apply heat on a low setting, then peel slowly at a 45-degree angle. Any leftover adhesive comes off with rubbing alcohol or a citrus-based remover. Cheaper vinyl tends to leave more residue behind.
How long does vinyl last on furniture?
Quality vinyl on properly prepared furniture lasts 3 to 7 years with normal use. Indoor pieces last longer than outdoor ones. Keep vinyl-wrapped surfaces out of direct sunlight for long stretches because UV exposure fades color over time. Regular cleaning with mild soap extends the life of your wrap.
Does vinyl work on all furniture materials?
Vinyl adheres best to smooth, non-porous surfaces like laminate, metal, glass, and sealed wood. It does not stick well to raw wood, fabric upholstery, or heavily textured surfaces. Sand and seal rough surfaces before applying vinyl for the best results.
Can I add QR codes or branding to vinyl-wrapped furniture?
Absolutely. Custom-printed vinyl with logos, patterns, or QR codes is perfect for branded retail displays, event tables, and office furniture. Use the free 4OVER4.COM QR Code Generator to create scannable codes that link to menus, promotions, or contact info right on your furniture surface.
What kind of vinyl do you use to wrap furniture?
Self-adhesive vinyl, either calendered or cast. Calendered film runs about 3 to 4 mil and handles flat panels like desktops and cabinet sides. Cast film is thinner, around 2 mil, and conforms to rounded corners, bullnose edges, and routed drawer fronts without lifting. For glass, front adhesive vinyl and frosted etched vinyl are the two that behave properly. Pick matte if the piece has surface flaws, gloss if you want the color to carry.
How long does vinyl wrap last on furniture?
Indoors, calendered vinyl on a properly cleaned and sanded surface holds 3 to 5 years, and cast vinyl holds 5 to 8. Sunlight is the main enemy, so a piece sitting in a south-facing window fades sooner than one in a hallway. Cleaning with a damp microfiber cloth and mild soap rather than abrasives or ammonia is what stretches the wrap to the top of that range.
How do I fix air bubbles after applying vinyl to furniture?
Small bubbles under 1 cm often disappear on their own within 48 hours. For larger bubbles, prick the center with a fine pin at a 45-degree angle, then press flat with a squeegee working outward from the puncture. Prevention beats fixing, so use the hinge method and squeegee firmly during application.
Get Started
Ready to print custom vinyl for your furniture?
Pick your shape and size, drop in your logo or pattern, and we print bright, durable vinyl that wraps clean and lasts for years.
Legal Disclaimer
Gold Standard guarantees apply to all standard orders placed through 4over4.com. Price match requires verifiable proof of a competitor's published price for an equivalent product with matching specifications and turnaround time. Satisfaction guarantee covers manufacturing defects and print quality issues. Contact support with order number and documentation. On-time delivery rate based on tracked orders 1999 to 2026. Individual results may vary based on shipping carrier performance.
