
How to Put a Poster on a Wall Without Damage


Your poster deserves better than crooked tape. Match the method to your wall type and the poster weight, and you get a clean, level display that holds. Here is every reliable way to put it up, from damage-free putty to a permanent frame.
To put a poster on a wall without damage, match the method to the wall and weight: use poster putty for light paper on smooth painted walls, removable adhesive strips for heavier or mounted prints, and a frame or magnetic rail for a permanent, polished look. Clean the wall with rubbing alcohol first, then set the center of the poster near eye level, about 57 to 60 inches from the floor, and check it with a level.
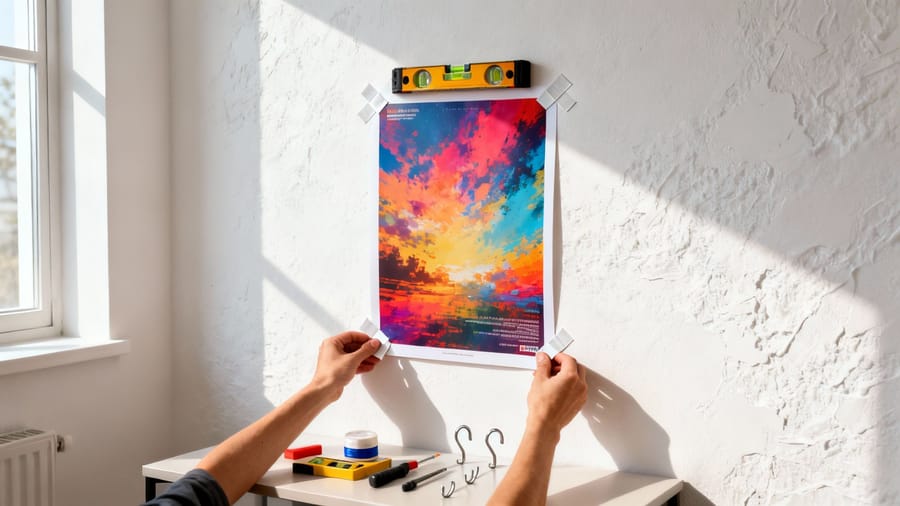
Quick tips
Quick tips for hanging posters without the headache
Knowing how to put a poster on a wall comes down to three things: your wall type, the poster weight, and how long you want it up. Temporary putty and washi tape suit rentals, removable strips handle medium-weight prints, and frames or mounting hardware hold permanent displays. Clean the wall first, hang the center near eye level, and check the level. 4OVER4.COM has printed billions of cards and prints for over 150,000 businesses, so we know how to make a print look its best once it is on display.
Watch it printed
See standard posters on the press, in 145 seconds
Brief instructions
The short version
Clean the wall with rubbing alcohol and let it dry. Mark the center of the poster at 57 to 60 inches from the floor, then fix it with putty for light paper, adhesive strips for heavier prints, or a rail or frame for a permanent display. Check the level before you press the corners down.
What you need
- Removable poster putty, for light paper on smooth painted walls
- Removable adhesive strips, for heavier or mounted prints
- Magnetic poster rails, if you want to swap prints without touching the wall
- A frame in your poster size, for anything permanent
- Washi tape, for a decorative border that peels off clean
- A tape measure
- A spirit level, or a level app on your phone
- Rubbing alcohol and a lint-free cloth, to clean the wall first
- A soft cloth, for smoothing the poster down from the center out
Start by reading your wall

Before you reach for tape or a hammer, read the wall. Every surface behaves differently, and the right hanging method starts with knowing what you are sticking to. Painted drywall is the most forgiving, so most adhesives and light hardware hold well. Brick and concrete are stubborn, so they call for clips or adhesive hooks rated for rough, porous surfaces. Glass and tile want suction cups or smooth-surface adhesive strips, and textured plaster sits in the middle, often rejecting flat tape but gripping poster putty nicely.
Run your hand across the surface. If it feels bumpy or uneven, a flat adhesive strip cannot make full contact, and your poster will drift to the floor within a week. Smooth, fully cured walls give you the widest set of options. Freshly painted walls need at least a week to cure before anything touches them, because the soft finish releases adhesives early.
Getting this first step right saves a lot of frustration later. If you like to plan a project before you start, the 4OVER4.COM printing guide hub walks through dozens of other print jobs the same careful way, from setup to finish.
How to flatten a curled poster first

A poster that ships in a tube arrives with a memory of that tube. Hang it curled and the corners lift off the wall within days no matter what is holding them. Flatten it first and every method that follows works better.
Roll it backwards. Take the poster and roll it loosely the opposite way to its curl, print side out, then hold it for a minute or two and let it go. Loosely is the word that matters. A tight reverse roll creases the paper and you trade a curl for a crease, which is worse.
Then weight it overnight. Lay the poster face down on a clean flat surface, cover it with a sheet of clean paper, and set heavy books across the whole surface rather than just the corners. Leave it overnight. By morning the paper has given up the curve entirely.
Never iron the printed face. A hot iron run directly on the print will scorch the ink, melt any coating and gloss the paper unevenly, and none of that comes back. If you have seen the trick suggested online, it is the fastest way to ruin a poster you paid for. Weight and time do the same job without the risk. Mounted posters skip all of this, since the rigid backing holds them flat from the day they arrive.
Hanging a poster step by step, whichever method you pick
The six methods below differ only in what holds the poster. The sequence around them is always the same, and skipping a step is what makes a poster fall down a week later.
- Wash your hands and clear the wall. Skin oil marks matte paper, and dust on the wall is what makes adhesive let go. Wipe the spot with rubbing alcohol and let it dry.
- Flatten the print. Reverse roll it loosely or weight it overnight under books, as above.
- Mark the position. Measure the wall, decide where the center of the poster sits, and put a pencil dot at the top center. Aim for the middle of the print at 57 to 60 inches from the floor.
- Fit the fastener to the poster first. Putty, strips or tape go on the back of the print, corners and mid-edges, while it lies face down.
- Hang from the top down. Line the top edge up with your mark, press the top corners, then smooth toward the bottom with a soft cloth so no air is trapped.
- Check the level and walk away. A phone level takes five seconds. Give adhesive an hour before the poster carries its own weight, overnight if you can.
Method 1: poster putty for a damage-free, temporary hold
Poster putty, sometimes sold as mounting putty or sticky tack, is the go-to for anyone who cannot leave a mark. It is the friendliest option for lightweight paper posters on smooth painted walls, which makes it a favorite in rentals, dorm rooms, and seasonal displays.
Tear off a piece about the size of a pea and roll it between your fingers until it turns warm and pliable. Press one piece onto each corner of the poster back, roughly half an inch from the edge. Then press the poster to the wall starting from the top corners and smoothing downward, holding each corner for about ten seconds so the warmth helps the putty bond. For anything larger than 18 by 24 inches, add putty to the midpoint of each edge so the center cannot bow outward.
One quick warning. Do not use too much. A thick glob actually holds worse than a thin, well-pressed piece, because it cannot spread the weight evenly across the wall.
Method 2: removable adhesive strips for medium-weight prints
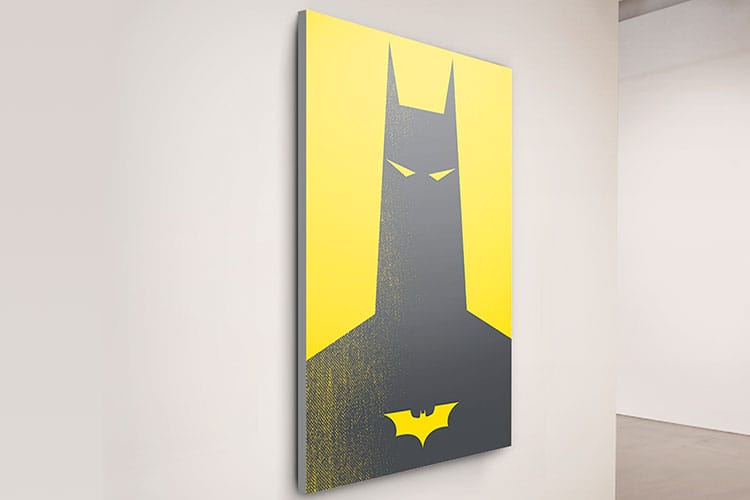
Removable adhesive strips are the sweet spot between temporary and permanent. Most pairs hold one to five pounds, far more than putty, and they peel away cleanly when you are ready for a change. That makes them ideal for heavier paper, laminated prints, office displays, and retail signage.
Clean the wall first with rubbing alcohol, and do not skip this. Dust and oils are the number one reason strips let go. Press one half of the strip to the poster back and the other to the wall, then hold firmly for thirty seconds. The package says wait an hour before the poster carries its own weight, but leaving it overnight gives a much stronger bond.
For heavier prints, place a pair at each corner plus one pair at the top center. A 24 by 36 inch mounted poster with foam core backing wants at least six strip pairs. That backing adds weight, but its flat, rigid face also gives the adhesive a perfect surface to grab.
How to hang a laminated poster
Lamination changes two things. The poster gets heavier, and both faces turn slick. Putty slides off a laminated back within days, and tape that would hold plain paper peels away from the smooth film. Treat a laminated print as a medium-weight piece and use removable adhesive strips, which bond well to the smooth surface once it has been wiped with rubbing alcohol.
Place a strip pair at each corner and one at the top center, and for anything past 18 by 24 inches add pairs at the midpoint of each long edge so the film cannot bow away from the wall. Press each pair for thirty seconds and leave the print overnight before you trust it.
Two alternatives suit laminated prints even better. A magnetic poster rail grips the top and bottom edges through the film and lets you swap the print in seconds, and a frame sized to the poster hides the laminated edge, which is the part that tends to look homemade. A laminated poster also wipes clean, so it is the right pick for a kitchen, a workshop or a classroom wall.
Method 3: poster rails and magnetic hangers

Magnetic poster rails clamp the top and bottom edges of your print between two slim strips of wood or metal. You hang the top rail from a single nail or hook, and the bottom rail adds just enough weight to keep the poster flat and free of wrinkles.
This is the method to reach for when you like to rotate art. You can swap prints in seconds without pulling any hardware out of the wall, and the finished look is about as clean as it gets, with no visible tape and none of the bulk of a frame. If you enjoy hands-on print projects, you might also like learning how to make flyers for your next campaign and hanging a fresh set on a rail as a rotating display.
Method 4: picture frames for a permanent, professional finish
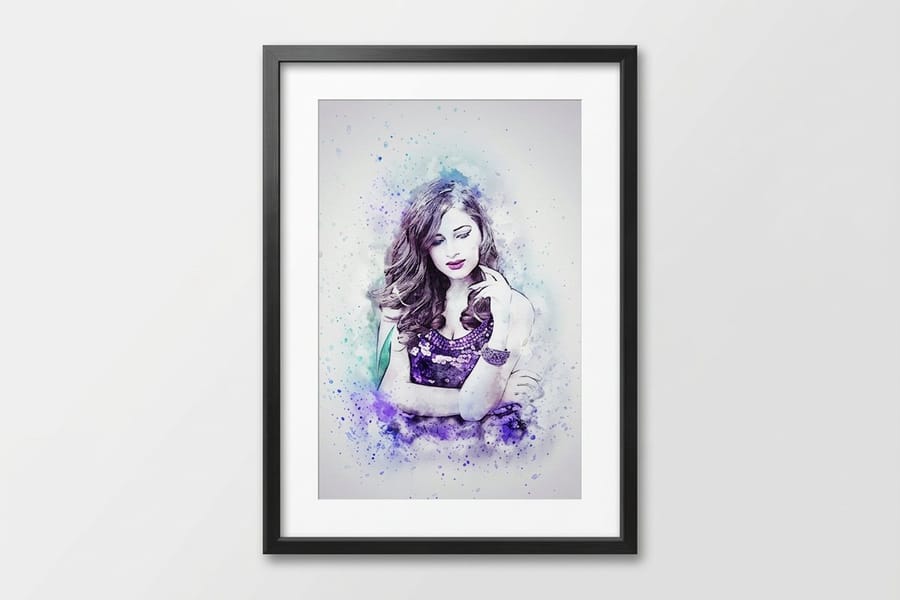
Framing is the gold standard. A frame shields your poster from UV light, moisture, dust, and accidental tears, and it instantly makes any print look more deliberate. Even a plain black frame turns a casual poster into a design choice. If you want the polished look without the DIY step, a ready-made framed poster arrives finished and ready to hang.
Match the frame size to the poster exactly. Standard sizes like 11 by 17, 18 by 24, and 24 by 36 have frames on every shelf, and custom sizes need custom frames that cost more but remove that awkward gap around the edge. For mounting, screw D-ring hangers into the back of the frame and connect them with picture wire. Find a stud with a stud finder, or use a wall anchor rated for the total weight, since a 24 by 36 framed poster often runs five to ten pounds depending on the frame and glass.
Measure twice, mark the nail point with a pencil, hang the frame, then check it with a small level. Nothing spoils a professional display faster than a frame that leans two degrees off. Precision matters in every format, which is exactly why our how to fold a brochure guide sweats the same small details. Every print is backed by our price match guarantee, so the quality you frame is quality you paid a fair price for.
Two ways to make framing easy on yourself. Order a poster sized to a standard frame, 11 by 17, 18 by 24 or 24 by 36, and any off-the-shelf frame fits without a custom mat. Or skip the hardware store entirely and order framed prints ready to hang, which arrive assembled with the hanging hardware already on the back.
Method 5: washi tape and decorative tape
Washi tape is not trying to hide. It is part of the look. Use it to lay an X across the poster, frame the edges in a contrasting color, or pin just the corners with small diagonal strips. It peels off most surfaces without damage, though it is worth testing a hidden spot first on delicate or matte paint.
This method will not hold heavy or oversized prints, so stick to standard paper posters under 18 by 24 inches and accept that the tape shows. That visibility is the whole point, and it adds real personality to a casual wall. If you are building a coordinated wall of prints and mailers, our how to make envelopes guide helps you match the stationery to the display.
Method 6: nails and push pins

Sometimes the simplest answer is the right one. A single finishing nail at the top center, or push pins at all four corners, will hold a poster reliably for years. The trade-off is honest, since you get small holes in both the wall and the print. Angle the nail slightly upward, about fifteen degrees, so gravity pulls the poster against the head instead of sliding it off.
The hardware you choose depends on what is behind the paint. In ordinary drywall, a picture-hanging hook and nail handles most framed posters under ten pounds. Plaster is harder and more brittle, so drill a small pilot hole and add a plastic anchor, or use a screw-in picture hook rather than hammering. For brick or concrete, aim for the softer mortar joints with a masonry nail, or drill with a masonry bit and set a wall anchor for a hold that will not budge.
Special care for 3D lenticular and mounted posters
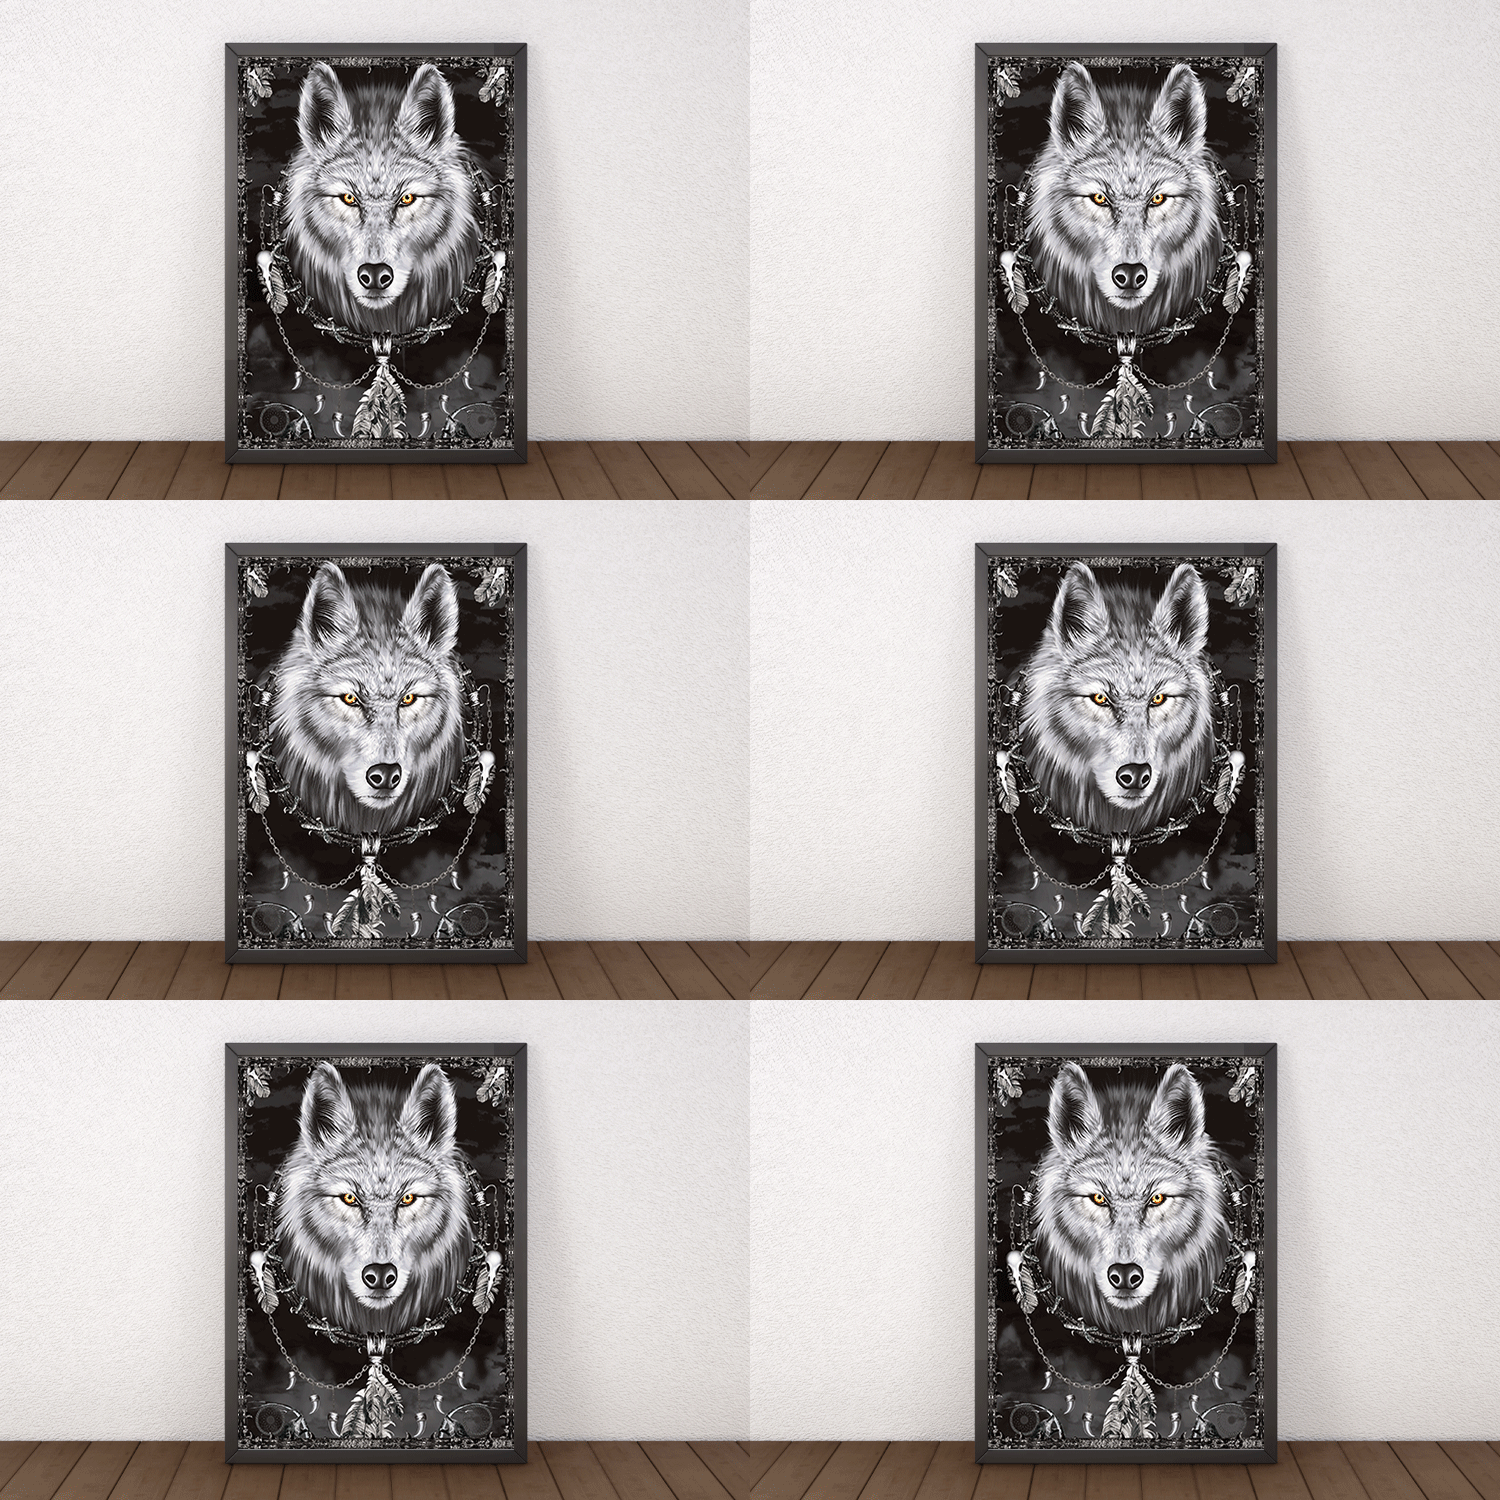
Not every poster is flat paper. 3D lenticular posters carry a rigid plastic surface that weighs more than a standard print, so they need proper wall anchors or adhesive strips rated for that weight. Putty alone will not hold them. You can preview the format and start a design from a free 3D lenticular poster template before you print.
Mounted posters with foam core or gator board backing are heavier and stiffer too. The good news is that their flat, rigid face bonds beautifully with adhesive strips. The catch is that they are too heavy for tape or putty, so plan on at least four pairs of heavy-duty removable strips or traditional picture-hanging hardware for a full-size mounted poster. If you want a reusable surface, a dry erase poster template is a fun starting point.
Some promotional prints skip the wall entirely. For pieces like custom magnets, the metal itself does the work, so they stick straight to filing cabinets and refrigerators with no hardware at all.
Position your poster for maximum impact

Placement matters as much as the method. The center of a single poster should sit at eye level, right around 57 to 60 inches from the floor. That is the gallery standard, and it reads just as well in a home or office. Above a desk or couch, drop it lower and hang it six to eight inches above the furniture instead.
For a group, plan the arrangement on the floor first. Measure your wall space and mark a matching outline with painter's tape, then start with your largest piece placed slightly off-center to keep the layout dynamic. Set the next-largest print diagonally across from it for balance, then fill the gaps with smaller pieces, keeping a steady two to three inches between every frame. Snap a photo of the floor layout and use it as your map when you start hanging.
Good light finishes the job. A picture light above a framed poster, or even a well-aimed desk lamp, makes the color pop. 4OVER4.COM posters are printed with vivid, press-ready ink, so give them the light they deserve.
Poster-hanging mistakes that ruin walls and prints

A few habits ruin posters and walls faster than dirty ink ever could. Skipping surface prep tops the list, because a dusty or oily wall lets adhesive fail within days. Wipe the area with rubbing alcohol first, and give extra attention to kitchens where airborne grease settles, high-traffic spots that collect fingerprints, and freshly painted walls that need a week to cure.
Reaching for regular scotch tape is the next trap. It yellows, dries out, tears poster corners, and pulls paint off on the way down, so leave it in the drawer now that putty and removable strips exist. Overloading adhesive strips is just as common. Every strip has a weight rating, and ignoring it does not make the poster lighter, so count on enough pairs for the real weight. Hanging in direct sunlight fades even premium ink over time, so choose a shaded wall or UV-protective glass. And never eyeball the level, because a phone level app takes five seconds and a crooked poster is the first thing every visitor notices.
Great hanging deserves a great print to hang. Design yours in the browser with the 4OVER4.COM online designer, and pick eco-conscious stock through our green printing program when you want quality that is easier on the planet. If you like a tidy, well-kept workspace, our how to clean rubber stamps guide is a good next read.
Wally explains poster hanging
The right method beats the strongest tape
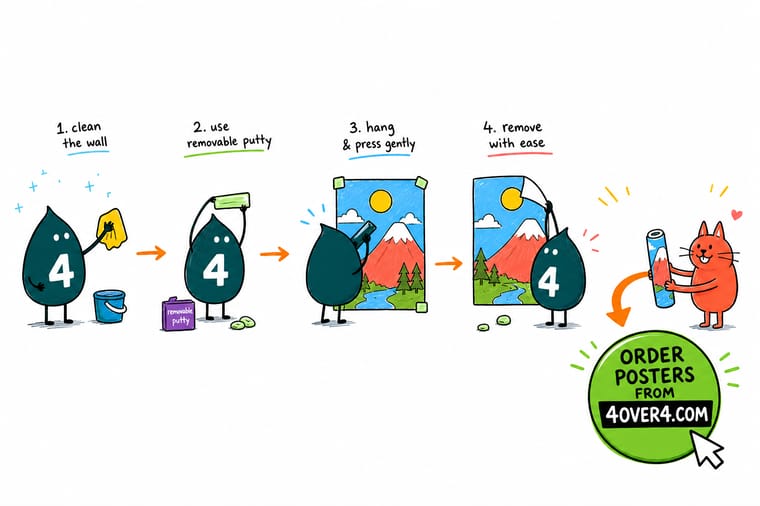
Wally treats every wall like a different customer: the drywall says yes to almost anything, the brick wants a real anchor, and the glass only trusts a smooth strip. Match the method to the surface and the weight, clean the wall first, then set the center at eye level and check the level. Do that and your poster hangs clean for years. When you need a print worth all that care, 4OVER4 makes posters with sharp, press-ready color built for the wall.
Order posters →Compare the methods
Which hanging method fits your wall
Weigh four things before you pick: the wall surface, the poster weight and size, how permanent you want it, and the look you are after. This table lines up the most common methods against each one.
| Hanging method | Best for | Permanence | Wall compatibility |
|---|---|---|---|
| Removable putty | Lightweight paper posters and short-term displays in dorms or kids rooms. | Temporary | Painted drywall, wood, glass, metal. Skip wallpaper. |
| Adhesive strips | Heavier paper and small laminated posters you want up for a while. | Semi-permanent | Most smooth, finished surfaces. Mind the weight limit. |
| Micro-suction tape | Delicate prints and glass, plus anything you reposition often. | Reusable | Glass, stainless steel, smooth plastic, mirrors. |
| Magnetic paint | A flexible gallery wall for very lightweight pieces. | Permanent base | Any paintable surface, paired with strong small magnets. |
Specs and pricing
Custom poster specs and pricing
Once you know how to hang it, here is what a fresh, made-to-order poster gives you at 4OVER4.COM, with live specs and price-per-unit straight from the configurator.

| Quantity | Price Per Unit | Total |
|---|---|---|
| 50 | $2.18 | $108.75 |
| 100 | $1.64 | $163.67 |
| 200 | $1.01 | $202.11 |
| 300 | 80.2¢ | $240.55 |
| 400 | 69.7¢ | $278.99 |
| 500 | 63.5¢ | $317.44 |
| 600 | 55.8¢ | $335.02 |
| 700 | 50.4¢ | $352.59 |
Print it
Posters worth putting on your wall



See it in use
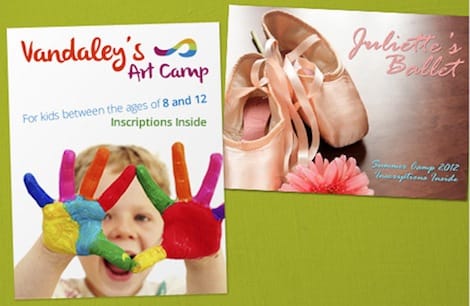
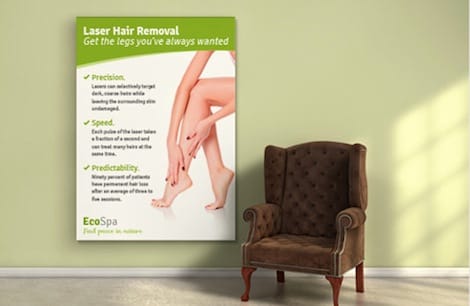
Posters customers hung in their own rooms


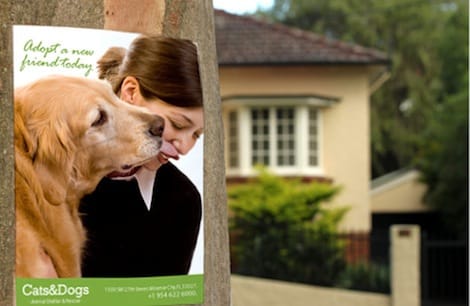
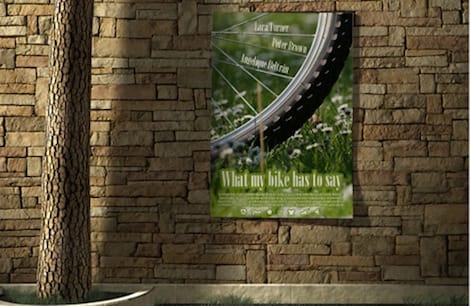


Explore more
Where to go next




By the numbers
Ten billion prints have come off these presses
Common Questions
Common questions about hanging posters
How can I put a poster on my wall?
Read the wall first, then match the method to it and to the weight of the print. On smooth painted drywall, poster putty holds a light paper poster and removable adhesive strips hold a heavier or laminated one. Brick and concrete want hooks or anchors in the mortar, and glass wants suction cups or smooth-surface strips. Clean the spot with rubbing alcohol, flatten the poster, set its center around 57 to 60 inches from the floor, and check it with a level before you press the corners down.
What can I use to stick a poster on the wall?
Poster putty, removable adhesive strips, washi tape, or hook-and-loop dots are the four sticking options that come off without damage. Putty suits light paper on smooth paint, strips carry heavier prints and hold one to five pounds per pair, washi tape is decorative and shows on purpose, and hook-and-loop dots let you take the poster down and put it back. Leave regular scotch tape and double-sided foam tape in the drawer, because both pull paint when they come off.
How to put an unframed poster on a wall?
Flatten it first, because a rolled poster hung curled lifts at the corners no matter what holds it. Then choose putty for a light paper print or removable adhesive strips for anything heavier, placed at the corners and the midpoint of each edge. Magnetic poster rails are the cleanest unframed look, since they clamp the top and bottom edges and hang from one nail. Keep an unframed print out of direct sun and away from a kitchen, where grease settles on bare paper.
What is the best way to hang a poster without damaging the wall?
Removable adhesive strips are the most reliable damage-free option. Clean the wall with rubbing alcohol first, press the strips firmly, and wait at least an hour before the poster carries its own weight. For lightweight paper posters, poster putty also works well on smooth painted surfaces.
Can I hang a heavy mounted poster with adhesive strips?
Yes, but you need heavy-duty strips rated for the poster weight. A 24 by 36 inch mounted poster usually needs six to eight strip pairs placed at all four corners and along the top and bottom edges. Always check the weight rating on the packaging before you commit.
How do I hang a poster on a brick or concrete wall?
Standard adhesive strips do not bond well to rough, porous surfaces. Use adhesive hooks made for brick, or drill into the mortar joints rather than the brick itself and insert small anchors. Magnetic poster rails hung from a single masonry hook also work well here.
Will poster putty leave marks on my wall?
On most standard latex-painted walls, poster putty removes cleanly. On flat or matte finishes it can leave a faint oily spot, so test a small piece in a hidden area first. If it marks the paint, switch to removable adhesive strips instead.
How do I keep my poster from curling at the edges?
Curling happens when only the corners are secured. Add putty or strips at the midpoint of each edge, not just the corners. For stubborn curl, gently roll the poster the opposite way and hold it for a minute before hanging. Mounted posters stay flat on their own because the rigid backing holds the shape.
What is the right height to hang a poster?
The gallery standard places the center of the poster at about 57 inches from the floor, which lands at comfortable eye level for most people. In hallways and standing areas this works perfectly. Above a desk or couch, hang it six to eight inches above the furniture instead.
Get Started
Ready to print a poster worth hanging?
Pick your size and stock, drop in your art, and we print a sharp, press-ready poster that earns its spot on the wall.
Legal Disclaimer
Gold Standard guarantees apply to all standard orders placed through 4over4.com. Price match requires verifiable proof of a competitor's published price for an equivalent product with matching specifications and turnaround time. Satisfaction guarantee covers manufacturing defects and print quality issues. Contact support with order number and documentation. On-time delivery rate based on tracked orders 1999 to 2026. Individual results may vary based on shipping carrier performance.
