
How to Print Photo Enlargements That Stay Sharp at Wall Size


The sizes your file will really carry, the dpi each viewing distance needs, and which of the five finishes suits the photograph you are enlarging.
Divide your photo pixel dimensions by the resolution the print needs, and that is your maximum enlargement in inches. A 4000 by 6000 pixel file is 13 by 20 inches at 300 dpi and 40 by 60 inches at 100 dpi, and both look sharp at the distance people actually stand from them. Choose the finish by how forgiving the file needs to be: canvas hides grain, acrylic magnifies it, and paper holds the most detail.

Quick answer
Pixels divided by dpi, then pick the surface
Your maximum enlargement is the pixel count divided by the dpi the print needs, and that dpi drops as the print gets bigger. A 24 megapixel photo makes a 13 by 20 inch print at 300 dpi, a 27 by 40 inch print at 150 dpi, and a 40 by 60 inch print at 100 dpi. All three read as sharp from the distance a print that size is viewed. What is left is the finish, and that is a question about the photograph rather than the wall: canvas forgives grain and softness, acrylic exposes both, and photo paper holds the most detail.
How Big Your File Will Actually Go

Divide the pixel dimensions of your photo by the resolution you want, and you have the print size in inches. That is the whole calculation, and it is worth doing before you fall in love with a size.
| Source file | Pixels | At 300 dpi | At 150 dpi | At 100 dpi |
|---|---|---|---|---|
| 12 MP phone photo | 3024 x 4032 | 10 x 13 in | 20 x 27 in | 30 x 40 in |
| 24 MP camera | 4000 x 6000 | 13 x 20 in | 27 x 40 in | 40 x 60 in |
| 45 MP camera | 5464 x 8192 | 18 x 27 in | 36 x 55 in | 55 x 82 in |
| 35mm film scanned at 3200 dpi | 3024 x 4535 | 10 x 15 in | 20 x 30 in | 30 x 45 in |
Two things fall out of that table. First, almost any camera made in the last decade can fill a wall; the limit people run into is far more often a heavy crop than the camera. Second, aspect ratio is the quiet problem. A 3:2 camera file does not fit a 16 by 20 inch frame, and a 4:3 phone file does not fit a 24 by 36 inch poster. Something gets cut, so decide what before we do it for you.
If your enlargement is going into a ready-made frame, work backwards from the opening rather than from the photo. The framed photo sizes guide lists the standard openings, and the blank template library has correctly sized layouts you can drop the image into before uploading.
The Resolution You Need Depends on How Close People Stand
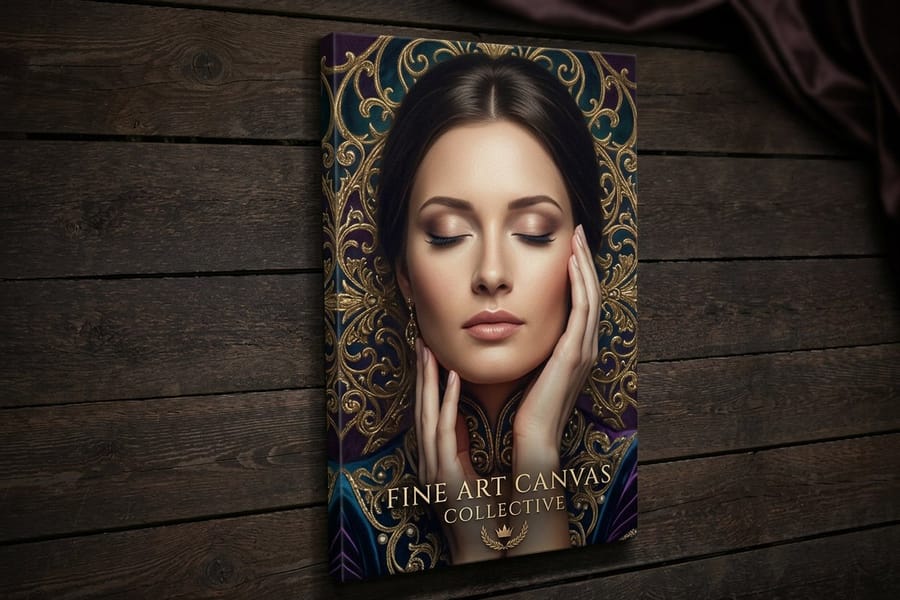
The 300 dpi rule came from things you hold: a book, a business card, a brochure at reading distance. Nobody reads a 30 by 40 inch print from 14 inches away, and applying reading-distance resolution to wall art is why people convince themselves their photo is not good enough to enlarge.
Here is the practical version. Under 16 by 20 inches, aim for 300 dpi, because a print that size does get picked up and examined. From 16 by 20 up to about 24 by 36, 200 dpi is honest. Above that, 150 dpi holds, and for anything read from six feet or more, 100 dpi is genuinely fine. Below 100 dpi, edges and any text in the image start to look soft, and no finish rescues it.
Upscaling deserves a straight answer. Modern resampling, including the machine-learning kind, does a good job on skin, sky and shallow depth of field, and a poor job on the fine repeating texture that makes a photo feel real: hair, brick, foliage, fabric weave. Doubling the linear dimensions of a file is usually invisible on a wall. Quadrupling it is not. Working from the original raw or the largest JPEG your camera saved beats any software step, and our guide to enlarging a photo without losing sharpness walks through the order of operations. If you are unsure what your file is holding, dpi explained covers how to read those numbers properly.
Poster, Mounted, Canvas, Framed or Acrylic
The surface changes the photograph more than most people expect. It changes how much detail survives, how much the image forgives, and how the print behaves once it is on a wall.
| Finish | Starts at | Best for | What it costs you |
|---|---|---|---|
| Matte poster | $25 | Testing a crop at full size, short-term display, gallery walls of many prints. | Paper curls and ripples above 16 by 20 inches, so it wants a frame. |
| Mounted print | $39.99 | Hanging a photo flat with no frame and no glass, straight from the box. | Corners and edges dent if the print is knocked or shipped badly. |
| Premium canvas | $59 | Portraits, landscapes, higher-ISO shots. The weave hides grain and softness. | The same weave eats fine detail, so architectural and product shots lose crispness. |
| Framed print | $73.57 | Photo paper behind a frame, finished in one order, ready to hang. | Glazing reflects, and the frame locks you into its aspect ratio. |
| Acrylic print | $152.72 | High-contrast color work. Deepest blacks and real physical depth. | Mirror-level reflections, and it magnifies noise, dust and any softness. |
Read the last column first, because that is where the decision lives. If the photograph is technically clean and you want every detail, go paper: a mounted print or a framed print. If the file is a little soft, a little noisy, or shot in poor light, canvas is the kinder surface and will make the same file look better. Acrylic is the opposite of forgiving, so send it your best capture only. There is a fuller side-by-side in the acrylic versus canvas comparison, and the paper question itself is covered in glossy versus matte poster paper.
Ordering an Enlargement That Looks Right on the Wall
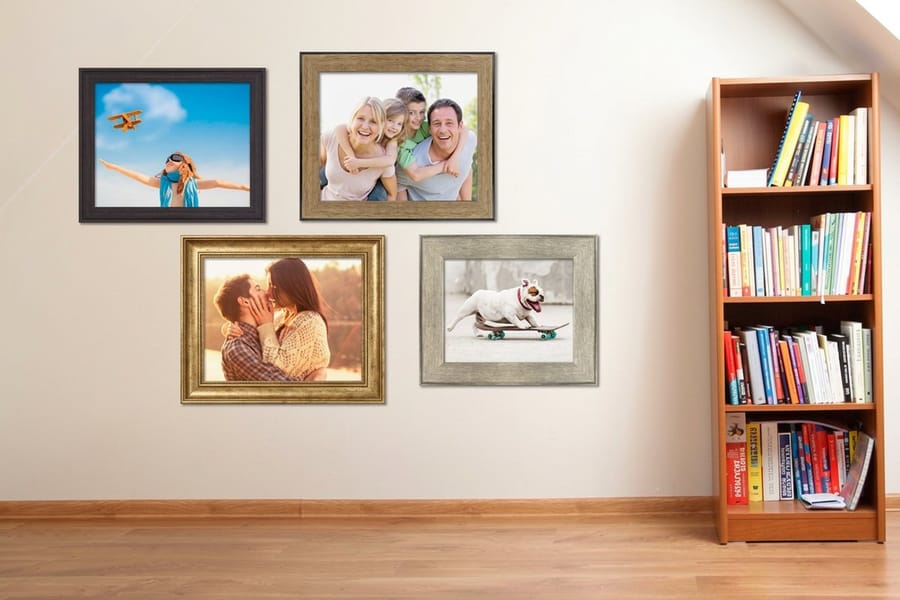
Size the print to the wall, not to the file. A single piece above a sofa reads well at roughly two thirds the width of the furniture, which for a standard 84 inch sofa means something in the 40 to 56 inch range. Over a fireplace, match the mantel width or come in slightly under it. In a hallway you pass at speed, smaller and repeated beats one large piece.
Then check three things in the file before uploading. Its pixel dimensions against the table above. Its aspect ratio against the size you are ordering, because the difference gets cropped from somewhere. And its color: send RGB, tagged sRGB or Adobe RGB, exported at full size with no resampling. Do not convert a photo to CMYK for an enlargement; that conversion throws away saturated blues and greens that the printer could otherwise reach.
One habit saves more reprints than anything else: order the small version first. A $25 matte poster of the same crop tells you whether the composition works at scale and whether your shadows print as heavy as they looked on screen, for a fraction of what a 40 inch canvas print costs. Once it is right, order the real one. To see every stock, size and finish side by side, browse poster printing, the canvas printing collection, or the wider posters and wall art range. Photographers selling their work should also look at the photography printing collection, and the damage-free hanging guide covers getting it onto the wall without holes.
Wally explains photo enlargements
Pixels divided by dpi, then step back
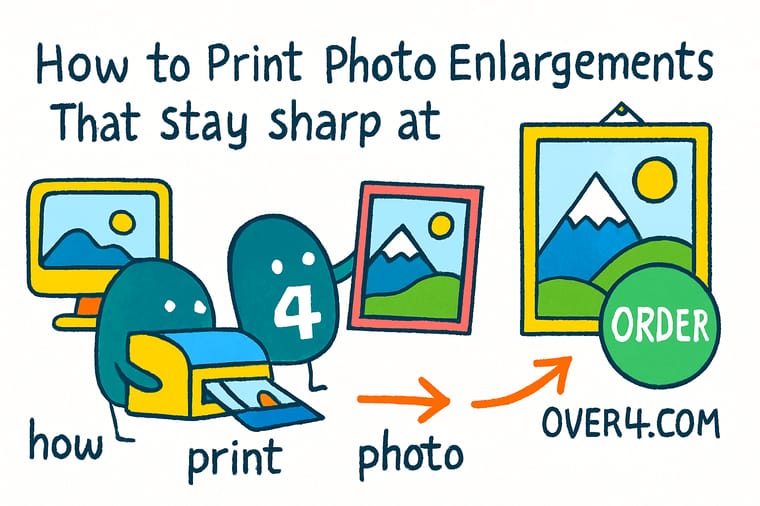
Wally takes your file, divides the pixels by the resolution the print needs, and reads the answer off in inches. Four thousand by six thousand pixels is thirteen by twenty inches at 300 dpi, or forty by sixty at 100. Then he steps back to the spot where you will actually stand and asks whether the difference is visible from there. Usually it is not, which is how a photo you thought was too small ends up filling a wall.
Order premium canvas prints →Specs and pricing
Enlargement sizes and starting prices
Mounted, canvas and framed side by side, with the live size options and starting prices straight from the 4OVER4.COM configurator.


Print it
Order your enlargement
Explore more
Where to go next
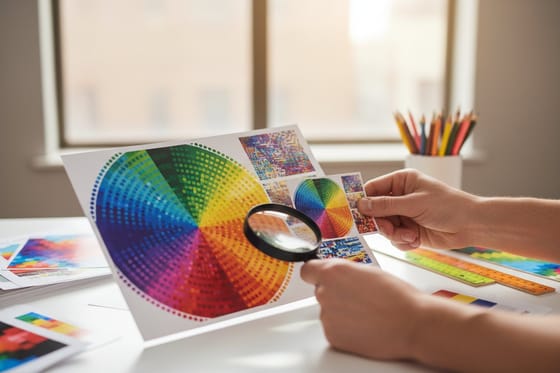
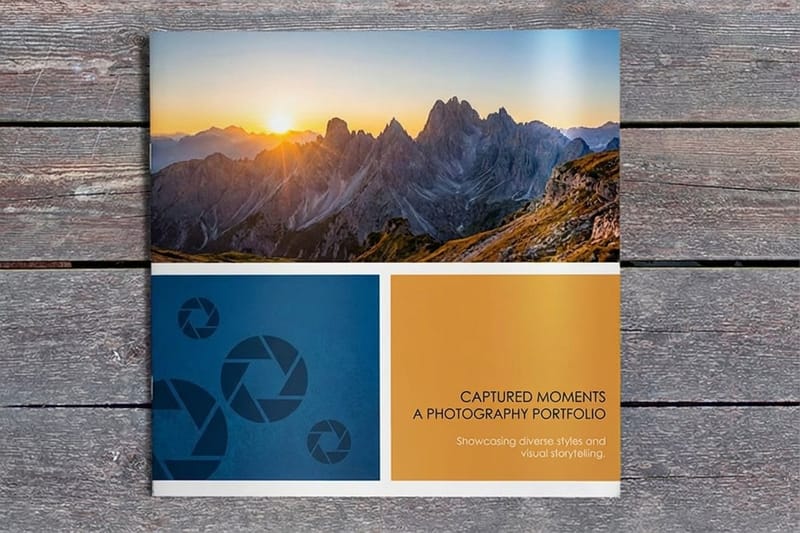
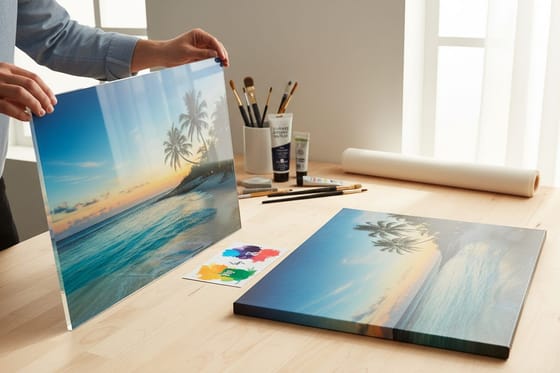
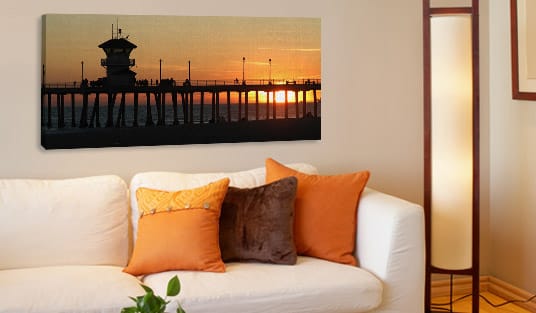
By the numbers
Photo enlargement work counted in years and products
Common Questions
Your photo enlargement questions, answered
What size can I print from a phone photo?
A modern 12 megapixel phone file is about 3024 by 4032 pixels, which is 10 by 13 inches at 300 dpi, 20 by 27 inches at 150 dpi, and 30 by 40 inches at 100 dpi. The 20 by 27 inch version is the sweet spot for most rooms: it fills a wall, and at normal viewing distance you cannot see the difference between it and a print from a full-frame camera. Where phone files fall down is not size but capture. Shots taken at night, at high zoom, or with heavy portrait-mode background blur carry processing artifacts that get much more obvious once enlarged.
Do I really need 300 dpi for an enlargement?
No, and insisting on it is the most expensive mistake in enlargement printing. The 300 dpi standard comes from material held at reading distance, roughly 12 to 18 inches. A 24 by 36 inch print is looked at from four to six feet, where 150 dpi resolves everything the eye can pick out. We print large photo enlargements at 150 dpi routinely and they look sharp. Below about 100 dpi you do start to see softness in edges and text, so that is the floor rather than 300 being the target.
Can you enlarge a small or old photo?
We can print anything you send, and upscaling software will fill in pixels convincingly for skin, sky and out-of-focus areas. What it cannot do is invent detail that was never captured, so a 600 by 800 pixel scan blown up to 24 by 36 inches will look painterly rather than photographic. If the original is a print or a negative, rescanning it is worth far more than any software step: a flatbed scan of a 4 by 6 inch print at 1200 dpi gives you 4800 by 7200 pixels, which enlarges beautifully.
Which finish is best for a photo enlargement?
For a photograph with fine detail you want to keep, a mounted print or a framed print on photo paper holds the most detail. For a portrait, a landscape or anything shot at higher ISO, canvas is more flattering because the weave breaks up grain and softness. Acrylic gives the deepest blacks and the most physical depth, and it is the right call for high-contrast color work, but it reflects like a mirror so it needs a wall without a window opposite. Matte poster paper is the cheapest way to test a crop at full size before you commit.
Why does my enlargement look darker than it did on screen?
Screens emit light and paper reflects it, so a photo you edited on a bright monitor in a dark room usually prints heavier in the shadows. The fix is to brighten the shadow end slightly and check the file at 100 percent with your screen at a normal brightness rather than maximum. Matte and canvas surfaces show this most, because they have a shorter tonal range than gloss. If a specific shot matters, order a small print first and judge the real thing.
Should the file be RGB or CMYK for photo enlargements?
Send RGB. Photo enlargements are printed on wide-gamut inkjet equipment that reproduces more of an RGB file than a CMYK conversion would survive, and converting to CMYK first throws away saturated blues, greens and oranges you cannot get back. Tag the file with sRGB or Adobe RGB, export at full pixel size without resampling, and use a lossless format such as TIFF or PNG when the file allows it. For offset-printed products the answer is the opposite, which our color profile guide covers.
Get Started
Order the small matte version first, ready in 2 business days
Upload the largest file you have, pick a size that suits the wall, and choose the finish that suits the shot. We print, mount and ship it from New York.
Legal Disclaimer
Gold Standard guarantees apply to all standard orders placed through 4over4.com. Price match requires verifiable proof of a competitor's published price for an equivalent product with matching specifications and turnaround time. Satisfaction guarantee covers manufacturing defects and print quality issues. Contact support with order number and documentation. On-time delivery rate based on tracked orders 1999 to 2026. Individual results may vary based on shipping carrier performance.
