
How to Make Stickers with Cricut


Design your art in Cricut Design Space, flatten it into one Print Then Cut layer, print it on sticker paper, then let the Cricut kiss-cut clean, peel-and-stick sheets. The workflow below runs from materials to weeding.
To make stickers with a Cricut, flatten your design into a single Print Then Cut layer, print it on inkjet sticker paper, and let the ink dry. Load the sheet on a light-grip mat, choose the Sticker Paper setting for a clean kiss cut, run the machine, then weed away the excess. Use printable vinyl plus a clear laminate for waterproof stickers, and move to 4OVER4.COM when you need bulk or weatherproof runs.
Quick tips
Quick tips for making stickers with a Cricut
Flatten every design before you cut and give inkjet prints a full 5 to 10 minutes to dry. Pick the Sticker Paper setting for a clean kiss cut, keep the registration marks visible, and weed the excess with a proper tool. For waterproof stickers, print on inkjet vinyl and seal it with clear laminate. When you outgrow small batches, 4OVER4.COM prints weatherproof stickers in bulk.
Why making stickers with a Cricut is worth it

Making stickers with a Cricut machine is one of the most satisfying DIY projects you can pick up. The machine handles the hard part, cutting around your artwork with a precision that scissors never reach. You design the sticker, print it on sticker paper, and let the Cricut kiss-cut or die-cut each piece for you.
Planner decoration, product packaging and an Etsy shop all run the same workflow. Learning how to make stickers with Cricut takes one clean design file, the right sticker paper, and a few correct cut settings. This guide walks through every stage, from choosing materials to weeding the final sheet.
If you enjoy hands-on print projects, our guides on how to make custom magnets and how to make envelopes cover more ways to turn a design into something you can hold. For the full picture of what stickers and labels can do, browse the 4OVER4.COM sticker and label printing hub.
What you need before you start
Gather your supplies first so nothing interrupts a print run. You will need a Cricut machine, and the Explore Air 2, Explore 3, Maker, and Maker 3 all work well. Add printable sticker paper in glossy or matte, an inkjet printer, a Cricut cutting mat with light grip, and a weeding tool. That is the core kit.
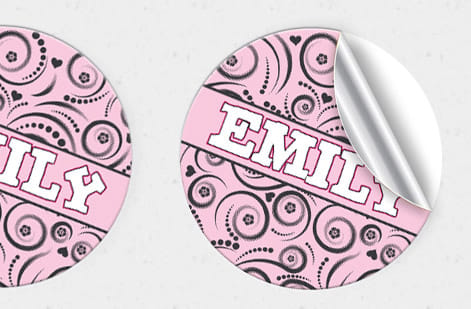
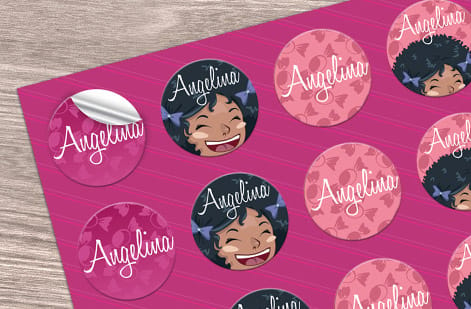
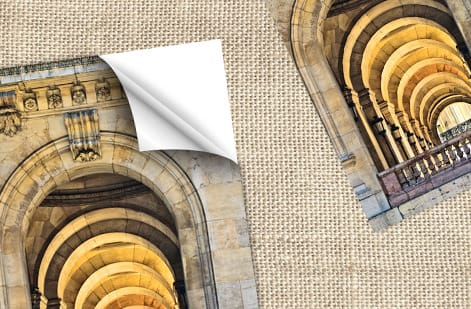
Sticker paper comes in two main finishes. Glossy sticker paper gives designs a bright, shiny look that suits colorful illustrations and photo stickers. Matte sticker paper has a softer surface that is easy to write on and hides fingerprints. Both come in white and clear. If you want waterproof stickers for water bottles or laptops, choose vinyl sticker paper rated for inkjet printers instead of standard paper.
For a broader look at creative print projects, our guide hub holds dozens of step-by-step walkthroughs you can work through at your own pace.
Which Cricut machine makes the best stickers

Every Cricut cuts. Not every Cricut prints, and that is the split that decides this question. A printed sticker comes out of Print Then Cut: your inkjet lays the design down with black registration marks around it, then the machine reads those marks and cuts the shapes out. The machines in the line split on that one job.
- Cricut Joy. No Print Then Cut. It cuts and writes, so it makes single-color cut-vinyl decals and labels, not printed stickers. Best for small lettering and quick labels, and the wrong machine if you want full-color artwork.
- Explore 3. Full Print Then Cut inside the same 9.25 by 6.75 inch printable area as the rest of the Explore line, a little larger on updated firmware. The fine-point blade handles sticker paper, printable vinyl, and light cardstock. Best for sticker sheets and regular sticker runs.
- Maker 3. Same Print Then Cut area and the same mark-reading sensor as the Explore 3, so sticker results are identical, plus the rotary and knife blades for fabric and thicker material. Best when stickers are one of several jobs the machine has to do.
Two things decide whether the sensor finds your marks, and neither is the machine. Leave the printed margin white and unmarked, because the sensor reads black lines off white paper, and cut under bright, even light. A shadow falling across the mat is the single most common reason a machine reports that it cannot read the registration marks.
If the artwork is larger than the Print Then Cut area, no machine in the line solves it. That is the point where one sheet off a commercial press beats any home setup.
Designing your stickers in Cricut Design Space
Open Cricut Design Space and start a new project. You can draw directly in the software, upload your own images, or pull from Cricut's built-in library. For uploaded artwork, PNG files with transparent backgrounds give the cleanest result.
Here is the step most people miss. Flatten your design before you cut. Flattening tells the Cricut to print the whole thing as one image and then cut around it. Skip it and the machine tries to cut every layer on its own, which turns into a mess. Select all the elements, click Flatten at the bottom of the Layers panel, and your sticker becomes a single Print Then Cut layer with registration marks the machine can read.
Size matters too. Print Then Cut has a maximum printable area of 9.25 by 6.75 inches on most machines, with slightly more room on the Maker 3 and Explore 3 running updated firmware. Plan your sheet layout inside those limits, and add a small offset outside the design edge if you want a bleed that hides tiny white borders. Enjoy this kind of layout work? Our guide on how to fold a brochure is a good next read. You can also start from a ready-made file like the Soap Bar sticker or the Keep Distance bumper sticker in the online designer.
Printing your sticker sheet
Click Make It in Design Space and send the design to your printer first. Use your inkjet's best quality setting, because cheap print quality means fuzzy stickers. Load the sticker paper with the printable side facing the right way, and check your printer manual since it varies by model. Run a test page on plain paper and hold it against the sticker stock to confirm the alignment before you commit your good sheet.
Let the ink dry completely. This takes 5 to 10 minutes depending on your printer and paper, and glossy stock takes longer. Loading a wet sheet smears the ink and ruins your cutting mat, so patience pays off here. For extra durability, add a thin layer of clear laminate over the printed sheet before cutting. Self-adhesive laminate sheets or a spray sealant both add water resistance and stop the ink from scratching off. It is optional, but it makes a real difference on stickers that get handled a lot.
Cutting settings and loading the mat

Where the settings actually live. Click Make It, then Send to Printer. Leave Add Bleed switched on so color runs past the cut line and no white halo shows on a trimmed edge, then open Use System Dialog and set the paper type to the closest match your printer offers, usually Photo Matte or Presentation, at its highest quality. Print quality decides more here than any cut setting, because a light or streaky print is what makes a finished sticker look homemade.
Place the printed sheet on the cutting mat with the printed side up and smooth it down to clear any air bubbles. The registration marks, those black lines the printer added around your design, need to stay fully visible and clear of the mat's edge. In Design Space, choose Sticker Paper or Printable Vinyl from the materials list. If your exact paper is not listed, Washi Paper or Light Cardstock make a good starting point. The goal is a kiss cut that slices the sticker layer but leaves the backing intact.
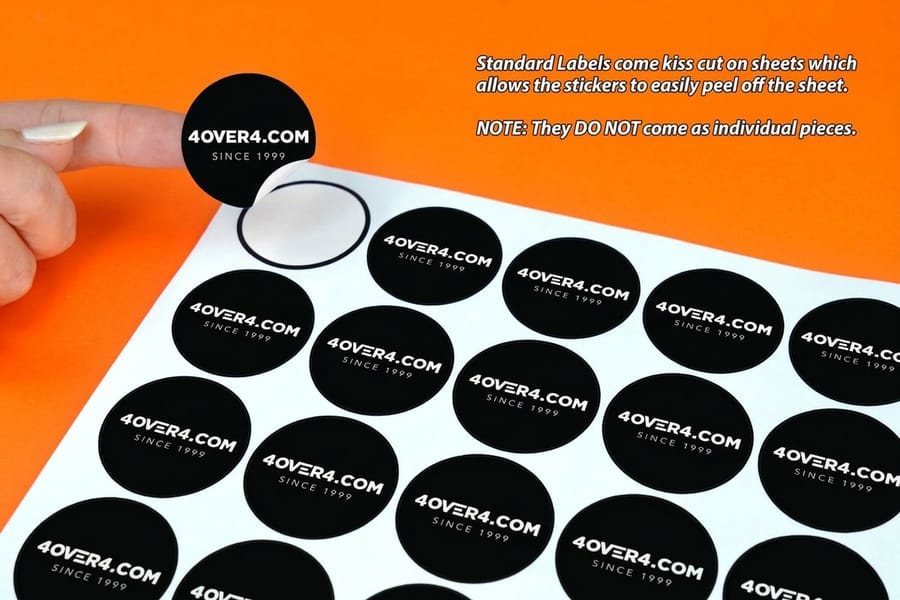
Load the mat and press the flashing button. The machine scans the registration marks, aligns itself, and cuts. Do not bump it mid-cut, because even small vibrations throw off the alignment. When it finishes, unload the mat and peel away the excess sticker material around your designs. That step is called weeding, and a weeding tool, basically a sharp hook, makes it far easier than using your fingers. Your stickers are now ready to peel and stick.
If the cut lands off register, do not raise the pressure. Reprint with the marks fully inside the sheet, reseat the paper square on the mat, and check the light on the machine. Pressure only fixes a cut that is in the right place but too shallow.
Kiss cut vs die cut: which should you choose
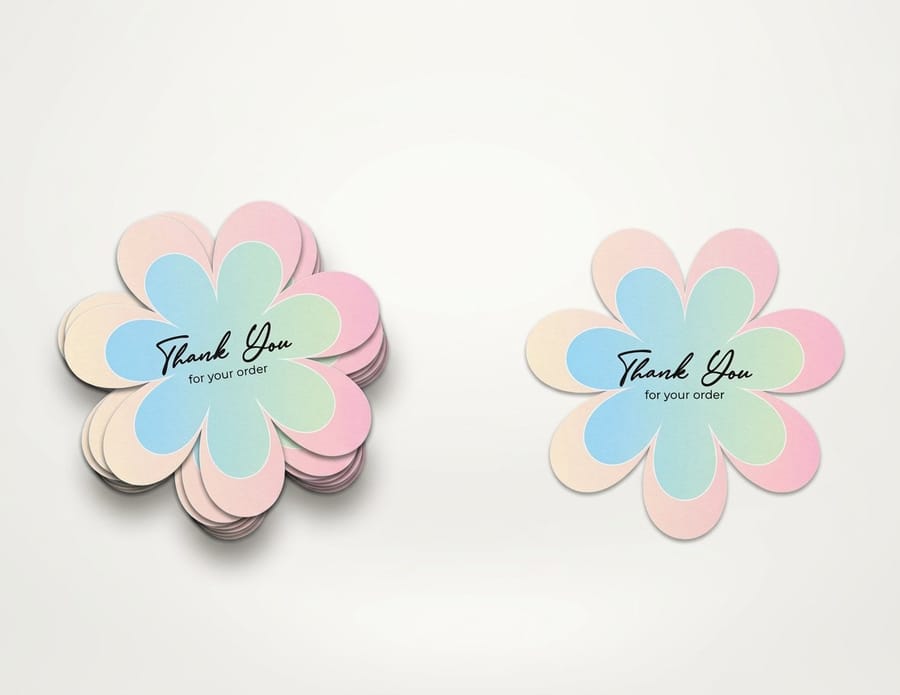
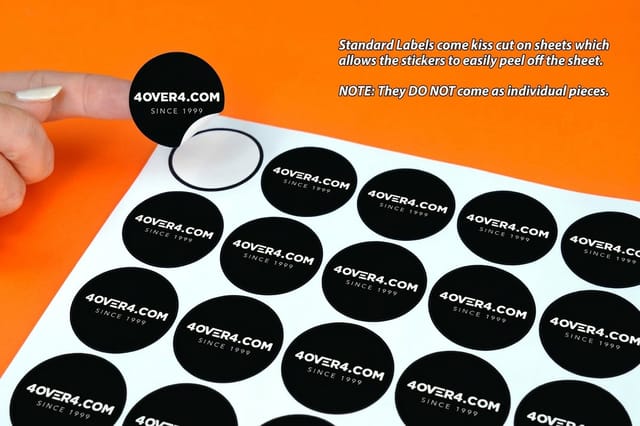
Kiss cuts slice through the top sticker layer only and leave the backing sheet whole. This is the standard for sticker sheets where several stickers share one page, and you peel each one off when you are ready. Die cuts go all the way through both layers, giving you individual stickers with no backing border. Those suit single stickers you hand out or package on their own. On a Cricut you reach a die cut by raising the pressure setting or fitting a deeper blade.
For professional-grade custom die-cut stickers at scale, 4OVER4.COM handles the heavy lifting with commercial equipment and premium adhesives. For small batches and personal projects, your Cricut manages both cut types well. When you are ready to order finished sheets, standard stickers ship on durable stock that holds color for years.
Tips for sharper, longer-lasting stickers
Your stickers are only as good as the design file behind them. Work at 300 DPI minimum so prints stay crisp, and reach for vector SVG files when you can since they scale to any size without softening. Color calibration between screen and printer matters more than people expect, so print a color test sheet and adjust your saturation or printer settings until the output matches what you see on your monitor.
Maintenance keeps every cut clean. Run a lint roller over your Cricut mat to lift dust and residue, and replace the mat once it stops gripping, because a sheet that shifts mid-cut is a wasted sheet. Swap the blade when cuts start to look ragged or the machine tears instead of slicing, since sticker paper dulls blades faster than cardstock. The same care-first mindset shows up in our guide on how to clean rubber stamps, where a clean tool is what keeps the detail sharp.
When to go beyond your Cricut
A Cricut handles small batches of 10, 50, maybe 100 stickers at a time. The moment you start selling online, packaging products, or filling repeat orders, cutting one sheet at a time gets old fast. That is where professional printing takes over. 4OVER4.COM prints stickers on premium materials with commercial adhesives that survive the outdoors, the dishwasher, and years of handling.
A smart workflow is to prototype at home, then scale up once you know what sells. Order free samples to feel the quality difference, grab print-ready blank templates so your files land correctly, and move production to sticker sheets when the volume climbs. You can even browse ready-made blank designs like 3D lenticular stickers and bumper stickers to start from a proven layout. Building promo materials alongside your stickers? Our guide on how to make flyers covers another popular print project.
Mistakes that ruin Cricut sticker projects
Forgetting to flatten layers. This is the number one slip. Without flattening, the machine cuts each element separately instead of treating the design as one print-then-cut image, so always flatten before you click Make It. Loading wet prints onto the mat. Inkjet ink on glossy paper needs a full 10 minutes to dry, and rushing it smears your design across the mat.
Using the wrong material setting. Choosing Vinyl instead of Sticker Paper changes the blade pressure, and too much force cuts through the backing while too little leaves stickers that will not peel cleanly. Ignoring the registration marks. A crooked sheet or partly hidden marks stop the Cricut from aligning its cuts, so place sheets straight and keep the marks visible. Skipping the test cut. 4OVER4.COM always recommends a test cut on scrap first, because one small test piece saves a whole sheet of expensive sticker paper.
Professional sticker options when you scale up
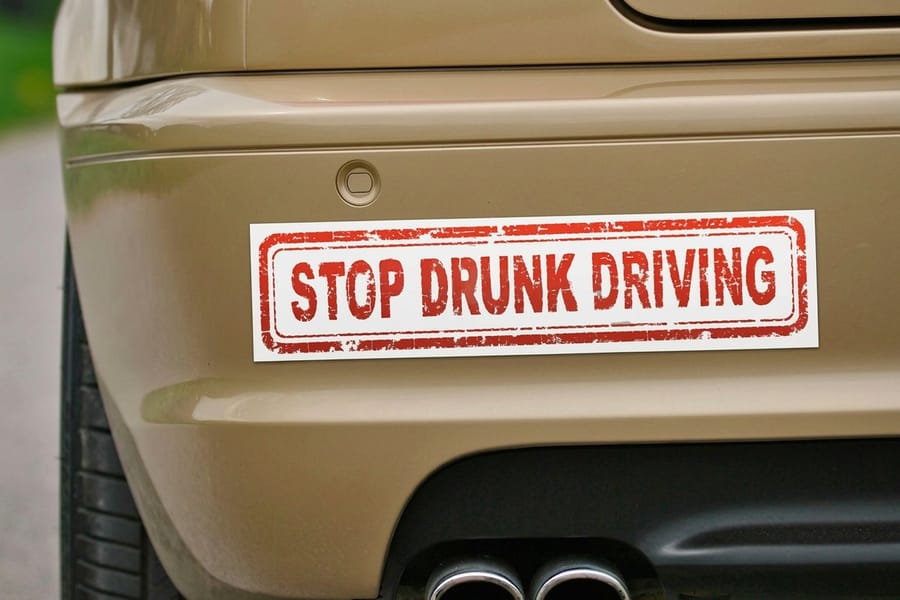
Once you have mastered how to make stickers with Cricut at home, professional printing is the natural next step. It opens up weatherproof vinyl, custom shapes, and bulk pricing a home machine cannot match. Manual sticker makers turn die cuts, ribbon, and photos into stickers without a complex setup, while cutting machines from Cricut, Silhouette, and Brother handle fine die-cut and kiss-cut work. For straightforward runs, our stickers section and standard stickers give you print-ready options.
If you are weighing eco-conscious choices, the 4OVER4.COM green printing program prints on recycled stock with soy-based inks. And when a sticker campaign ties into an event, add matching event invitations to round out the set. Prototype on your Cricut, refine on real feedback, then order in bulk when you know exactly what works.
Wally explains Cricut stickers
Flatten, print, dry, then cut clean
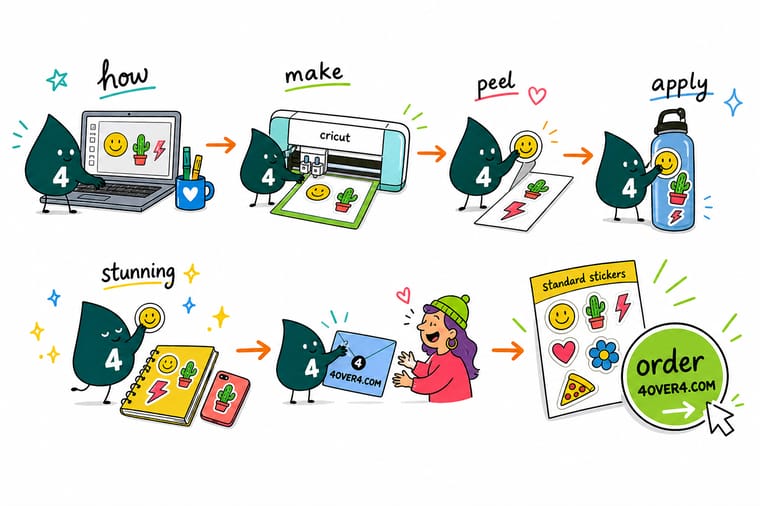
Wally treats a Cricut like a tiny print shop: flatten the art into one Print Then Cut layer, print it, let the ink dry, and the kiss cut peels away perfectly every time. Rush a wet sheet onto the mat and you get a smear instead of a sticker. When your batch outgrows the home machine, skip the one-sheet-at-a-time grind and order weatherproof stickers in bulk from 4OVER4.
Order custom stickers →Specs and pricing
Custom sticker specs and pricing
When your batch outgrows the home machine, here is what a professional custom sticker order gives you at 4OVER4.COM, with live specs and price-per-unit straight from the configurator.
| Quantity | Price Per Unit | Total |
|---|---|---|
| 25 | 95.5¢ | $23.88 |
| 50 | 72.9¢ | $36.44 |
| 100 | 42.7¢ | $42.72 |
| 150 | 32.7¢ | $49.01 |
| 200 | 27.6¢ | $55.29 |
| 250 | 24.6¢ | $61.57 |
| 300 | 22.0¢ | $65.97 |
| 400 | 17.6¢ | $70.36 |
Print it
Order stickers and sheets at 4OVER4
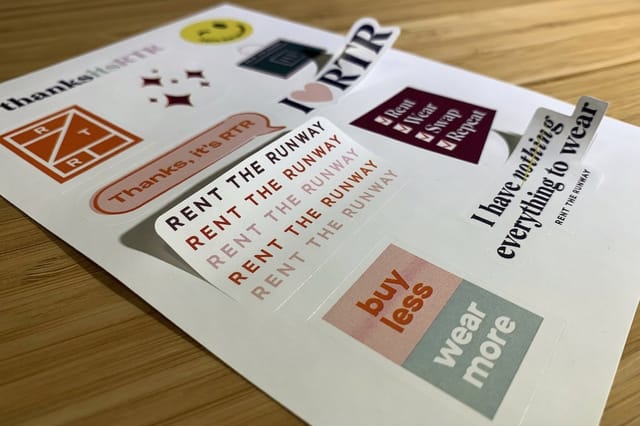
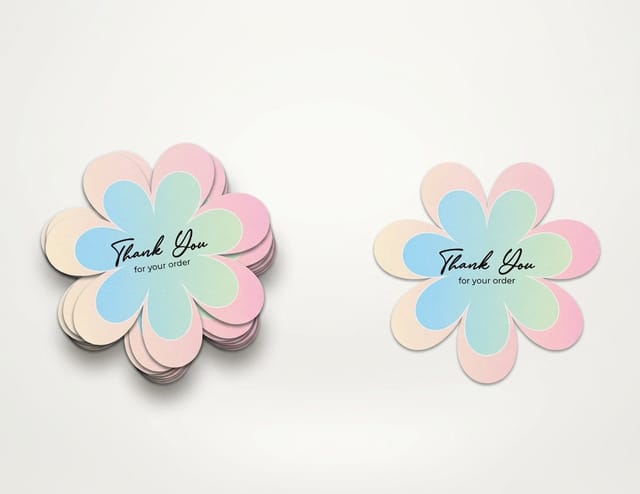
See it in use
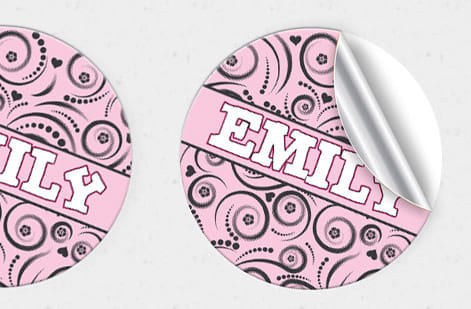
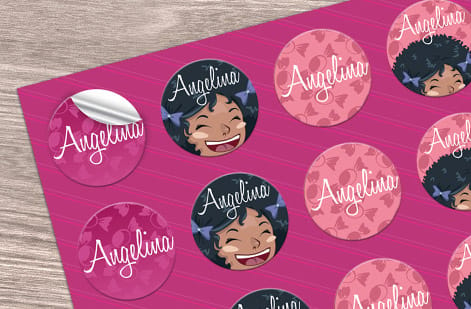
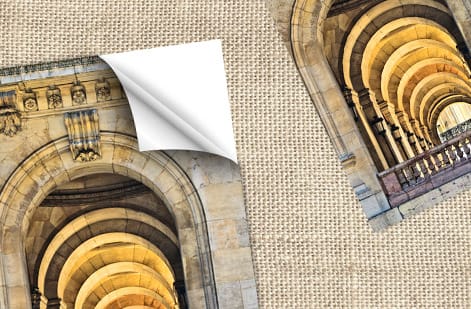
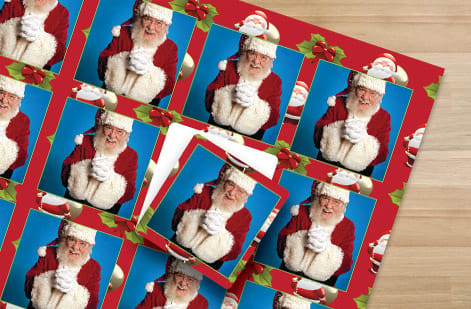
Stickers our customers ordered die cut and printed




Explore more
Where to go next


By the numbers
What a press adds past 100 stickers
Common Questions
Common questions about making stickers with Cricut
What type of sticker paper works best with a Cricut?
Printable vinyl sticker paper made for inkjet printers gives the best results. Glossy versions produce vivid color, while matte finishes cut glare and hide fingerprints. For outdoor or waterproof stickers, use vinyl sheets rated for moisture resistance. Always confirm the paper is compatible with your printer before buying in bulk.
Can I make waterproof stickers with a Cricut?
Yes. Print on printable vinyl sticker paper and apply a clear laminate overlay after printing. The laminate seals the ink and adds a waterproof barrier. Without it, inkjet ink can smudge or fade in water. This combination holds up well on water bottle stickers, outdoor labels, and product packaging.
What is the maximum sticker size a Cricut can cut?
Cricut's Print Then Cut feature supports a maximum printable area of 9.25 by 6.75 inches on most machines. Updated firmware on the Maker 3 and Explore 3 may allow a slightly larger area. For stickers bigger than that, you will need to cut by hand or use a professional printing service like 4OVER4.COM.
Why does my Cricut tear sticker paper instead of cutting it cleanly?
A dull blade is the usual cause, so replace the fine-point blade if cuts look ragged or the paper catches. Also confirm you picked the correct material setting in Design Space. Too much pressure tears the paper and too little leaves incomplete cuts. A fresh blade and the right setting fix this almost every time.
How do I make kiss-cut sticker sheets with a Cricut?
Select Sticker Paper as your material in Cricut Design Space. That setting applies just enough blade pressure to cut the top sticker layer without slicing the backing. After the cut, weed away the excess to reveal individual peel-and-stick stickers on one sheet. It is the same technique professional sticker sheets use.
Is it cheaper to make stickers at home or order them professionally?
For small batches under 50 stickers, home Cricut production usually costs less. Once you need hundreds or thousands, professional printing from 4OVER4.COM drops the per-sticker cost sharply and saves hours of manual cutting. It also removes the 9.25 by 6.75 inch Print Then Cut ceiling, so the sticker can be any size and any shape you want. Weigh your time, ink, and paper against a quoted run of pro die cut stickers or sticker sheets before you spend a night feeding the machine.
Is there a Cricut sticker maker machine?
Not as a single device. Cricut does not sell a machine that prints and cuts stickers on its own, so every Cricut sticker is a two-step job: your inkjet printer prints the design with registration marks, then the Cricut reads those marks and cuts around them, which Design Space calls Print Then Cut. The Explore and Maker machines all handle that step, while the Joy cuts vinyl only and cannot print. If you want printing and cutting in one pass, that is commercial press work, and 4OVER4.COM prints and die cuts the sheets for you.
Get Started
Order 25 standard stickers from $23.88
Pick your size, upload your flattened design, and we print durable, weatherproof stickers that peel clean every time.
Legal Disclaimer
Gold Standard guarantees apply to all standard orders placed through 4over4.com. Price match requires verifiable proof of a competitor's published price for an equivalent product with matching specifications and turnaround time. Satisfaction guarantee covers manufacturing defects and print quality issues. Contact support with order number and documentation. On-time delivery rate based on tracked orders 1999 to 2026. Individual results may vary based on shipping carrier performance.
