
How to Make Invitations for Any Event in 2026


Choose a size and paper that fit the occasion, design it print-ready, write clear copy, then proof and print. The six steps below cover flat, folded, and shaped invitations alike.
To make invitations, match the format and paper to your event, design your file at 300 DPI in CMYK with a 0.125-inch bleed and safe margins, write clear copy that covers who, what, when, where, and RSVP, then review a digital proof before printing. 4OVER4.COM prints flat, folded, and shaped invitations on 60+ paper types.
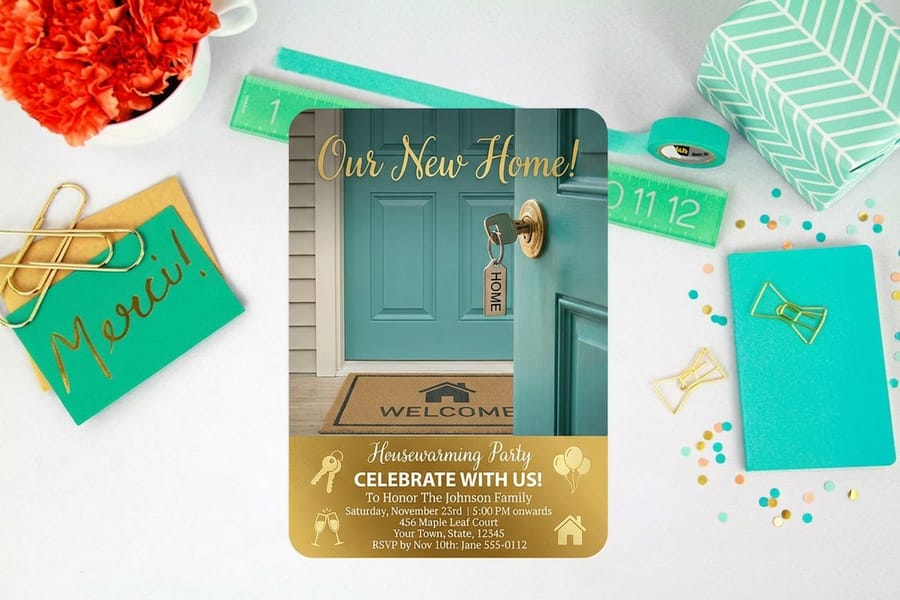
Quick tips
Quick tips for making great invitations
Match your invitation size and paper to the event, design at 300 DPI in CMYK with a 0.125-inch bleed and safe margins, then write clear copy that covers who, what, when, where, and how to RSVP. Proof it on two screens before you print. 4OVER4.COM prints flat, folded, and shaped invitations on 60+ paper types, so the finished card feels exactly right in your guests' hands.
Six steps, in this order. Doing them out of order is what costs people a reprint.
- Format and size. Decide flat, folded, or shaped first, because the format sets how much room you have for wording, then lock the trim size. A 5 x 7 card covers most weddings, bridal showers, and baby showers; smaller cards suit save-the-dates and kids' parties, where you are paying for the envelope as much as the card.
- Stock and finish. 14pt for casual runs, 16pt for most invitations, 32pt when the card has to feel like the occasion, plus matte, gloss, soft-touch, or spot UV on top. 60+ paper types means the sample you like almost certainly exists here.
- File setup. Build at 300 DPI in CMYK and add 0.125 inch of bleed on all four edges, so a 5 x 7 invitation is drawn at 5.25 x 7.25 and the background runs off every side. Then hold names, dates, and the RSVP line 0.125 inch inside the trim line as your safe zone. Anything in that outer strip can be shaved off by the cutter, and it is the one mistake that ruins an otherwise perfect card.
- Copy. Who is hosting, what the event is, when it starts, where it is, and how to RSVP, in that order, with the date and time in the largest type after the names. Read it as a stranger would: if a guest cannot find the address in two seconds, rewrite it.
- Proof. Check the PDF on two screens, one bright and one dim, so you catch colors that look right on a laptop and muddy on a phone. Read the date and the day of the week out loud, confirm the year, and have one person who is not you read the whole card.
- Print. Upload the file, choose flat, folded, or shaped, pick the stock and finish, and order a few more than your guest list so late additions and keepsakes are covered.
Why learning how to make invitations matters
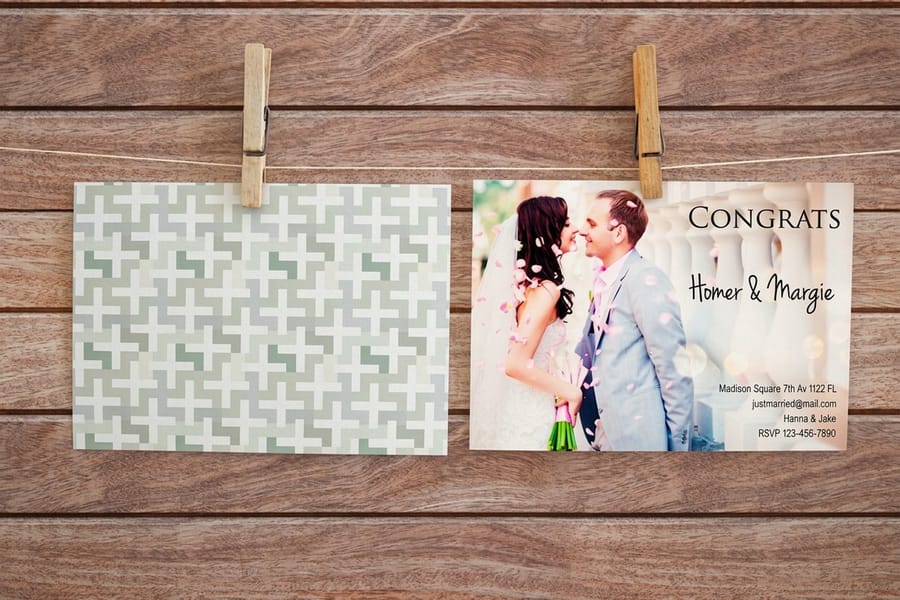
A great invitation does more than share a date and an address. It sets the mood before anyone reaches the door. The weight of the paper, the finish catching the light, the feel of a thick card in someone's hand, all of it tells your guests that this event matters.
This guide walks through how to make invitations for any occasion, from weddings and birthdays to baby showers and graduations. You will learn how to pick paper stocks, set up your design files, choose a finish, and dodge the mistakes that lead to reprints. New to print design? Start with design templates for a head start, then round out the suite with our guides on how to make envelopes and custom magnets.
4OVER4.COM has printed more than 10 billion cards since 1999. That is a lot of invitations done right, and yours is next.
Step 1: Choose your event and invitation style
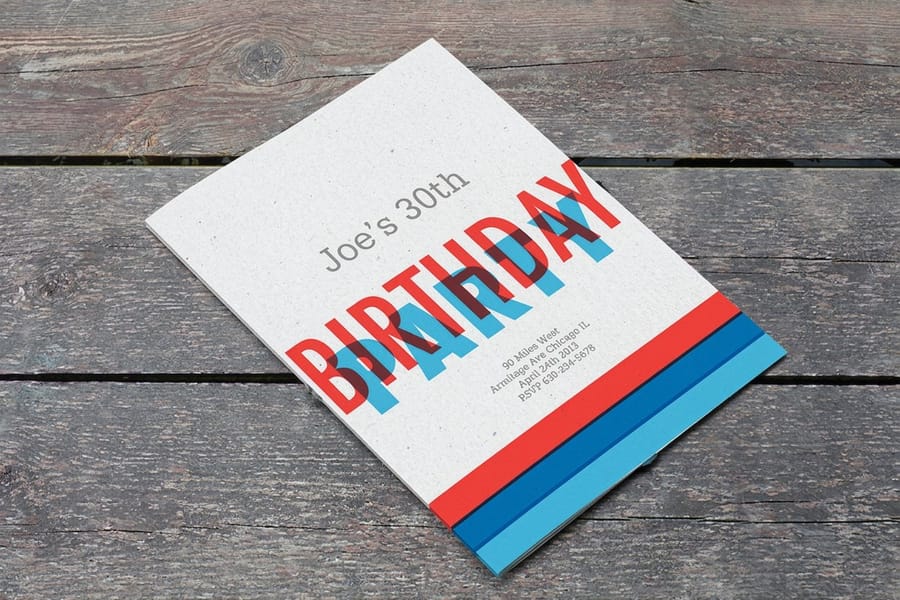
Before you open any design tool, answer one question. What is the vibe? A backyard birthday calls for something playful and colorful. A black-tie wedding wants elegance, so think foil accents, heavier stock, maybe a fold. Making birthday invitations and making wedding invitations are two very different projects, and the style should follow the event.
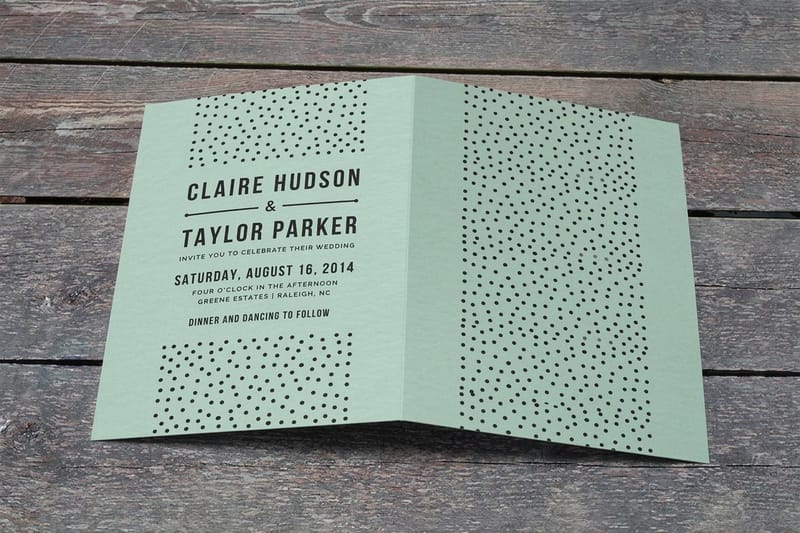
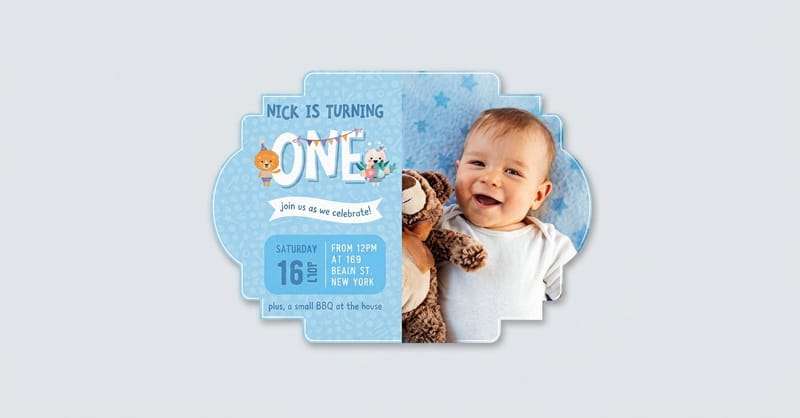
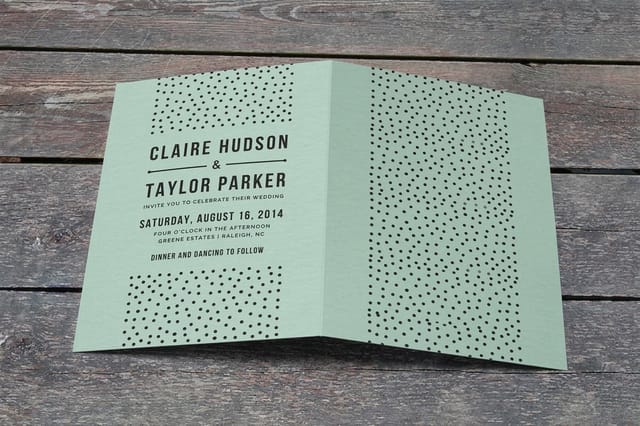
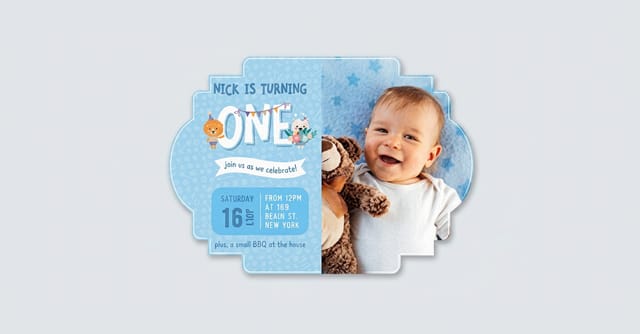
Flat invitation cards work well for casual events, save-the-dates, and simple announcements. Folded invitations give you extra room for maps, itineraries, and registry info. Shaped invitations break the mold and grab attention the moment they land in someone's hands.
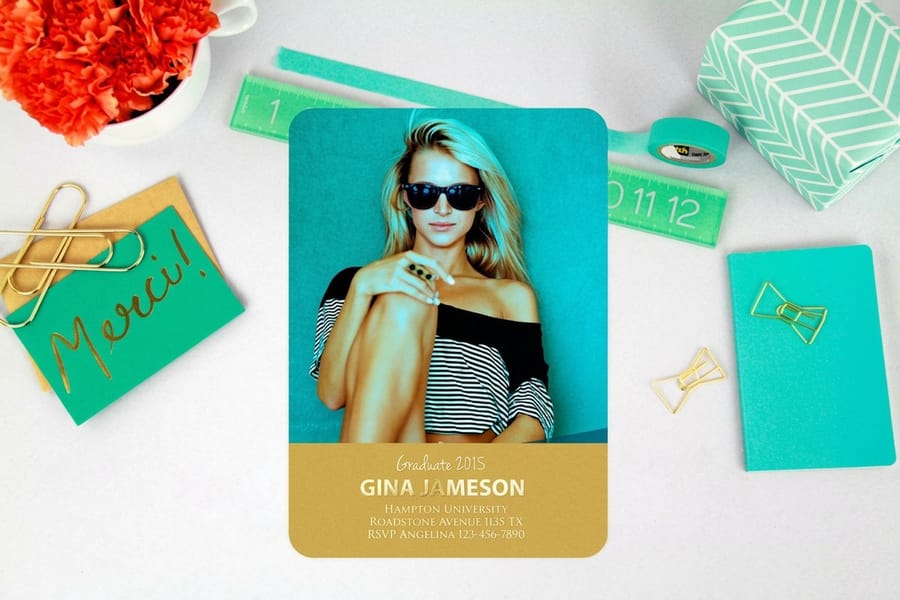
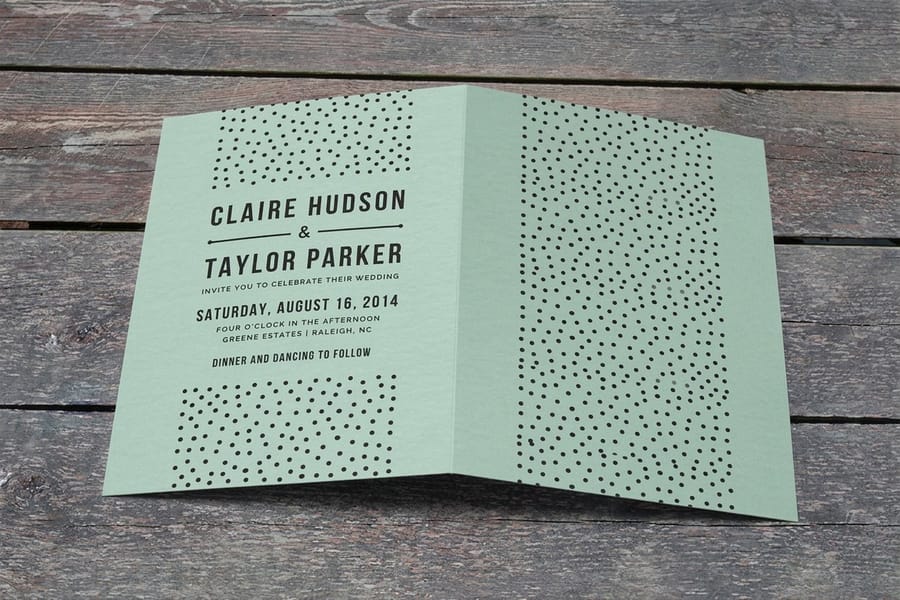
Think about what your guests need to know. A graduation party might need only a date, time, and address. A baby shower could include a registry, a theme, and RSVP details. Count the lines of information before you pick the format: if the list runs past five, you want a folded card, not a flat one crammed to the edges. Match the format to the information, and browse our guide hub for more print how-tos.
Step 2: Pick the right paper stock and finish
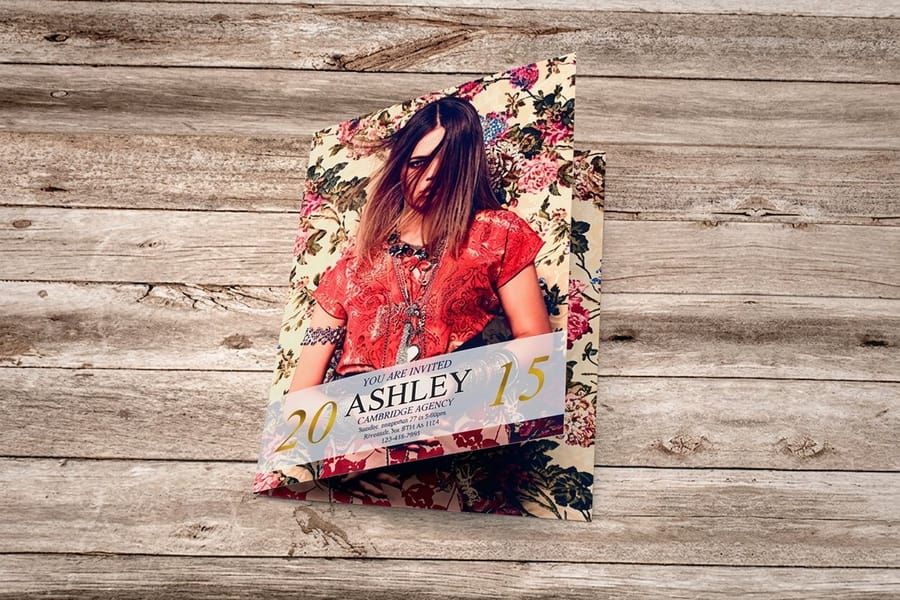
Paper choice makes or breaks an invitation. A flimsy invite reads as cheap. A thick card with a soft-touch coating reads as a party worth showing up for. Weight is the first decision.
- 14pt cardstock is a solid everyday weight, good for casual gatherings and budget-friendly runs.
- 16pt cardstock is about the thickness of a credit card and works for most invitations.
- 32pt ultra-thick is rigid and hefty, built for weddings and upscale events.
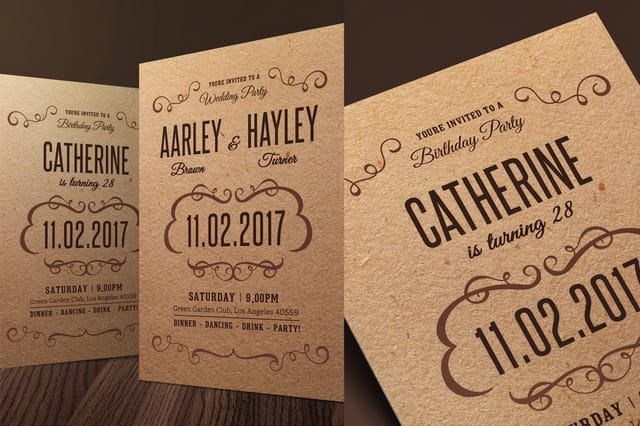
- Kraft paper brings a rustic, earthy feel for barn weddings and outdoor parties.
- Linen and textured stocks add a tactile element a photo can never capture.
Finishes change the personality too. Matte feels modern and understated, gloss makes colors pop, soft-touch lamination feels velvety, and spot UV adds a raised, shiny accent to a monogram or border. For flat bridal shower invites, a linen stock with a matte finish gives that elegant-but-approachable feel. For a kids' birthday, go glossy and bright on 14pt.
Step 3: Set up your design file correctly
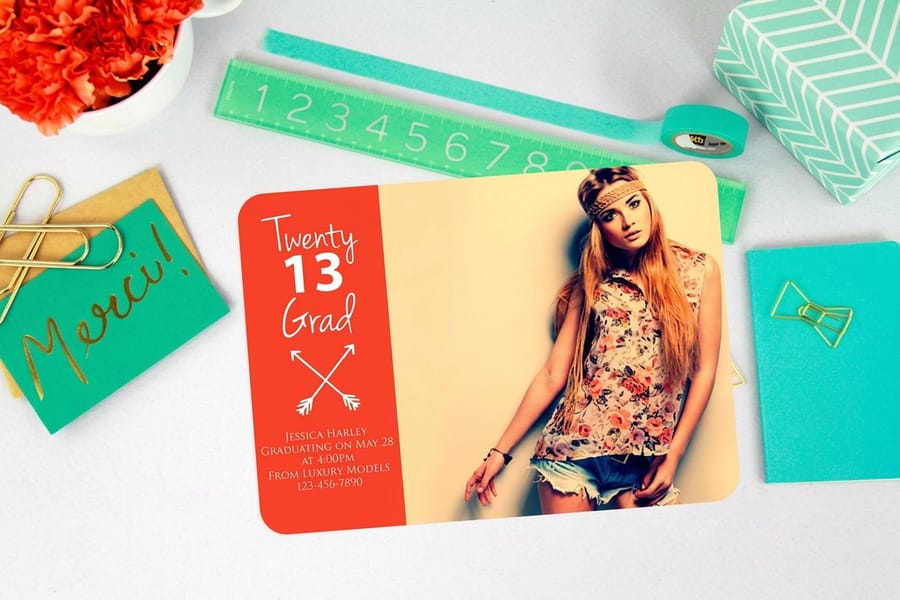
This is where most DIY invitation projects go sideways. A design can look perfect on screen and print completely wrong. Here is what you need to nail before you export.
Resolution. Set your file to 300 DPI minimum. Anything lower and text looks fuzzy and images look pixelated. Screen resolution of 72 DPI is not print resolution, ever.
Color mode. Design in CMYK, not RGB. Your monitor uses RGB and printers use CMYK, so a bright red designed in RGB can print as a dull orange. Convert before you export.
Bleed area. Add 0.125 inches of bleed on all sides so backgrounds and images extend past the trim line. Skip it and you risk thin white edges where the cutter lands. It is the most common mistake in DIY print.
Safe zone. Keep important text and logos at least 0.125 inches inside the trim line so nothing gets cut off or looks cramped.
No design software? Our blank templates come pre-formatted with the right dimensions, bleed, and safe zones, so you just drop in your content. The same margin rules show up in our guide on how to fold a brochure.
Step 4: Write invitation copy that works
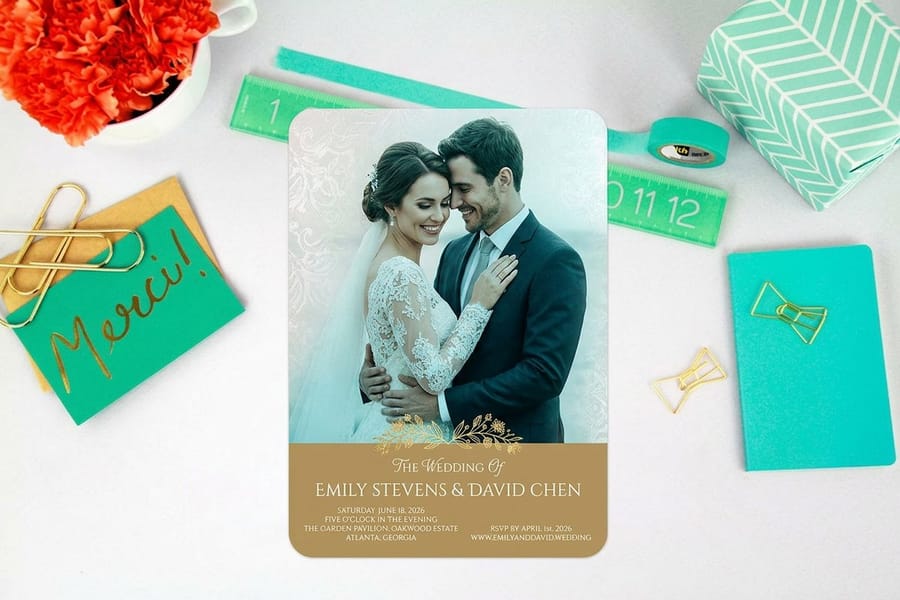
Good invitation wording is clear, complete, and matched to the tone of your event. Do not overthink it, but do not underthink it either. Every invitation needs the same basics.
- Who is hosting, such as "Join Sarah and Mike" or "The Johnson family invites you".
- What the event is, whether a birthday, wedding, baby shower, or graduation.
- When, with the date and time spelled out for formal events.
- Where, with the full address and venue name.
- RSVP details, a phone, email, or website plus a deadline.
For formal events like weddings, lean on traditional phrasing such as "request the honor of your presence". For casual events, keep it relaxed with something like "Come celebrate with us". When you make baby shower invitations, add the registry and the theme if there is one. One last tip. Read your copy out loud, and if it sounds stiff or confusing, rewrite it.
Step 5: Choose your size and quantity
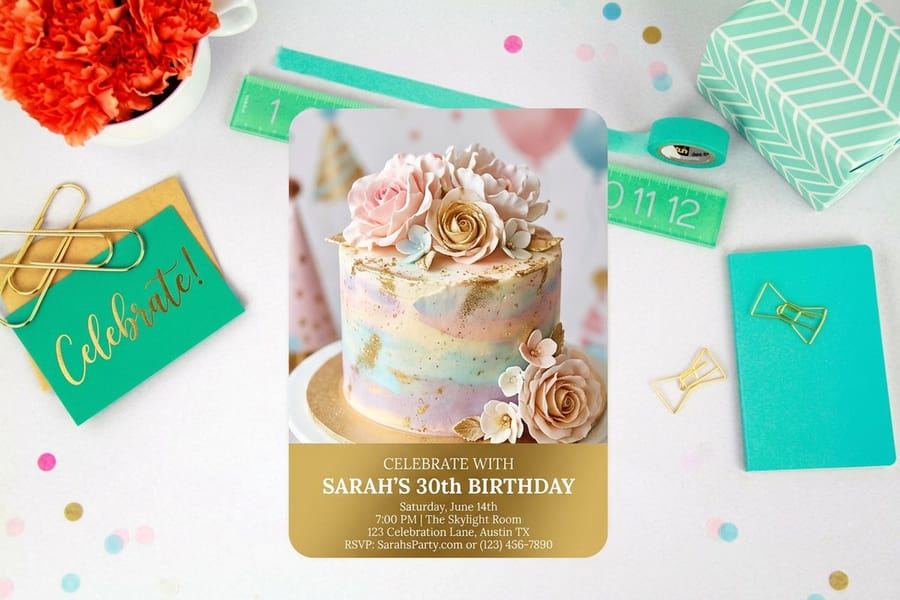
Standard invitation sizes are 4x6, 5x7, and 6x9 inches. The 5x7 is the most popular because it feels substantial yet still fits standard A7 envelopes without a custom order. For simpler events, a 4x6 works well and saves on postage.
For quantity, count your guest list by household and add 10 to 15 percent extra. You will want spares for last-minute additions, keepsakes, and the inevitable "I lost mine, can you send another?" moment. Ordering more upfront is always cheaper per piece than reordering a small batch later. If you are also making event flyers, our guide on how to make flyers covers the same sizing and design principles.
Step 6: Review, proof, and print
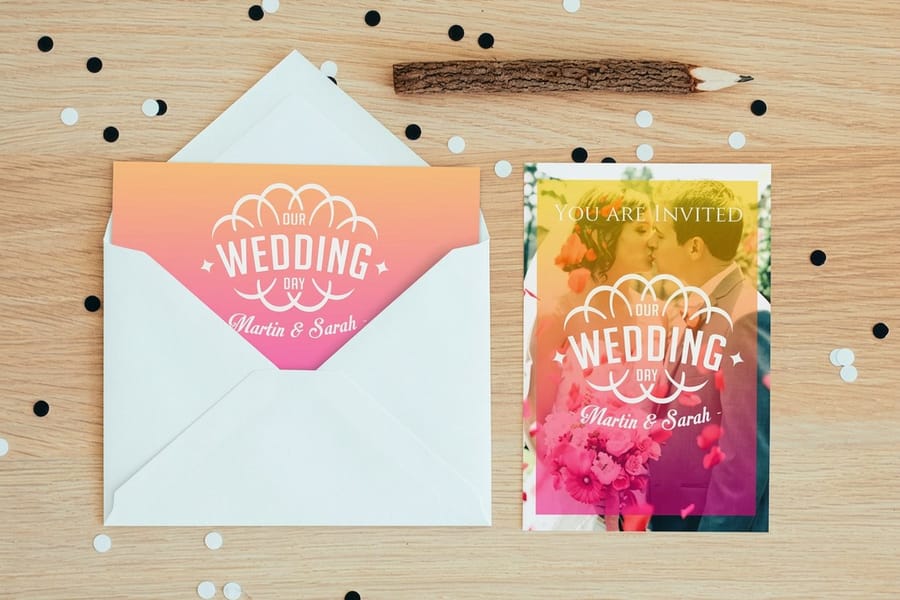
Before you place the order, triple-check everything. Print a test copy on your home printer to check layout and spacing, and have someone else read the copy for typos, because you have been staring at it too long to catch your own.
- Is the date correct? You would be surprised how often it is wrong.
- Is the address complete with the zip code?
- Is the RSVP deadline realistic, at least two to three weeks before the event?
- Are all the names spelled correctly?
- Does the layout look balanced with enough white space?
4OVER4.COM provides a digital proof before printing, so take advantage of it and view it on both your phone and your computer, since colors and spacing can look different on each screen. For return-address stamps on your envelopes, our guide on how to clean rubber stamps keeps your stamp kit in good shape.
Invitation mistakes that cost you time and money
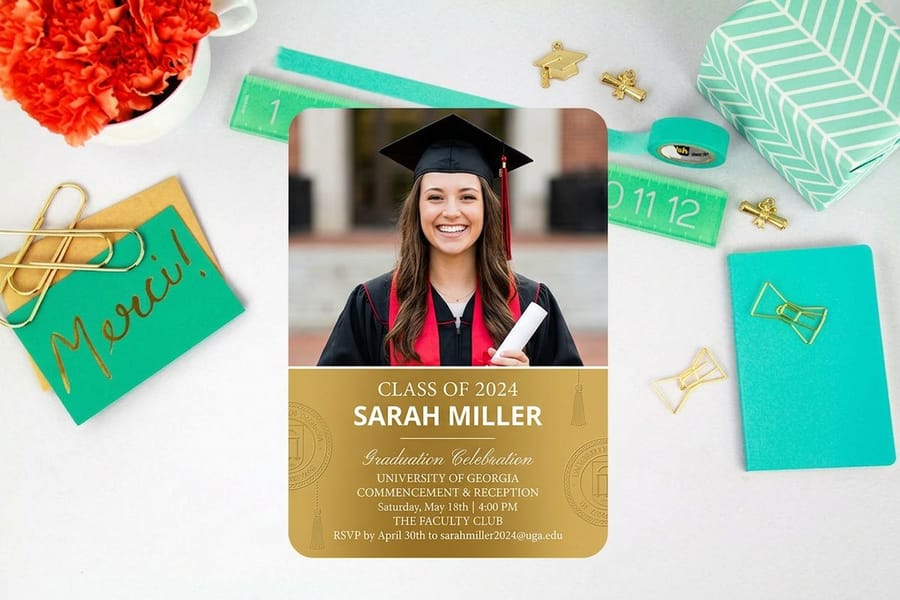
Even experienced designers slip up when making invitations. These are the errors 4OVER4.COM sees most often, and how to avoid each one.
Skipping the bleed. No bleed means white edges on the printed piece. Always extend backgrounds 0.125 inches past the trim line. This is the number one reason people reorder.
Using low-resolution images. That photo from Instagram is 72 DPI, and print needs 300 DPI. Stretch a small image across a 5x7 card and it turns into a blurry mess.
Forgetting RSVP details. Plenty of beautiful invitations go out with no way to respond. Always include a deadline, a method, and a contact.
Choosing the wrong paper for the occasion. A 14pt glossy card is right for a pool party, not a formal wedding. Match the weight and finish to the tone of the event.
Ordering exact quantities. Always order 10 to 15 percent more than your guest count, because last-minute additions happen and envelopes get damaged.
Wally explains invitations
The first thing your guests hold sets the tone for the whole event
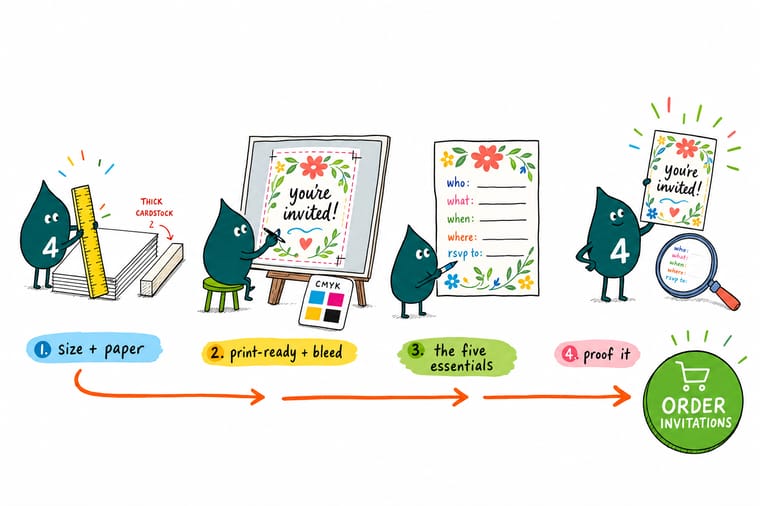
Wally treats an invitation like the opening frame of your party. Get the size, paper, and wording right and your guests feel the occasion before they read a word. Design at 300 DPI in CMYK with a clean bleed, cover who, what, when, where, and RSVP, then proof it twice. When it looks perfect, print it on the right stock at 4OVER4 in flat, folded, or shaped.
Order invitation cards →Pick a format
Choose your invitation format
Specs and pricing
Invitation specs and live pricing
Here is what flat and folded invitations give you at 4OVER4.COM, with live specs and price-per-unit straight from the configurator.

| Quantity | Price Per Unit | Total |
|---|---|---|
| 25 | 79.1¢ | $19.77 |
| 50 | 50.5¢ | $25.27 |
| 100 | 42.8¢ | $42.84 |
| 200 | 25.8¢ | $51.62 |
| 300 | 20.1¢ | $60.42 |
| 400 | 17.3¢ | $69.20 |
| 500 | 15.6¢ | $77.99 |
| 600 | 15.4¢ | $92.26 |
Print it
Order invitations at 4OVER4
For every occasion
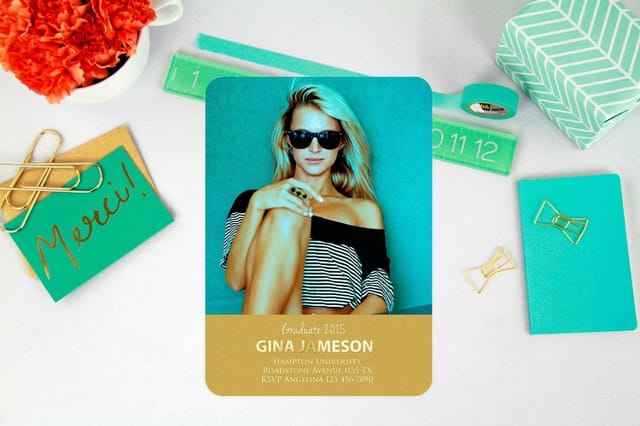
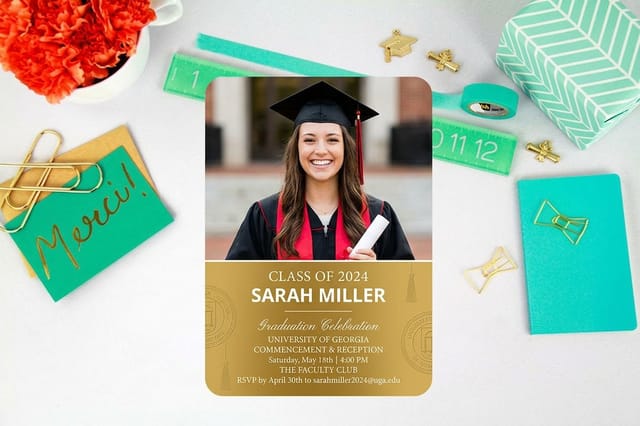
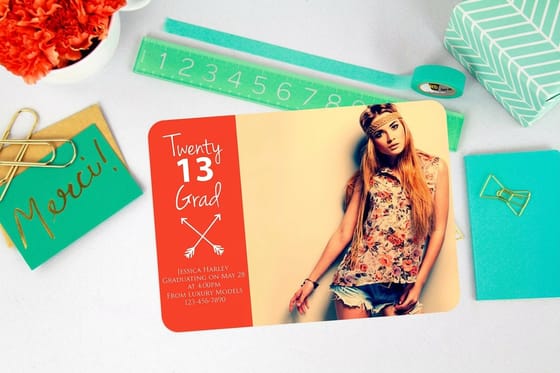
Invitations for birthdays, weddings, showers, and grads
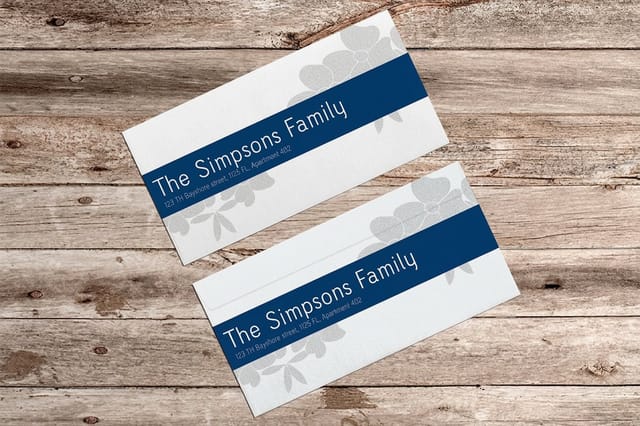
Now that you know how to make invitations, pick the format that fits your event. 4OVER4.COM offers flat, folded, and shaped options across 60+ paper types. Sampling paper stocks first? Free business cards let you feel the quality at no cost, and you can browse the full range on our invitations printing category.

The fast path
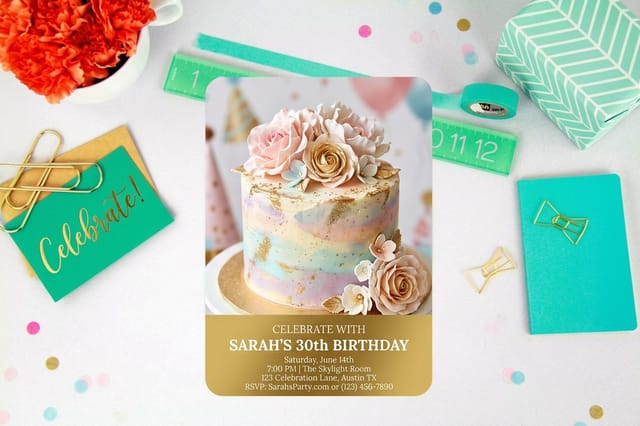
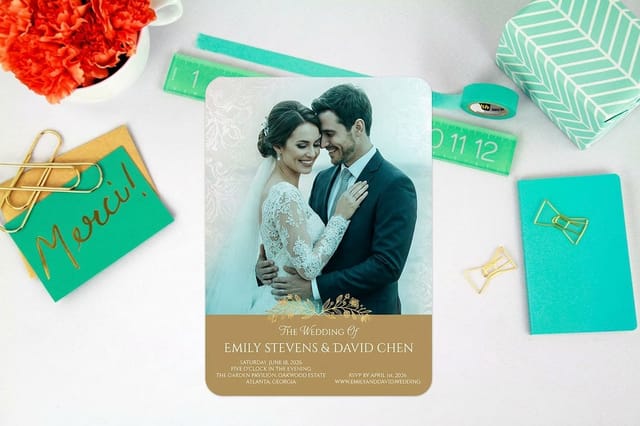
Start from a free invitation template
The quickest way to make an invitation is to never start from a blank page. Open a layout that already carries the trim size, the 0.125-inch bleed, and the safe zone, type your names, date, address, and RSVP line over the placeholder text, and you have a print-ready file in minutes instead of an evening. Two routes, both free.
- Blank templates give you the die line, the bleed, and the safe margin only. Use these if you design in InDesign, Illustrator, or Photoshop and want to build your own artwork at 300 DPI in CMYK against the correct guides.
- Free designs in the online designer are finished layouts for birthdays, weddings, bridal and baby showers, and graduations. You edit them in the browser with no software installed, swap the colors, photos, and wording, then send the file straight to print.
- Already have artwork? Skip both and upload it on flat invitation cards, folded invitations, or shaped invitations.
One rule before you type a word into a template: never move or delete the bleed and safe-zone guides. Backgrounds and photos run all the way to the bleed edge so no white slivers appear after trimming, and every piece of text stays inside the safe zone so a name or a date is never cut. The full template gallery sits further down this page, and the steps below walk the same job from format and paper through proof and print.
Ready to customize
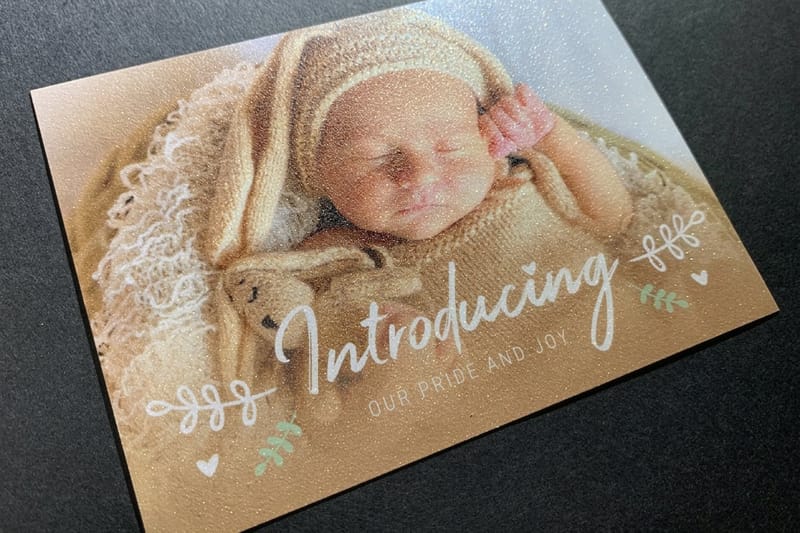
Ready-to-use invitation templates
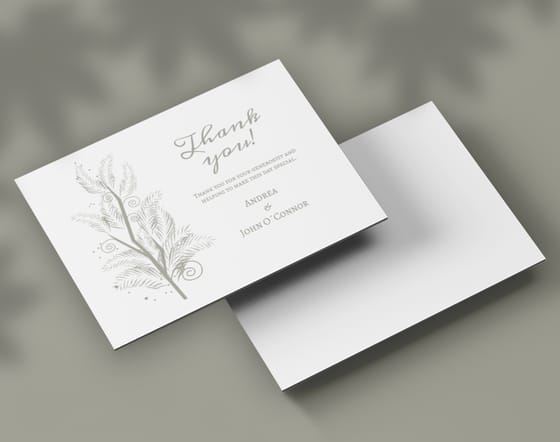
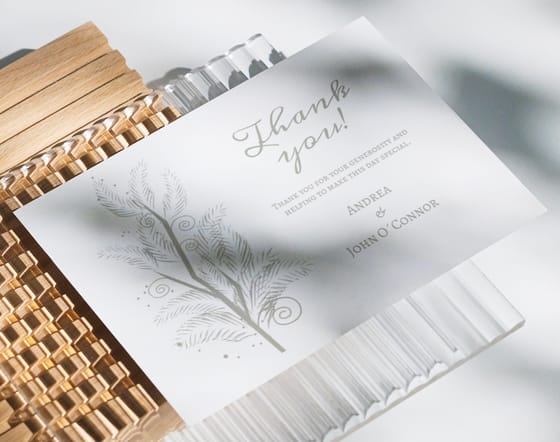
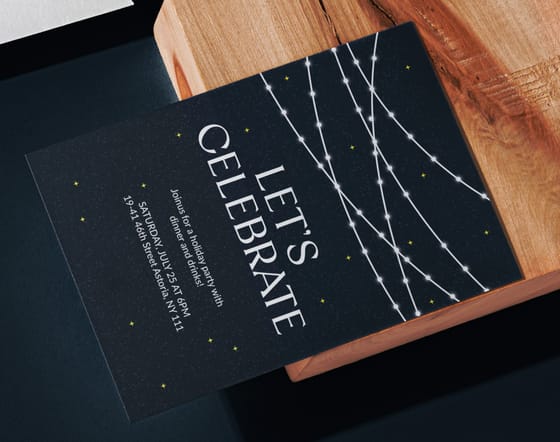
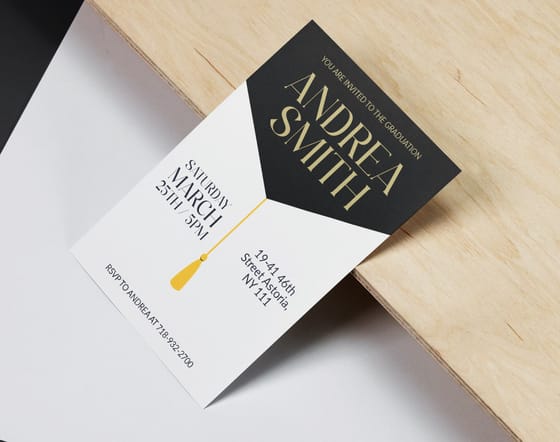
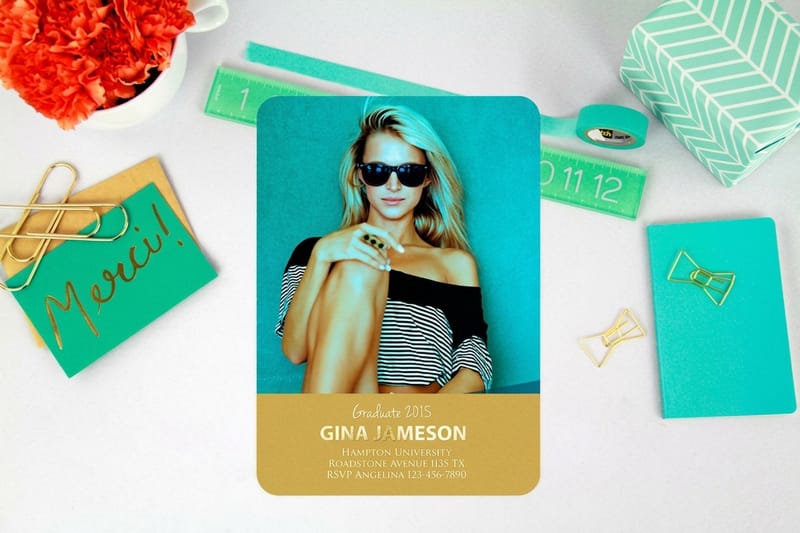
Skip the setup and start from a layout that already has the right size, bleed, and safe zone. Open a blank template or a free design in the online designer, drop in your details, and you are halfway to a finished invitation.
Explore more
Where to go next

By the numbers
The range an invitation order draws on
Common Questions
Common questions about making invitations
What's the best paper stock for wedding invitations?
For weddings, 32pt ultra-thick cardstock or a textured linen stock gives the premium, hefty feel guests expect. A matte or soft-touch finish adds elegance. If you are learning how to make wedding invitations, start with heavier paper, because it signals that this event is special.
How far in advance should I order printed invitations?
Order at least 4 to 6 weeks before you need to mail them. That gives you time for proofing, printing, and addressing. Wedding invitations should go out 6 to 8 weeks before the event, while baby shower and birthday invitations need about 3 to 4 weeks of lead time.
Can I design invitations without professional software?
Yes. 4OVER4.COM provides free design templates and blank templates pre-set with correct dimensions and bleed areas. You can also use free tools like Canva, just make sure you export at 300 DPI in CMYK color mode for accurate print results.
What size works best for most invitations?
The 5x7 inch format is the most versatile. It fits standard A7 envelopes, provides enough space for event details, and feels big in hand. For simpler events, a 4x6 works well and saves on postage costs.
How do I make baby shower invitations that stand out?
When figuring out how to make baby shower invitations, consider shaped invitations such as onesie or bottle shapes. Use soft, pastel-toned designs on a textured stock, and include the theme, registry details, and any game instructions right on the card so guests have everything in one place.
What file format should I use for printing invitations?
Submit your design as a high-resolution PDF with fonts embedded or outlined. PDF preserves your layout, colors, and resolution exactly as you designed them. Avoid submitting JPEGs or PNGs, because they can lose quality during compression and do not support CMYK natively.
How many invitations should I order for my event?
Count your guest list by household rather than by individual guest, then add 10 to 15 percent extra. If you have 80 households on your list, order 90 to 95 invitations. The extras cover last-minute additions, damaged envelopes, and keepsakes, and the per-unit cost drops at higher quantities.
Get Started
Order 25 birthday invitations from $19.77
Pick your format and paper, drop in your details, and we print crisp, premium invitations that feel right the moment your guests open them.
Legal Disclaimer
Gold Standard guarantees apply to all standard orders placed through 4over4.com. Price match requires verifiable proof of a competitor's published price for an equivalent product with matching specifications and turnaround time. Satisfaction guarantee covers manufacturing defects and print quality issues. Contact support with order number and documentation. On-time delivery rate based on tracked orders 1999 to 2026. Individual results may vary based on shipping carrier performance.
