
How to Make Custom Notebooks from Cover to Binding


Choose a cover, a binding style, and an interior paper that fit how the notebook will be used, set your artwork up right, then proof and print. Binding sets the minimum page count, so settle it before you lay out a page.
To make a custom notebook, work through three core choices: the cover material (soft, hard, or specialty like lenticular 3D), the binding style (perfect, saddle stitch, wire-o, or case bound), and the interior paper (weight, color, and ruling pattern). Set your cover art to 300 DPI in CMYK with 0.125 inch bleed, add finishes like foil or debossing, then approve a physical proof before the full run.
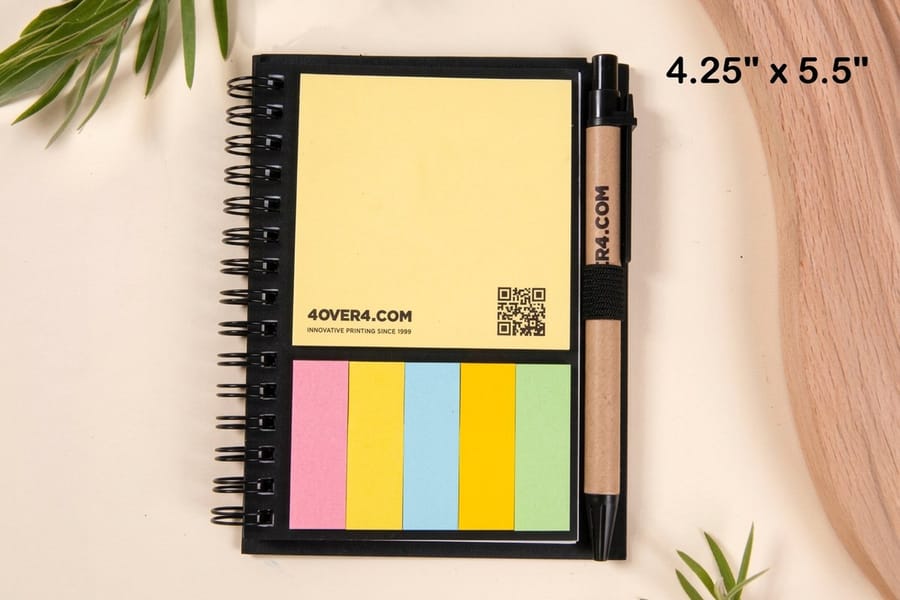
Quick tips
Quick tips for making custom notebooks
Decide the job first, then the build. Pick a cover, a binding style, and an interior paper that match how the notebook will be used, set your artwork to 300 DPI in CMYK with 0.125 inch bleed, and always approve a physical proof before the full run. Design your cover in the online designer, browse the full marketing materials lineup, and 4OVER4.COM prints a notebook people actually keep.
Your starting point for custom notebook design
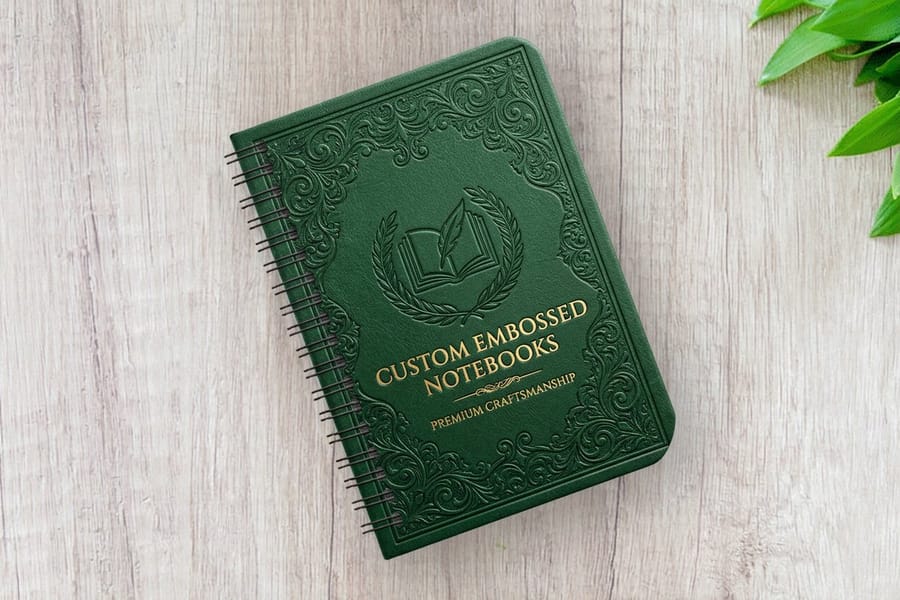
Custom notebooks are not just blank pages stapled together. They are branding tools, client gifts, employee onboarding kits, event swag, and personal creative outlets. The trick is knowing which choices matter and which ones do not. Learning how to make custom notebooks starts with three decisions: cover material, binding style, and page layout. Pick the wrong combination and you end up with a notebook nobody wants to use. Get it right and you have a branded tool people carry everywhere.
4OVER4.COM has helped 150,000+ businesses create print products that actually get used, not tossed in a drawer. With 1,000+ products in the catalog, your notebook options go far beyond basic spiral bound. This guide walks you through how to make custom notebooks from scratch, from choosing your cover stock and binding method to setting up your artwork files correctly. Journals for a corporate retreat and sketchbooks for an art supply brand follow the same steps.
If you have tackled other print projects like custom magnets or figured out how to make envelopes, you already know the basics of file prep. Notebooks just add a few more layers to think about, literally.
Step 1: Define the purpose before you design
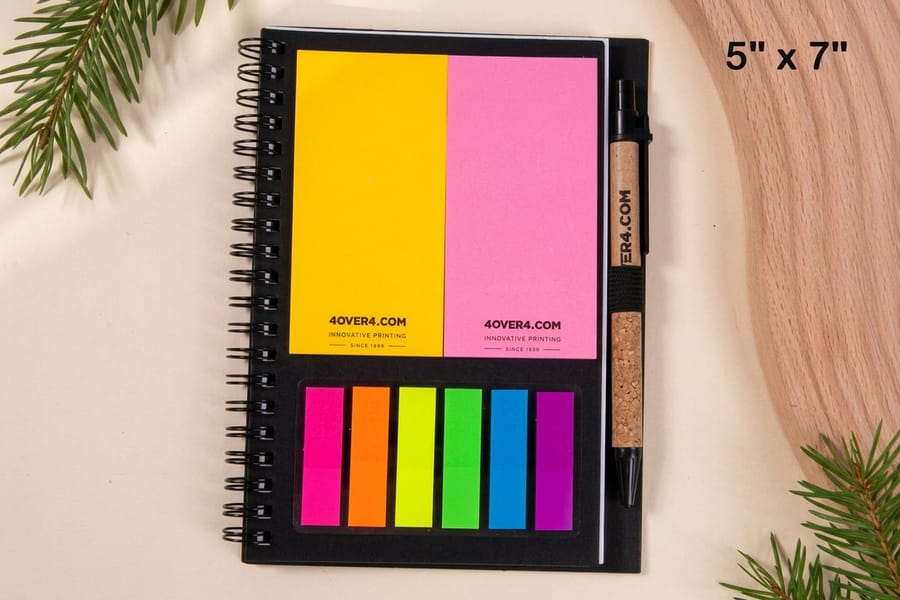
Every good custom notebook starts with a question: who is going to use this, and for what? A lined journal for conference attendees needs different specs than a dot grid sketchbook for designers. A pocket field notebook for outdoor brands will not share dimensions with a full size meeting planner.
Write down three things before you open any design software. First, the primary use case such as note taking, sketching, journaling, or planning. Second, the audience, whether that is employees, clients, retail customers, or event attendees. Third, the environment, from desk use to pocket carry to a backpack toss. These three answers drive every decision that follows.
Corporate notebooks lean toward professional finishes like matte lamination, debossed logos, and neutral color palettes. Retail notebooks can push creative boundaries with bold cover art, unique paper textures, and specialty finishes. Do not design in a vacuum. Design for the person holding it.
Step 2: Choose your cover material
The cover is the first thing anyone touches, and it sets the tone for the entire notebook. You have a few main categories to pick from. Soft covers use a heavier card stock, typically laminated for durability. They are flexible, lightweight, and cost effective for large runs, which makes them great for event giveaways and subscription box inserts.
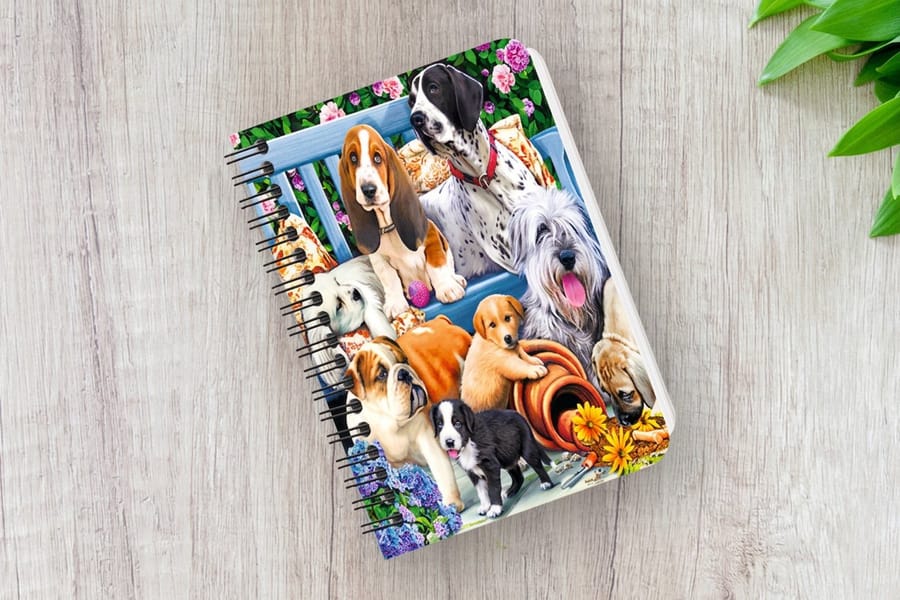
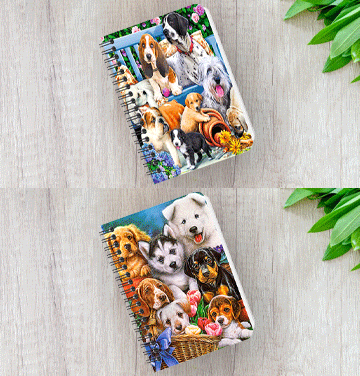
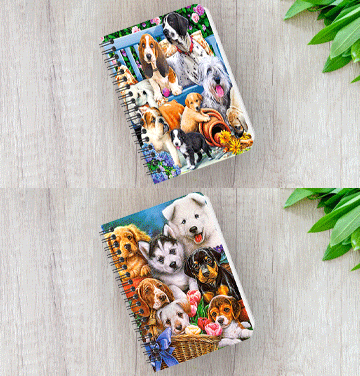
Hard covers use rigid board wrapped in printed paper or fabric. They feel premium, protect pages better, and sit flat on a desk, so they suit client gifts, branded journals and retail products. Specialty covers include options like leather, kraft, or even lenticular 3D materials. A 3D lenticular notebook cover with a shifting image is a notebook people show off rather than shelve. Look at the 30mil clear plastic cards page for an idea of how specialty materials change perception, because the same principle applies to notebook covers.
Whatever you choose, make sure your cover design includes a bleed area of about 0.125 inches on each side and keeps critical text or logos inside the safe zone.
Step 3: Select your binding style
Binding affects how the notebook opens, how flat it lies, and how many pages it can hold. Perfect binding is the flat spine style you see on most paperback books, where pages are glued to the spine. It looks clean and professional, works well for notebooks with 40 to 300 pages and beyond, and the spine can be printed with text for shelf organization.
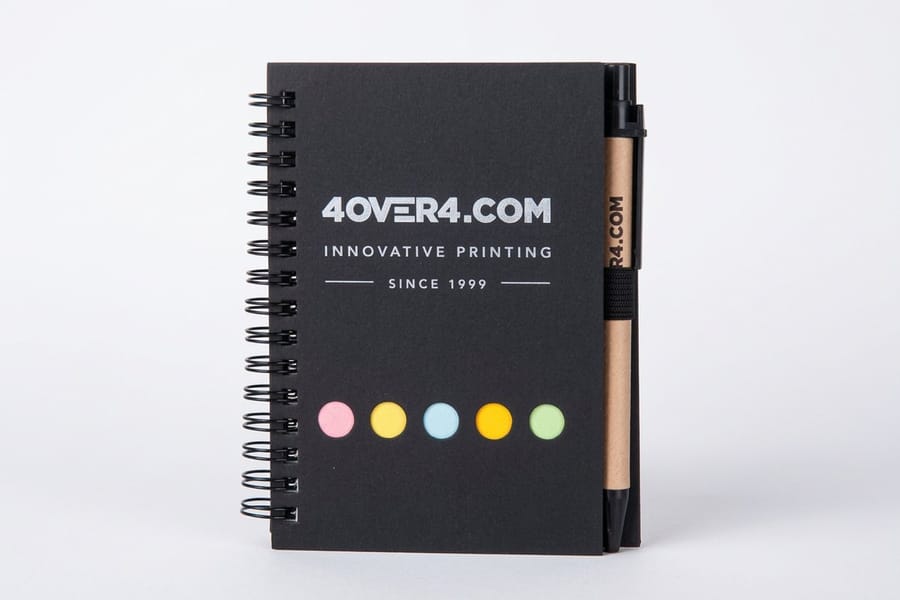
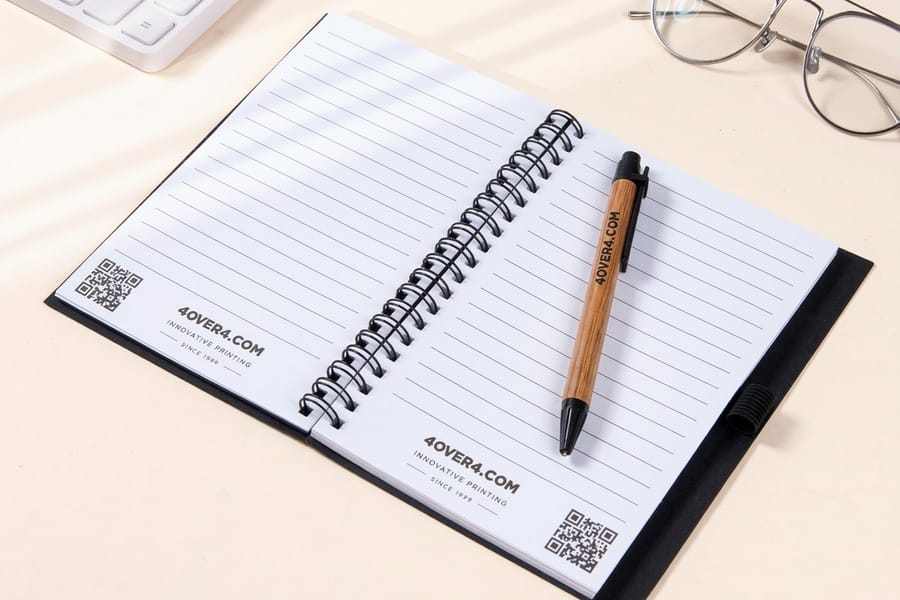
Saddle stitch uses staples through the spine fold. It is the most affordable binding method and works for thinner notebooks of roughly 8 to 64 pages. Notebooks lie relatively flat when opened, which is good for lookbooks, thin planners, and promotional giveaways. Wire-o or spiral binding lets the notebook open completely flat and fold back on itself, ideal for reference notebooks, recipe journals, and anything used while multitasking. The wire comes in different colors to match your brand.
Case binding, also called Smyth sewn, is the premium option. Signatures are sewn together and glued into a hard cover, which is what high end journals and archival notebooks use. It is durable, lies flat, and feels expensive because it is. For more creative print project ideas, the 4OVER4.COM guide hub has dozens of walkthroughs covering different product types.
Step 4: Pick your interior paper
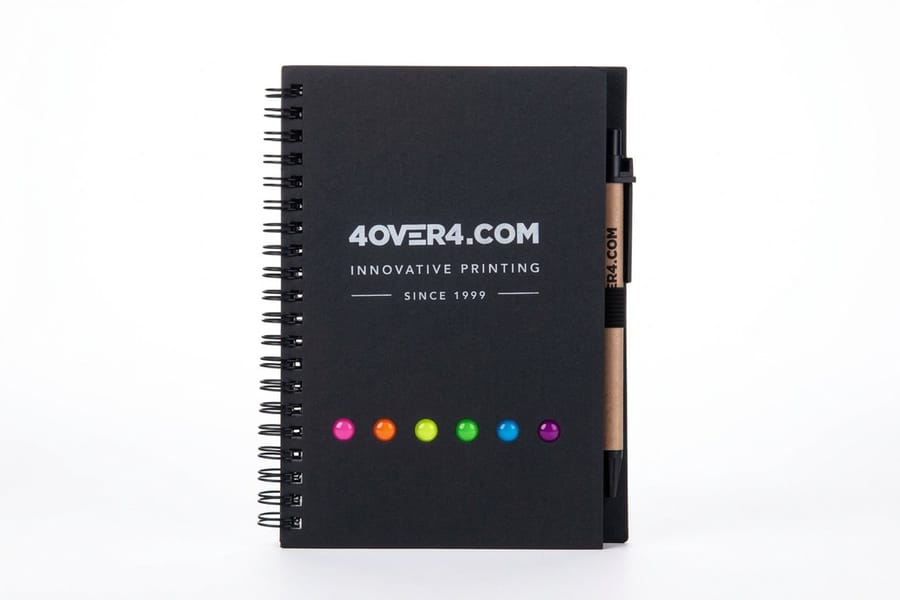
The inside pages matter more than most people think, because paper weight, color, and ruling pattern all affect usability. Paper weight determines how the pages feel and whether ink bleeds through. For writing notebooks, 70 to 80 lb text weight works well. For sketching or marker use, go heavier with 80 to 100 lb text or even card stock for mixed media.
Paper color is usually white or cream. White is standard for business and productivity notebooks. Cream reduces eye strain and feels warmer, which makes it popular for journals and literary style notebooks. Ruling patterns include lined, dot grid, graph, blank, and combination layouts. Lined is universal, dot grid exploded in popularity thanks to bullet journaling, graph works for engineers and architects, and blank suits artists and free thinkers. Some custom notebooks mix patterns, lined on the right page and blank on the left, for maximum flexibility.
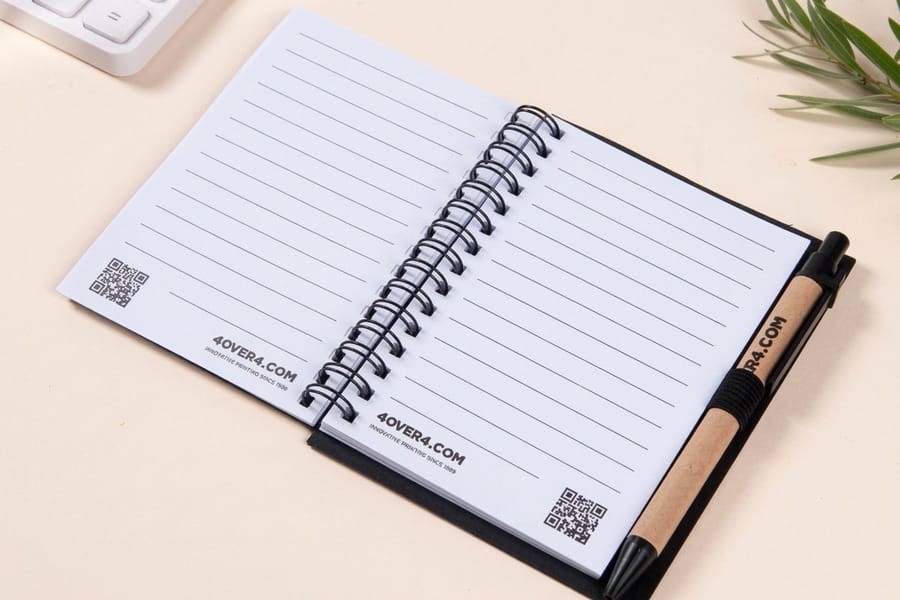
You can also print custom interior pages. Add your logo as a watermark, include branded headers and footers, or print reference content like calendars, conversion charts, and contact pages on select sheets. That turns a generic notebook into a branded experience.
Step 5: Design your cover artwork
Your cover design file needs to be set up correctly or your notebook will look off. Start with a resolution of 300 DPI minimum, because anything lower makes your images look fuzzy in print, and that part is non negotiable. Set your color mode to CMYK, not RGB. Your screen shows RGB colors while printers use CMYK ink, so if you do not convert, your bright blues might come out purple and your reds might shift to orange.
Extend your design 0.125 inches past the trim line on all sides for bleed, which prevents white edges if the cut shifts slightly during production. Keep all important text and logos at least 0.125 inches inside the trim line for the safe zone, because anything closer to the edge risks getting cut off. If your notebook has a flat spine from perfect binding or case binding, calculate spine width based on page count and paper thickness. Most printers provide a spine calculator or template. If you have ever worked through how to fold a brochure, you know how important fold and spine measurements are, and notebooks are the same idea, just thicker.
Submit your file format as a press ready PDF with fonts embedded or outlined, and avoid sending open files like InDesign or Illustrator unless your printer specifically requests them. If you run into file setup questions, the 4OVER4.COM Help Center has detailed guides, and the 3D lenticular notebook blank templates give you correctly sized artwork to build on.
Step 6: Add finishing touches
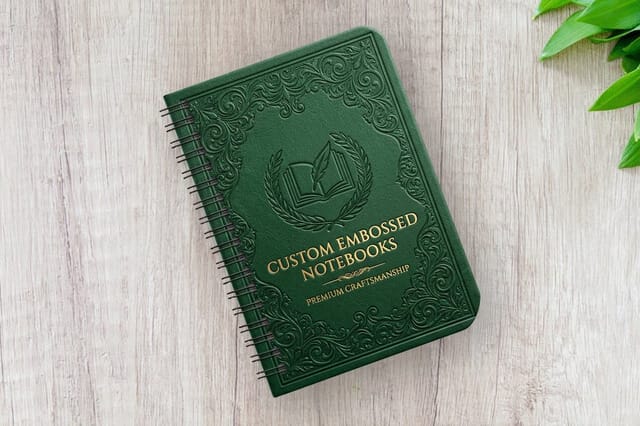
Finishes separate a forgettable notebook from one people actually want to keep. Lamination protects the cover from scratches and moisture. Matte lamination gives a smooth, sophisticated feel, gloss lamination makes colors pop and adds shine, and soft touch lamination feels velvety, the finish people cannot stop rubbing their thumbs across. Foil stamping adds metallic text or graphics in gold, silver, rose gold, or copper. Foil catches light and signals quality, and it is especially effective for logos and titles on dark covers.
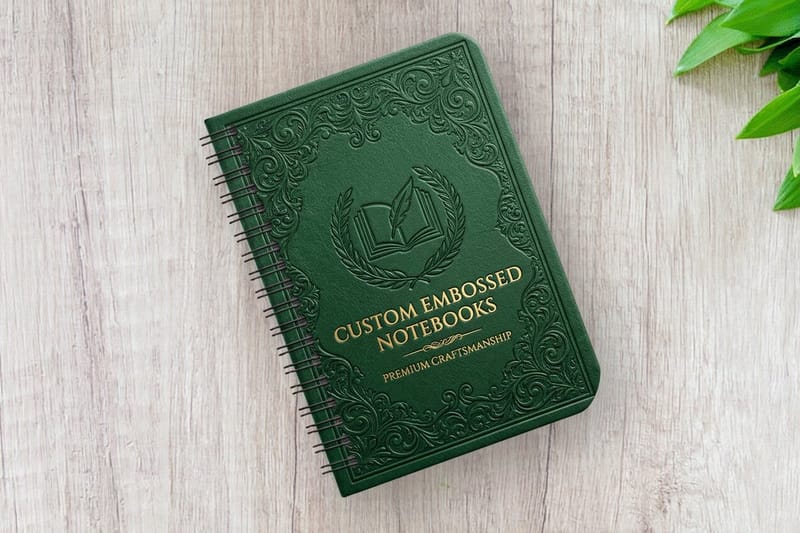
Embossing and debossing create raised or recessed impressions in the cover. Debossed logos on leather or kraft covers look incredible, with no ink needed, just texture and shadow doing the work. Rounded corners soften the look and reduce dog earing, a small detail that makes a notebook feel more premium. Elastic closures and ribbon bookmarks add functionality and signal that this is a tool designed for daily use rather than a cheap giveaway.
If you enjoy other hands on print techniques, read how to clean rubber stamps for keeping your stamp tools sharp, or how to make flyers for another common print project walkthrough.
Step 7: Review, proof, and print
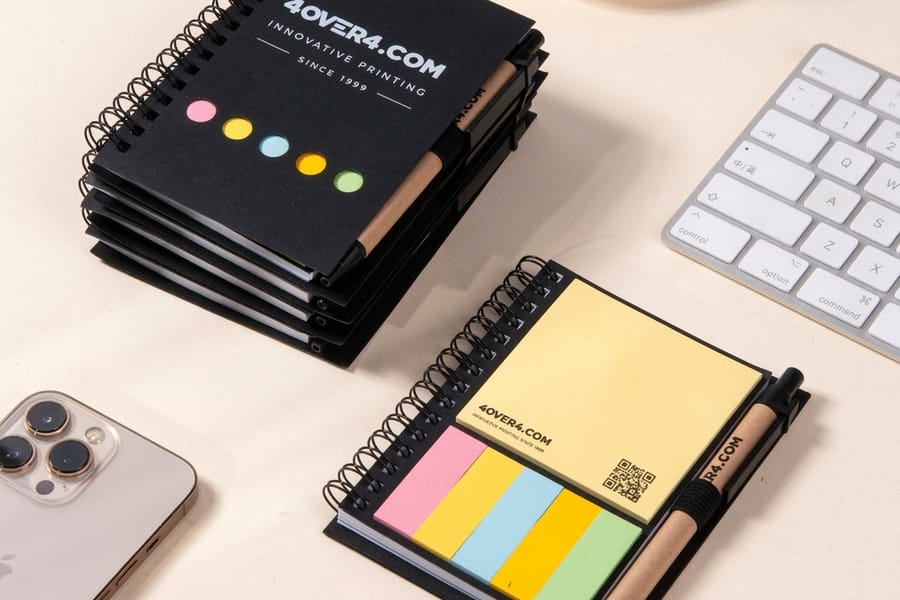
Before you approve anything, request a physical proof. Screen colors lie and paper textures do not translate through a monitor. A proof lets you check color accuracy, text alignment, binding quality, and overall feel. Review every page, check for typos on custom interior pages, verify that the spine text is centered and readable, and flip through to make sure the page order is correct. Open the notebook flat and confirm the binding allows comfortable writing.
Once you approve the proof, production begins. Turnaround depends on quantity, binding style, and finishing options, so a simple saddle stitched notebook prints faster than a case bound journal with foil stamping. Plan accordingly, especially if you are working toward an event date or product launch. 4OVER4.COM prints spiral, embossed and 3D lenticular notebooks, and a 99.8% on-time delivery rate means your deadline is safe.
Pitfalls that ruin custom notebook projects
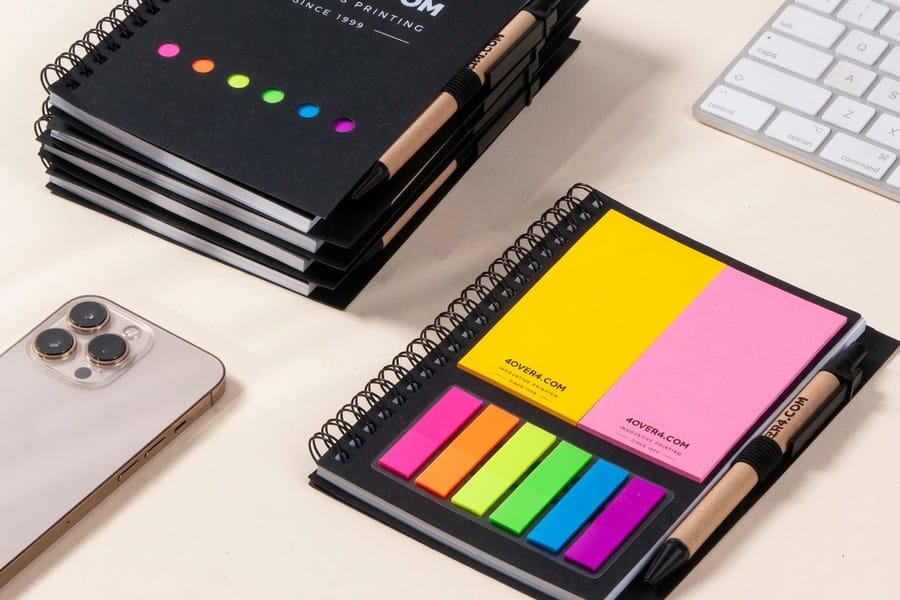
Even experienced designers trip up on notebooks. Ignoring spine calculation is the classic one, because a spine that is too narrow or too wide throws off the entire cover layout. Always calculate based on actual page count and paper stock rather than guessing. Using interior paper that is too thin is another, because if ink or marker bleeds through, the notebook becomes unusable for half its intended audience. Test your paper weight against the writing instruments your users prefer.
Skipping the proof hurts because colors on screen never match print exactly, and a physical proof catches issues a PDF review will not. Overloading the cover design wears poorly, since notebooks get handled constantly and busy designs with tiny text look tired fast. Keep covers bold and simple, and let finishes like foil or debossing do the heavy lifting. Forgetting functional extras like page numbers, a table of contents page, or a "this notebook belongs to" field is a missed opportunity, because those small additions take five minutes to design but make the notebook far more useful.
Wally explains custom notebooks
Match the cover, binding, and paper to the job
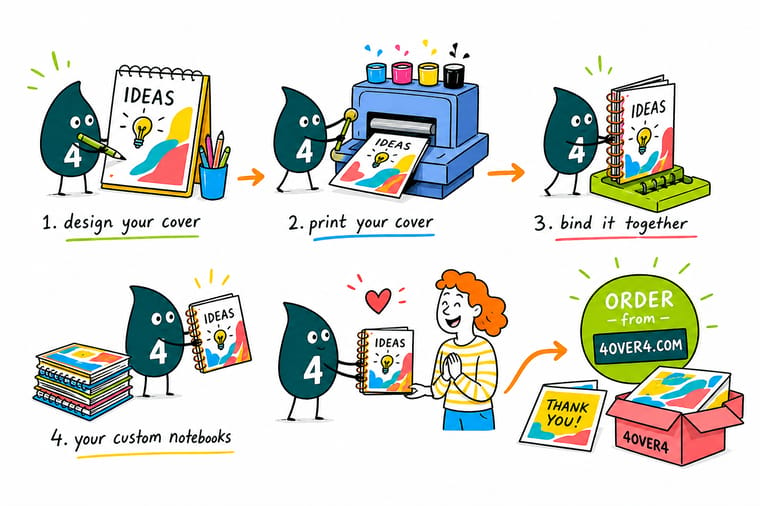
Wally treats a notebook like a stack of three decisions: the cover people touch first, the binding that controls how it opens, and the interior paper that decides whether ink bleeds through. Nail those three, set your art to 300 DPI in CMYK with a clean bleed, and proof it once on real paper. Do that and you get a branded notebook people carry everywhere instead of one that lives in a drawer.
Order custom notebooks →Specs and pricing
Custom notebook specs and pricing
A deluxe spiral notebook starts at $5.00 and a 3D lenticular one at 50 for $763.37, with live specs and price per unit below.

| Quantity | Price Per Unit | Total |
|---|---|---|
| 1 | $5.00 | $5.00 |
| 2 | $5.00 | $10.00 |
| 3 | $5.00 | $15.00 |
| 4 | $5.00 | $20.00 |
| 5 | $5.00 | $25.00 |
| 6 | $5.00 | $30.00 |
| 7 | $5.00 | $35.00 |
| 8 | $5.00 | $40.00 |
| Quantity | Price Per Unit | Total |
|---|---|---|
| 50 | $15.27 | $763.37 |
| 100 | $9.83 | $983.04 |
| 200 | $7.66 | $1,532.24 |
| 300 | $6.94 | $2,081.42 |
| 400 | $6.30 | $2,520.78 |
| 500 | $5.92 | $2,960.13 |
| 1,000 | $3.95 | $3,948.67 |
Print it
Order custom notebooks at 4OVER4
Once you have nailed your notebook design, think about what goes alongside it. If sustainability matters to your brand, explore green printing for eco conscious cover stocks and recycled interior paper. Need notebooks for a last minute event? same day printing can save your timeline. And if you are bundling notebooks with event kits, grab some premium invitations to round out the package.
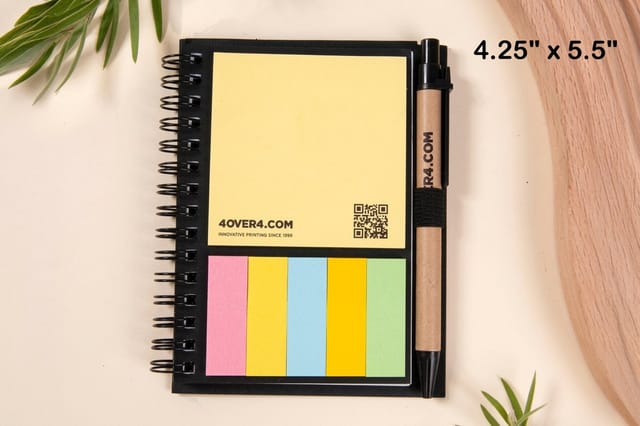
See it in use
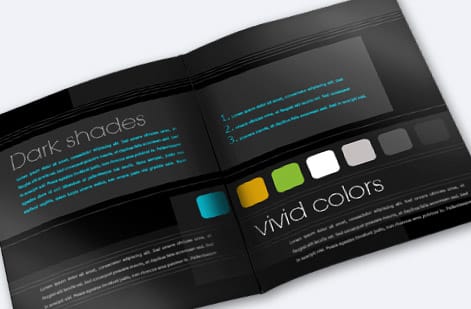
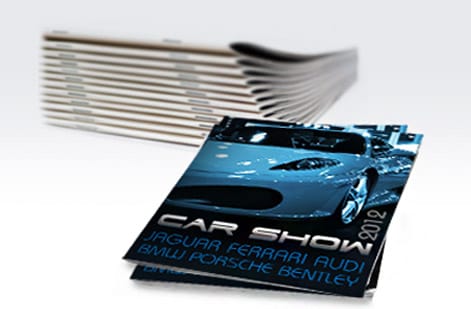
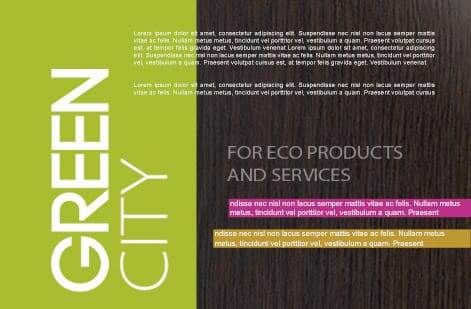
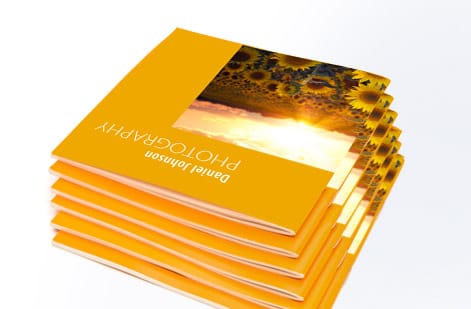
Notebooks and journals we bound for customers

Explore more
Where to go next


By the numbers
Spiral, embossed and lenticular in one shop
Common Questions
Common questions about making custom notebooks
What is the minimum page count for a custom notebook?
It depends on your binding method. Saddle stitched notebooks work with as few as 8 pages, which is 2 sheets folded. Perfect binding usually needs a minimum of around 28 to 32 pages to create a stable spine. Wire-o binding is flexible and works from thin pads up to thick journals.
Can I mix different page layouts inside one notebook?
Yes. You can combine lined, blank, dot grid, and graph pages in a single notebook, and you can add printed pages like calendars, goal trackers, or reference charts between writing sections. Just provide a complete interior PDF with every page laid out in order.
What file format should I submit for custom notebook printing?
Submit press ready PDFs at 300 DPI in CMYK color mode. Include separate files for the cover with spine and the interior pages, embed or outline all fonts, and add 0.125 inch bleed on all sides.
How do I calculate spine width for a perfect bound notebook?
Spine width equals the number of interior pages multiplied by the paper thickness in inches, then divided by 2 because each sheet has two page sides. Most printers provide a spine calculator tool, so always confirm with your printer before finalizing your cover template.
Which binding style is best for notebooks that need to lie flat?
Wire-o twin loop binding and spiral binding both let notebooks open completely flat and fold back on themselves. Case bound Smyth sewn notebooks also lie flat once broken in, and saddle stitch lies reasonably flat for thin notebooks. Perfect binding does not lie flat easily.
What is the best cover finish for notebooks that get heavy daily use?
Matte or soft touch lamination protects against scratches and fingerprints while keeping a professional look. For hard covers, a laminated wrap resists wear from being tossed in bags. Gloss lamination shows fingerprints more easily but makes colors appear more vivid.
Get Started
Order a deluxe spiral notebook from $5.00
Pick your cover, binding, and interior paper, drop in your artwork, and we print a branded notebook that looks sharp and holds up to daily use.
Legal Disclaimer
Gold Standard guarantees apply to all standard orders placed through 4over4.com. Price match requires verifiable proof of a competitor's published price for an equivalent product with matching specifications and turnaround time. Satisfaction guarantee covers manufacturing defects and print quality issues. Contact support with order number and documentation. On-time delivery rate based on tracked orders 1999 to 2026. Individual results may vary based on shipping carrier performance.
