
How to Make Custom Decals From Design to Finished Print


Pick the right vinyl for where the decal lives, build a bold 300 DPI file in CMYK, laminate anything outdoors, then apply with the hinge method. Lamination is the difference between three to five years outdoors and twelve months.
To make custom decals, start with the end use, pick the right vinyl, and prep a print-ready file. Choose your material based on where the decal will live, design bold artwork at 300 DPI in CMYK with a 0.125 inch bleed, add a laminate for anything outdoors, then review your proof before printing. Clean the surface and apply with the hinge method for a smooth, bubble-free finish.

Quick tips
Quick tips for making custom decals
Make custom decals in eight steps. Start with the end use, choose vinyl that matches the environment, and design bold artwork at 300 DPI in CMYK with a 0.125 inch bleed. Convert text to outlines, add a laminate for anything outdoors, and review your digital proof before printing. Clean the surface, apply with the hinge method, and squeegee from the center out for a smooth, bubble-free finish. 4OVER4.COM customers who follow this order get decals that stick clean and last for years.
Why knowing how to make custom decals matters
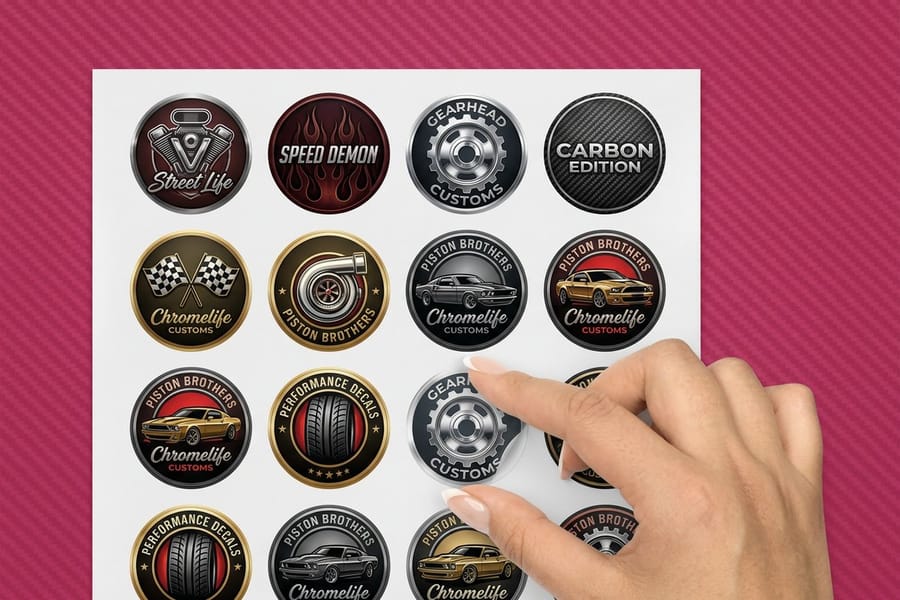
Learning how to make custom decals does not take a design degree or a shelf of expensive equipment. It takes a clear idea, the right file, and a printer that does not cut corners. Custom decals stick to cars, laptops, windows, walls, helmets, and water bottles, which makes them one of the most versatile print products you can order.
This guide walks the whole path, from deciding what the decal has to do through designing the artwork, prepping the file, and applying it clean. If you want to build your art without downloading software, the online designer lets you do it right in the browser. Once your branding is dialed in, you can carry the same look onto custom magnets for another surface to show it off. Every material, size, and finish named in the steps below is orderable from our custom decals range, so you can price the run in one tab while you build the file in another.
Step 1: Decide what your decal needs to do
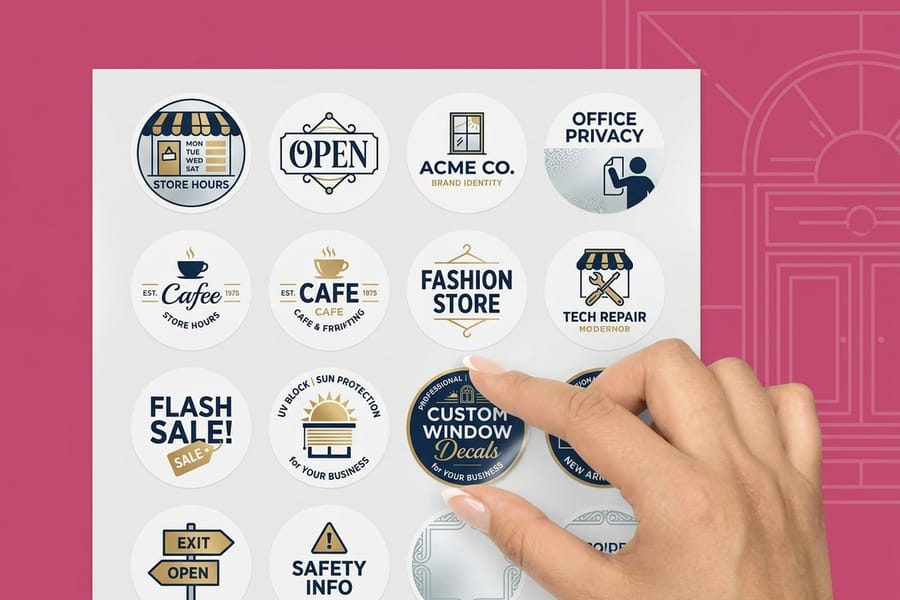
Before you open any design tool, answer one question. Where is this decal going? The answer drives everything else, from the material and adhesive to the finish and the size.
Outdoor decals need UV-resistant inks and waterproof vinyl. Indoor decals can run on thinner stock. Window decals often call for clear or static-cling material, and vehicle decals have to survive highway speeds and the car wash. The surface matters too. Glass and metal are easy, while textured walls and rough plastics need a stronger adhesive. Get clear on the end use before you design a single pixel.
Decide the shape at the same time. If the outline of your logo is doing the talking, plan for die-cut decals from the first sketch, because a contour cut has to be drawn into the file as a vector path rather than added at the end. If the decal is going on a busy surface, a square or rounded rectangle with a border reads more clearly than a complicated silhouette.
If this decal is part of a bigger branding push, keep every piece consistent. Our guides on how to make envelopes and how to make flyers use the same setup rules, so your logo and colors match across the board.
Step 2: Choose your decal material
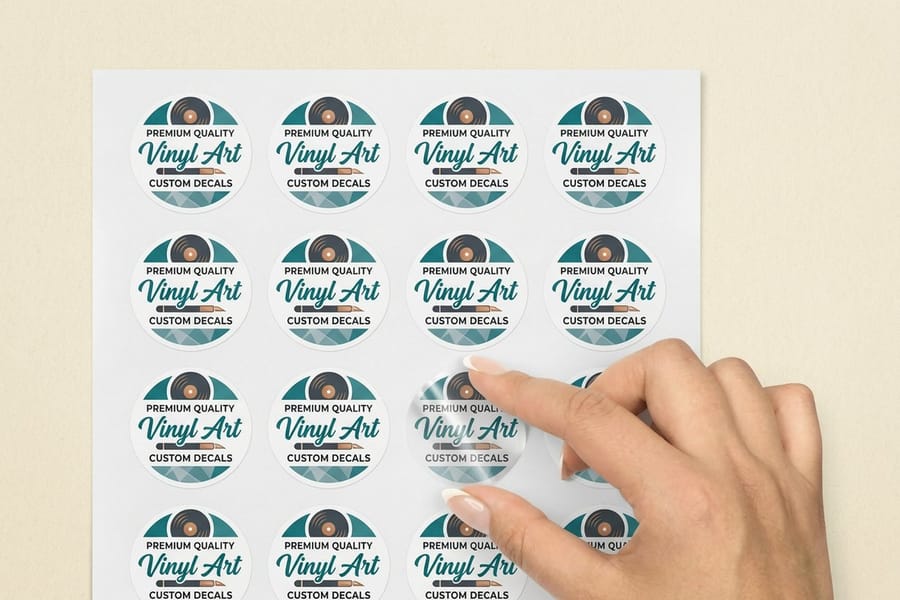
Material is the backbone of any custom decal. Pick the wrong one and your design peels, fades, or bubbles within weeks. Most jobs land on custom vinyl decals, and the real decision inside that family is what sits behind the graphic and how long it has to stay there: a laminated vinyl job holds up 3 to 5 years outdoors, while an unlaminated one starts showing wear in 12 to 18 months. The common stocks stack up like this.
- White vinyl is the default. The opaque background works on any surface color, which makes it ideal for logos and text-heavy designs.
- Clear vinyl shows the surface underneath for that printed-on-glass look, which is the pick for window decals.
- Reflective vinyl catches light at night and suits safety decals, vehicle markings, and outdoor signage.
- Static cling uses no adhesive at all. It holds by static charge, repositions easily, and is great for temporary window promotions.
- Transfer decals apply like a temporary tattoo, so the graphic moves onto the surface and the backing peels away.
Each stock prints and wears differently, so match the material to the job. 4OVER4.COM carries vinyl decals and a full range of specialty stocks across the decal printing lineup, so you never have to compromise on where a decal can live.
Step 3: Design your artwork
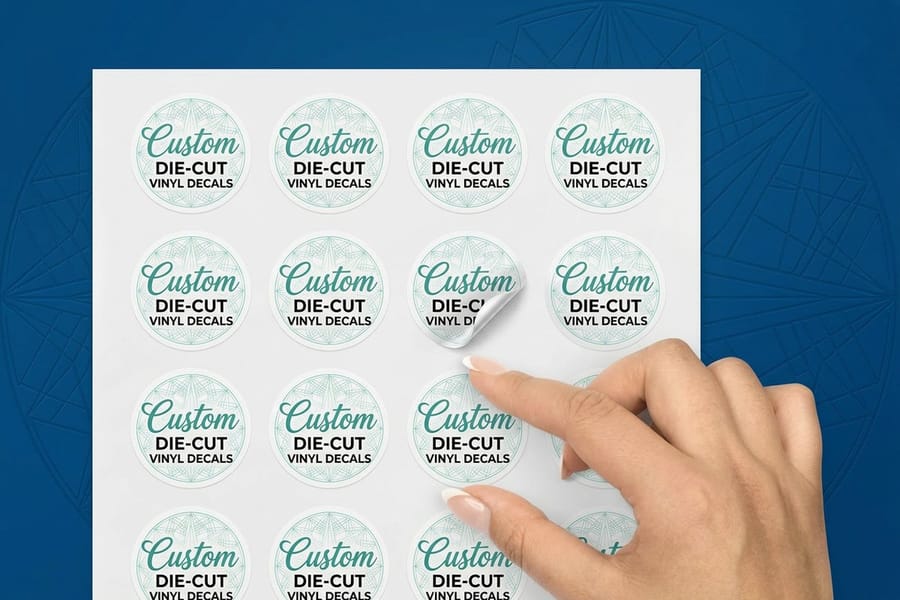
To design for custom decals, build the file at the exact finished size in CMYK at 300 DPI, extend the art 0.125 inches past the trim on all four sides, and keep the cut line on its own vector layer. Good decal design is bold, simple, and readable from a distance. That is the golden rule. Fine details and tiny type get lost, especially on outdoor decals seen from several feet away.
- Resolution. Design at 300 DPI minimum. Anything lower looks fuzzy once printed.
- Color mode. Use CMYK, not RGB. CMYK is the language of print, while RGB is built for screens.
- Bleed area. Extend your design 0.125 inches past the trim line on every side so no white edges show after cutting.
- Safe zone. Keep critical text and logos at least 0.125 inches inside the trim line so nothing important gets clipped.
- File format. Send a PDF, AI, EPS, or high-resolution PNG. Avoid JPEGs where you can, since they compress and lose quality.
- Cut path. Draw the shape you want cut as one closed vector path on its own layer, unfilled and clearly named, so the cutter reads it as a path to follow instead of printing it as artwork.
If vector graphics are not your thing, that is fine. Use the online designer or upload a high-res image, as long as it meets the resolution and bleed rules above.
Sticker art and decal art are close cousins with one real difference. A sticker is usually read up close on a laptop lid or a bottle and can carry fine detail, while a decal is read from several feet away or through glass, so it needs heavier weights, simpler shapes, and stronger contrast. If you are making both from the same logo, the walkthrough on how to design custom stickers covers the sticker side, and this page stays the reference for how to design custom decals.
Decal design rules that survive cutting and weather
A decal has to survive two things a monitor never shows you: a blade tracing your artwork, and years of sun. Build both into the file while you are still designing, not after the proof comes back.
- Offset the contour 0.125 inches from the art. Same number as your bleed, used the other direction. Draw the cut line as one closed path sitting 0.125 inches outside the printed edge, so any small shift on the cutter takes a bite of blank vinyl instead of your logo.
- Keep the contour simple. Every deep notch and sharp inside corner is a spot where the blade slows and the waste vinyl tears while it is being weeded. Round the tight corners, bridge the small gaps between script letters, and let one clean outline hold the whole shape rather than tracing every serif.
- Respect a minimum stroke weight. Outlines, rules, and keylines under roughly 1 point print thin and cut worse. Thicken them before you send the file, and set small type in a medium or bold weight instead of a light one.
- Drop thin isolated elements. A floating dot, a hairline tail on a script capital, or a detached ring with nothing anchoring it will catch a fingernail and peel first. Merge it into the main shape, thicken it, or cut it from the design.
- Pick UV stable colors. Reds, oranges, and bright purples shift first outdoors. Deep blues, blacks, greens, and white hold their color longest. A UV-resistant laminate is what buys you the 3 to 5 years outdoors, and without it you should expect visible wear in 12 to 18 months whichever colors you chose.
- Check contrast at reading distance. Print the artwork at final size on plain paper, tape it where the decal will actually live, then back up. Dark ink on light vinyl and light ink on dark vinyl both read. Mid-tone on mid-tone disappears at several feet, and it disappears faster on a moving vehicle or a sunlit window.
Two checks before you upload. Hide every layer except the cut path and confirm it is one closed shape with no stray points or doubled lines. Then view the art at 100 percent at the size you are ordering and read the smallest word on it out loud. Fixing either one now costs minutes; fixing it after the press run costs the whole order.
Step 4: Set up your file for print
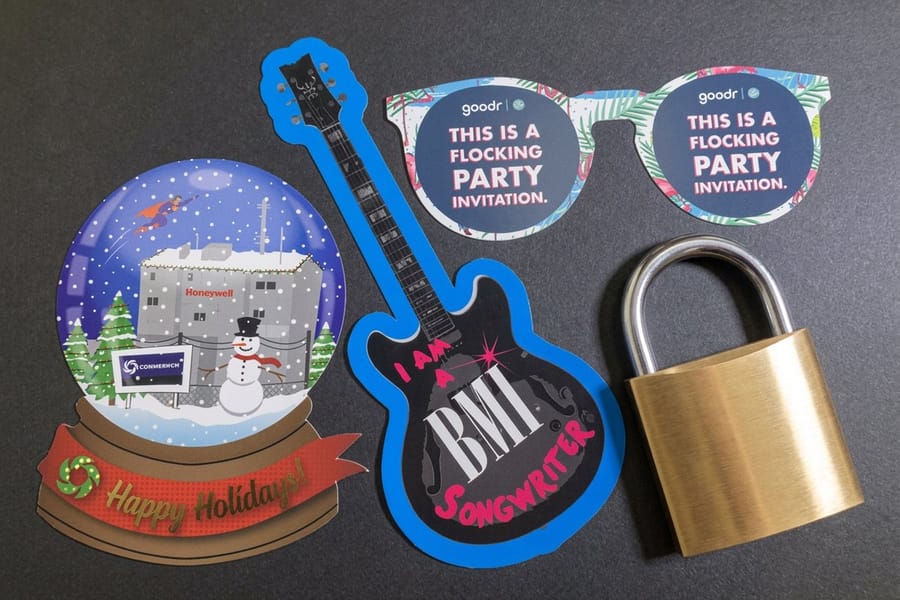
File setup is where most decal projects go sideways. A design that looks great on screen can print poorly if the file is not prepared correctly, so a few minutes here saves a reprint later.
Convert all text to outlines. This locks your fonts in place so they cannot shift or substitute during printing. Skip it and your carefully chosen typeface might render as a default system font. Then flatten your layers, because transparent layers, blend modes, and effects can all cause surprises at the press.
Check your die line. If you are ordering custom die-cut stickers or contour-cut decals, the file needs a vector cut path on its own layer to tell the cutter exactly where to trim. Double-check your dimensions too, since a design built at 3 by 3 inches will not look right blown up to 12 by 12. You can even add a scannable QR code to the artwork so people tap straight through to your site.
Step 5: Pick your finish

The finish on your decal shapes both how it looks and how long it lasts. It is not just cosmetic.
- Gloss finish gives high shine that makes colors pop, which is great for bright, photo-heavy designs. The trade-off is that it shows fingerprints and glare in direct sun.
- Matte finish has a soft, non-reflective surface that reads easily in bright light and feels more premium, ideal for text-heavy decals and professional branding.
- Laminate overlay adds a protective top layer that resists scratching, UV fading, and moisture, which extends outdoor lifespan a lot.
For indoor decals that will not see much handling, you can skip lamination. For anything outdoors or on a vehicle, laminate it. Every time.
Step 6: Choose the right size and shape
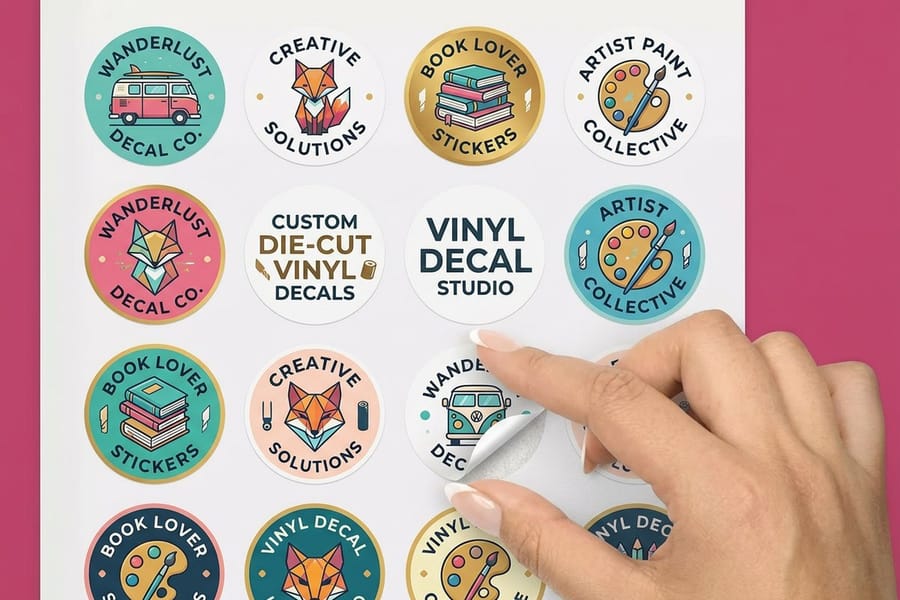
Decals come as standard rectangles, circles, ovals, and custom die-cut shapes. The shape you pick depends on your design and where it is headed.
Die-cut decals follow the contour of your artwork, so a logo-shaped decal looks cleaner and more professional than a rectangle floating in white space. They cost a little more, but the visual impact earns it. Standard shapes still work perfectly for bumper stickers, product labels, and simple branding, so do not overcomplicate it when a rectangle does the job.
Size matters just as much. Measure the surface where the decal will go and leave a small margin around the edges for clean application. Too big for the space looks sloppy, and too small disappears. When you want that contour-cut look, die-cut decals are the way to go.
Step 7: Place your order and review your proof
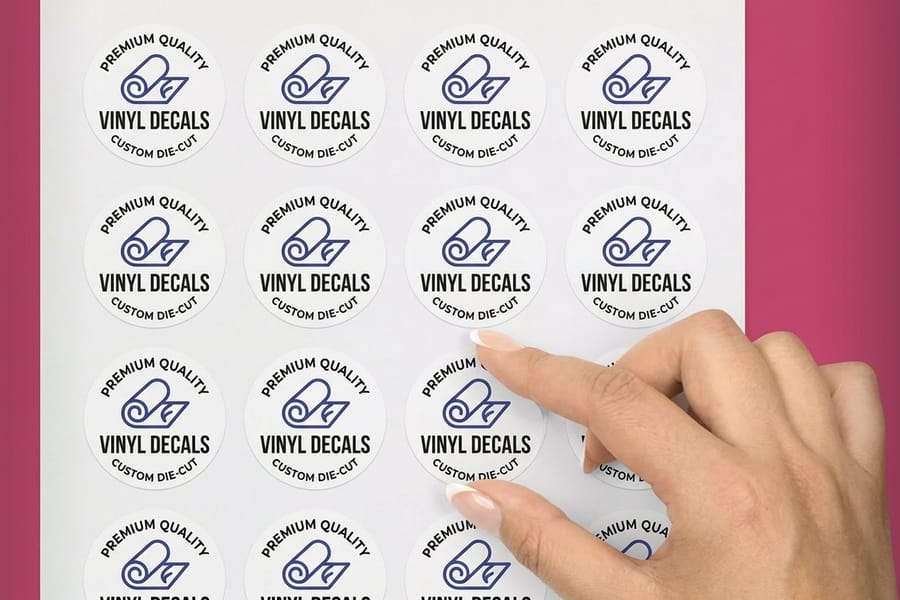
Never skip the proof review. This is your last chance to catch an error before a full run of decals rolls off the press.
Check the spelling. Check the colors. Check the dimensions and the cut path. Look at it on your phone and on a larger monitor, then ask a colleague to review it with fresh eyes. 4OVER4.COM provides digital proofs so you can verify everything before production starts, and the five minutes it takes beats reprinting because of a typo.
Want more print project tips while you wait? The guide hub covers everything from how to fold a brochure to how to clean rubber stamps.
Step 8: Apply your decals like a pro
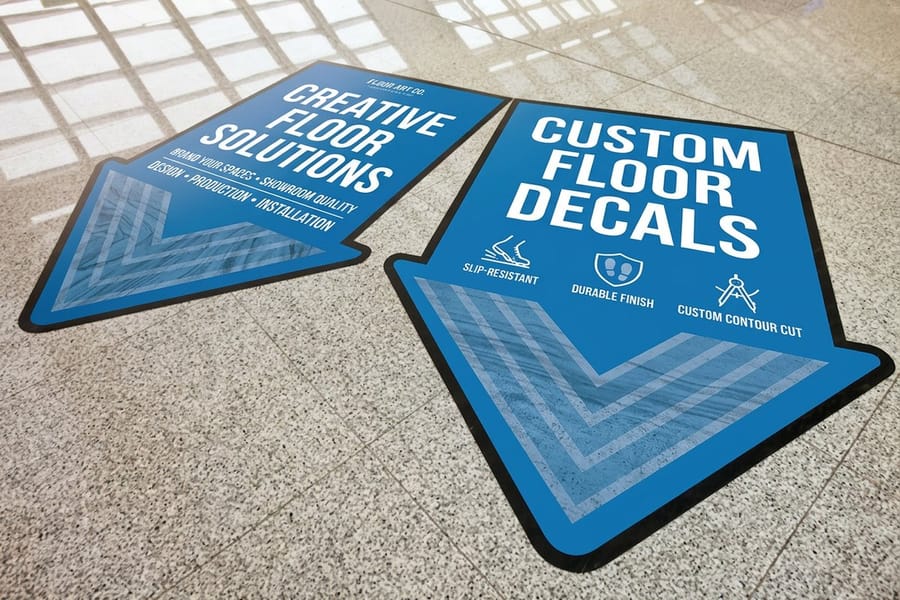
You have got your decals in hand. Now comes application, and messing this up makes even the best print job look bad.
Clean the surface first. Wipe it down with rubbing alcohol or a mild cleaner, since any dust, oil, or residue weakens the adhesive bond, then let it dry completely. For large decals, use the hinge method. Tape the decal in position along one edge, peel the backing from one side, smooth it down with a squeegee or credit card, then repeat on the other side, always working from the center outward to push air bubbles to the edges.
Small bubbles can be pricked with a pin and smoothed flat, while large ones mean you peel that section back and reapply. Apply in moderate temperatures between 50 and 90 degrees Fahrenheit, because extreme cold stiffens the adhesive and extreme heat makes it gooey. If you want a running start, grab the free decal blank templates and design straight over them.
Mistakes that ruin custom decals, and how to dodge them
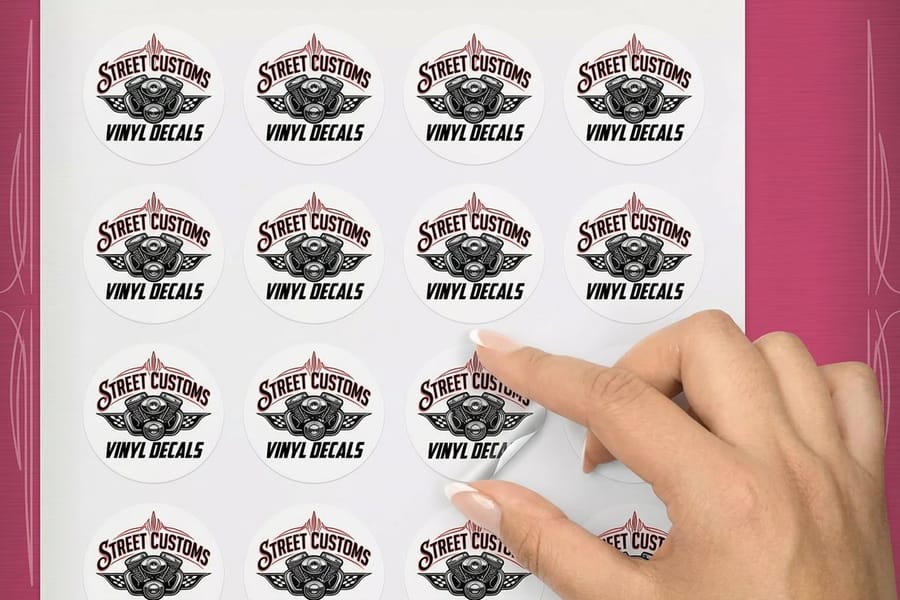
Even experienced designers trip up when they are learning how to make custom decals. These are the errors the 4OVER4.COM production team sees most often.
- Designing in RGB instead of CMYK. Screen colors will not match printed colors, so always convert to CMYK before you export.
- Forgetting bleed. No bleed means white edges on the finished decal. Add 0.125 inches on every side.
- Using low-resolution images. A logo pulled from a website at 72 DPI prints blurry. You need 300 DPI minimum.
- Skipping the proof review. Typos, wrong phone numbers, and outdated logos slip through constantly. Always read the proof carefully.
- Choosing the wrong material. Paper-based decals outdoors will peel and fade within weeks. Match the material to the placement.
- Applying to dirty surfaces. Grease, dust, and moisture all block proper adhesion, so clean first and apply second.
Dodge these six and your decals will look sharp, stick properly, and last. When you are ready, browse the full decal printing range or compare finishes with custom stickers. Running a launch or event alongside your decals? Add matching invitation cards to get the word out.
Wally explains custom decals
The right vinyl plus a clean file equals a decal that sticks for years
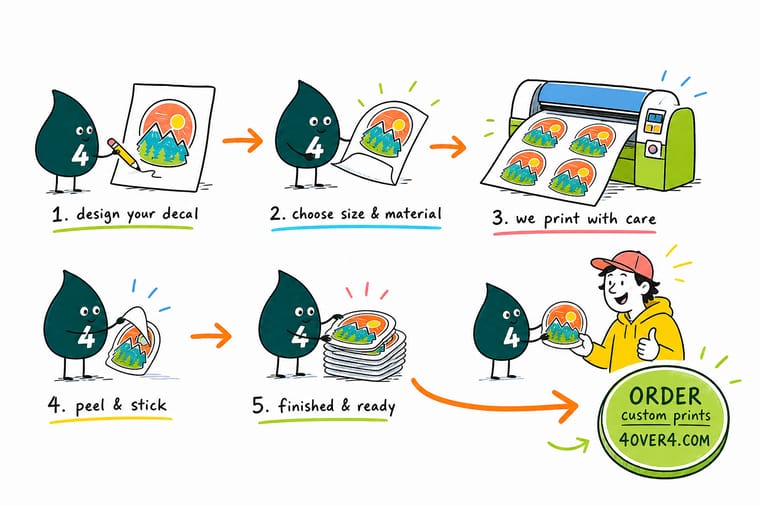
Wally treats a decal like a tiny billboard. Pick the vinyl for where it lives, build the art bold at 300 DPI, laminate anything that faces the weather, then squeegee from the center out so no bubbles hide under your logo. Do that and your decal reads sharp and holds tight long after the cheap ones have curled at the corners. When you are ready, 4OVER4 prints it to your exact shape and size.
Order custom decals →Specs and pricing
Custom decal specs and pricing
Die-cut and vinyl decals both start at 25 for $93.37, with live specs and price-per-unit below. Sizes, materials, and finishes update in real time.

| Quantity | Price Per Unit | Total |
|---|---|---|
| 25 | $3.73 | $93.37 |
| 50 | $1.91 | $95.56 |
| 100 | 100.0¢ | $99.95 |
| 200 | 56.3¢ | $112.59 |
| 300 | 41.4¢ | $124.13 |
| 400 | 33.9¢ | $135.65 |
| 500 | 29.2¢ | $146.10 |
| 600 | 26.4¢ | $158.17 |
Print it
Order decals and die-cut vinyl at 4OVER4
Standard decals start at $39.61, and the die-cut and vinyl options add contour cuts and heavy-duty outdoor stock. That is the lineup most decal projects start from.

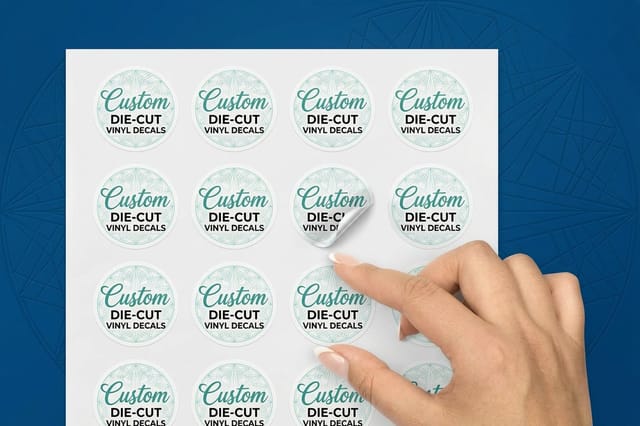
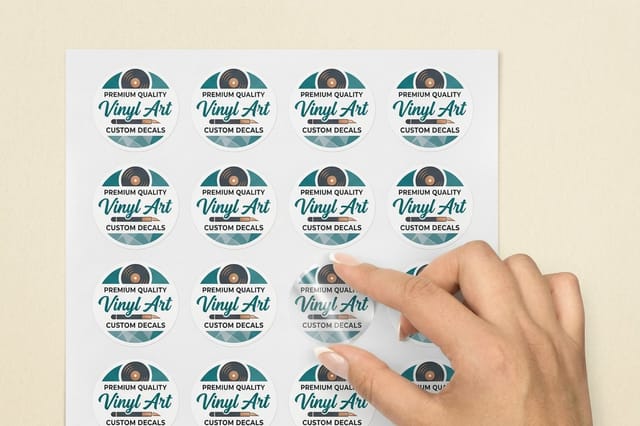
See it in use
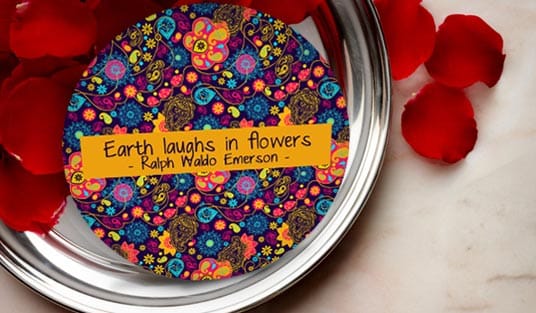
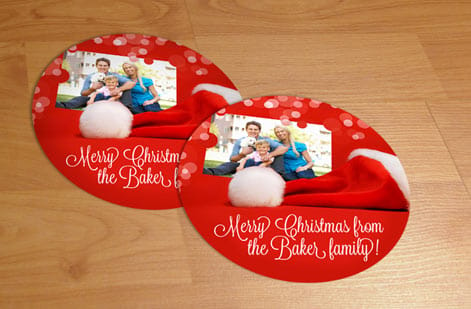
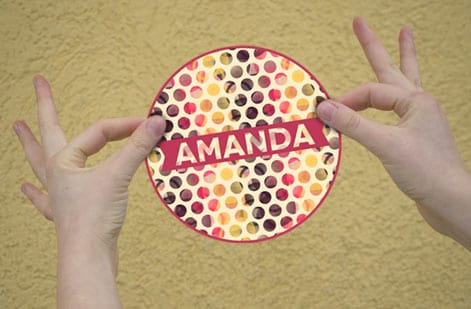
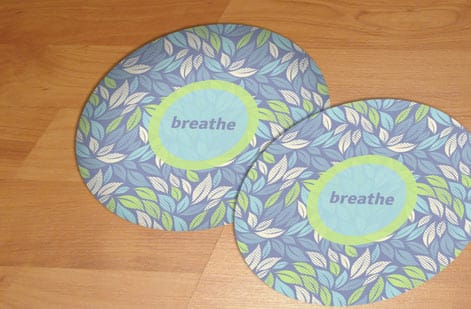
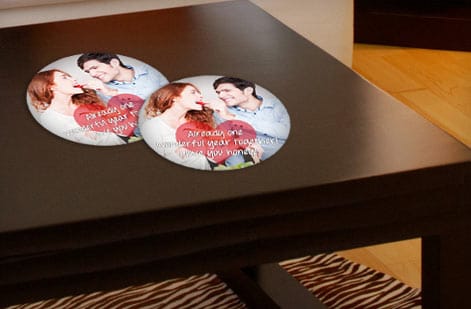
Decals and die-cuts we ran for customers



Explore more
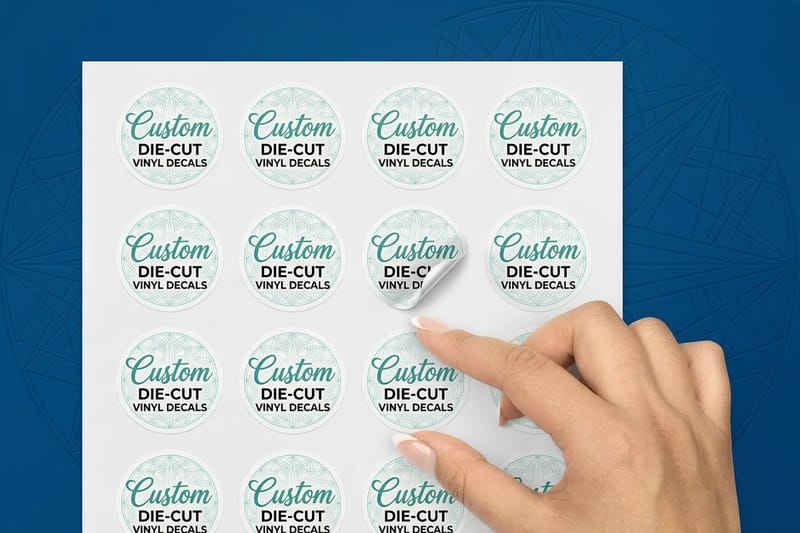
Where to go next




By the numbers
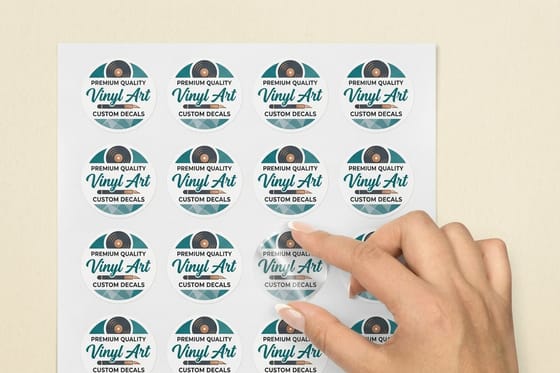
The label press that cuts your contour
Common Questions
Common questions about making custom decals
What file format works best for custom decal printing?
PDF is the safest choice because it locks in your fonts, colors, and resolution across different systems. AI and EPS files work well too. Whatever you send, set the file to CMYK color mode at 300 DPI with a 0.125 inch bleed on all sides so nothing shifts or gets clipped at the press.
How do I design a decal that cuts cleanly?
Draw the cut line as one closed vector path on its own layer, offset 0.125 inches outside the printed art, and keep the shape simple, since rounded corners weed and cut better than deep notches and sharp inside angles. Thicken any outline under roughly 1 point, remove floating dots and thin detached pieces that would peel at the edge, and build the file at the finished size in CMYK at 300 DPI. If the contour is a single closed path with no stray points or doubled lines, the blade follows your artwork exactly.
Can I make custom decals without design software?
Yes. The 4OVER4.COM online designer lets you upload images, add text, and arrange everything right in your browser with no downloads. You can also start from a blank decal template and build out from there.
How long do vinyl decals last outdoors?
Laminated vinyl decals usually last 3 to 5 years outdoors, depending on sun and weather. A UV-resistant laminate is what extends that lifespan and keeps the color from fading. Unlaminated decals tend to show wear within 12 to 18 months.
What is the difference between a decal and a sticker?
A decal is usually built for transfer application, where the graphic moves onto the surface and the backing peels away. A sticker has a self-adhesive backing and goes straight on. In everyday use people swap the terms freely, and custom decals from 4OVER4.COM cover both styles.
Can I add a QR code to my custom decal?
Absolutely. Create a scannable code with the free QR code generator, then drop it into your decal artwork. Keep the code at least 1 inch square so phones read it reliably, and test the scan before you send the file to print.
How do I remove a custom decal without damaging the surface?
Warm the decal with a hair dryer for 30 to 60 seconds to soften the adhesive, then peel slowly from one corner. Rubbing alcohol or a commercial adhesive remover clears any leftover residue. Static cling decals lift off instantly with no residue at all.
Get Started
Order 25 vinyl decals from $93.37
Pick your material and shape, upload your artwork, and we print bold, durable decals that stick clean on any smooth surface.
Legal Disclaimer
Gold Standard guarantees apply to all standard orders placed through 4over4.com. Price match requires verifiable proof of a competitor's published price for an equivalent product with matching specifications and turnaround time. Satisfaction guarantee covers manufacturing defects and print quality issues. Contact support with order number and documentation. On-time delivery rate based on tracked orders 1999 to 2026. Individual results may vary based on shipping carrier performance.
