
How to Get Custom Shipping Boxes for Your Brand


Measure the product, match the box style and flute, design on the dieline, and approve a proof before the full run. The flute sets both the protection and the print quality, and you cannot change it after the dieline is cut.
To get custom shipping boxes, work through it in order: measure your product and add half an inch to an inch of clearance, pick a box style that fits the job, choose a corrugated flute that suits both the weight and your artwork, design your file in CMYK on the printer dieline, then approve a physical proof before the full run. Order in bulk for the best per-box price and print the inside of the box too, because that is the first thing your customer sees.
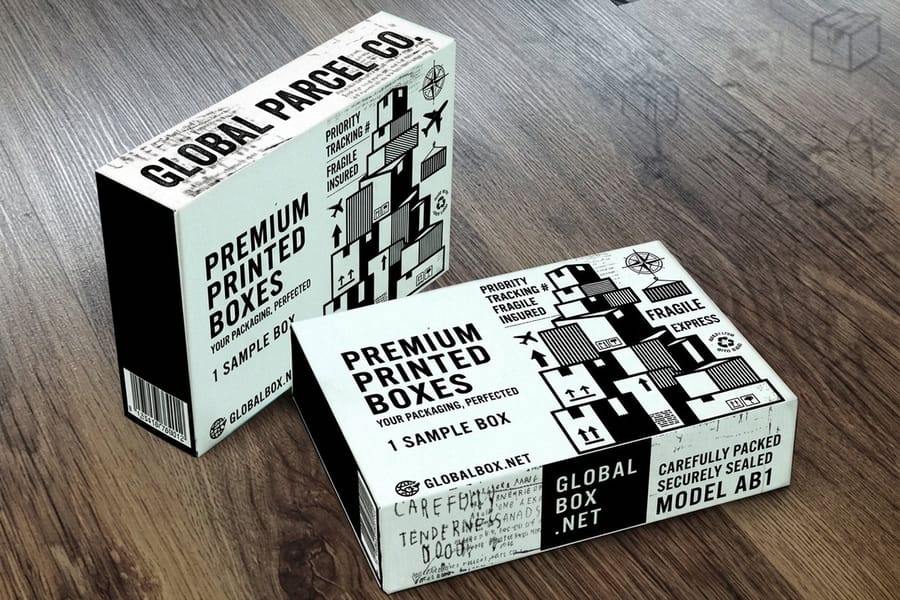
Quick tips
Quick tips for ordering custom shipping boxes
Getting custom shipping boxes takes five moves: measure your product with its padding, choose a box style and corrugated flute that fit the weight and the artwork, design your file in CMYK on the printer dieline, approve a physical proof, then order in bulk for the best per-box price. Brands that print the inside of the box as well as the outside turn every delivery into a marketing moment. 4OVER4.COM prints custom shipping boxes across more than 1,000 products with real specs and pricing you can check before you order.
Why custom shipping boxes matter for your brand
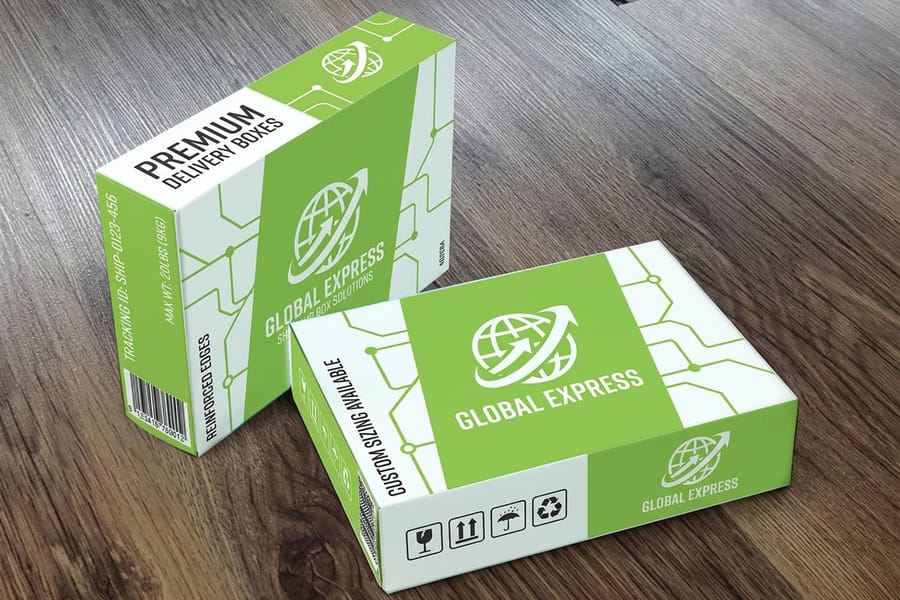
To create custom cardboard boxes you measure the product, choose a box style, pick a corrugated flute, lay your artwork on the dieline, and approve a printed sample before the full run. That is the whole job in five moves, and the steps below are the detail behind each one.
A custom shipping box does more than hold your product. It is the first physical thing your customer touches, and it sets the tone before they even open the lid. A plain brown box says nothing about you. A branded box with your logo, your colors, and maybe a free QR code printed on the inside flap tells buyers you care about every detail.
If you are working out how to get custom shipping boxes, you are already thinking ahead. The process is simple once you break it into steps. You measure the product, pick a box style, design the artwork, and place the order. 4OVER4.COM makes file setup painless with ready design templates so you are not starting from a blank page.
Cardboard is the shorthand and corrugated is the material: a fluted inner wave glued between two flat liners. Every style in our custom cardboard boxes range is built that way, from custom cardboard boxes in mailer style for flat, light retail items to custom cardboard boxes in kraft, whose unbleached brown liner hides handling marks and holds one and two color art well.
This guide walks through every step, from choosing corrugated material to avoiding the mistakes that cause reprints. If you are planning other branded packaging touches, our guide to custom magnets covers inserts that pair well with a shipment.
Step 1: Measure your products accurately
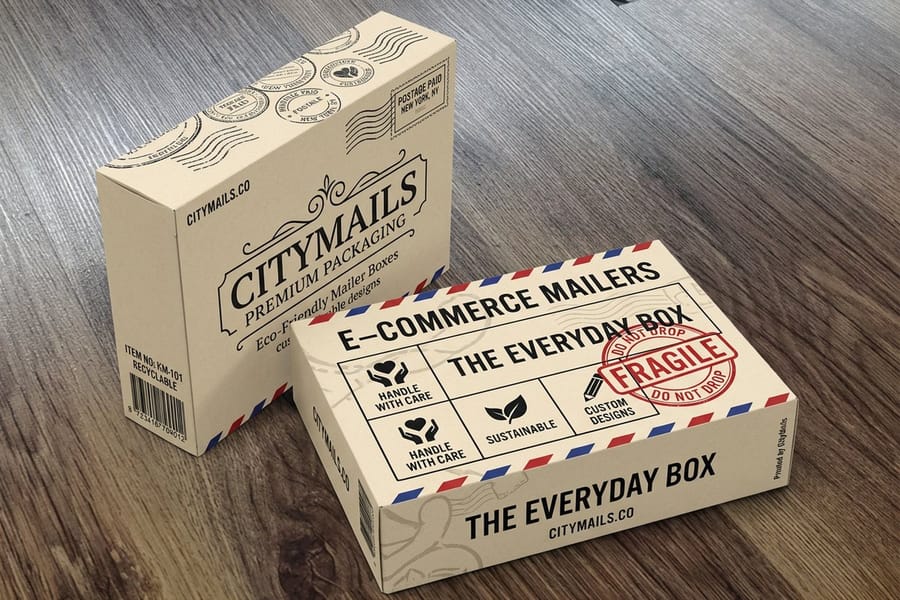
Before anything else, grab a ruler. Measure the length, width, and height of the product you are shipping, and include any padding you plan to use like tissue paper, bubble wrap, or a foam insert. Add half an inch to one full inch of clearance on each side so the product has room to sit without rattling.
Measure the interior you need, not the outside of a box you already have on the shelf. Board thickness and the fold at each corner eat into the space, so a size taken off an exterior wall runs tight once the box is built. If the product is an odd shape, measure the widest point in every direction and round up, never down.
If you sell items in several sizes, plan for two or three box sizes rather than forcing everything into one oversized box. An oversized box wastes filler, raises dimensional weight charges, and lets the product bounce around in transit. None of that helps your brand or your budget.
Weigh the packed box as well, product plus filler plus tape, because carriers bill on whichever is greater, actual weight or dimensional weight, and the board you choose in Step 3 has to carry that number without bowing.
Write down your interior dimensions in length by width by height order. You will need them when you request a quote or configure the order online, and getting them wrong means reprints and wasted money. The same careful sizing shows up in other print projects too, like our guide on how to fold a brochure.
Step 2: Choose your box style

Not every shipping box is built the same way. The style you pick shapes both the protection your product gets and the moment your customer opens it. These are the four most common choices for custom shipping.
- Regular slotted container. The classic box where all four flaps meet in the middle. It is the most cost-effective option for standard rectangular products at high volume.
- Mailer box with a tuck top. These fold together without tape and give a clean unboxing moment. Subscription brands, apparel labels, and direct-to-consumer sellers love them.
- Rigid box. Thick, sturdy, and non-collapsible, the kind of packaging you see around premium electronics and gift sets. It feels expensive because it is.
- Corrugated padded mailer. Flat items like books, prints, and documents travel well in these. They weigh less than a full box and still carry your brand.
Match the box to the job. A candle company might reach for a mailer box with a snug insert, while an electronics brand might need a double-wall container that survives a long haul. What you ship, how fragile it is, and the experience you want all point you toward the right style.
Step 3: Pick your cardboard material and flute thickness
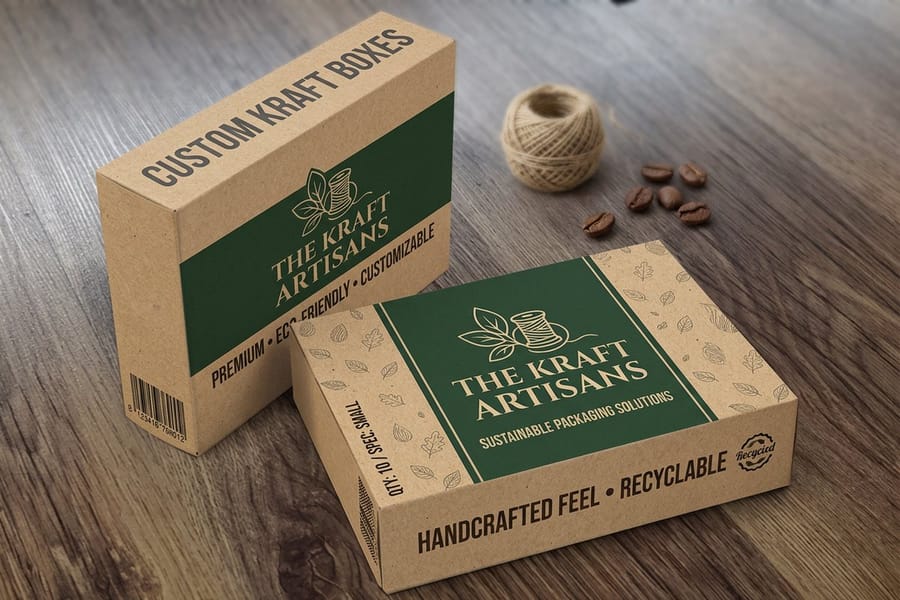
Custom cardboard boxes are corrugated boxes, so material and thickness are two separate calls: the liner decides how the print looks, the flute decides how much the box can take.
Corrugated cardboard is the standard for shipping boxes, and it comes in several flute profiles. The flute is the wavy inner layer that decides how thick the wall is and how much crushing it can take. Pick the profile that fits both your product weight and your artwork.
- E-flute at about 1.5mm. Thin with a smooth surface that prints beautifully. Great for lightweight items and mailer boxes where print quality matters more than heavy protection.
- B-flute at about 3mm. The middle ground with solid crush resistance and a reasonably smooth print surface. It handles most standard shipping.
- C-flute at about 4mm. The default. Thick and strong, and the usual pick for heavier products.
- BC double wall. Two layers of fluting for maximum protection. Heavy or fragile items that travel a long way need this much support.
Then choose the liner. Kraft keeps the natural unbleached brown, hides handling marks, and suits one and two color art or a stamped logo look. A white top liner gives you a brighter, cleaner sheet when the design carries photography or large solid areas of brand color. The same flutes are available either way, so a kraft box is not automatically a weaker box.
If you print straight onto the box rather than using a label, E-flute and B-flute give the cleanest results, because the rougher surface of C-flute can make fine detail look fuzzy. For complex artwork, a printed wrap or sleeve over a plain corrugated box is a smart workaround. Our guide hub has more material tips across different print products.
Step 4: Design your custom box artwork
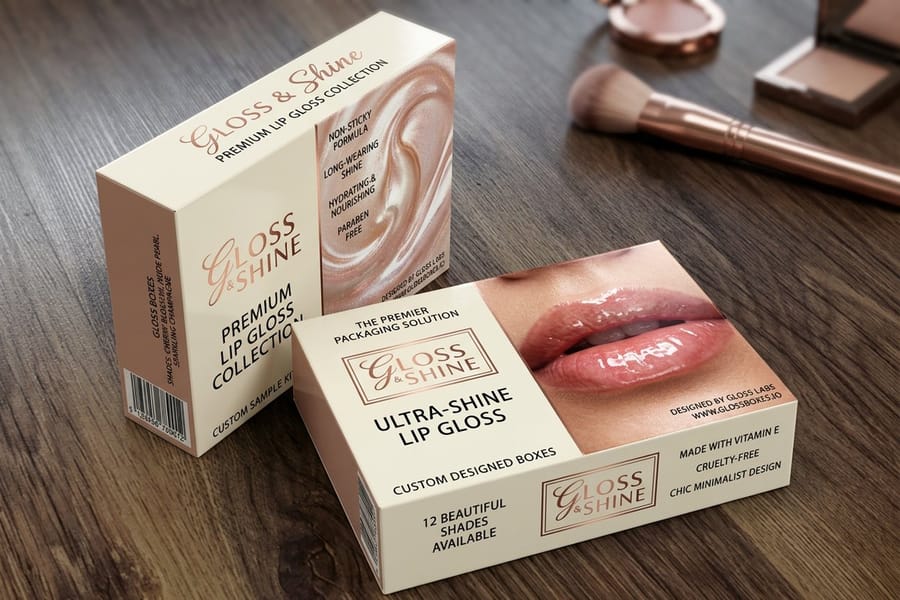
This is where your brand comes to life. Strong box artwork does a few jobs at once, so build your design around the elements that customers actually notice on a shelf or a doorstep.
- Your logo on at least two sides so it reads no matter how the box is turned.
- Brand colors that match your website, your social feeds, and your other printed materials.
- A website or contact line that makes it easy to reorder or reach you.
- Handling notes like Fragile, This Side Up, or a temperature warning when the product needs one.
- Interior printing such as a thank-you note, care steps, or your social handles for a surprise when the lid opens.
How do I create my own cardboard boxes? You design on a dieline, not on a blank canvas. A dieline is the flat map of the box before it is folded: solid lines are cuts, dashed lines are creases where the board bends, and the narrow flap on one end is the glue tab that the side seam is bonded on. Lay your artwork across the panels, keep type and logos clear of the creases, and the flat printed sheet folds up into exactly the box you drew.
Work the dieline in this order. Put the artwork on its own layer underneath the dieline layer so the cut and crease lines stay visible and never print. Then rewrite and refocus the copy panel by panel, because the top of the box is read from above at a doorstep while a side panel is read at arm's length on a shelf, and the same sentence rarely works in both places. Run every background color and photo past the cut line so the bleed covers any shift on the die, and hold logos, legal copy, and barcodes inside the safe area marked on the template so folding tolerance never clips them. Keep barcodes on a flat panel, never across a crease.
Start from the dieline template for the style you chose: our design templates library has one per box style, so a mailer, a kraft box, and a retail box each open with the correct flat layout and panel sizes already drawn. Pull the template for custom cardboard boxes in mailer style or for custom cardboard boxes in kraft, and browse the full custom cardboard boxes range if you are still weighing one style against another.
Build the file in CMYK at 300 DPI or higher, and use vector formats like AI, EPS, or PDF for a crisp logo. Most printers hand you a dieline, which is a flat map of every panel, flap, and fold. Drop your art inside the safe zones and keep text at least an eighth of an inch away from any fold or cut. The same clean-layout thinking carries over to our guide on how to make flyers.
Step 5: Decide on your printing method
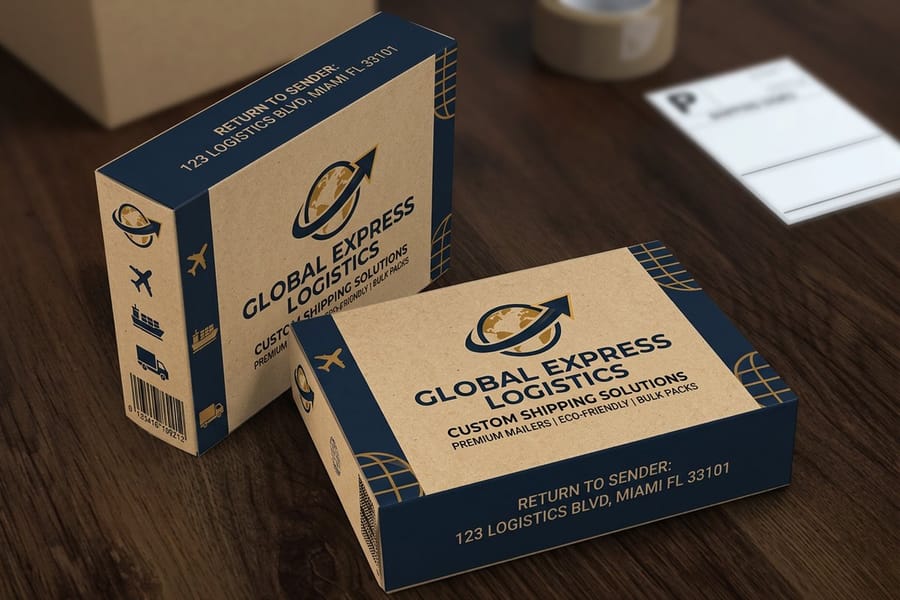
How your design lands on the box drives cost, quality, and the minimum you have to order. Four methods cover almost every custom box, and each one fits a different stage of growth.
- Flexographic printing. The volume method for corrugated boxes. Rubber plates transfer the ink, which keeps it cheap at high volume from around 500 units, with slightly less color accuracy than digital.
- Digital printing. Full color and photo quality straight onto the box with no plates, so setup stays low. Best for short runs of 50 to 250 units or designs with gradients and photos.
- Lithographic lamination. A full-color sheet is printed on an offset press and then laminated to the board for the sharpest result. This is retail-ready packaging, at a higher cost and a longer lead time.
- Screen printing. Bold, opaque ink for simple one or two color designs on large runs. Common for industrial and wholesale packaging.
For most small and midsize brands sorting out how to get custom shipping boxes, digital printing hits the sweet spot with low minimums, full color, and no plate charge. As your order sizes climb, moving to flexo brings the per-box cost down a lot.
Step 6: Request samples and proofs

Never green-light a full run without holding a sample first. A physical box answers the questions a screen cannot, and it costs almost nothing compared to a bad production run.
- Does the product actually fit with padding in place?
- Is the board thick enough to survive the trip?
- Do the printed colors match your brand guidelines?
- Does the box fold and close cleanly?
Most manufacturers give you blank samples for free and printed proofs for a small fee, and it is worth every penny. A 25 dollar sample can save you from a 2,500 dollar mistake. Our guide on how to make envelopes walks through the same proofing habit for other packaging.
Step 7: Place your order and plan for storage
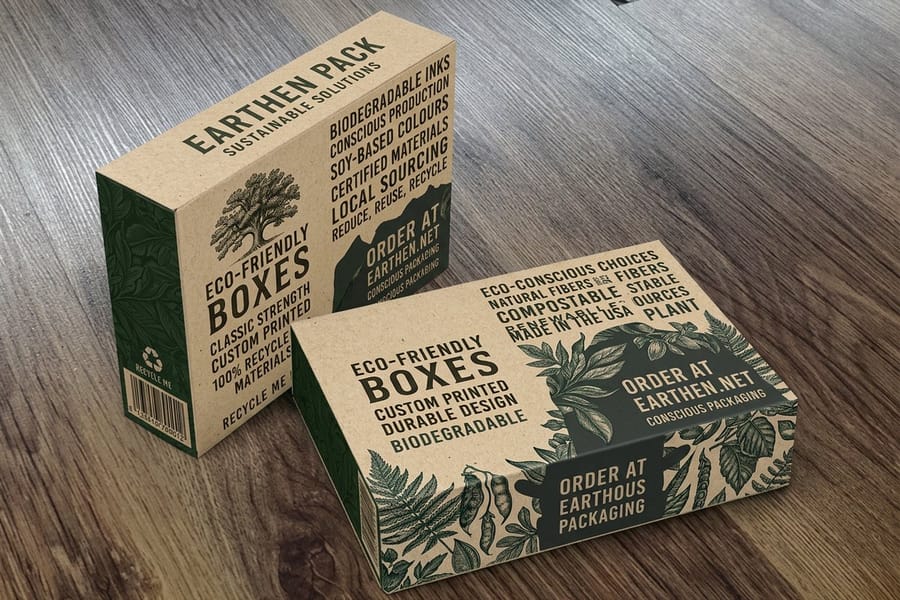
Once the proof is approved, lock in your quantity. Order a little more than you expect to use over the next three to six months, because per-unit pricing drops fast at higher tiers and a fresh plate setup on a reorder can add surprise costs.
Sort out storage before the boxes arrive. Flat-packed, knocked-down boxes take up a fraction of the room that assembled ones do. A pallet of 500 flat mailer boxes fits in a closet, while the same boxes assembled would fill a small room. If you are ordering branded inserts like custom CD covers or thank-you cards alongside them, line up the delivery dates so everything lands together.
Keep clean records of your box specs, artwork files, and vendor contacts so a reorder takes minutes instead of days. Looking after the rest of your branded kit matters too, and our guide on how to clean rubber stamps is a good reminder to keep every tool in top shape.
Cost factors to keep in mind
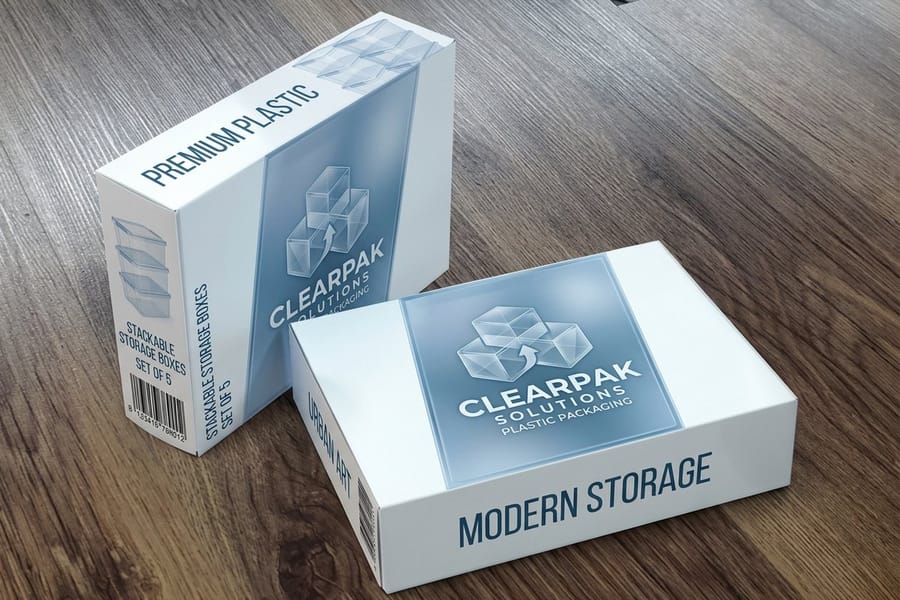
Custom box pricing rides on a handful of variables. Box dimensions, board thickness, print method, the number of ink colors, the quantity you order, and any special finish like spot UV or embossing all move the number. Expect to pay more per box under 250 units, and remember that digital printing skips plate charges but costs more per box once volumes get large.
Get quotes from at least three suppliers and compare more than the sticker price. Look at turnaround time, whether samples are available, and the minimum order each one needs. Some vendors drop the price at 500, 1,000, and 2,500 units. Factor in freight for the boxes themselves as well, because a pallet of corrugated board is not light.
Mistakes that ruin custom shipping box orders
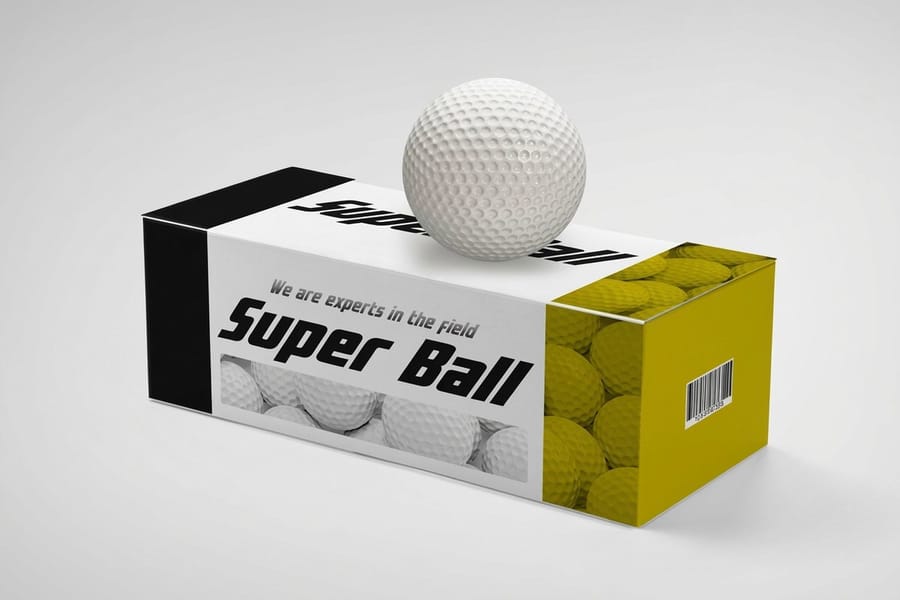
Even people who know how to get custom shipping boxes trip over the same things. Sidestep these and your orders run smoother and cheaper.
Ignoring dimensional weight. Carriers like UPS and FedEx bill on package size, not just weight, so an oversized box for a small product means you are paying to ship air. Size the box as close to the product as you can.
Skipping the proof. Colors on a monitor never match corrugated board. Brown kraft warms every color, while white-coated board runs truer but costs more. Ask for a printed proof before you commit.
Ordering too few. The gap between 250 and 1,000 boxes can be 40 to 50 percent per unit. If you know you will need them, buy in bulk.
Forgetting the inside. The outside takes a beating in transit, but the inside is what your customer sees first. A simple printed message or pattern under the lid costs little and lands big.
Mismatching flute and artwork. Fine text and detailed logos look rough on C-flute. Match the flute profile to how detailed your design is, and lean on E-flute or B-flute for sharp printing.
Wally explains custom boxes
The box is your first handshake with the customer
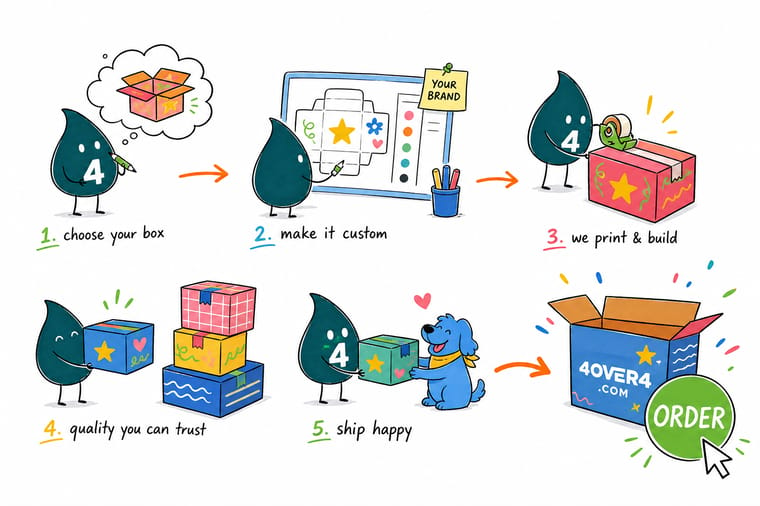
Wally treats a shipping box like a tiny billboard that lands right on the doorstep. Measure the product so nothing rattles, match the flute to your artwork, and print the inside as well as the outside. A proof before the full run is the whole trick for getting color and fit right. When you are ready, 4OVER4 prints custom boxes to your exact size and logo.
Order custom shipping boxes →Specs and pricing
Custom shipping box specs and pricing
Shipping, kraft and mailer boxes all start at 250 for $711.78, which is $2.85 a box, with live specs below.

| Quantity | Price Per Unit | Total |
|---|---|---|
| 250 | $2.85 | $711.78 |
| 500 | $1.42 | $711.78 |
| 1,000 | 79.7¢ | $797.02 |
| 2,500 | 53.5¢ | $1,338.30 |
| 5,000 | 44.6¢ | $2,231.42 |
| 10,000 | 40.4¢ | $4,044.70 |
| 15,000 | 39.0¢ | $5,844.45 |
| 20,000 | 38.3¢ | $7,657.73 |
Start faster
Start from a box template
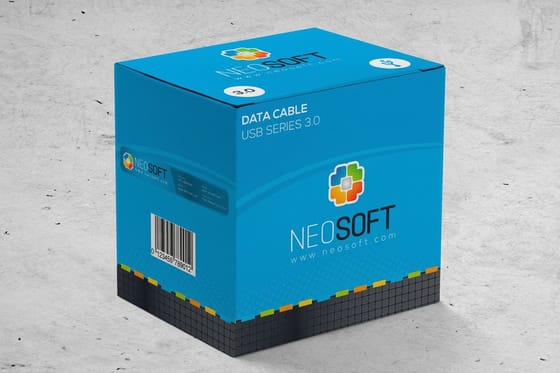
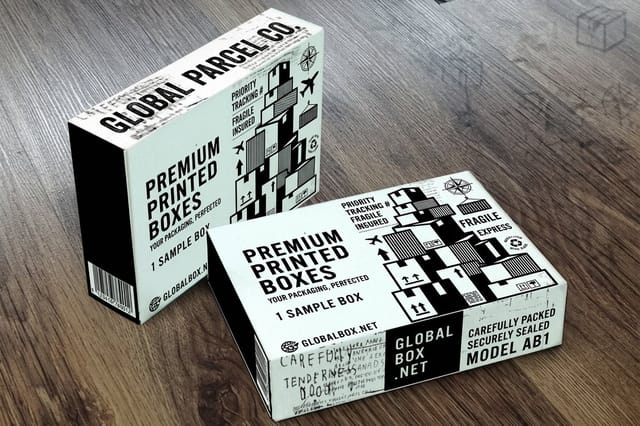
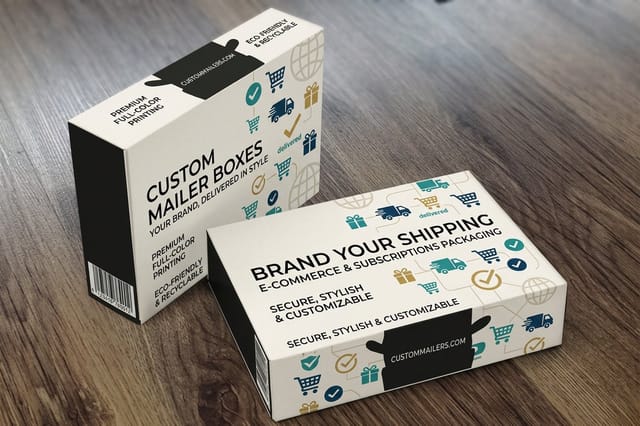
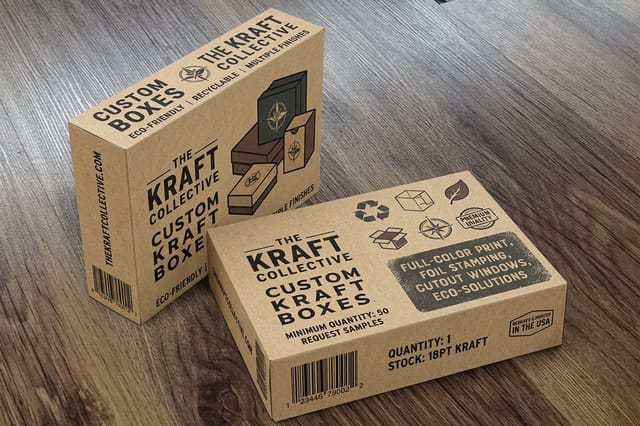
Not sure where to begin? Drop your artwork onto a ready dieline. These blank templates give you the exact panels and folds, so your design lines up the first time.
Print it
Order custom boxes at 4OVER4
See it in use
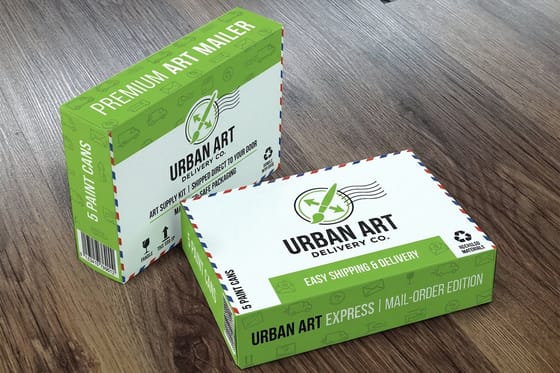
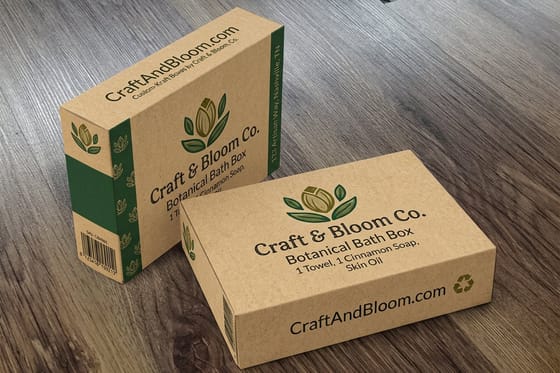
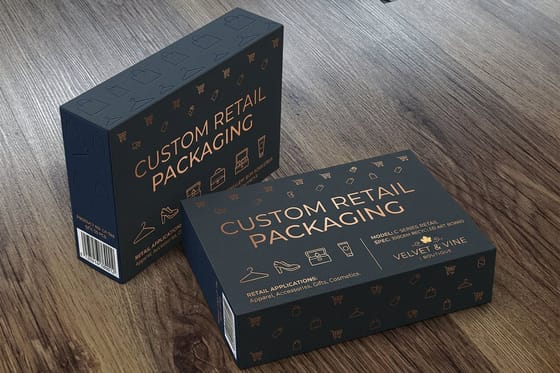
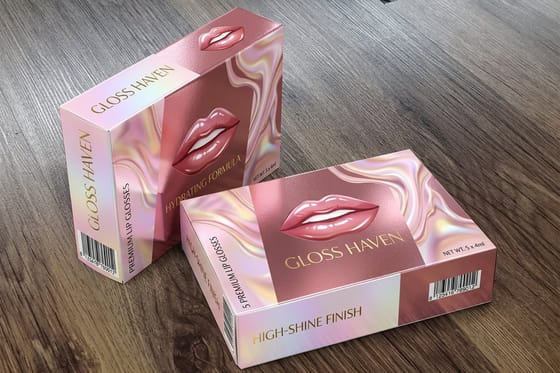
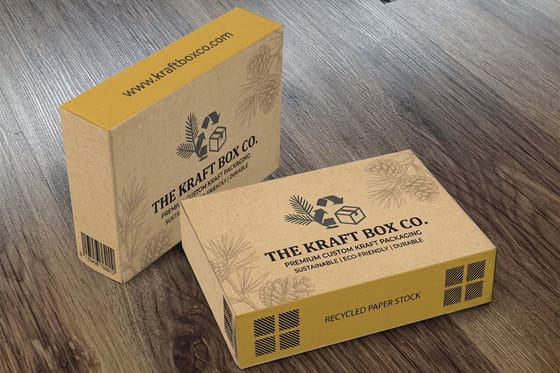
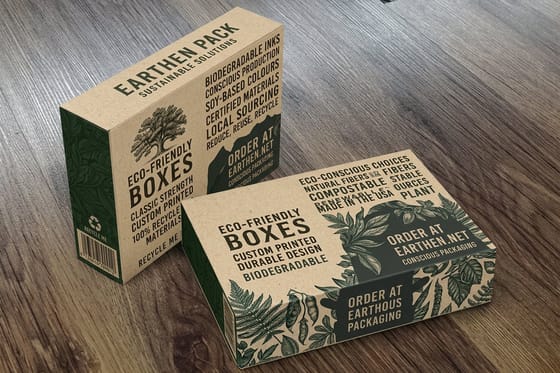
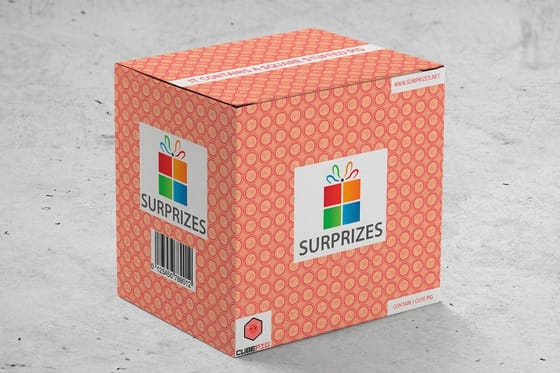
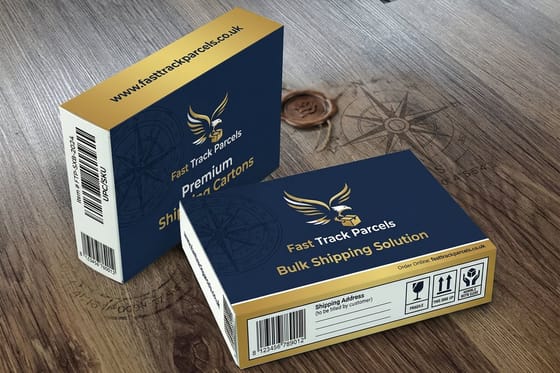
Boxes we die-cut and printed for brands
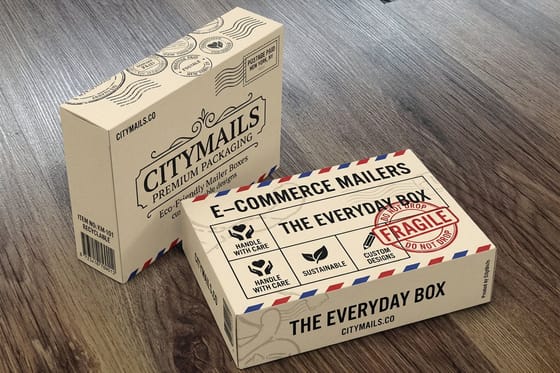
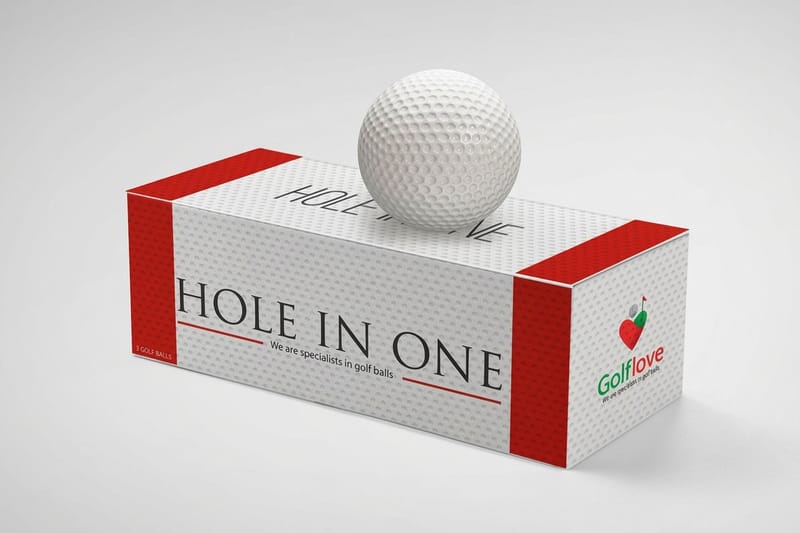
Every box here was printed at the 4OVER4 facility in Queens, New York. Mailer boxes, kraft boxes, retail boxes, and more, all built to a brand exact size and artwork.
Explore more
Where to go next



By the numbers
What a 250-box run looks like here
Common Questions
Common questions about getting custom shipping boxes
What is the minimum order for custom shipping boxes?
Minimums depend on the printing method. Digital printing usually starts around 25 to 50 boxes, while flexographic printing tends to need 250 to 500. For a very small test run, custom labels or stickers on plain boxes are a budget-friendly stand-in while you refine the design.
How long does it take to receive custom shipping boxes?
A standard run takes about two to four weeks from proof approval to delivery. Digital printing is quicker, often seven to ten business days. Rush options exist but add 20 to 40 percent to the cost. Always leave three to five days for sample approval before production starts.
Can I print full color on corrugated boxes?
Yes. Both digital printing and lithographic lamination support full CMYK color on corrugated boxes. Digital is best for short runs under 500 units, while litho lamination gives the sharpest result on larger quantities. E-flute and B-flute corrugated offer the smoothest surface for detailed color.
What file format should I use for custom box artwork?
Vector formats like AI, EPS, or PDF work best. Set the color mode to CMYK rather than RGB, and keep any photos at 300 DPI or higher. Always build on the manufacturer dieline so your art lines up with the panels, folds, and cut lines.
How do I get custom shipping boxes on a tight budget?
Start with a one or two color design on natural kraft board and skip coatings and special finishes. Order at a higher quantity tier for a better per-unit price, and use digital printing to avoid plate fees. Custom stickers on plain boxes are another way to look branded before you commit to a large box run.
Do custom shipping boxes protect products as well as plain ones?
Absolutely. Printing does not change the structure. A custom-printed C-flute box has the same crush resistance and stacking strength as an unprinted one. Choose your flute profile and wall thickness based on the weight and fragility of the product, not the print method.
Get Started
Order 250 custom shipping boxes from $711.78
Pick your size, drop in your logo and artwork, and we print sturdy, on-brand boxes that protect your product and look sharp on the doorstep.
Legal Disclaimer
Gold Standard guarantees apply to all standard orders placed through 4over4.com. Price match requires verifiable proof of a competitor's published price for an equivalent product with matching specifications and turnaround time. Satisfaction guarantee covers manufacturing defects and print quality issues. Contact support with order number and documentation. On-time delivery rate based on tracked orders 1999 to 2026. Individual results may vary based on shipping carrier performance.
