
How to Design a Restaurant Menu in Canva Step by Step


Pick a template, set two fonts and your brand colors, group your dishes into clear sections, then export a print-ready PDF. Here is the full walkthrough that gets your Canva menu from screen to a menu customers can hold.
To design a restaurant menu in Canva: search "restaurant menu" and choose a template that fits your menu size, customize the fonts and colors to match your brand, organize dishes into clear sections with a three-tier text hierarchy, then download as a PDF Print with crop marks and bleed enabled. Print it on a coated, laminated, or kraft stock, and your menu looks like you hired a designer.
Quick tips
Quick takeaways for designing your restaurant menu in Canva
Learning how to design a restaurant menu in Canva starts with picking the right template, customizing fonts and colors to match your brand, and organizing dishes into clear sections. Keep your layout clean and do not crowd the page. Export as a high-resolution PDF for print, then bring your design to life with 4OVER4.COM menu printing on 60+ paper types across 1,000+ products.
Watch it printed
See standard menus on the press, in 129 seconds
Why Canva is the go-to tool for restaurant menu design
Canva makes it easy to design a restaurant menu that looks like you hired a professional. You do not need graphic design skills. You do not need expensive software. You just need a free account and about an hour of your time.
The drag-and-drop interface handles the heavy lifting. Pick a template, swap in your dishes, adjust colors to match your brand, and you are done. 4OVER4.COM has printed menus for 150,000+ businesses, and a growing number of those designs start in Canva. It is that popular.
Once your design is ready, you can use the Online Designer at 4OVER4.COM to upload your file directly. Need a starting point instead? Browse the Design Templates library for print-ready menu layouts. And if you are working on other projects between menu updates, check out our guide on how to clean rubber stamps.
Step 1: Set up your Canva account
Head to canva.com and sign up for free. The free plan gives you access to thousands of menu templates, basic fonts, stock photos, and export options. That is enough for most restaurant owners.
Canva Pro (around $13 a month) unlocks premium templates, brand kit features, background remover, and resizing tools. If you are managing menus for multiple locations or updating seasonally, Pro pays for itself fast. But do not feel pressured, because the free version works perfectly for a single-location restaurant.
Once you are logged in, search "restaurant menu" in the search bar. You will see hundreds of templates sorted by style, from minimalist and rustic to elegant, modern, and fast-casual. Pick one that feels close to your restaurant's personality. You will customize everything from here.
Step 2: Choose the right template
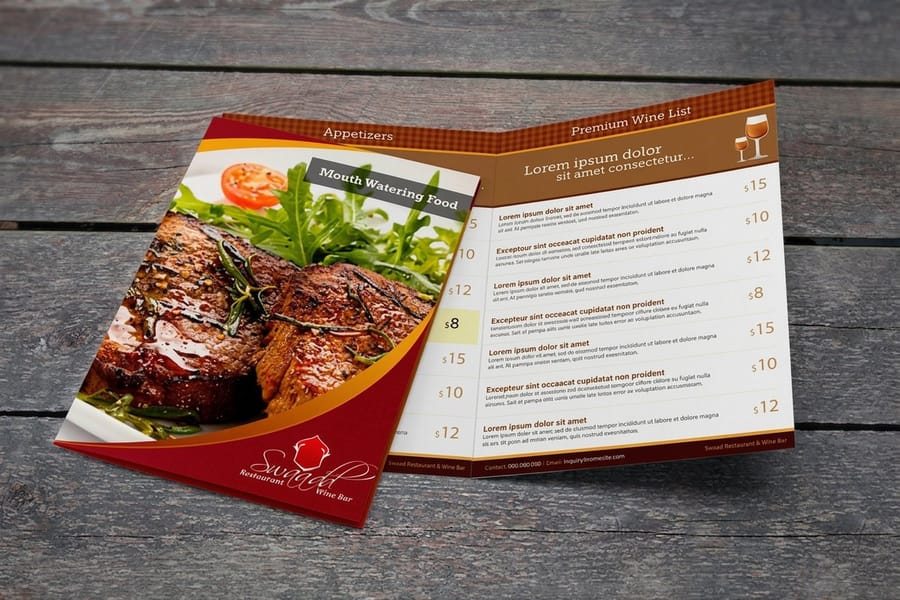
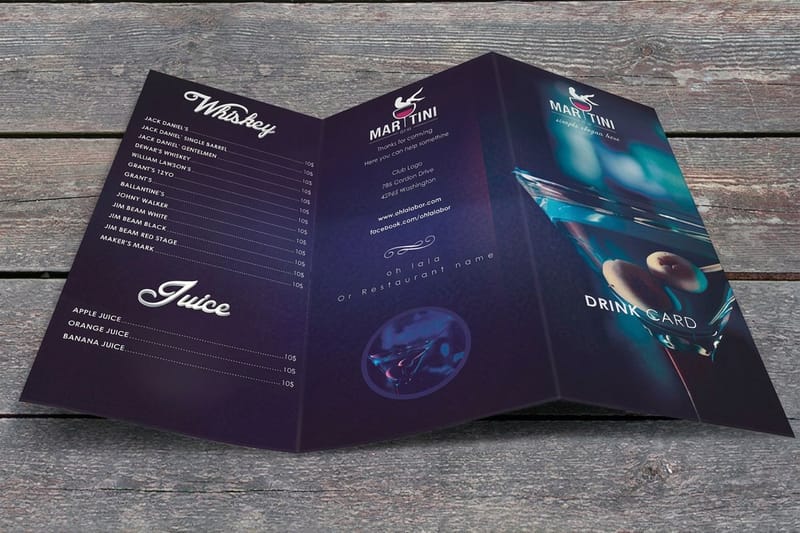
Templates are your starting point, not your final product. Look for a layout that matches your menu structure. Got a small menu with 15 items? A single-page template works. Running a full-service restaurant with appetizers, entrees, desserts, and drinks? Go with a bi-fold or tri-fold layout.
Pay attention to the template's visual hierarchy. The best menu templates guide the reader's eye naturally, from the restaurant name at the top, through categories, down to individual dishes and prices. If a template feels cluttered or confusing at first glance, skip it. Your customers will feel the same way.
For folded menu designs, our guide on how to fold a brochure covers fold types that apply to menus too, including bi-fold, tri-fold, and gate fold. Understanding these helps you pick the right Canva template dimensions. You can also start from a print-ready base with our kraft menu templates or standard menu templates.
Canva menu design sizes for print and for a TV screen
Set the canvas to the finished size before you touch a template, because a menu resized later moves every price and divider. Use Custom size in Canva and enter one of these.
- 8.5 by 11 inches. The single page menu for a small list, a lunch card or a daily special. It fits a standard menu cover and a laminating pouch.
- 11 by 17 inches. Folds once to a bi-fold for a full service menu with four panels for starters, mains, desserts and drinks.
- 4 by 9 inches. The takeout and rack card size, cheap to print in volume and easy to slip into a bag.
- 5 by 7 inches. A dessert or cocktail card for a table tent or a stand.
- 1920 by 1080 pixels. The TV menu board. Set it in pixels, landscape, in RGB, with no bleed, and keep prices in a column at least 40 pixels tall so they read from the counter.
Print sizes need 0.125 inch of bleed on every side and text 0.125 inch inside the trim. Screen sizes need neither. Once the size is set, standard menus at 4OVER4.COM print the 8.5 by 11 and 11 by 17 layouts on coated, laminated or kraft stock.
Step 3: Customize your fonts and colors
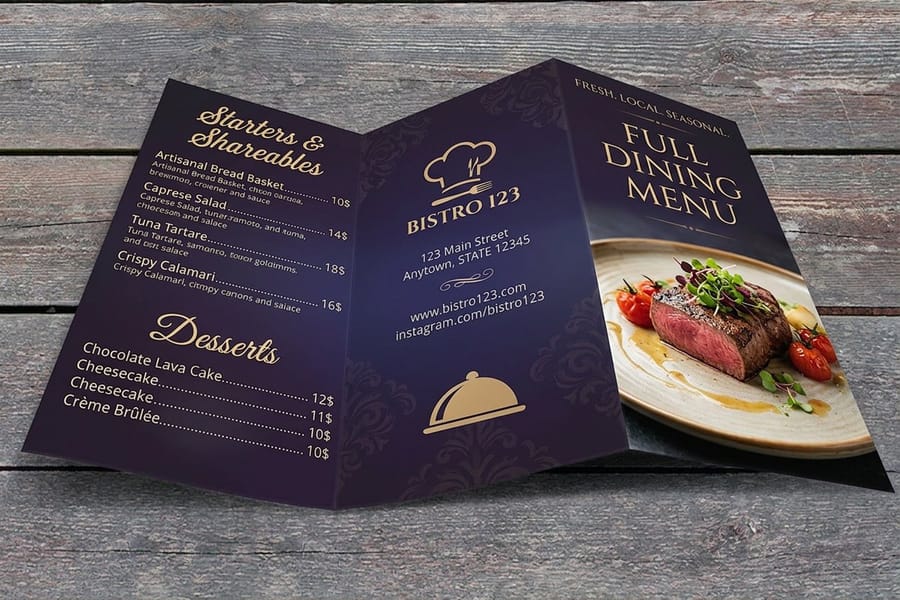
This is where your menu stops looking generic and starts looking like your restaurant. Stick to two fonts maximum, one for headings such as your restaurant name and section titles, and one for body text such as dish names, descriptions, and prices.
Font pairing that works for menus:
- Upscale dining: Pair a serif header (like Playfair Display) with a clean sans-serif body (like Lato).
- Casual and fast-casual: Use a bold sans-serif header (like Montserrat Bold) with a lighter weight for descriptions.
- Rustic and farm-to-table: Try a handwritten-style header with a simple serif body font.
- Modern and minimalist: One geometric sans-serif in different weights handles everything.
For colors, pull from your existing branding. If your logo uses deep green and cream, build your menu around those. The Canva color picker lets you enter exact hex codes. No brand colors yet? Pick two or three that reflect your food style. Warm tones such as terracotta, gold, and burgundy feel cozy. Cool tones such as navy, sage, and charcoal feel modern. Dark text on a light background is always the safer choice for readability at arm's length, which is how far the menu sits from your customer's eyes.
Step 4: Organize your menu sections
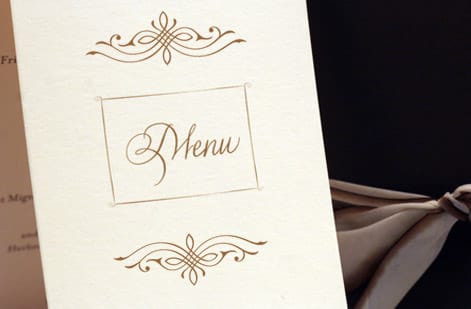
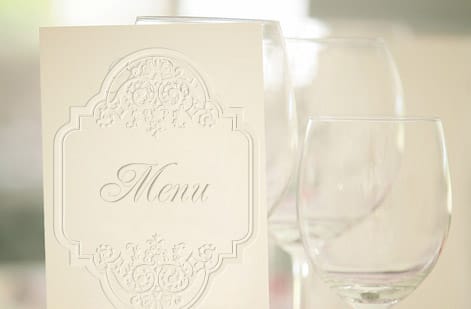
Group your dishes logically. Appetizers, salads, entrees, sides, desserts, drinks, whatever categories make sense for your restaurant. Each section needs a clear heading that stands out from the dish listings below it.
Use Canva's text hierarchy tools to create visual separation. Section headers should be larger and bolder. Dish names slightly smaller. Descriptions and prices smaller still. This three-tier approach keeps everything scannable.
Pricing placement matters more than you think. Dotted lines connecting dish names to prices, called leader dots, actually draw attention to cost. If you want customers focused on the food first, place prices at the end of descriptions without leader dots. Some high-end restaurants drop prices entirely from the printed menu.
If your restaurant also uses printed promotional materials, check out our guide on how to make flyers for seasonal specials or event nights. You can also visit the guide hub for more design and printing guides.
Step 5: Add photos carefully
Photos on menus are a double-edged sword. High-quality food photography can increase orders for featured items by a wide margin. Low-quality photos do the opposite and make your food look cheap.
If you are adding photos, follow these rules:
- Use natural lighting. Shoot near a window with no flash.
- Keep backgrounds simple. A clean plate on a wooden table beats a cluttered scene.
- Limit photos to 3 to 5 per menu. Feature your best sellers or highest-margin dishes.
- Use Canva's photo editing tools to adjust brightness, contrast, and saturation, without over-filtering.
Canva's free stock photo library includes food images, but they will not show your food. If you cannot photograph your own dishes well, skip photos entirely. A text-only menu with strong typography looks more professional than a menu with mediocre food photos.
Step 6: Add design elements and finishing touches
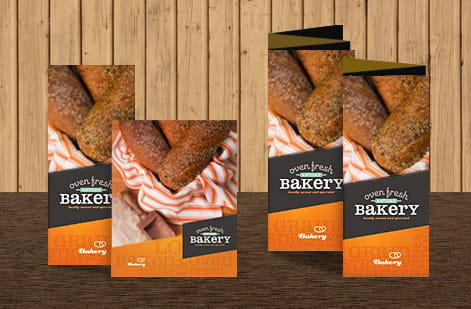
Canva offers icons, dividers, borders, and shapes that can add polish to your menu. Use dividers between sections. Add a small icon next to vegetarian, vegan, or gluten-free items. Drop in your logo at the top.
But restraint is everything here. Every element you add competes for attention. If your menu feels busy, start removing things. White space is not wasted space, it is what makes a menu feel premium.
Consider adding a brief description of your restaurant's story or sourcing philosophy at the top or bottom, two to three sentences at most. Something like "Family recipes from Oaxaca, made with locally sourced ingredients since 2018." That kind of detail builds connection.
If you are also creating matching materials like custom envelopes for gift cards, our how to make envelopes guide walks you through the process. And for branded fridge magnets with your takeout number, see our guide on custom magnets.
Step 7: Export for print
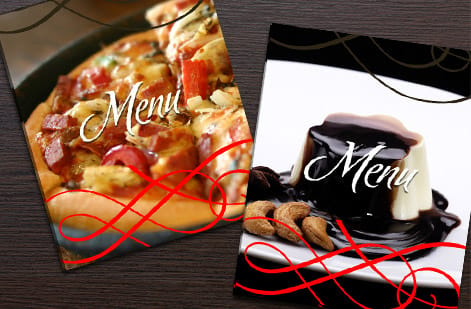
This is where most people slip. Canva's default export settings are optimized for screens, not printers. Here is what to do:
- Click Share > Download.
- Select PDF Print as the file type.
- Check the Crop marks and bleed box, which is critical for professional printing.
- If available on your plan, select the CMYK color profile for accurate color reproduction.
- Download and review the file before uploading.
The bleed setting adds a small margin of color beyond the trim line. Without it, you will get thin white edges on your printed menu. Every professional printer, including 4OVER4.COM, needs bleed to produce clean results.
Before you commit to a full print run, order free samples from 4OVER4.COM to feel the paper stocks in person. Touching the paper before you order helps you pick the right weight and finish. For multi-page menus or wine lists, custom booklets give you a bound, professional format that works beautifully for extensive offerings.
From Canva design to professional print
Canva gives you a design. It does not hand you a print file, and the gap between those two things is where menus come back looking nothing like the screen.
The export, in order: Share, then Download, then PDF Print as the file type, then tick Crop marks and bleed, then tick Flatten PDF so transparency and layered effects render at the press the same way they render in your browser. Bleed is the 0.125 inches of artwork past the trim line that stops thin white slivers appearing along the edge of a finished menu.
Here is the part Canva does not spell out. On plans without the CMYK option, the PDF exports in RGB and the conversion happens at the press. Screen colors that sit outside the printable range shift on the way, and the ones that shift hardest are the ones restaurants love: neon green, electric blue, hot pink. If one of those is your brand color, ask for a printed proof and judge it on paper instead of on a monitor.
What to check on that proof before the full run: the trim, that no dish name, price or logo runs into it; the food photography, viewed under the warm light your dining room actually uses rather than daylight; every price, read from the bottom of the list upward so your eye cannot skim; and the fold, if it is a bi-fold or tri-fold, because panels that measure evenly on screen do not always fold evenly on stock. If you have not felt the paper yet, order free samples before committing to the run.
Choosing the right paper for your Canva menu design
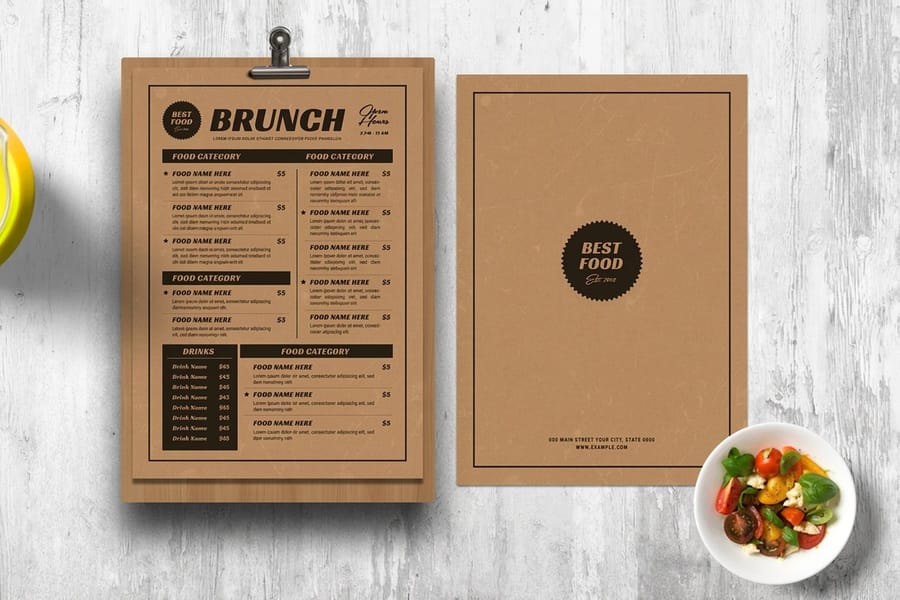
Your Canva design is only half the equation. The paper you print on changes how your menu feels in someone's hands. A thick, textured stock says we care about details. A flimsy sheet says we printed this at the office.
For menus that get handled daily, go with a coated stock or laminated finish. They resist stains, fingerprints, and moisture, all realities in a restaurant. Matte finishes reduce glare under restaurant lighting. Gloss finishes make food photos pop.
For seasonal or limited-time menus you will replace frequently, an uncoated stock keeps costs down while still looking sharp. Kraft paper menus work perfectly for farm-to-table or rustic concepts. If sustainability matters to your brand, explore green printing options for eco-friendly menu materials.
Mistakes that ruin restaurant menu designs in Canva
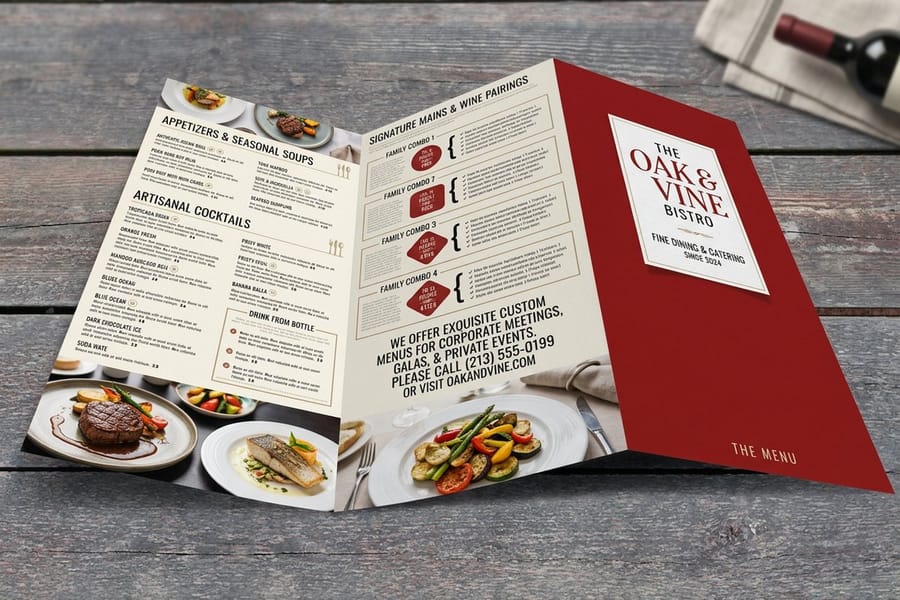
Even with a great tool, it is easy to trip up. Here are the most common mistakes people make when designing a restaurant menu in Canva, and how to avoid them.
Using too many fonts. Three or more fonts make your menu look chaotic. Stick to two, one for headers and one for everything else.
Ignoring bleed settings on export. If you skip the crop marks and bleed option, your printed menu will have uneven white borders. Always check that box before downloading.
Cramming too many items on one page. White space helps customers read and decide. A crowded menu slows down ordering and frustrates people.
Using RGB color mode for print. Canva defaults to RGB (screen colors). Printed menus use CMYK, so colors will shift, especially reds and greens. 4OVER4.COM handles color conversion, but designing in CMYK from the start gives you more accurate results.
Forgetting to proofread. Typos on a menu are embarrassing and expensive. Read every word twice, and have someone else read it too.
Wally explains menu design
A clean layout on the right paper reads like a designer made it
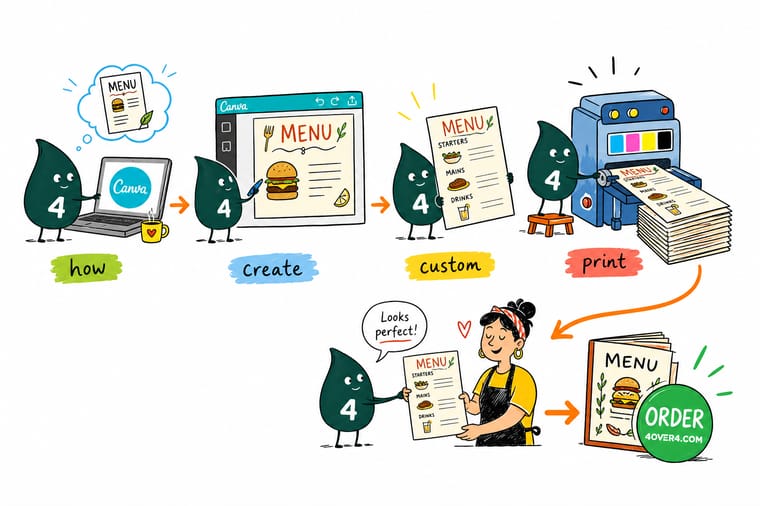
Wally treats a menu like a tiny piece of branding: two fonts, your real colors, dishes grouped into clear sections, and plenty of white space. Design it once in Canva, export a PDF Print with crop marks and bleed, and the file drops straight into print. Then pick the stock that matches the room, coated for daily menus, kraft for rustic, and 4OVER4 turns the screen into something your customers can hold.
Order custom menus →Specs and pricing
Custom menu specs and pricing
When your Canva file is ready, here is what a printed menu gives you at 4OVER4.COM, with live specs and price-per-unit straight from the configurator.

| Quantity | Price Per Unit | Total |
|---|---|---|
| 50 | $1.14 | $57.11 |
| 100 | 82.4¢ | $82.38 |
| 200 | 53.3¢ | $106.55 |
| 300 | 41.0¢ | $123.02 |
| 400 | 34.9¢ | $139.49 |
| 500 | 31.2¢ | $155.97 |
| 600 | 26.7¢ | $160.36 |
| 700 | 23.5¢ | $164.75 |
Print it
Print your Canva menu design with 4OVER4
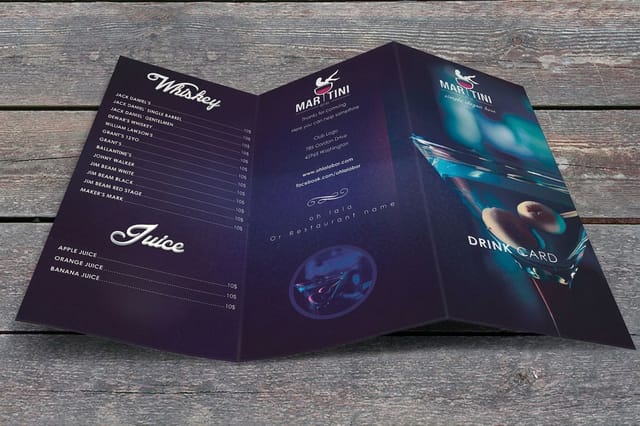
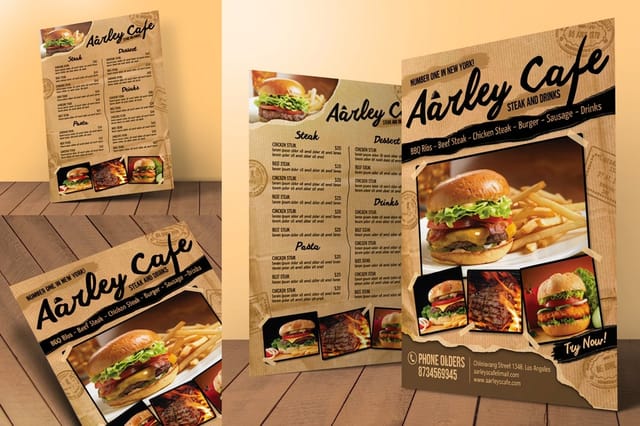
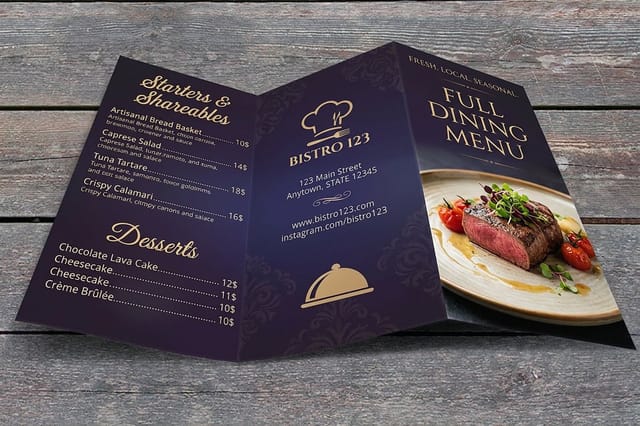
See it in use
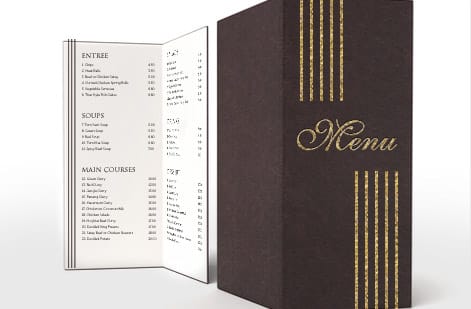
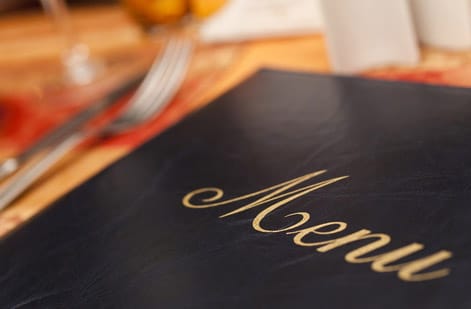
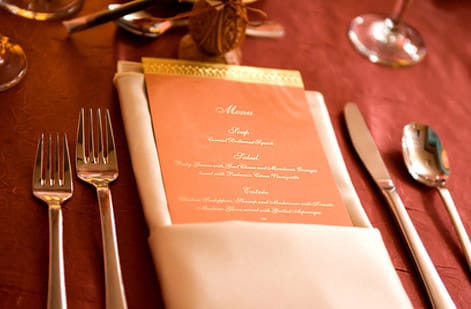
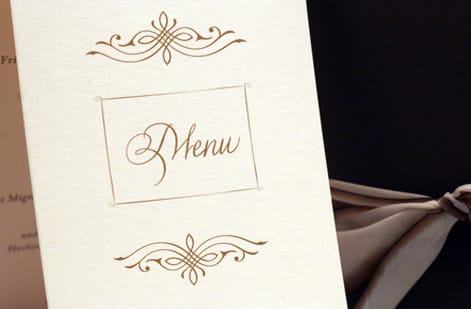
Menus customers designed and printed
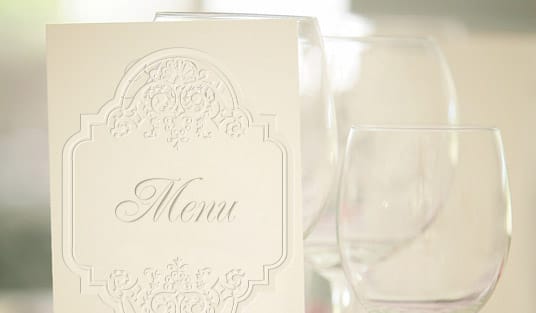
Explore more
Where to go next



By the numbers
Menu paper types and the record behind a reprint
Common Questions
Common questions about designing restaurant menus in Canva
Is Canva good for menu design?
Yes, for most restaurants. The free plan has hundreds of menu templates, a color picker that takes your brand hex codes, and a PDF Print export with crop marks and bleed, which is what a printer needs. Its limits are color, since most plans export in RGB and neon tones shift on paper, and layout precision for very long wine lists, where a page layout app gives finer control.
What is the best app to design a menu?
Canva is the best free app for a restaurant owner without design training, because the templates, fonts and print export are built in. Adobe InDesign is the best tool for a long, multi-page menu that a designer maintains, since it handles styles, columns and CMYK natively. Adobe Express and the 4OVER4.COM Online Designer sit between the two, with the print setup handled for you.
Can I make a TV menu board in Canva?
Yes. Create a custom size of 1920 by 1080 pixels in landscape, design in RGB with no bleed, and export as PNG or as MP4 if you animate a slide. Keep prices in large type, at least 40 pixels tall, and limit each screen to one section of the menu. Load the file on the TV or the signage player, and keep the printed menu on the same fonts and colors so the two match.
How do I design a restaurant menu in Canva, step by step?
Open Canva, search "restaurant menu", and pick a template at your finished print size, 8.5 x 11 inches for a single page or 11 x 17 inches for a bi-fold. Set one font for headings and one for body text, drop in your brand hex codes, then group dishes into appetizers, entrees, desserts and drinks with a three-tier text hierarchy so the eye moves from section to dish to price. Proofread every price, then finish with Share, Download, PDF Print, and tick crop marks and bleed before you send the file to print.
What size should I set my Canva menu for printing?
Standard restaurant menus are typically 8.5 x 11 inches (letter size) or 11 x 17 inches for bi-fold designs. In Canva, create a custom size that matches your intended print dimensions. Add 0.125 inches on each side for bleed if Canva does not add it automatically during export.
Can I design a restaurant menu in Canva for free?
Yes. The Canva free plan includes hundreds of menu templates, basic fonts, stock images, and PDF export. You can design a professional-looking restaurant menu without paying anything. Canva Pro adds premium templates and brand kit features, but it is not required.
What file format should I export from Canva for menu printing?
Always export as PDF Print with crop marks and bleed enabled. This gives you the highest resolution and includes the extra margin professional printers like 4OVER4.COM need for clean trimming. Never use PNG or JPG for print because they lose quality.
How do I make sure my Canva menu colors look right when printed?
Screen colors (RGB) and print colors (CMYK) differ. Bright neon greens and electric blues will not reproduce accurately on paper, so stick to rich, saturated tones. 4OVER4.COM converts your file to CMYK during prepress, but designing with print-friendly colors from the start avoids surprises.
What paper stock works best for restaurant menus?
For daily-use menus, choose a coated or laminated stock that resists spills and fingerprints. Matte coatings reduce glare under dim restaurant lighting. For seasonal inserts you will replace often, uncoated paper keeps costs low while still looking professional.
How often should I update my restaurant menu design?
Most restaurants refresh their menu design seasonally, about four times a year. If you change dishes frequently, consider printing smaller batches. Canva makes updates easy since you can duplicate your existing design and swap out items in minutes before reordering from 4OVER4.COM.
Get Started
Ready to print your restaurant menu?
Upload your finished Canva PDF, pick your paper and finish, and we turn it into a crisp, professional menu your customers will notice.
Legal Disclaimer
Gold Standard guarantees apply to all standard orders placed through 4over4.com. Price match requires verifiable proof of a competitor's published price for an equivalent product with matching specifications and turnaround time. Satisfaction guarantee covers manufacturing defects and print quality issues. Contact support with order number and documentation. On-time delivery rate based on tracked orders 1999 to 2026. Individual results may vary based on shipping carrier performance.
