
How to Make Window Clings Stick Every Time


Clean the glass, mist it lightly, and smooth the cling from one edge to the other. Static is what holds a cling, so the glass matters more than the cling does.
To make a window cling stick, clean the glass with rubbing alcohol or a vinegar-water mix, let it dry, then mist it lightly with plain water and press the cling on from one edge, smoothing bubbles toward the outside. Window clings hold by static, not glue, so a clean, smooth, lightly misted surface is what makes them grip and last.
Quick tips
Quick tips to make window clings stick every time
Make window clings stick by starting with truly clean glass. Wipe it down with rubbing alcohol or a vinegar-water mix and a lint-free cloth, skip any wax-based cleaner, then mist the glass lightly with plain water and press the cling on from one edge, smoothing air bubbles toward the outside. Window clings grip through static rather than glue, so a clean, smooth, lightly misted surface is the whole secret to a hold that lasts for months.
Why your window clings won't stick (and how to fix it)

You designed the perfect window cling, got it printed, peeled the backing, pressed it to the glass, and it slid right off. The part most people miss is the mechanism. Window clings do not use glue. They hold through static electricity, so the surface and the conditions matter far more than the cling itself.
Knowing how to make window clings stick rests on a few simple habits that most people skip. Dirty glass, extreme temperatures, and textured surfaces are the usual culprits. This guide walks you through every step, from surface prep to the water-mist trick to long-term care. If you are exploring other custom print projects, our custom magnets guide is worth a look too.
Understand how window clings actually work

Before you troubleshoot, understand the science. Window clings are made from static vinyl, a thin flexible material that grips smooth surfaces through an electrostatic charge. There is no adhesive involved, which is exactly why they are reusable and leave zero residue.
Three different products all get sold as window clings, and they hold on in three different ways, so match the material to the job before you blame your technique:
True static cling. Unbacked vinyl that holds by electrostatic charge alone. Peel it, place it, lift it and reposition it as many times as you want. This is the one to pick for seasonal promotions, price panels, and any graphic you plan to take down, store and put back up next year.
Low-tack adhesive cling. Looks identical on the window but carries a light removable glue on the back. It grips in the conditions where a static bond struggles: cold glass, damp air, an entry door that gets pushed open a hundred times a day, an exterior placement. It still peels off clean with no residue. The trade-off is fewer repositions, and every lift picks up more dust on the glue.
Perforated window film. Printed adhesive film punched with tiny holes, so the graphic reads from the sidewalk while staff inside still see out. Reach for it when you want to cover a full storefront pane instead of placing a shape on it.
Static vinyl is the picky one. Glass has to be clean, smooth, and dry (or lightly misted) for the static bond to form. Any dust particle, fingerprint, or surface texture breaks the seal. Think of it like a suction cup, where one speck of dirt is enough to make the grip fail.
Dirty glass kills the bond because the charge never reaches the glass at all, it stops at the layer of dust, skin oil or leftover cleaner film sitting on top of it. Cold glass kills it a different way: the vinyl stiffens, stops conforming, and only the high spots of the sheet touch the pane while the rest of it is holding on to trapped air. That is why a cling that sat happily on a warm office window all summer slides down a shop door in January, and why warming both the glass and the cling fixes most winter failures.
4OVER4.COM prints window clings on premium static vinyl built to hold strong when the conditions are right, so your job is making sure those conditions exist. For more print project walkthroughs, visit our guide hub.
Holiday and Christmas window clings

Christmas clings go up in the worst conditions of the year for static: cold panes, dry heated indoor air, condensation on the inside face. They still hold all season if you handle four things.
Warm the cling as well as the glass. Let the clings sit flat at room temperature for at least an hour after they arrive, then warm the pane with a hairdryer on low heat, held 6 to 8 inches away, sweeping across the surface for 30 to 60 seconds. A cling taken straight out of a cold delivery van stays stiff and will not lie flat no matter how clean the window is.
Apply on the inside of the glass in winter. Interior placement keeps snow, ice, wind and road salt off the vinyl while the design still reads from the sidewalk through the pane, and the indoor face of the window is the warmer of the two. Save outside placement for a short promotion on a sheltered door, and use a low-tack adhesive cling there rather than a pure static one.
Clear the condensation before you apply. Warm indoor air meeting cold glass leaves a wet film, and a cling pressed onto beaded water traps it: the water migrates to the edges and the corners lift within days. Wipe the pane with rubbing alcohol, dry it with a lint-free cloth, and let it settle before you place anything. Lightly misted glass is fine for the water-mist technique, standing droplets are not.
Store them flat on the backing sheet between seasons. Peel each one off slowly from a corner, wipe the static side with a damp microfiber cloth, let it dry, then put it back on its original backing sheet or between sheets of wax paper. Keep the stack flat and away from heat, never rolled, because a curl set into the vinyl in a closet all year fights the glass next December.
Design one set and reuse it every holiday: order custom window clings printed in-house at 4OVER4.COM.
Step 1: Clean the glass thoroughly

This is the step most people rush, and it is the one that matters most. Use rubbing alcohol (isopropyl) or a 50/50 vinegar and water mix. Spray the glass generously, then wipe it down with a lint-free or microfiber cloth. Paper towels leave fibers behind, so skip those.
Pay attention to the edges and corners where grime builds up. If you are applying a cling to a storefront, clean both the inside and the outside of the glass even when you only apply from one side, because dirt on the far surface still shows through and makes the cling look poorly placed.
Avoid standard glass cleaners like Windex for this step. Many contain silicone or wax additives that leave an invisible film, and that film kills static adhesion. Stick with alcohol or vinegar, then let the glass dry completely before you move on.
Step 2: Prep the window cling
Take the window cling out of its packaging carefully and handle it by the edges only. Fingerprints on the static side are the number one reason clings fail even after you clean the glass properly, because skin oils create dead spots the charge cannot grip.
If the cling has been stored rolled up, lay it flat on a clean surface for 10 to 15 minutes so it can relax. A curled cling fights the glass instead of bonding to it. For design inspiration on your next print run, browse the showcase to see what other businesses have created.
Check the static side for dust or debris before you apply. If you spot anything, wipe it gently with a damp (not wet) microfiber cloth and let it dry.
Step 3: The water-mist technique
One trick fixes most of these. If your window cling will not grip clean, dry glass, mist the glass lightly with plain water from a spray bottle. Do not soak it. You want a fine, even mist of barely visible droplets.
The water creates a temporary bond that holds the cling in place while the static charge builds. As the water evaporates, the static takes over and locks the cling down. This works especially well in dry climates or air-conditioned spaces, where low humidity means less natural static for the cling to work with.
After misting, position the cling starting from one edge. Press it to the glass and smooth it across slowly, pushing air toward the opposite side. A credit card or a squeegee wrapped in a soft cloth gives you the cleanest result.
Step 4: Smooth out air bubbles
Air bubbles are the enemy of a long-lasting hold. Even small pockets of trapped air weaken the static bond and make the cling look unprofessional. Start from the center and push outward with firm, even pressure. A plastic squeegee works best, but a credit card wrapped in a thin cloth does the job.
Work slowly, because rushing creates more bubbles than it removes. For a stubborn bubble, peel the cling back to just past it and re-apply while pressing firmly. Do not try to chase a large bubble from the center to the edge, or you will end up with wrinkles instead.
If you enjoy hands-on print projects, you might also like our guide on how to make envelopes.
Step 5: Choose the right side of the glass

Window clings can go on either side of a window, and the side you pick affects both visibility and durability. Inside application puts the cling on the interior glass facing outward, which protects it from weather, vandalism, and UV. Most retail storefronts use this method for long-running displays.
Outside application puts the cling on the exterior glass with the design facing out as printed. It is great for a short promotion, but it exposes the cling to rain, wind, and sun. This is also where print direction matters. 4OVER4.COM prints reverse for inside-glass, facing-out setups and regular for inside-glass, facing-in setups, so the artwork reads correctly from the side your customers see.
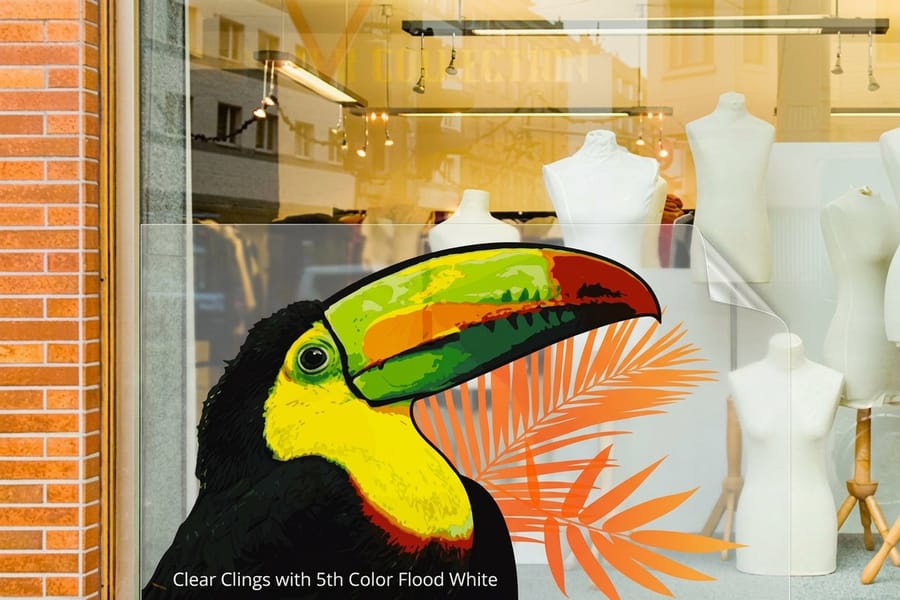
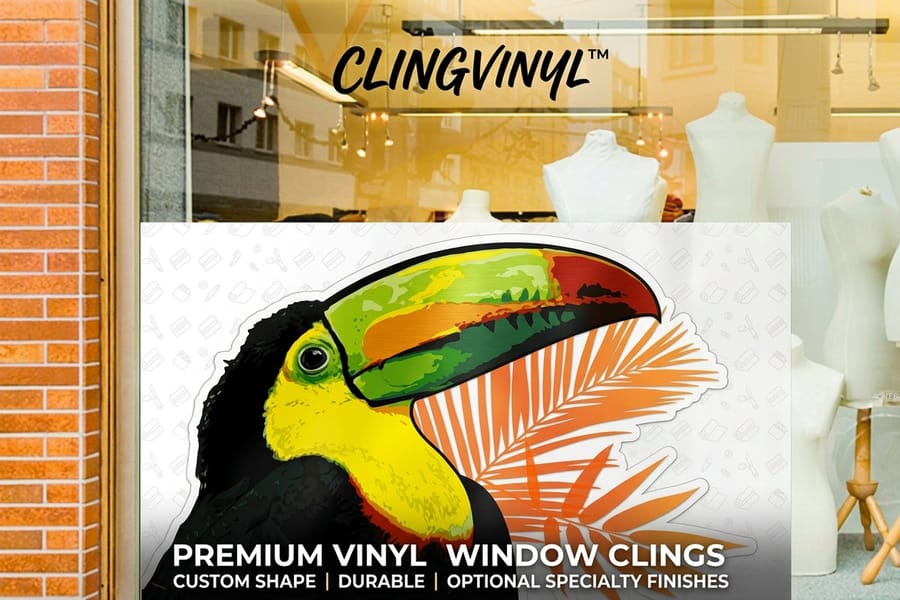
You also get to pick the material. Clear window clings let light pass through for a subtle, professional look, while white window clings add an opaque background that makes colors pop for bold promotional graphics.
How to get window clings to stick in extreme temperatures

Static vinyl performs best on glass between 50°F and 85°F (10°C to 29°C), and staying inside that range does more for grip than any technique. Temperature matters more than most people realize. Below 50°F the vinyl stiffens and loses flexibility, so it will not conform to the glass and air gets trapped in the gaps, and the colder the pane, the less of the sheet is actually touching it. The glass temperature is what counts, not the number on the thermostat: a pane in shade on a windy day can sit well below room temperature while the room feels fine.
If you are installing window clings in winter, warm the glass first with a hairdryer on low heat. Hold it 6 to 8 inches away and sweep across the surface for 30 to 60 seconds. Let the clings themselves reach room temperature flat before you handle them, and check the pane for condensation, because a cling pressed onto beaded water lifts at the corners within days. In extreme heat the vinyl turns soft and stretchy, which makes it hard to position, so apply during the cooler parts of the day, early morning or after sunset, and wait for shade if the glass sits in direct sun.
For permanent signage that shrugs off any weather, consider custom aluminum signs from 4OVER4.COM.
How to install window clings on textured or non-glass surfaces

Static clings are made for smooth, non-porous surfaces, and standard glass works best. Frosted glass, etched glass, and privacy glass all have texture that breaks the static bond, so clings will not hold reliably on them. If you need graphics on textured glass, reach for adhesive vinyl decals instead.
Smooth plastics like acrylic or polycarbonate can work if they are perfectly clean and flat. Metal surfaces generally will not hold a static cling, and painted walls, wood, and drywall are non-starters.
For creative print projects beyond window graphics, check out our guides on how to make flyers and how to fold a brochure.
Long-term maintenance: keeping your window clings in place

Once your window clings are up, a little care keeps them sharp for months. Clean around the cling, not over it. When you wash the windows, spray cleaner onto your cloth rather than straight onto the glass near the edges, because liquid seeping under the edge weakens the static bond.
If a corner starts to lift, do not panic. Peel the cling off completely, clean both the glass and the static side, and re-apply with the water-mist method. Window clings are reusable, which is one of their best features. Store unused clings flat between sheets of wax paper in a cool, dry place, since rolling them up for long stretches leaves a permanent curl that makes re-application difficult.
The same gentle care applies across your print kit. Our guide on how to clean rubber stamps covers similar habits. When you are ready to design your own, start from a free clear window clings template or a white window clings template.
Wally explains static cling
Clean glass beats strong glue every time
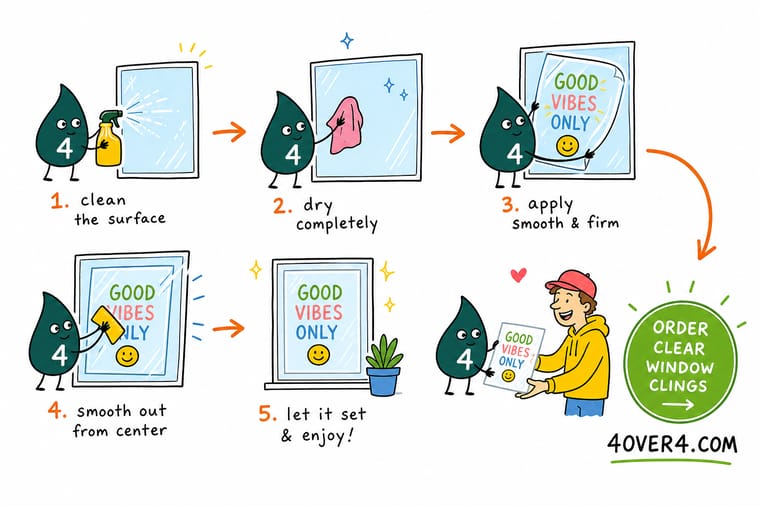
Wally treats a window cling like a tiny static magnet: there is no glue doing the work, just a clean, smooth surface and a light mist of water holding the charge. Prep the glass, mist it, and smooth from one edge, and the cling grips the first try and peels off clean for the next promo. When you want graphics that hold season after season, order clear or white window clings built to your exact artwork at 4OVER4.
Shop window clings →Avoid these
Mistakes that stop window clings from sticking
Even with the right technique, a few common errors can ruin your application. The errors below are the ones that cost a cling its grip.
- Using glass cleaner with silicone or wax. These leave an invisible film that blocks static. Stick with rubbing alcohol or vinegar only.
- Touching the static side with bare hands. Skin oils create dead spots where the cling cannot bond, so handle by the edges only.
- Applying to cold glass in winter. Stiff vinyl will not conform. Warm the glass with a hairdryer first.
- Skipping the squeegee step. Trapped air bubbles weaken the hold and look terrible. Always smooth from the center outward.
- Cleaning glass with paper towels. They shed fibers that get trapped under the cling. Use a lint-free or microfiber cloth instead.
- Applying to textured or frosted glass. Static clings need a smooth surface, and texture breaks the bond completely.
4OVER4.COM prints window clings on static vinyl, so the material does its job. These mistakes all live on the application side, and every one of them is avoidable.
Print it
Order window clings that hold at 4OVER4
Clear window clings let the light through, white window clings make bold graphics pop, and both print on premium static vinyl that peels off clean and reuses for months.



See it in use
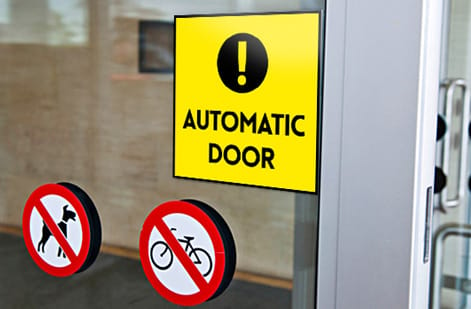
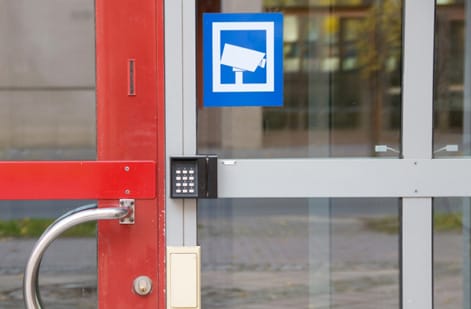
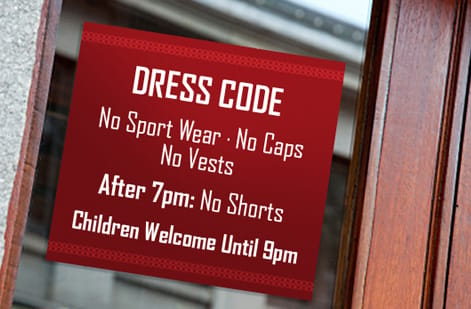
Window graphics we printed for storefronts




Explore more
Where to go next




By the numbers
Clear, white and vinyl clings we stock
Common Questions
Common questions about applying window clings
Why won't my window clings stick to the glass?
The most common cause is dirty glass. Window clings hold with static electricity, not adhesive, so any dust, oil, or residue from glass cleaners blocks the bond. Clean the surface with rubbing alcohol or vinegar, dry it with a lint-free cloth, and try again. A light mist of water on the glass also helps the cling grip while the static charge builds.
Can I reuse window clings after removing them?
Yes, and that is one of the biggest advantages of static clings. Peel them off carefully, clean the static side with a damp microfiber cloth, and store them flat between sheets of wax paper. When you are ready to put them back up, clean the glass and follow the same application steps and they will stick like new.
Do window clings work on surfaces other than glass?
They work best on smooth, non-porous surfaces, and standard glass is ideal. Smooth acrylic or polycarbonate can also work. They will not hold on frosted glass, textured glass, painted walls, wood, or metal. For those surfaces, adhesive vinyl decals are the better option.
How long do window clings last once applied?
On clean glass indoors, window clings can last for months and sometimes over a year. Direct sunlight and extreme temperatures shorten their life. Applying on the inside of the glass protects the cling from weather and UV, which stretches its lifespan well beyond an exterior placement.
How do Christmas window clings stick to glass surfaces?
They hold by static electricity, not glue. The smooth back of the vinyl carries an electrostatic charge that clamps to clean, flat glass, so nothing sticky ever touches the window and the cling peels away with zero residue. The bond only forms on a surface the charge can reach, so wipe the pane with rubbing alcohol or a 50/50 vinegar and water mix, dry it with a lint-free cloth, handle the cling by the edges so no fingerprints land on the static side, and smooth it down from the center outward to push the air out. In December, warm the glass with a hairdryer on low heat for 30 to 60 seconds first and let the clings sit flat indoors for an hour, because cold vinyl will not conform. For an exterior door in winter, a low-tack adhesive cling holds better than a pure static one.
Why do window clings fall off in cold weather?
Cold vinyl stiffens and stops conforming, so only the high spots touch the pane while the rest of the sheet is holding trapped air, and the static bond has almost nothing to grip. Static vinyl performs best between 50°F and 85°F (10°C to 29°C), and below that range grip drops fast. Condensation makes it worse: warm indoor air on cold glass leaves a wet film, water works its way to the edges and the corners lift within days. The fix is to let the clings reach room temperature flat for about an hour, warm the glass with a hairdryer on low heat held 6 to 8 inches away for 30 to 60 seconds, clean and fully dry the pane, then apply from the center out. Mounting on the inside of the glass in winter keeps the cling on the warmer face and out of the weather.
What's the best way to apply window clings in cold weather?
Cold vinyl gets stiff and will not conform to the glass. Warm the glass surface with a hairdryer on low heat for 30 to 60 seconds before you apply, and work in a heated indoor space when you can. The water-mist technique helps a lot in cold, dry conditions where the natural static charge is lower.
Should I apply window clings to the inside or outside of the window?
Inside application suits most uses because it protects the cling from weather, UV, and physical damage while the design still faces outward through the glass. Outside application works for short-term promotions but needs replacing more often. Interior placement is the safer default for storefront branding.
Get Started
Order white window clings, printed in 2 business days
Pick clear or white, drop in your artwork, and we print static-cling vinyl that grips clean glass the first time and reuses for months.
Legal Disclaimer
Gold Standard guarantees apply to all standard orders placed through 4over4.com. Price match requires verifiable proof of a competitor's published price for an equivalent product with matching specifications and turnaround time. Satisfaction guarantee covers manufacturing defects and print quality issues. Contact support with order number and documentation. On-time delivery rate based on tracked orders 1999 to 2026. Individual results may vary based on shipping carrier performance.
