
Custom Envelope Making Tutorial


Fold a custom envelope from a single sheet of paper. Gather five simple tools, size the paper around your card, crease and glue the flaps in order, then add the finishing touches that make it worth keeping.
To make a custom envelope by hand: center your card on a sheet of paper, add about 1.5 inches of flap on every side, then fold the bottom, sides, and top in that order. Crease each edge firmly and glue the side flaps to the bottom with a glue stick. Match light paper to casual notes and scored cardstock to invitations, and switch to printed blank envelopes once the batch grows past a couple dozen.
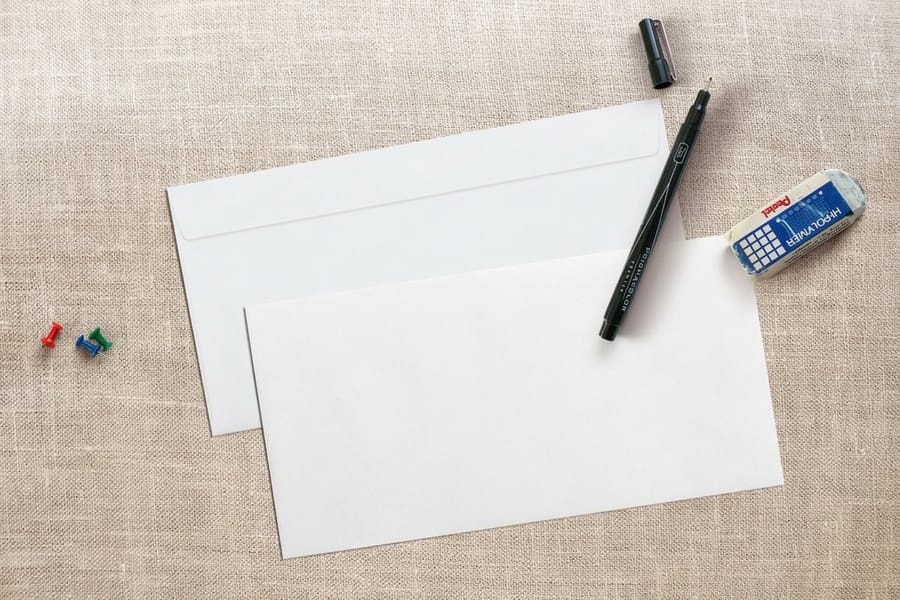
The quick version
How to make an envelope in five steps
Cut a rectangle three times the height of your card, fold the two side flaps in, fold the bottom flap up and glue it, then fold the top flap down to close.
- Cut a rectangle three times the height of your card and about an inch wider than it.
- Lay the paper face-down and center the card on it.
- Fold the two side flaps in against the card edges and crease them.
- Fold the bottom flap up over the card and glue it to the side flaps.
- Fold the top flap down to close, and seal it with glue or a sticker.
The full detail on measuring, folding and finishing is below, along with a square-sheet origami method that needs no cutting at all.
What you will learn
What you will learn in this custom envelope making tutorial
Making custom envelopes by hand is simpler than you think. All you need is paper, scissors, glue, and a few minutes. This tutorial walks you through materials, folding techniques, sizing tips, and finishing touches so you can create envelopes for letters, invitations, and branded mailings. 4OVER4.COM has printed over 10 billion cards and print products for more than 150,000 businesses, so we know a thing or two about paper and presentation.
Why handmade envelopes still matter
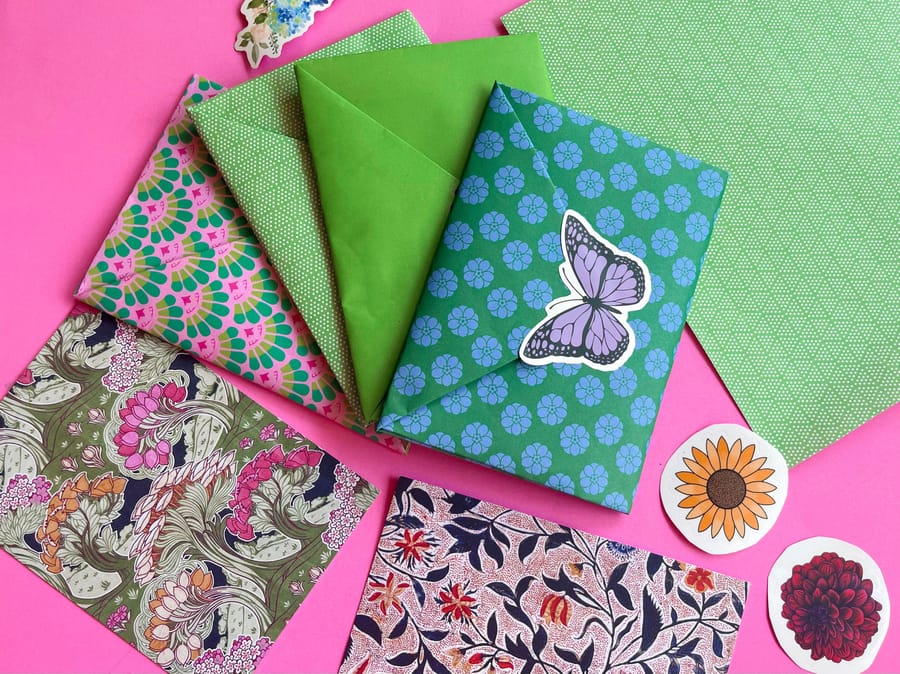
A handmade envelope says something a store-bought one never will. It tells the person holding it that you cared enough to make it yourself. Wedding invitations, holiday cards and branded thank-you notes all gain from an envelope that was made rather than bought.
This guide breaks down every step of the process. You will pick the right paper, learn precise folding methods, and discover finishing techniques that make your envelopes look polished. If you are interested in other hands-on projects, check out our guide on custom magnets for another fun DIY print project.
Already familiar with the basics? Our dedicated resource on how to make envelopes covers additional templates and advanced techniques. 4OVER4.COM supports creators at every skill level, from first-time crafters to seasoned designers looking for that perfect presentation.
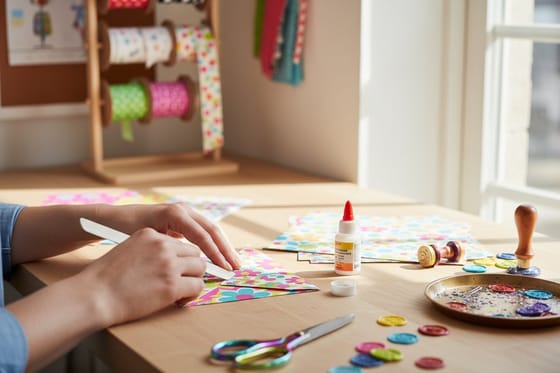
Gather your materials
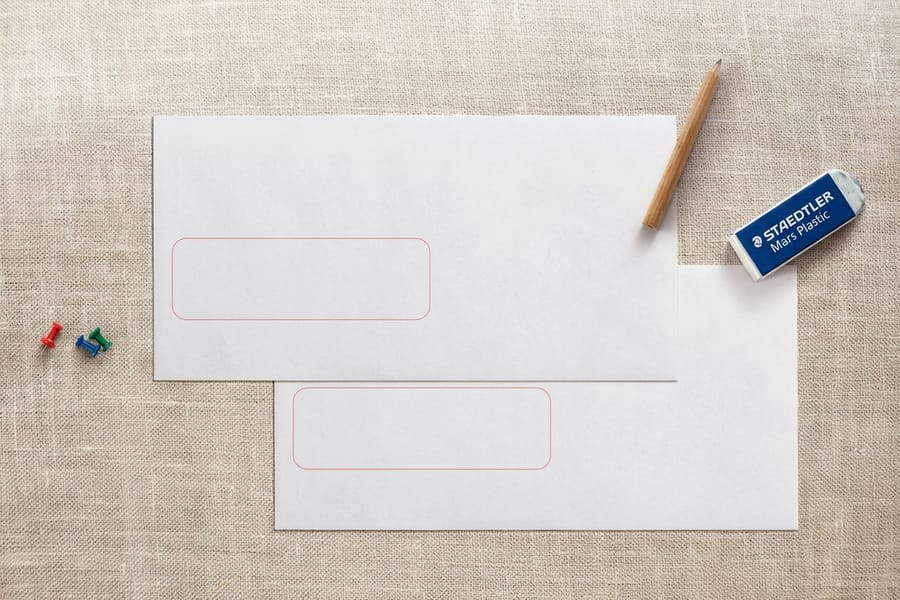
You do not need a craft-store haul to get started. Most of these five items are already in a drawer somewhere in your home.
- Paper. Standard 8.5 by 11 inch printer paper works great. Cardstock at 65 to 80 lb adds durability, and patterned or colored paper brings personality.
- Scissors or a craft knife. Sharp blades give you cleaner edges, and a paper trimmer works too.
- Glue stick or double-sided tape. Both create a clean bond without warping the paper.
- Ruler and pencil. For marking fold lines and measuring dimensions.
- Bone folder (optional). This gives you crisp, professional-looking creases.
That is it. Five items, most of which you probably already own. If you are working on other print projects at the same time, our guide hub has dozens of how-to guides covering everything from folding to finishing.
Choose the right paper weight and texture
Paper choice makes or breaks your envelope. Too thin, and it tears during folding. Too thick, and it will not crease cleanly without scoring first.
Standard printer paper at 20 lb is the easiest to fold. It suits casual notes, quick mailings, and practice runs. The downside is that it feels flimsy, and recipients notice.
Cardstock at 65 to 80 lb gives your envelope a sturdy, weighty hand. Think wedding invitations, branded mailers, or holiday cards. You will want to score fold lines with a bone folder or the back of a butter knife before creasing, which prevents cracking along the fold.
Textured or specialty paper adds a tactile element. Linen, kraft, or cotton papers create envelopes that people actually want to touch, and they are ideal for formal events or brand packaging. If you are curious about paper quality before committing to a project, 4OVER4.COM offers free samples so you can feel different stocks in your hands.
One more thing worth knowing is that grain direction matters. Paper folds more cleanly along the grain. Not sure which way the grain runs? Gently bend the sheet both ways, and the direction with less resistance is the grain direction. Fold along it.
Measure and cut your paper
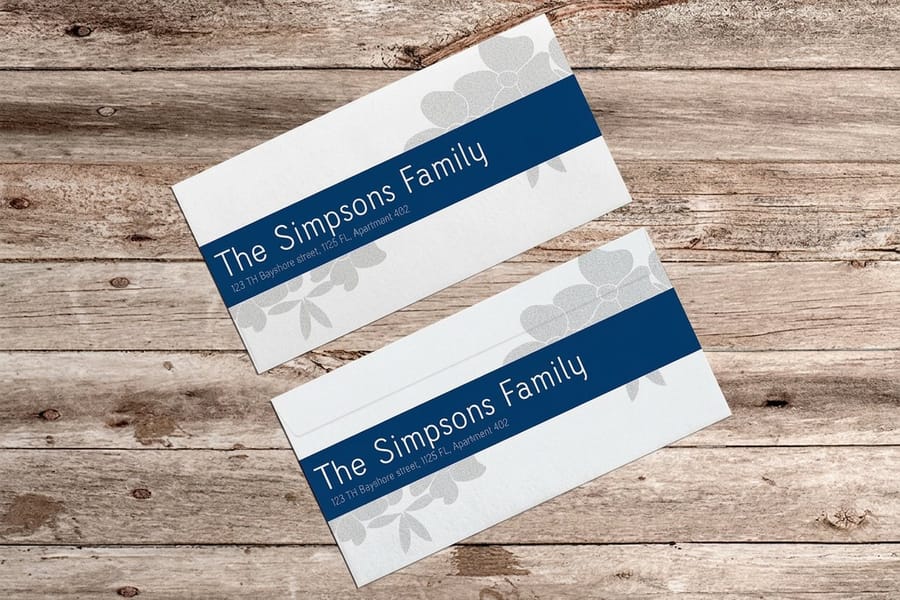
The size of your envelope depends on what you are mailing. Here are common dimensions to work with.
- A2 envelope at 4.375 by 5.75 inches. Fits standard RSVP cards and thank-you notes.
- A6 envelope at 4.75 by 6.5 inches. Sized for 4x6 photos and invitations.
- A7 envelope at 5.25 by 7.25 inches. The go-to for 5x7 invitations and announcements.
- #10 envelope at 4.125 by 9.5 inches. Standard business letter size.
For each size, you will need a flat sheet large enough to include the body of the envelope plus flaps on all four sides. A good rule is to add at least 1.5 inches to each side of your desired finished size for the fold-over flaps. Mark your measurements lightly in pencil, then cut.
If you are making multiple envelopes, create a template from one finished piece and trace it onto each new sheet. This keeps everything consistent and saves time. For other folding projects that require precision, our guide on how to fold a brochure covers similar techniques you can apply here.
Fold and assemble your envelope
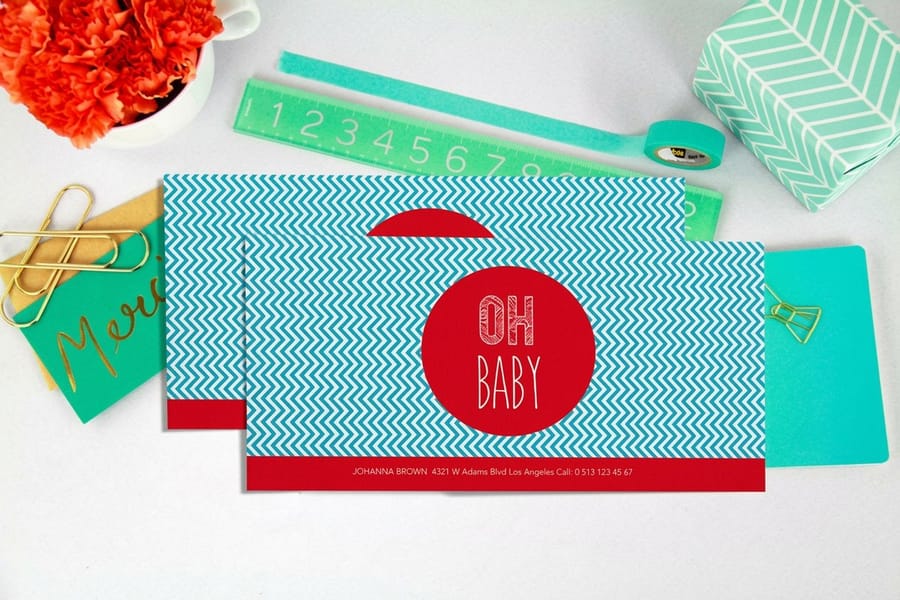
Here is the core of this custom envelope making tutorial. Follow these steps carefully and each crease sets up the next one.
Start with the right rectangle. Lay your card on the paper and leave about 1.5 inches of flap on all four sides, so a 4.25 by 5.5 inch card wants a 7.25 by 8.5 inch sheet and a 5 by 7 inch invitation wants an 8 by 10 inch sheet. That means one 8.5 by 11 inch printer sheet handles any card up to roughly 5.5 by 8 inches. Cut the rectangle before you fold anything, because trimming a folded envelope never comes out square.
Step 1. Place your paper face-down. If you are using patterned or colored paper, the design side should face the table. The inside of the envelope will show the plain side.
Step 2. Position your insert card in the center. Place whatever you are mailing, a card, letter, or photo, right in the middle of the paper. This acts as your sizing guide.
Step 3. Fold the bottom flap up. Bring the bottom edge of the paper up and over the insert, leaving about a quarter-inch of clearance so the card slides in and out easily. Crease firmly.
Step 4. Fold the side flaps inward. Fold the left side in, then the right side over it. Each side flap should overlap the bottom flap slightly. Crease each fold.
Step 5. Fold the top flap down. This is your closure flap. Fold it down so it overlaps the side flaps, and do not glue this one yet if you still need to insert your contents.
Step 6. Glue the side flaps to the bottom flap. Apply glue stick or double-sided tape to the edges of the side flaps where they meet the bottom flap. Press firmly and let it dry.
Remove your insert card and you now have a functional envelope. When you are ready to mail, insert your contents and seal the top flap with glue or a decorative sticker.
If a fold looks wrong, it is almost always one of three things. The sheet was cut without enough flap, so the top flap does not reach the side seams. The card was off-center, so one side flap runs short. Or the paper was creased with a fingernail instead of a bone folder or ruler edge, which leaves a soft, rounded fold that will not sit flat under a stamp.
The origami square-fold method
Prefer a folded pouch with no cutting at all? The origami square fold turns a single sheet into a self-closing envelope, and it is a satisfying five-minute project.
Use a square sheet of paper large enough to fit your content. A 12 by 12 inch sheet gives you a sizeable envelope with room to spare, so start there if you are folding for the first time.
Fold the paper corner to corner. Bring the bottom-right corner up to the top-left corner, then unfold and repeat from bottom-left to top-right. You now have a crisp X of creases that runs across the whole sheet and marks the center point every following fold works around.
From there you fold each corner in toward that center, tuck the final flap under the others, and the sheet holds itself closed. It is the same instinct behind our how to make envelopes walkthrough, just built from folds instead of glue.
In order, with the sheet sitting as a diamond and the X creases showing:
- Bottom corner up. Fold the bottom corner to the center point. That triangle becomes the front pocket, and its folded edge sets how deep the pouch is.
- Left corner in. Fold the left corner across so its tip lands at the center and its lower edge sits flush along the top of the first triangle.
- Right corner in. Mirror the left fold. The two side triangles should meet in a straight seam down the middle with no gap and no overlap.
- Top corner down and tuck. Fold the top corner down over everything, then slide its tip under the folded edge of the first triangle. That tuck is the closure, so no glue is needed.
A 12 by 12 inch square folded this way closes to roughly a 6 inch pouch, since every corner travels to the center. If your card does not fit, do not change the folds, change the sheet: the finished pouch is always about half the width of the square you started with.
Add custom finishing touches
A plain envelope is fine. A finished envelope is memorable. These finishing touches do most of the work.
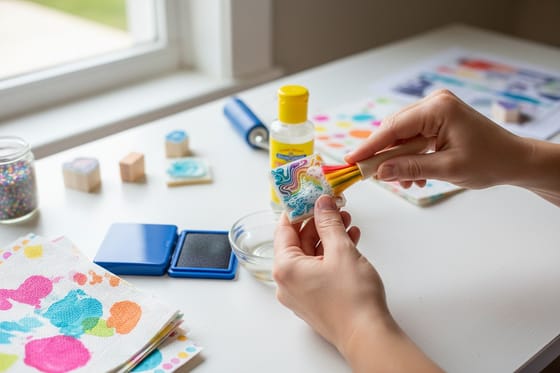
Rubber stamps and ink. A monogram, return address stamp, or decorative border adds instant personality. If you use stamps regularly, our guide on how to clean rubber stamps will help you keep them in top shape between projects.
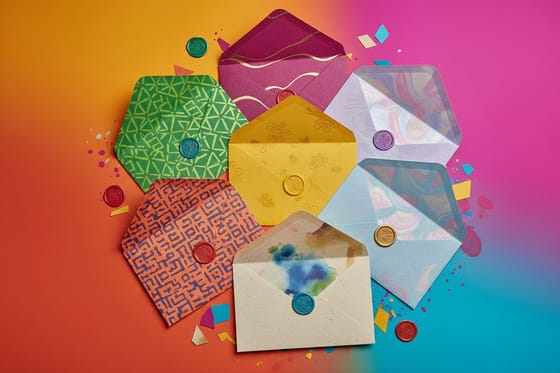
Wax seals. Nothing says this is special like a wax seal on the back flap. You can find seal kits with custom initials or logos for a modest price, and they work best on heavier paper stocks that can handle the heat.
Hand lettering or calligraphy. Write the recipient's name and address by hand. Even imperfect handwriting feels more personal than a printed label, so use a fine-tip pen or brush pen for the best results.
Printed liners. Cut a slightly smaller piece of patterned paper and glue it inside the envelope. When the recipient opens it, they see a burst of color or pattern. It is a small detail with big impact.
Stickers and embellishments. Washi tape along the edges, small stickers on the seal flap, or even dried pressed flowers tucked inside turn an envelope into an experience.
Scaling up when handmade meets professional printing
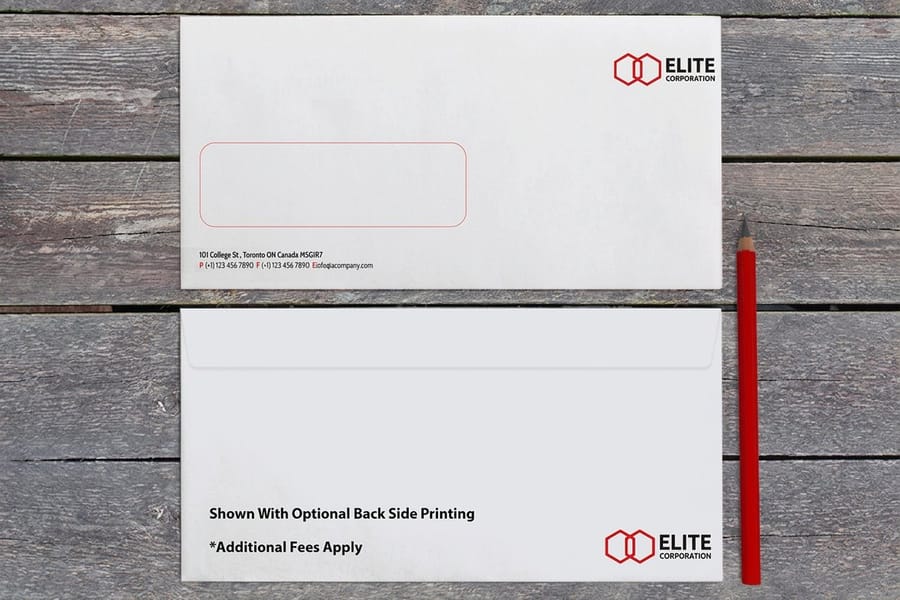
Handmade envelopes work for small batches. Ten wedding invitations? Absolutely. Twenty holiday cards? Sure. But what about 200 client mailers or 500 event invitations?
That is where professional printing picks up where DIY leaves off. 4OVER4.COM offers blank envelopes in a range of sizes and paper stocks, ready for your custom designs. You get the same personalized feel without spending hours at the craft table.
If you are designing flyers or inserts to go inside your envelopes, check out our walkthrough on how to make flyers for tips on layout, sizing, and print-ready file setup. Matching your envelope style to your insert creates a cohesive, polished mailing that recipients remember.
One envelope or a thousand, the goal is the same. Create something that feels intentional, something the recipient does not just rip open and toss.
Mistakes that ruin handmade envelopes

Even a straightforward custom envelope making tutorial cannot prevent every mishap. Here are the most common errors people make, and how to avoid each one.
- Skipping the scoring step on thick paper. Cardstock cracks when you fold it without scoring first. Run a bone folder or empty ballpoint pen along your fold line before creasing.
- Using too much liquid glue. Wet glue warps paper fast. Stick with glue sticks or double-sided tape for clean, flat results.
- Cutting flaps too short. If your side flaps do not overlap the bottom flap by at least half an inch, the envelope will not hold together under postal handling.
- Ignoring postal regulations. USPS requires envelopes to be at least 3.5 by 5 inches and no larger than 6.125 by 11.5 inches for standard letter rates. Go outside those dimensions and you will pay extra or get your mail returned.
- Forgetting to test the seal. Always do a test run before making a full batch. 4OVER4.COM recommends sealing one envelope, letting it dry, then checking if the flap holds firm.
Products to pair with your handmade envelopes
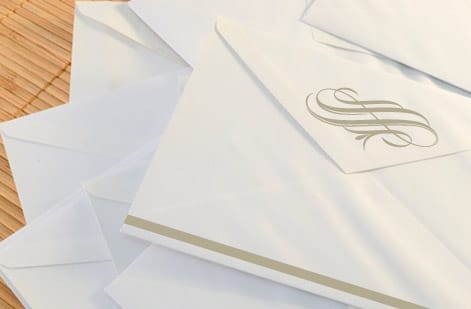
Once you have mastered the custom envelope making tutorial, you might want to explore what goes inside them. 4OVER4.COM prints more than 1,000 products that pair perfectly with handmade or printed envelopes.
Need branded cards to tuck inside? Start with free business cards to test paper stocks and finishes at no cost. Running a tight deadline? Our same-day printing gets your inserts, cards, and mailers produced and shipped fast.
For creators who want to sample different card finishes before placing a bulk order, grab your free business cards and see how matte, gloss, and uncoated stocks look and feel alongside your handmade envelopes. When you are ready to design the art itself, our online designer builds print-ready files right in the browser.
Wally explains envelope making
A good fold is what makes mail feel personal
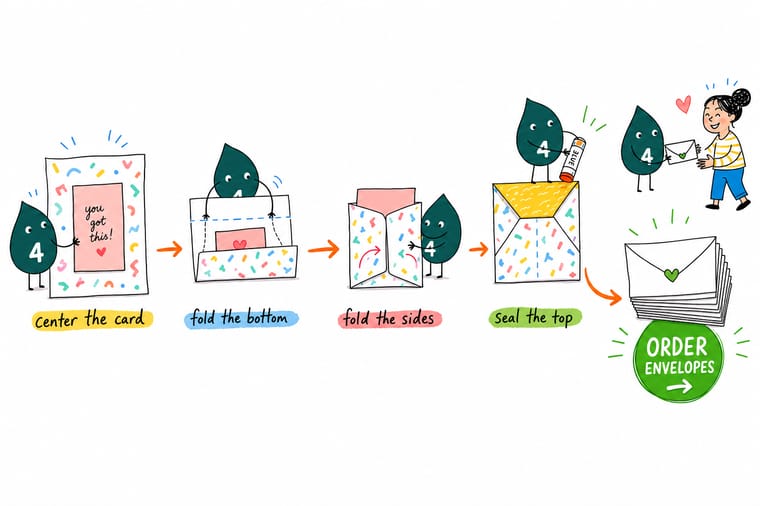
One 8.5 by 11 sheet, five folds, and a card is on its way. Score before you crease so the paper bends where you want it, keep the flap deep enough to hold a seal, and check the finished size against the card going inside. Fold a handful by hand for a small run, then order blank envelopes when the list outgrows the craft table.
Order blank envelopes →The quick version
Fold an envelope from one 8.5 by 11 sheet in five steps
Cut a rectangle that leaves about 1.5 inches of paper on every side of your card, fold the bottom flap up, fold the two side flaps in over it, glue those seams, then fold the top flap down to close. One standard 8.5 by 11 inch printer sheet covers any card up to about 5.5 by 8 inches, so most notes and invitations need nothing bought and nothing measured twice.
- Cut the sheet. Center the card on the paper, mark 1.5 inches of flap on all four sides, and cut. A 4.25 by 5.5 inch card needs a 7.25 by 8.5 inch rectangle.
- Lay it face-down. Patterned or colored side against the table, so the design finishes on the outside of the envelope.
- Fold the bottom flap up. Bring the bottom edge over the card, leave about a quarter inch of clearance so the card slides in and out, and crease firmly.
- Fold the side flaps in. Left first, then right over it, each one overlapping the bottom flap, and glue those two seams with a glue stick or double-sided tape.
- Fold the top flap down. Leave it unglued until the contents are inside, then seal it with glue or a sticker.
Everything below is the long version: paper weights, sizing around odd inserts, the origami square fold that needs no cutting at all, and the finishing touches that make a hand-folded envelope look bought.
Start from a template
Free printable envelope templates
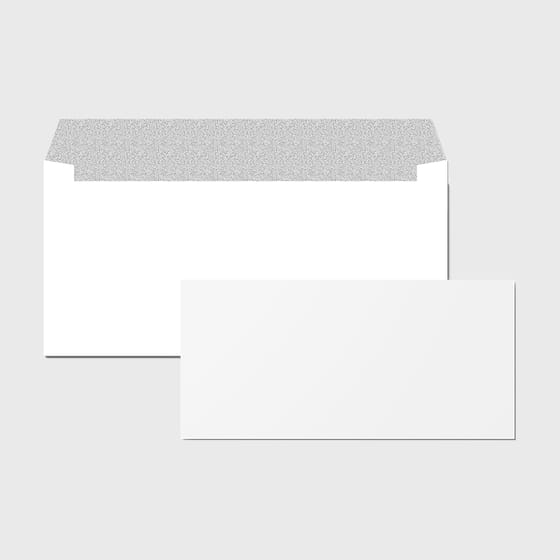
Want a head start instead of measuring from scratch? Download a print-ready blank template, drop in your art, and fold or print from a known-good layout. The two standard invitation sizes are the A2 at 4.375 by 5.75 inches, which fits a folded 4.25 by 5.5 inch card, and the A7 at 5.25 by 7.25 inches, which fits a 5 by 7 inch invitation. Cut your paper to three times the finished height of the envelope and you have the flap allowance built in.
Specs and pricing
Blank envelope specs and pricing
When your batch outgrows the craft table, here is what a made-to-order blank envelope gives you at 4OVER4.COM, with live specs and price-per-unit straight from the configurator.
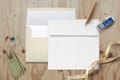
Sizes to printIf you would rather print a fold line than measure one, build your template around a standard envelope size so a bought card still fits. The A2 finishes at 4.375 by 5.75 inches and holds a 4.25 by 5.5 inch card, the usual RSVP and thank-you size. The A7 finishes at 5.25 by 7.25 inches and holds a 5 by 7 inch invitation. Set your page to the finished size, add 1.5 inches of flap on all four sides before you cut, and score the fold lines first so 65 lb or heavier cardstock creases instead of cracking. The print-ready blanks below are built to those same sizes.
Start from a template
Blank envelope templates to build from
Want a head start instead of measuring from scratch? Download a print-ready blank template, drop in your art, and fold or print from a known-good layout. The A2 and A7 sizes above are the two most people need
| Quantity | Price Per Unit | Total |
|---|---|---|
| 50 | 26.3¢ | $13.17 |
| 100 | 26.2¢ | $26.20 |
| 200 | 17.3¢ | $34.60 |
| 250 | 14.5¢ | $36.24 |
| 300 | 12.1¢ | $36.24 |
| 400 | 9.47¢ | $37.87 |
| 500 | 7.91¢ | $39.53 |
| 600 | 6.59¢ | $39.53 |
Print it
Order envelopes at 4OVER4
See it in use
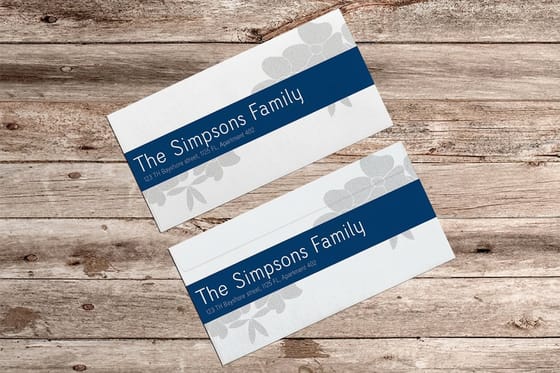
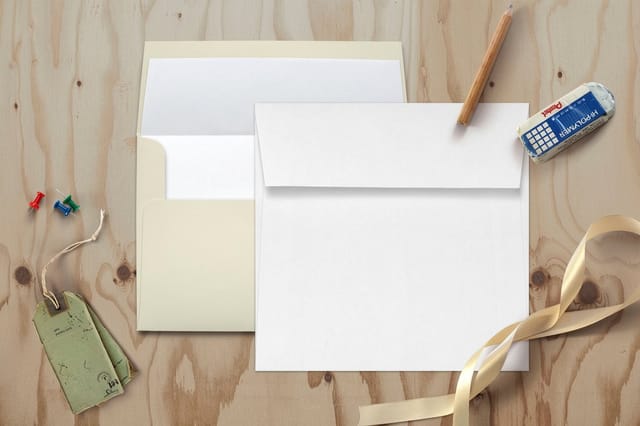
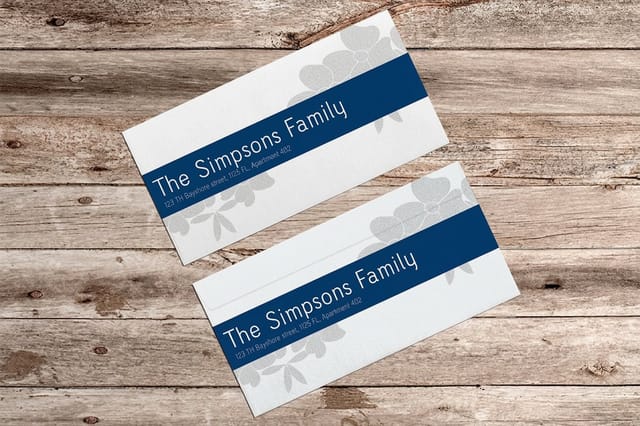
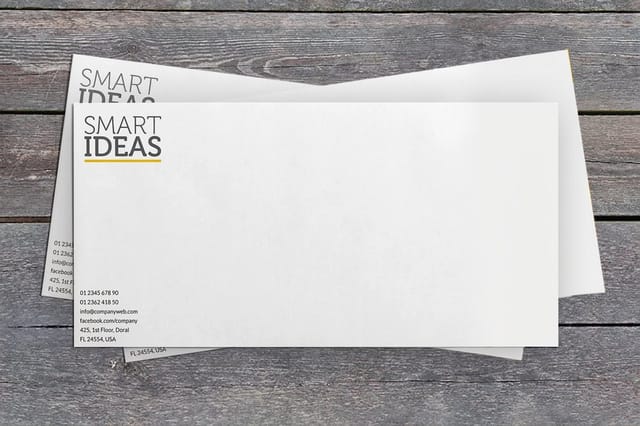
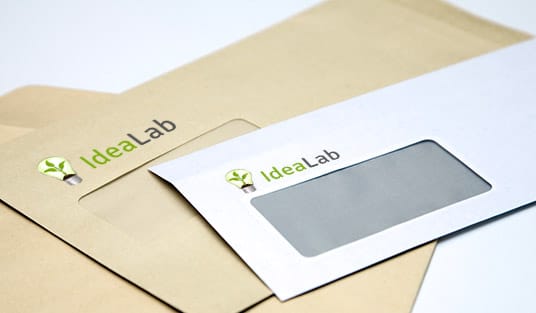
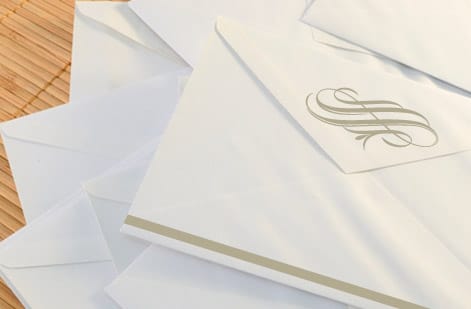
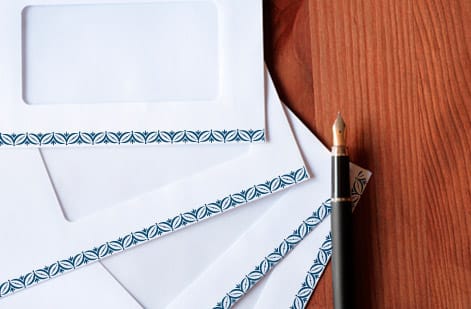
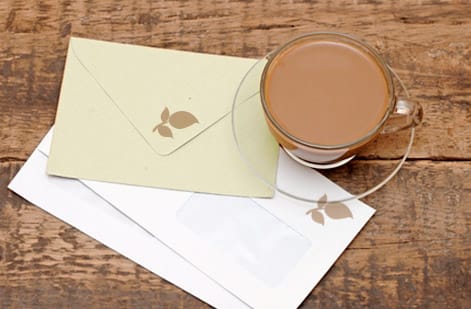
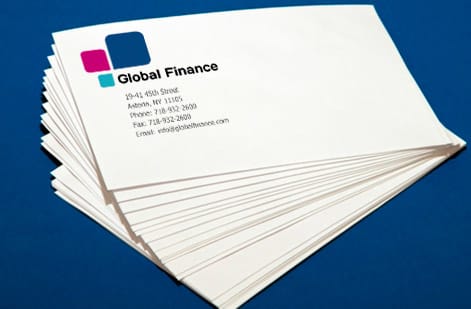
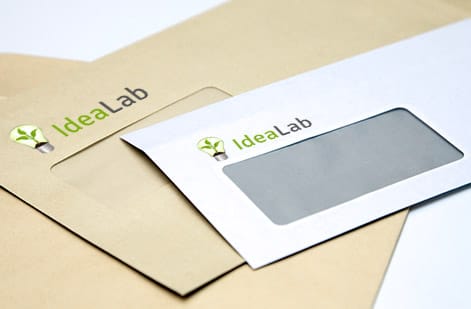
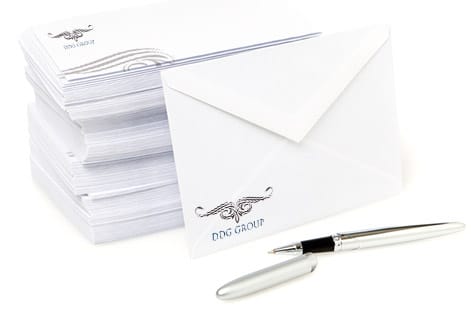
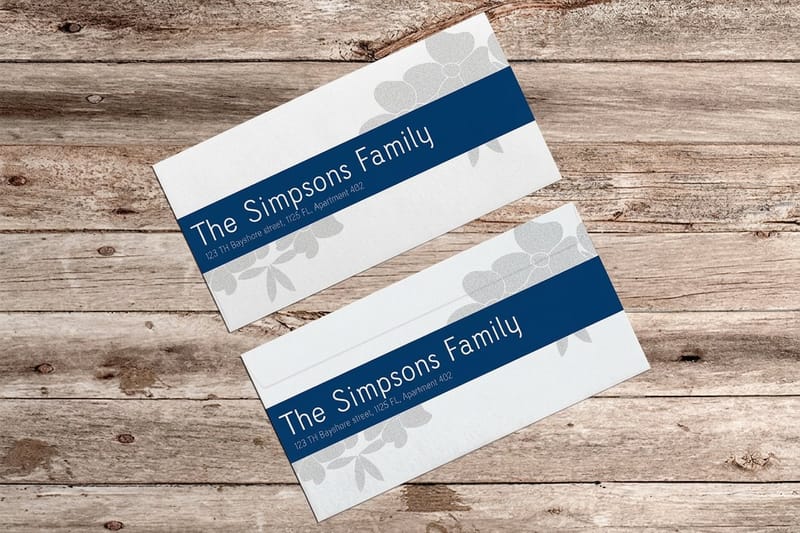
Custom envelopes customers printed rather than folded

Explore more
Where to go next

By the numbers
When the batch outgrows your folding table
Common Questions
Common questions about making custom envelopes
What paper weight works best for handmade envelopes?
Standard 20 lb printer paper is easiest to fold and works for casual mailings. For invitations or branded envelopes, use 65 to 80 lb cardstock. Score your fold lines first on anything heavier than 24 lb to prevent cracking. Thicker paper feels more premium but requires more care during assembly.
Can I mail handmade envelopes through USPS?
Yes. USPS accepts handmade envelopes as long as they meet minimum size requirements of at least 3.5 by 5 inches and no larger than 6.125 by 11.5 inches for standard letter rates. The envelope must be rectangular, and the address area needs to be clearly legible. Odd shapes or oversized envelopes may require extra postage.
How do I keep my envelopes from coming unglued in the mail?
Use a strong glue stick or double-sided tape on all flap seams. Avoid liquid glue because it warps paper and takes too long to dry. For extra security, add a wax seal or a piece of washi tape over the closure flap. Test your seal before making a full batch.
What size envelope fits a standard greeting card?
Most greeting cards are either 4.25 by 5.5 inches (A2 size) or 5 by 7 inches (A7 size). Cut your paper to allow at least 1.5 inches extra on each side for flaps. An A7 envelope at 5.25 by 7.25 inches gives a 5x7 card just enough room to slide in and out without bending.
When should I switch from handmade to professionally printed envelopes?
If you are making more than 25 to 50 envelopes, professional printing saves serious time without sacrificing quality. 4OVER4.COM prints custom envelopes on a range of paper stocks with full-color designs. Visit our Help Center for guidance on file setup and ordering.
Can I print on handmade envelopes using a home printer?
You can, but it depends on your paper thickness. Most inkjet and laser printers handle up to 80 lb cardstock. Feed envelopes one at a time to avoid jams. Set your printer to thick paper or envelope mode. Always do a test print on scrap paper first to check alignment.
Get Started
Order 50 blank envelopes from $13.17
Pick your size and stock, drop in your design, and we print clean, mail-ready envelopes for invitations, mailers, and branded notes.
Legal Disclaimer
Gold Standard guarantees apply to all standard orders placed through 4over4.com. Price match requires verifiable proof of a competitor's published price for an equivalent product with matching specifications and turnaround time. Satisfaction guarantee covers manufacturing defects and print quality issues. Contact support with order number and documentation. On-time delivery rate based on tracked orders 1999 to 2026. Individual results may vary based on shipping carrier performance.
