
How to Design Custom Menu Cards That Match Your Brand


Match the paper, palette, and layout to your event or restaurant brand, set the file up for print, and approve one quick proof. Here is the full routine that turns a plain menu into a card guests keep.
To design custom menu cards, start from the mood: pick a size that fits the table, keep to two or three colors and two readable fonts, choose a paper stock and finish that suits the event, then export a 300 DPI CMYK PDF with a 0.125 inch bleed and approve the free proof. Order 10 to 15 percent extra so you always have keepsakes on hand.
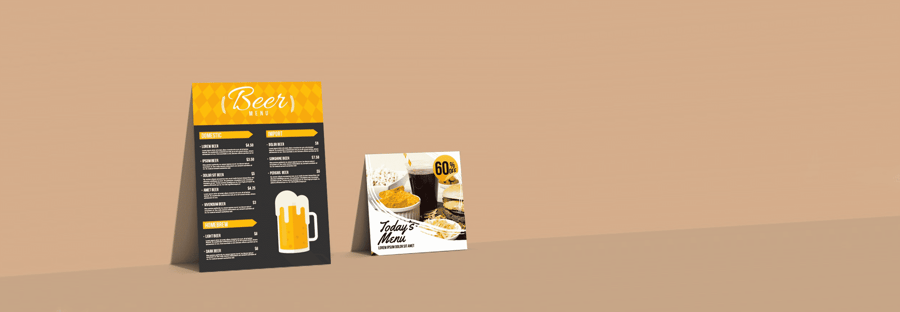
Quick tips
Quick tips for designing custom menu cards
Designing custom menu cards starts with choosing the right paper stock, color palette, and layout that matches your event or restaurant brand. 4OVER4.COM has printed over 10 billion cards for 150,000+ businesses, so we know what works. Pick a size that fits your table setting, keep fonts readable, use high-resolution images sparingly, and always order a proof before your full print run.
Watch it printed
See standard menus on the press, in 129 seconds
Free templates
Free menu card templates by size
To make a menu card, start from a correctly sized template, set your courses in a clear hierarchy, then export a 300 DPI CMYK PDF with a 0.125 inch bleed.
Four sizes cover almost every table. Each one downloads as a print-ready file with the bleed and safe zone already set, so you drop your dishes in and export.
- 4 x 9 in table menu. The standard. Slim enough to sit inside a napkin fold or lean against a glass, and it holds a three course menu without crowding. Download the 4 x 9 blank
- 5 x 7 in card menu. More room per line, which suits longer dish descriptions, wine pairings, or a menu that doubles as a keepsake. Download the 5 x 7 blank
- 8.5 x 11 in full page. The restaurant workhorse. Fits a full food and drink list on one side, and it is the size every menu holder is cut for. Download the 8.5 x 11 blank
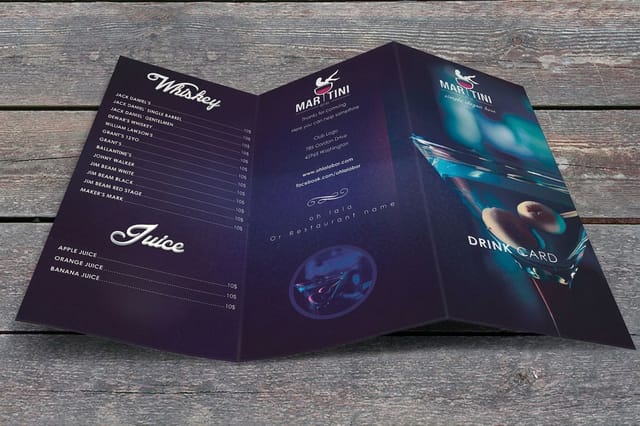
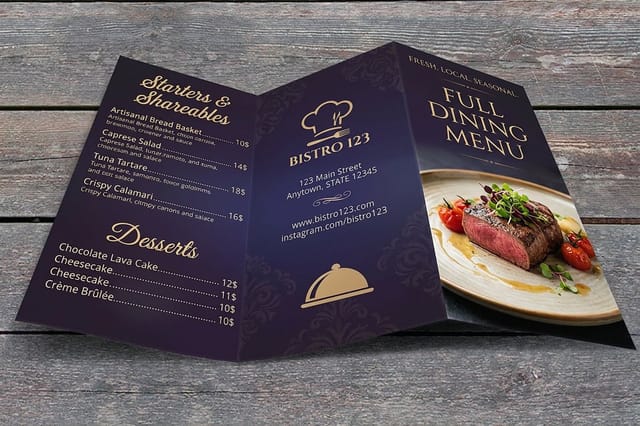
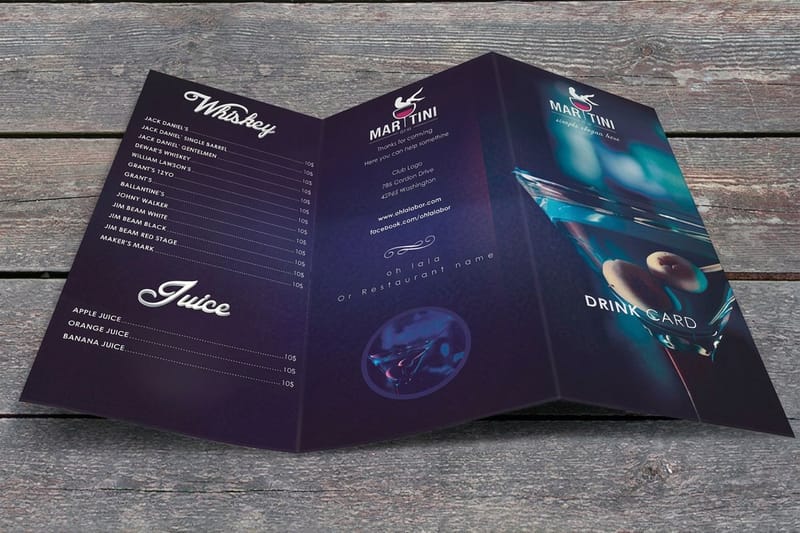
- 8.5 x 11 in bifold, folds to 5.5 x 8.5 in. Four panels from one sheet, which is the format for a tasting menu or a menu split across courses. Download the bifold blank
Printing with us? Every size above runs on custom menus, and the same files work for restaurant menus and wedding menus.
Why your menu card design matters more than you think
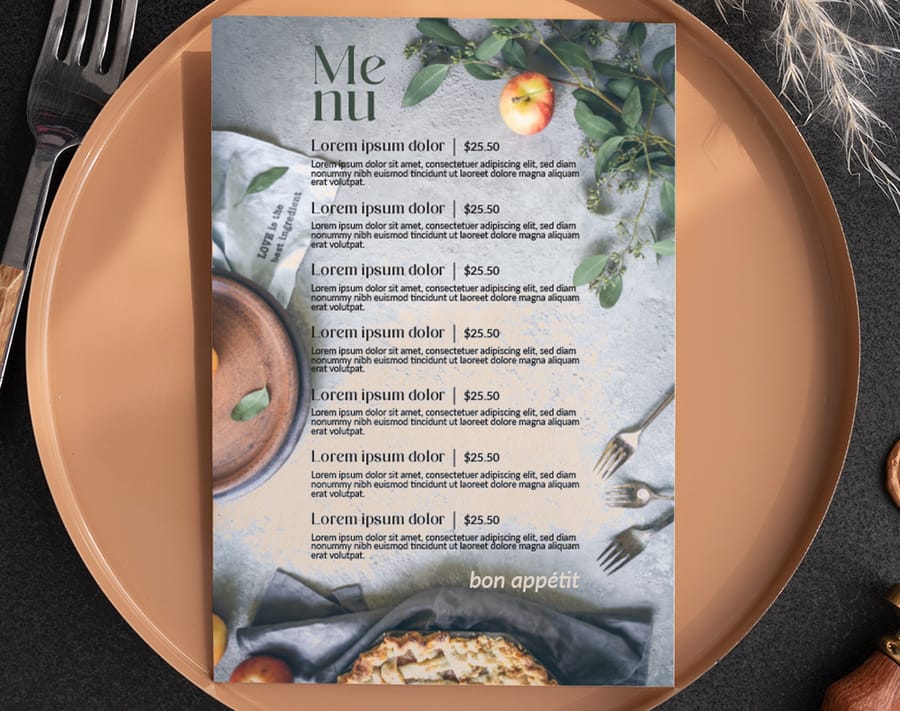
A menu card is the first thing your guests interact with at the table. It sets expectations, it builds appetite, and when it is designed well it makes your food sound even better than it already is. Knowing how to design custom menu cards gives you full control over that first impression, whether you are running a wedding reception, a tasting event, or a brick-and-mortar restaurant.
4OVER4.COM has helped 150,000+ businesses bring their print projects to life, and menu cards are one of the most satisfying to get right. You do not need a graphic design degree. You just need the right approach, the right paper, and a clear plan. If you like earning rewards on your print orders, look at the loyalty program before you order. And if you are working on other pieces alongside your menus, our guide on custom magnets is worth a look too.
Start with your event or brand identity
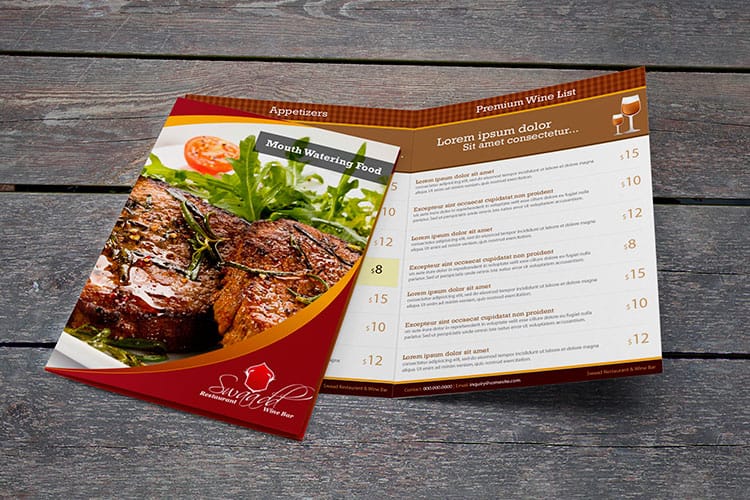
Before you open any design tool, get clear on the vibe. Is this a rustic farm-to-table dinner, a sleek cocktail reception, or a kid-friendly birthday party? Your menu card design should mirror the mood your guests will walk into.
Write down three words that describe your event. "Elegant, warm, intimate" leads to very different design choices than "bold, modern, playful." Those words become your north star for every decision, from font selection to paper finish.
If you are designing for a restaurant rather than a single event, think about your brand colors, logo placement, and how the menu card fits alongside other printed materials. Consistency across your custom booklets, table tents, and menu cards builds recognition and trust.
Choose the right size and format
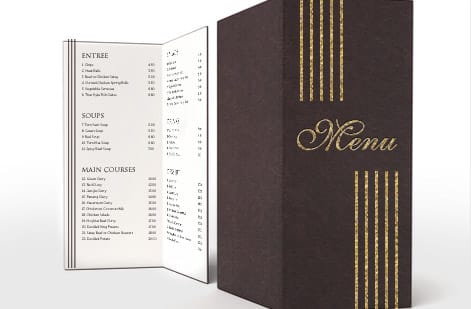
Menu card size depends on how much content you need to fit and where the card will live. A simple three-course dinner menu works beautifully on a 4 by 9 inch card. A multi-course tasting menu might call for a folded format, similar to how you would approach a tri-fold or bi-fold layout. If you have ever worked with folded print materials, our guide on how to fold a brochure covers the mechanics of fold types and bleed areas.
Common menu card sizes include:
- 4" x 6" compact, works for simple menus or dessert cards.
- 4" x 9" the classic dinner menu card, fits a napkin fold perfectly.
- 5" x 7" roomy enough for longer menus with descriptions.
- 8.5" x 11" folded ideal for multi-page restaurant menus or tasting events.
Pick a size that gives your text breathing room. Cramped menus look cheap. White space looks intentional.
Menu card sizes in inches, centimeters and pixels
Design tools ask for the size three different ways. Print shops quote inches, European suppliers and many templates quote centimeters, and Canva and similar tools want pixels. At 300 DPI, which is what a sharp print needs, the menu card sizes convert like this.
- 4 by 6 inches is 10.2 by 15.2 cm, or 1200 by 1800 pixels.
- 4 by 9 inches, the table menu, is 10.2 by 22.9 cm, or 1200 by 2700 pixels.
- 5 by 7 inches is 12.7 by 17.8 cm, or 1500 by 2100 pixels.
- 8.5 by 11 inches is 21.6 by 27.9 cm, or 2550 by 3300 pixels.
- 5.5 by 8.5 inches, the folded bifold panel, is 14 by 21.6 cm, or 1650 by 2550 pixels.
Add the bleed before you convert. A 4 by 9 card with 0.125 inch bleed on every side is 4.25 by 9.25 inches, which is 1275 by 2775 pixels. A file built at 72 DPI screen size prints soft at every one of these sizes, so set the resolution first and the pixel count follows.
Select your color palette and typography
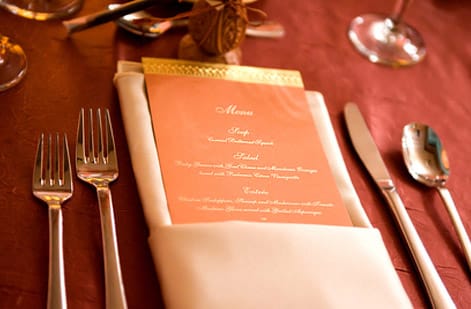
Stick to two or three colors max. One dominant color, one accent, and one neutral. That is it. Restaurants that use their brand colors on menu cards create a smooth experience from signage to table.
For typography, pair a decorative or serif font for headings with a clean sans-serif for menu items and descriptions. Your guests need to read this in dim lighting, possibly after a glass of wine. Legibility wins over style every single time.
Font size matters. Menu item names should sit at 12 to 14pt minimum. Descriptions can go down to 10pt, but no smaller. If someone squints at your menu, you have already lost them.
Dark text on a light background is the safest bet for readability. If you want a dark or colored background, use white or very light text and test it at actual print size before committing.
Lay out your content with hierarchy in mind
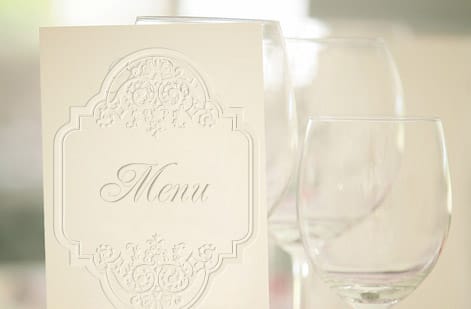
A well-designed custom menu card guides the eye from top to bottom without confusion. Here is a layout structure that works for most events:
- Header event name, date, or restaurant logo at the top.
- Course sections clearly labeled (Appetizers, Entrees, Desserts).
- Menu items bold item names with brief descriptions underneath.
- Dietary notes small icons or text for vegetarian, gluten-free, and more.
- Footer a personal note, allergen disclaimer, or "bon appetit".
Use dividers or thin lines between courses. This creates visual separation without cluttering the design. If you are working with a lot of text, consider a two-column layout for the main courses.
For wedding menu cards specifically, you might add the couple's names or monogram at the top. A small illustration, olive branches, a simple floral motif, or a geometric pattern, adds personality without overwhelming the content. Browse our guide hub for more design inspiration across different print formats.
Folded menu sizes for restaurants and tasting events
A folded menu starts from a larger flat sheet, so the size you order is the flat size and the size on the table is the folded one. Three folds cover almost every restaurant.
- Half fold from 8.5 by 11. Folds to 5.5 by 8.5 inches, four panels, the tasting menu and wine list format. Courses on the inside spread, the name on the cover.
- Tri-fold from 8.5 by 11. Folds to about 3.67 by 8.5 inches, six narrow panels. Good for a takeout menu that goes in a bag or a pocket, weak for long dish descriptions.
- Half fold from 11 by 17. Folds to 8.5 by 11, the full size restaurant menu with four letter size panels. It needs a heavier stock so the cover does not flop.
Keep type and dividers a quarter inch off every fold, run the courses in reading order across the panels rather than down each one, and on any stock above 14pt ask for scoring so the fold does not crack the ink. Every fold above runs on custom menus in the same stocks as the flat cards.
Pick the right paper stock and finish
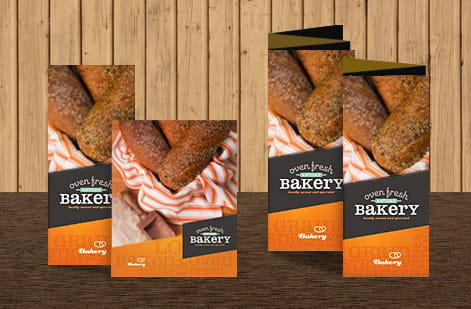
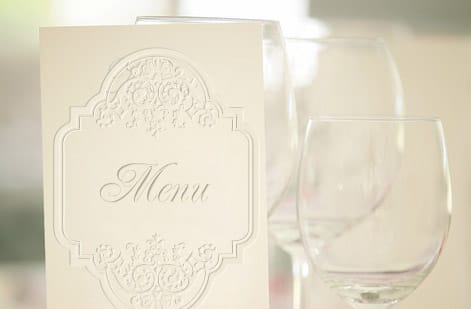
This is where your menu card goes from "nice printout" to "wow, this feels expensive." Paper stock and finish make a physical impression your guests will notice the moment they pick up the card.
Paper weight: for menu cards, 14pt or 16pt cardstock gives a sturdy, professional feel. If you want something that feels truly premium, the kind of card guests slip into their purse as a souvenir, 32pt ultra-thick stock is about three times the thickness of a standard business card.
Finish options to consider:
- Matte soft, elegant, no glare under candlelight, perfect for evening events.
- Gloss vivid colors, slight sheen, works well for food photography.
- Uncoated natural, organic feel, great for rustic or eco-themed events.
- Soft-touch lamination velvety texture that feels luxurious in hand.
- Spot UV glossy accents on specific design elements for contrast.
4OVER4.COM offers 60+ paper types, so you are not locked into basic options. If you have ever designed flyers, you know paper choice changes everything about how a design translates from screen to print.
Design tools you can actually use
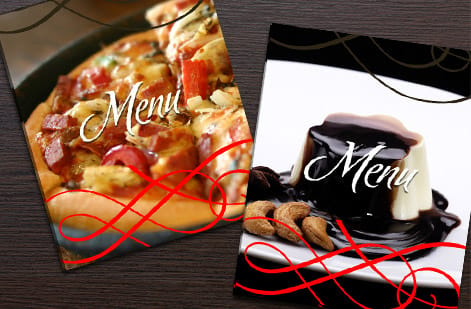
You do not need Adobe InDesign to design a great menu card. Here are tools that work well at every skill level:
- Canva drag-and-drop templates, free tier available, exports print-ready PDFs.
- Adobe Express clean templates with the Adobe font library.
- Microsoft Word or Google Docs surprisingly effective for text-heavy menus with simple layouts.
- Adobe InDesign or Illustrator full control for experienced designers.
Whichever tool you use, export your final file as a high-resolution PDF at 300 DPI minimum with bleed marks. Bleed is the extra 0.125 inch of design that extends past the trim line, and it prevents white edges after cutting. If you are also creating matching materials like invitation envelopes, our guide on how to make envelopes covers file setup in more detail.
Preparing your file for print
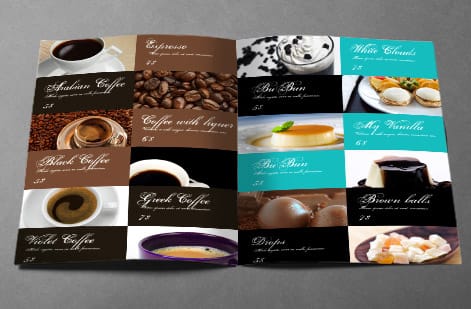
This step trips up a lot of first-time designers. Here is a quick checklist before you upload:
- Resolution: 300 DPI, anything lower will look fuzzy when printed.
- Color mode: CMYK, not RGB (RGB is for screens, CMYK is for print).
- Bleed: 0.125 inch on all sides.
- Safe zone: keep all text and important elements at least 0.125 inch inside the trim line.
- Fonts: outline all fonts or embed them in your PDF so nothing shifts.
If you are unsure about your file, 4OVER4.COM offers a free proof review before printing. That means you will see exactly what your custom menu cards will look like before a single sheet runs through the press. No surprises. For anyone who also works with stamps or other custom tools for their events, our guide on how to clean rubber stamps is a handy reference for maintaining your supplies.
Printing and ordering your menu cards
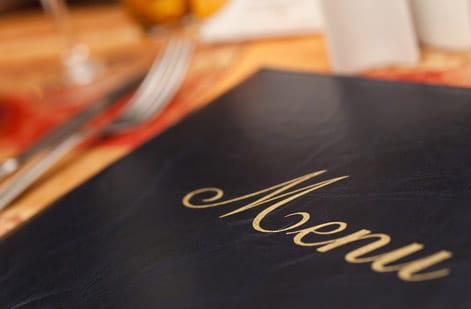
Once your design file is ready, it is time to print. Here is what to think about:
Quantity: order 10 to 15 percent more than your guest count. You will want extras for the head table, vendors, your keepsake box, and inevitable last-minute additions.
Turnaround: standard turnaround is typically 3 to 5 business days. If your event is coming up fast, same-day and rush options are available. 4OVER4.COM delivers 99.8% of orders on time, and 82% actually ship early.
Proofing: always approve your digital proof. Check spelling, especially guest names on place-card style menus, plus alignment and color accuracy. A typo on a menu card is the kind of thing people photograph and share.
If you are new to 4OVER4.COM, grab a set of free business cards first to test paper quality and print sharpness before committing to a larger menu card order. It is the easiest way to feel the difference in person, and they double as mini tasting cards or table number holders alongside your menus. Below, you will find ready-to-use templates that make designing custom menu cards faster. Pick one that matches your style and customize it with your own content.
Wally explains menu cards
A clear menu is the first course
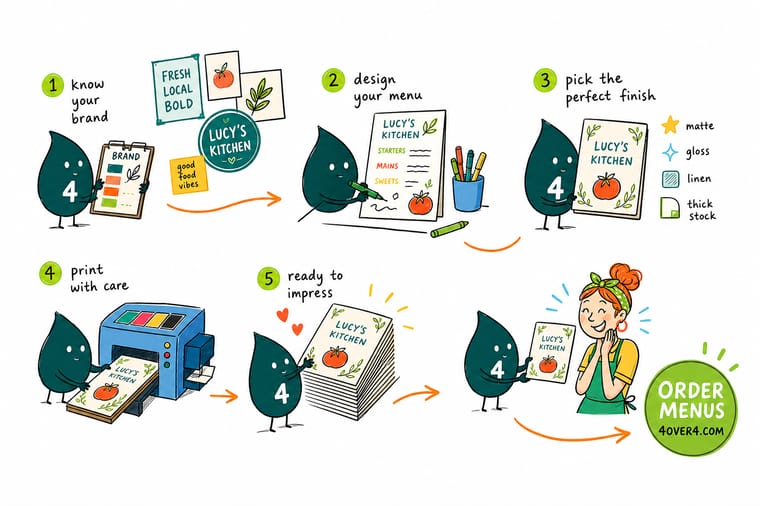
Wally treats a menu card like the opening line of the meal: three words to set the mood, two fonts so it reads in candlelight, and one proof so no typo ever makes it to the table. Pick a size that fits the napkin fold, a stock that feels worth keeping, and let 4OVER4 print it crisp on 60+ paper types built to your exact brand.
Order menu cards →Design mistakes that ruin otherwise great menu cards
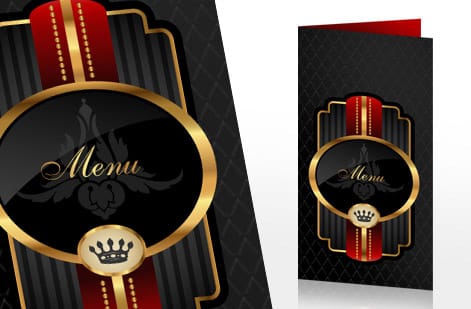
Even experienced designers slip up on menu cards. Here are the most common mistakes to avoid when you design custom menu cards:
- Too many fonts. Three is the absolute max, two is better. One decorative header font and one clean body font keeps things polished.
- Ignoring bleed and safe zones. Text too close to the edge gets cut off. Always leave a 0.125 inch margin inside the trim line.
- Using RGB color mode. Your screen colors will not match print output. Switch to CMYK before exporting.
- Overcrowding the layout. White space is not wasted space. It makes your menu easier to read and more elegant.
- Low-resolution images. That beautiful food photo at 72 DPI will print blurry. Stick to 300 DPI or higher.
- Skipping the proof. 4OVER4.COM provides free proofs for a reason. One quick review catches errors that would cost you a full reprint.
These mistakes are easy to fix before you place the order. Take five extra minutes to review. Your guests and your budget will thank you.
Free menu templates
Ready-to-use menu templates
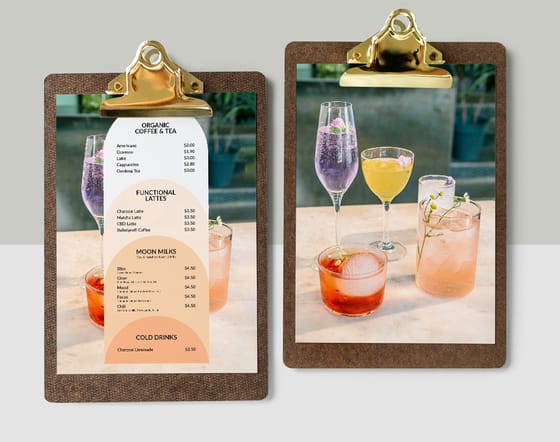
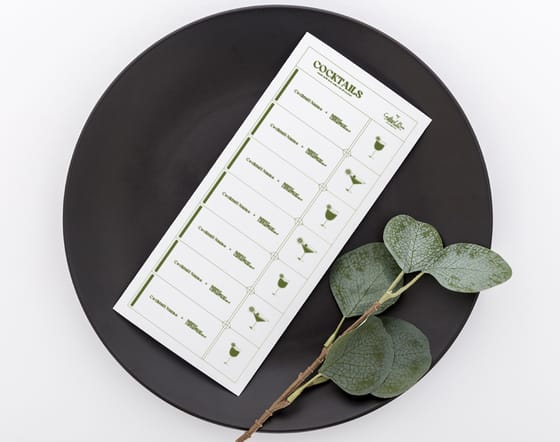
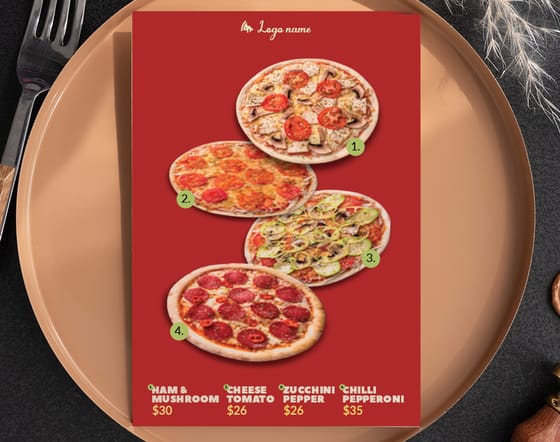
Open one of these in the online designer, swap in your own dishes and prices, and you have a print-ready menu in minutes.
Specs and pricing
Custom menu card specs and pricing
Here is what a made-to-order menu gives you at 4OVER4.COM, with live specs and price-per-unit straight from the configurator.

| Quantity | Price Per Unit | Total |
|---|---|---|
| 50 | $1.14 | $57.11 |
| 100 | 82.4¢ | $82.38 |
| 200 | 53.3¢ | $106.55 |
| 300 | 41.0¢ | $123.02 |
| 400 | 34.9¢ | $139.49 |
| 500 | 31.2¢ | $155.97 |
| 600 | 26.7¢ | $160.36 |
| 700 | 23.5¢ | $164.75 |
Print it
Order menus and matching print at 4OVER4

See it in use
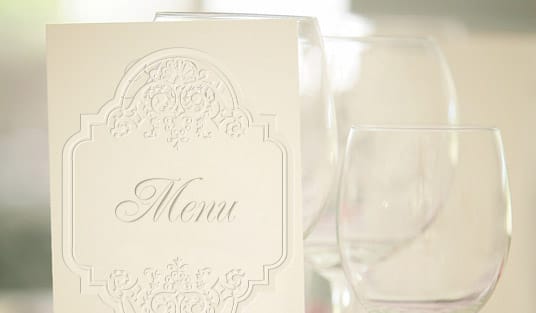
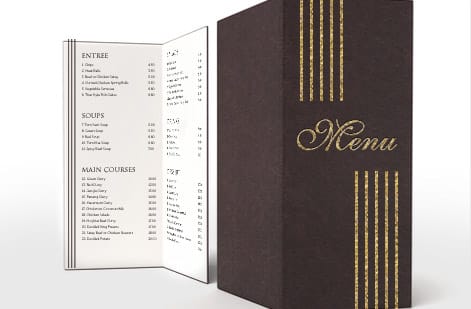
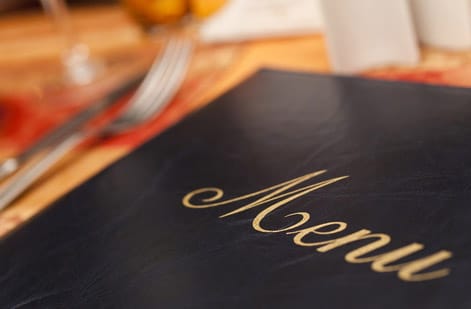
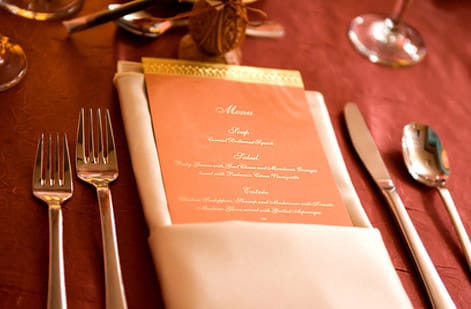
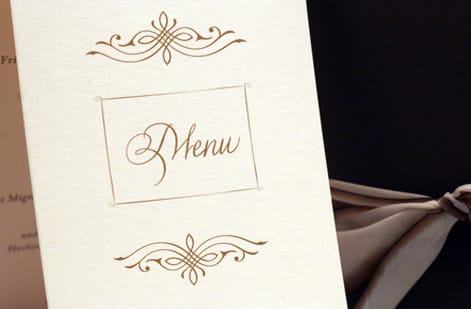
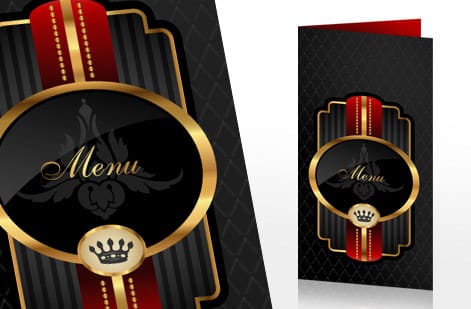
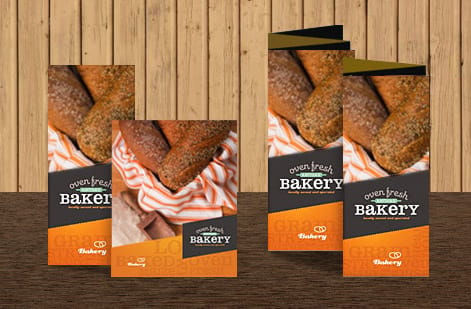
Menu cards we printed for working kitchens
Explore more
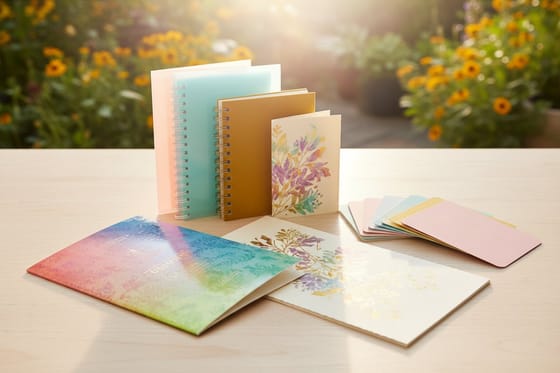
Where to go next


By the numbers
Menu stock, and the press that runs it
Common Questions
Common questions about designing custom menu cards
What is the size of menu paper?
Menu paper is ordinary sheet sizes. A full page menu prints on letter at 8.5 by 11 inches, a longer list on legal at 8.5 by 14, and a two panel folded menu on tabloid at 11 by 17. Smaller menu cards are cut from those sheets, which is why 4 by 6, 5 by 7 and the 5.5 by 8.5 half sheet are the common card sizes. Choose 14pt or 16pt cardstock for a card and a text weight for a menu that changes weekly.
What is the standard size for menu place cards?
A place card that also carries the menu is usually 4 by 9 inches flat, laid on the napkin, or 5 by 7 when the courses need descriptions. A plain tented place card is 3.5 by 2 inches folded from a 3.5 by 4 sheet, the footprint of a business card, and it sits above the plate with the guest's name only. If one card has to do both jobs, print the name at the top of a 4 by 9 menu card and skip the tent.
What's the best paper stock for custom menu cards?
For most events, 14pt or 16pt cardstock strikes the right balance between durability and cost. Wedding and fine-dining menu cards look best on 32pt ultra-thick stock or with a soft-touch matte finish. 4OVER4.COM offers 60+ paper types, so you can match any theme or budget.
What size should I make my menu cards?
The most popular size is 4 by 9 inches. It fits neatly inside a napkin fold and holds a standard three-course menu. For longer menus with descriptions, go with 5 by 7. Multi-course tasting menus work well as folded 8.5 by 11 cards.
What size is a menu card?
The default menu card is 4 by 9 inches. It sits inside a napkin fold or leans against a glass, and it holds a three course menu without crowding. The three common alternatives are 5 by 7 inches when your dish descriptions run long, 8.5 by 11 inches for a full restaurant list on one side, and an 8.5 by 11 bifold that folds to 5.5 by 8.5 inches when you want four panels for a tasting menu.
What paper is best for menu cards?
For most events, 14pt or 16pt cardstock gives a sturdy, professional feel at a sensible cost. For a card guests slip into a purse as a keepsake, 32pt ultra-thick stock is about three times the thickness of a standard business card. On finish, matte reads elegant and kills glare under candlelight, gloss makes food photography pop, and uncoated suits rustic or eco-themed events. If the menu will be handled at every service, ask for lamination so spills wipe off.
Can I design custom menu cards without graphic design experience?
Absolutely. Tools like Canva and Adobe Express offer drag-and-drop menu card templates you can customize in minutes. Export as a 300 DPI PDF in CMYK color mode, and your file is print-ready. 4OVER4.COM also provides a free proof review to catch any issues before printing.
How many menu cards should I order for my event?
Order 10 to 15 percent more than your confirmed guest count. You'll need extras for the head table, vendor meals, last-minute RSVPs, and a few keepsakes. It is always cheaper to print extras upfront than to place a second rush order.
How far in advance should I order my menu cards?
Plan to order at least 2 to 3 weeks before your event. Standard turnaround at 4OVER4.COM is 3 to 5 business days, and 82 percent of orders ship early. Rush and same-day options are available if you are on a tight timeline.
What file format does 4OVER4.COM accept for menu card printing?
Submit your design as a high-resolution PDF at 300 DPI in CMYK color mode. Include a 0.125 inch bleed on all sides and keep text at least 0.125 inch inside the trim line. 4OVER4.COM accepts AI, PSD, and PDF files.
Can I add special finishes like foil or spot UV to my menu cards?
Yes. Spot UV adds a glossy accent to specific design elements like your logo or event name. Foil stamping in gold or silver creates an upscale look that is perfect for weddings and formal dinners. Both options are available through the 4OVER4.COM finishing menu.
Get Started
Ready to order custom menu cards?
Pick your size, drop in your dishes and brand, and we print sharp, keepsake-quality menu cards that match every table.
Legal Disclaimer
Gold Standard guarantees apply to all standard orders placed through 4over4.com. Price match requires verifiable proof of a competitor's published price for an equivalent product with matching specifications and turnaround time. Satisfaction guarantee covers manufacturing defects and print quality issues. Contact support with order number and documentation. On-time delivery rate based on tracked orders 1999 to 2026. Individual results may vary based on shipping carrier performance.
