
How to Make Bookmarks from Design to Print


Define the job, size it to the book, choose a stock and finish, build a clean print-ready file, then order. The path below runs from blank page to a bookmark that survives a year in a paperback.
To make bookmarks, define the purpose first, then size the design to the book (2" x 6" is standard), pick a 14pt to 16pt stock with the finish you want, and set up a print-ready PDF with 0.125" bleed in CMYK at 300 DPI. Choose digital printing for short runs and offset for large ones, review a proof, and order.
Quick tips
Quick tips for making bookmarks
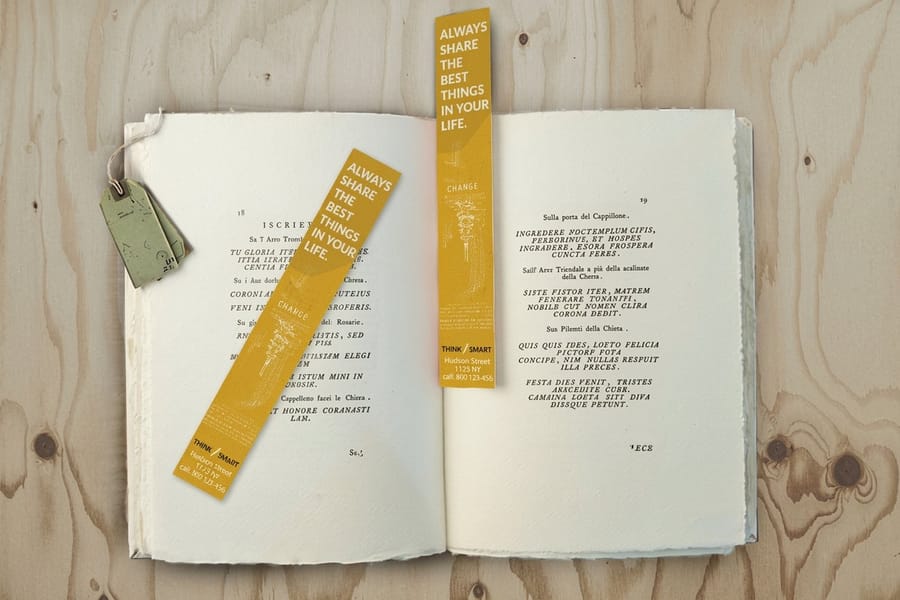
Design your bookmarks at 2" x 6" with 0.125" bleed in CMYK at 300 DPI, then pick a 14pt to 16pt stock and a finish that matches the look you want. Keep one focal point per side, outline your fonts, and export a press-ready PDF. 4OVER4.COM prints the rest, from standard cardstock bookmarks to gloss laminated and 3D lenticular.
Why bookmarks are worth making well

Bookmarks are one of the few print products people actually keep. One slips into a favorite novel and rides along for months, sometimes years. That quiet staying power is exactly what makes a bookmark such a strong branding tool, a thoughtful gift, and a genuine creative outlet.
This guide walks you through how to make bookmarks from scratch, from the first design idea and file setup to paper choice and professional printing. You will learn what separates a flimsy DIY bookmark from one that feels like it belongs in a boutique bookshop. For a look at real customer work, browse the Showcase gallery before you start.
If you love hands-on print projects, you might also enjoy our guide on how to make custom magnets for another creative way to put your art in someone's hands.
Step 1: Define your bookmark's purpose
Before you open any design software, answer one question. What is this bookmark for? The answer shapes everything that follows, from size and paper to finish and art style.
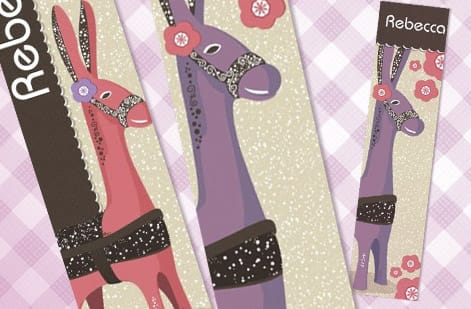
Promotional bookmarks for a business want your logo, contact details, and maybe a QR code that points to your site. Literary bookmarks for a bookshop lean on quotes, illustrations, or a curated reading list. Fundraiser bookmarks for a school can showcase student artwork, and event bookmarks double as keepsakes from weddings, conferences, and book signings.
Naming the purpose first saves you from redesigning halfway through. It also sets your quantity. A wedding favor run might be 150 pieces, while a trade show giveaway can climb past 2,500.
Step 2: Choose your bookmark size
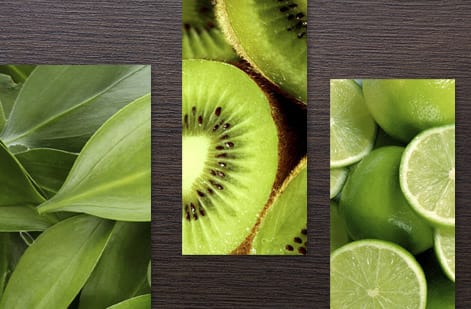
Standard bookmark sizes sit in a few familiar ranges. The most popular is 2" x 6", which slides comfortably into most paperbacks and hardcovers. A slightly taller 2" x 7" hands you more room to design, and a wider 2.5" x 7" gives a chunkier, more substantial feel.
Designing for children's books? A shorter 2" x 5" works well. For oversized art books or coffee table editions, you can go up to 2.5" x 8.5". The rule of thumb stays the same. Match the bookmark to the book it will live in.
Custom die-cut shapes are another route. Rounded corners, tapered ends, or a fully custom silhouette add a tactile surprise. Just remember that unusual shapes cost a little more and need careful file setup, so check the guide hub for file preparation tips across every print product.
Step 3: Pick your paper stock and finish

Paper choice makes or breaks a bookmark. Too thin and it bends and curls within a week. Too thick and it will not slide between pages without cracking the spine. The stock you pick sets the whole feel in the hand.
These three weights cover almost every job:
- 14pt cardstock is the solid everyday option. Sturdy enough to last, thin enough to sit flat between pages, roughly credit card thickness.
- 16pt cardstock steps up the rigidity. Great when a bookmark needs to feel premium without turning bulky.
- 32pt ultra-thick stock makes a statement. These read like mini art prints and suit luxury branding or collector editions.
Finishes change both the look and the durability:
- Gloss lamination adds a shiny, protective coat that makes colors pop and shrugs off fingerprints and moisture. Ideal for photo-heavy designs.
- Matte lamination gives a smooth, velvety surface and quiet elegance that pairs beautifully with minimalist type.
- Soft-touch lamination has that silky, suede-like texture people cannot stop rubbing. It suits high-end bookmarks.
- Spot UV lays glossy coating on chosen elements only, so your logo shines against a matte background.
- Uncoated keeps a natural, papery feel that fits a handmade or eco-friendly look.
If you have worked with print finishes before, say while learning how to fold a brochure, you will recognize these options. The same finish logic carries straight over to bookmarks.
Step 4: Design your bookmark
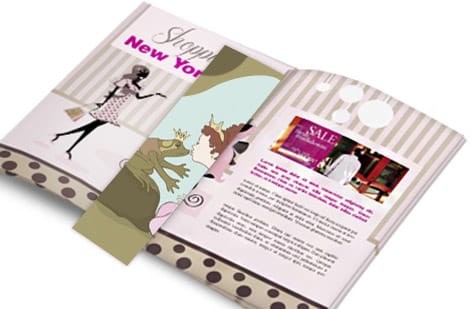
Now the fun part. You can design bookmarks in professional tools like Adobe Illustrator or InDesign, or take the simpler road with Canva or the free templates in the 4OVER4.COM online designer. Prefer a running start? Grab a ready-made layout from our bookmark templates.
A handful of design choices matter more than the rest:
- Set your document to the exact size plus 0.125" bleed on all sides. Bleed prevents white edges after trimming.
- Keep text and key elements at least 0.125" inside the trim line, inside the safety zone.
- Work in CMYK color mode rather than RGB. Print runs on CMYK, and a bright RGB screen color can turn dull once converted.
- Export a high-resolution PDF at 300 DPI or better. Anything lower looks fuzzy on paper.
- Embed all fonts or convert text to outlines so nothing shifts in production.
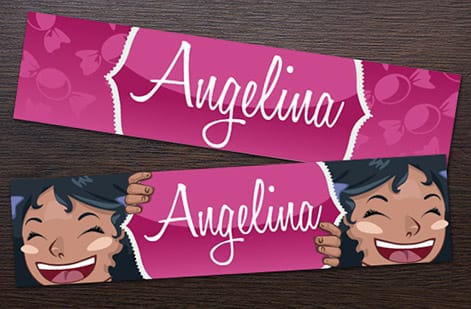
Designing a double-sided bookmark? Treat each side as its own composition. Make the front the attention-grabber and let the back carry the information or a secondary design. Do not cram everything onto one face. For more inspiration across formats, the Showcase gallery is full of real customer work.
Step 5: Add special features
Plain bookmarks are perfectly fine. Special features are what turn a good bookmark into one people actually talk about.
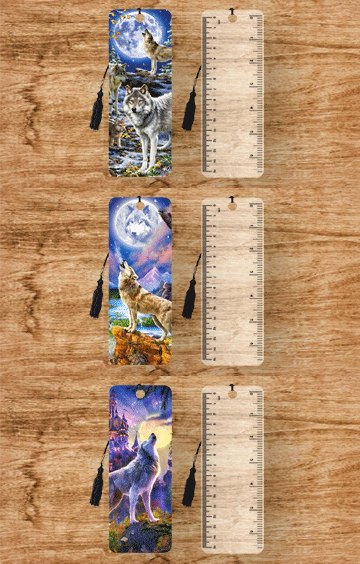
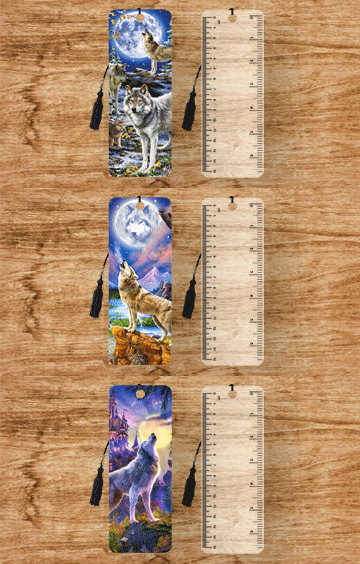
3D lenticular printing creates a flip-image or animation effect as you tilt the piece. It stops people mid-stride at a trade show and lands as an unforgettable gift, and kids adore them. See the full range on our 3D lenticular bookmarks page.
Foil stamping presses metallic gold, silver, or copper into the design. A foil title or border catches the light and reads premium instantly. Rounded corners soften the look, prevent dog-earing, and simply feel better in the hand.
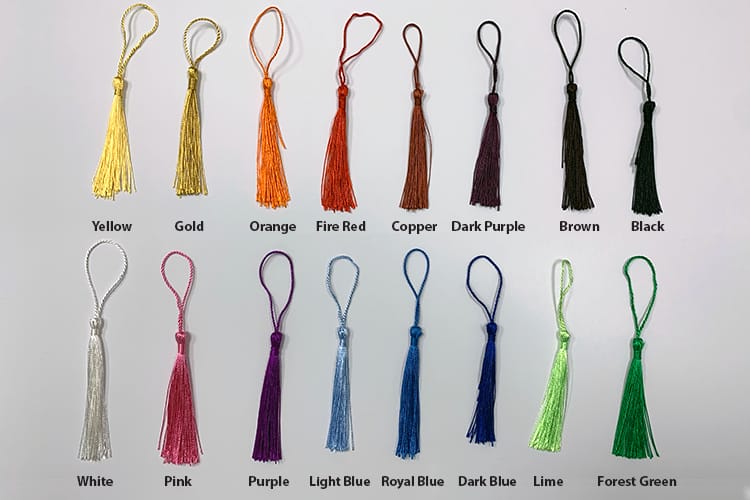
Tassels and ribbons are not part of the print run, but they are easy to add yourself after delivery. A simple tassel through a punched hole turns a printed card into a gift-ready product. The same finishing mindset helps when you are working out how to make envelopes to package those bookmarks.
Step 6: Prepare your print file
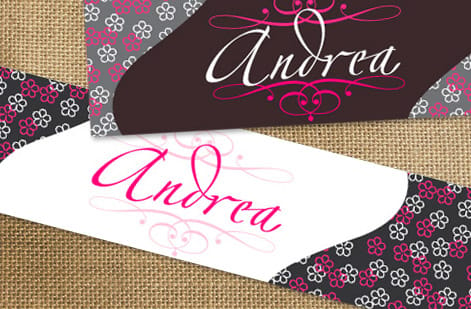
File prep is where most bookmark projects go sideways. Run through this checklist before you export and you will avoid almost every reprint:
- Final size plus 0.125" bleed on every side
- 300 DPI resolution
- CMYK color mode
- Fonts embedded or outlined
- No stray RGB images hiding in the layout
- Saved as a press-ready PDF, either PDF/X-1a or PDF/X-4
For double-sided printing, make sure the front and back line up correctly in your file. Most printers want them as separate pages inside a single PDF. The 4OVER4.COM upload system walks you through it, but getting it right up front saves real time.
The same principles carry across every product. If you have ever set up files for how to make flyers, you already know this drill.
Step 7: Choose your printing method
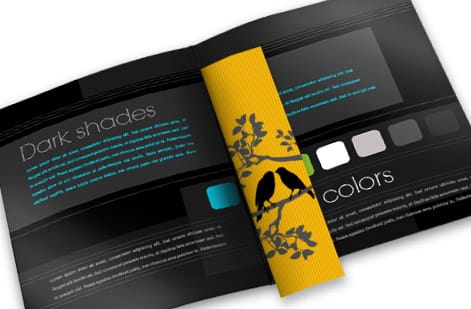
Two main paths here. Digital printing is the sweet spot for short runs under 500 pieces. It is fast, affordable, and handles variable data if you want each bookmark to carry a different name or code.
Offset printing shines on larger runs of 500 and up. The per-unit cost drops sharply at higher quantities, and color stays rock-solid across thousands of pieces.
4OVER4.COM runs both methods, so you are covered either way. If you are printing bookmarks alongside other pieces, like custom booklets for a reading program, bundling the order can save on shipping too.
Step 8: Review and order
Before you hit order, take one more pass. Print a test copy on your home printer at actual size, then hold it. Does the text read cleanly? Are the margins comfortable? Does the design still work at bookmark scale?
When it looks right, upload your final file, choose your paper stock and finish, set your quantity, and place the order. The 4OVER4.COM proofing system lets you review a digital proof before production starts, so you catch any issue early. Need them in a hurry? Same day printing keeps a tight deadline from derailing the project, and for more hands-on print know-how you can even read how to clean rubber stamps.
Bookmark mistakes that waste your money
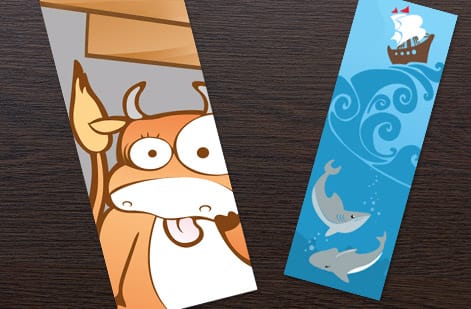
Even seasoned designers trip over the same few things when making bookmarks. Sidestep these and you will save money and reprints.
Ignoring bleed. If the design runs to the edge but the file has no bleed, trimming leaves uneven white borders. Always add 0.125" bleed.
Using RGB instead of CMYK. That electric blue on screen prints as a muddy teal. Convert everything to CMYK before you export.
Choosing paper that is too thin. Anything under 12pt bends, curls, and looks cheap within days. Stick to 14pt or thicker for bookmarks that last.
Overcrowding the design. A bookmark is narrow. There is no room for a paragraph of text, three images, and a QR code all at once. Pick one focal point per side.
Skipping the safety zone. Text set too close to the trim edge gets cut off. Keep important content 0.125" inside the trim line. The 4OVER4.COM lenticular templates and standard bookmark templates build these guides in, which takes the guesswork out. Still unsure about a setting? The Help Center has step-by-step answers.
Wally explains bookmark making
A bookmark is small, but every detail shows
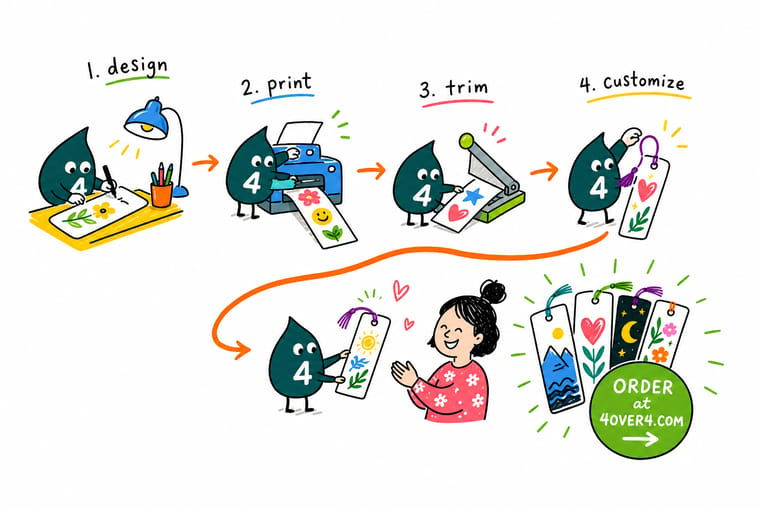
Wally treats a bookmark like a tiny billboard that travels. Get the size, bleed, and paper right and it lands crisp in someone's favorite book for years. Rush the file and the trim eats your text or the stock curls by week two. Nail the basics, then let 4OVER4.COM print it on premium stock, from everyday cardstock to gloss laminated and 3D lenticular.
Order custom bookmarks →Specs and pricing
Custom bookmark specs and pricing
Ready to order? Here is what a made-to-order bookmark gives you at 4OVER4.COM, with live specs and price-per-unit pulled straight from the configurator.

| Quantity | Price Per Unit | Total |
|---|---|---|
| 50 | 33.0¢ | $16.48 |
| 100 | 25.3¢ | $25.27 |
| 200 | 15.9¢ | $31.86 |
| 300 | 12.8¢ | $38.45 |
| 400 | 11.3¢ | $45.04 |
| 500 | 10.3¢ | $51.62 |
| 600 | 9.89¢ | $59.31 |
| 700 | 9.57¢ | $67.00 |
Print it
Order bookmarks and specialty styles at 4OVER4
See it in use
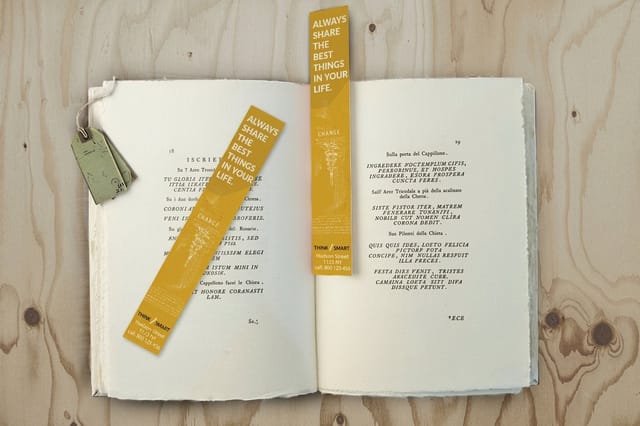
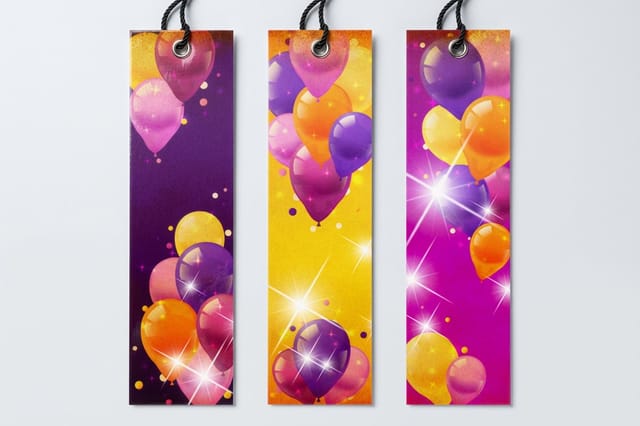
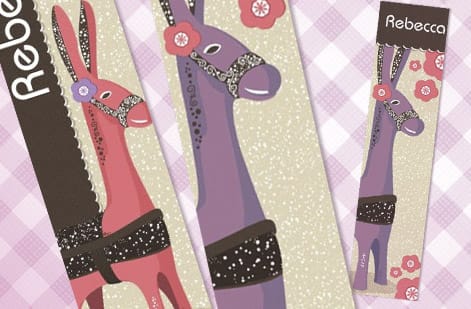
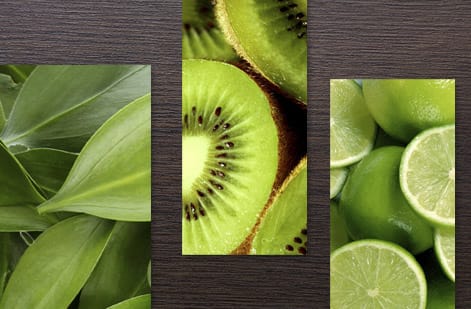
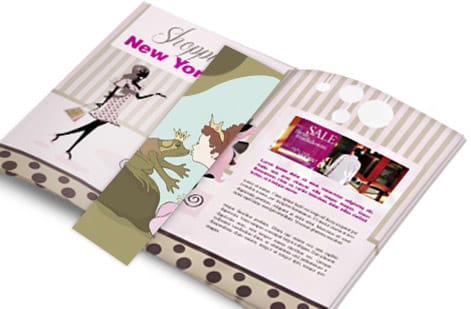
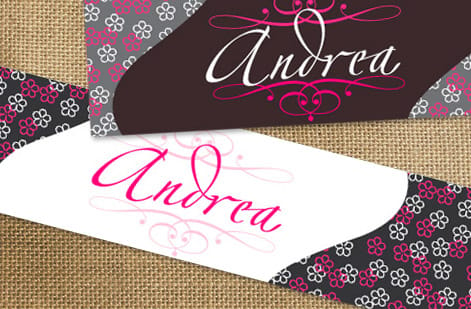
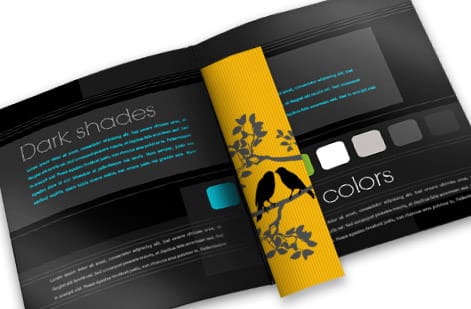
Bookmarks from finished customer orders



Explore more
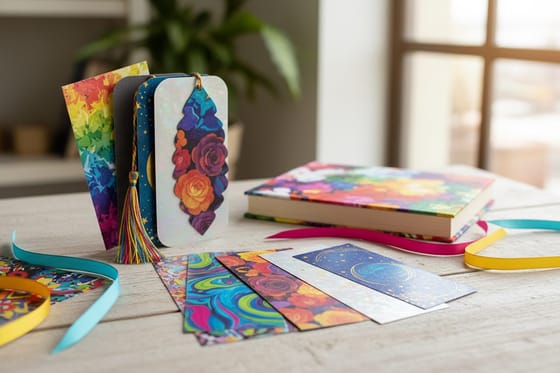
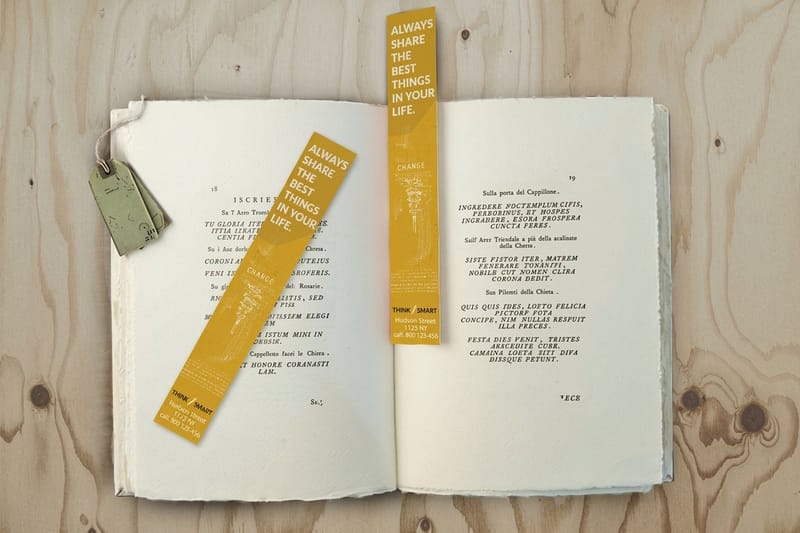
Where to go next



By the numbers
What a small bookmark run sits inside
Common Questions
Common questions about making bookmarks
What is the best paper thickness for custom bookmarks?
For most bookmarks, 14pt to 16pt cardstock is the sweet spot. It is rigid enough to hold its shape between pages without being so thick it strains the spine. For luxury or collectible bookmarks, 32pt ultra-thick stock adds a premium, hefty feel that stands out the moment someone picks it up.
What size should I make my bookmarks?
The standard bookmark size is 2" x 6", which fits most paperbacks and hardcovers. A 2" x 7" option gives you extra room for artwork or text, and 2" x 5" suits children's books. Always match the bookmark size to the type of book it will live in.
Can I print bookmarks on both sides?
Yes. Double-sided printing is standard for most bookmark orders. Use the front for your main design or artwork and the back for contact details, a reading list, a quote, or secondary branding. Just make sure both sides are aligned correctly in your PDF.
What file format should I use for bookmark printing?
Submit a press-ready PDF at 300 DPI in CMYK color mode. Add 0.125" bleed on all sides and keep text inside the safety zone. PDF/X-1a and PDF/X-4 both work well. If you get stuck on file setup, the Help Center has detailed walkthroughs.
What is the difference between gloss and matte laminated bookmarks?
Gloss lamination gives bookmarks a shiny, reflective surface that makes colors look vivid and saturated. Matte lamination creates a smooth, non-reflective finish with a softer, more understated look. Both add durability and protect against moisture and fingerprints.
How do 3D lenticular bookmarks work?
3D lenticular bookmarks use a ribbed plastic overlay that reveals different images depending on the viewing angle. You can build flip effects, short animation sequences, or a sense of 3D depth. They are popular for promotional giveaways, children's products, and collectibles because the motion grabs attention instantly.
Get Started
Order 50 bookmarks from $16.48
Pick your size, drop in your art, choose a finish, and we print bookmarks that stay crisp and flat inside every book.
Legal Disclaimer
Gold Standard guarantees apply to all standard orders placed through 4over4.com. Price match requires verifiable proof of a competitor's published price for an equivalent product with matching specifications and turnaround time. Satisfaction guarantee covers manufacturing defects and print quality issues. Contact support with order number and documentation. On-time delivery rate based on tracked orders 1999 to 2026. Individual results may vary based on shipping carrier performance.
