
How to Get the Best Results Printing Table Tents


Table tents fail in the file long before they fail on the table. Here is the flat size, the score positions, the stock and the one panel that has to be printed upside down.
The best table tent results come from rigid coated stock, machine scoring before the fold, and a file built at the flat size of 4 by 16.25 inches rather than at the finished 4 by 6. That strip is a 6 inch back panel, a 6 inch front panel and a 4.25 inch base flap, so the back panel crosses the apex and must be rotated 180 degrees in your artwork. A high gloss UV coating handles the spills a table guarantees. Keep type an eighth of an inch clear of every score and the tent stands straight out of the box.
Quick answer
One strip, two scores, and a panel that travels upside down
A 4 by 6 inch table tent is a single 4 by 16.25 inch sheet, scored twice and folded into a triangle. Six inches of back panel, six inches of front panel, four and a quarter inches of base flap. Because the back panel folds up and over the apex, artwork placed upright on the flat sheet reads inverted on the finished tent, so rotate it 180 degrees before export. Print it on rigid coated cardstock with a high gloss UV coating so it stands through a service and survives a wipe down, and keep every line of type an eighth of an inch clear of the score.
The Flat Sheet Is 4 by 16.25 Inches, and That Explains Everything

A table tent is not two 4 by 6 cards stuck together. It is one continuous strip that leaves the press flat, gets scored, then folds into a triangle that holds itself up. Knowing the strip is what separates a clean proof from three rounds of corrections.
The strip is 4 inches wide and 16.25 inches long. Reading down it: 6 inches of back panel, a score, 6 inches of front panel, a second score, then a 4.25 inch base flap that folds under and lies flat on the table. Fold it at both scores and you get a 4 by 6 inch tent with a stable triangular footprint. That is why 16.25 is such an odd number: it is 6 plus 6 plus 4.25, and nothing about it is arbitrary.
Two consequences follow immediately. First, the front and back panels are joined at the top, not at the bottom, so the back panel arrives at the apex already rotated. Second, the base flap carries no artwork worth printing, because nobody sees it once the tent is standing. Spend your ink on the two panels people actually look at.
If folds in general are new territory, our guide to print folding options covers how scores and folds behave across brochures and cards, and the table tent explainer walks through the anatomy from the display side rather than the press side.
Coated Stock and Gloss UV, and What That Choice Costs You
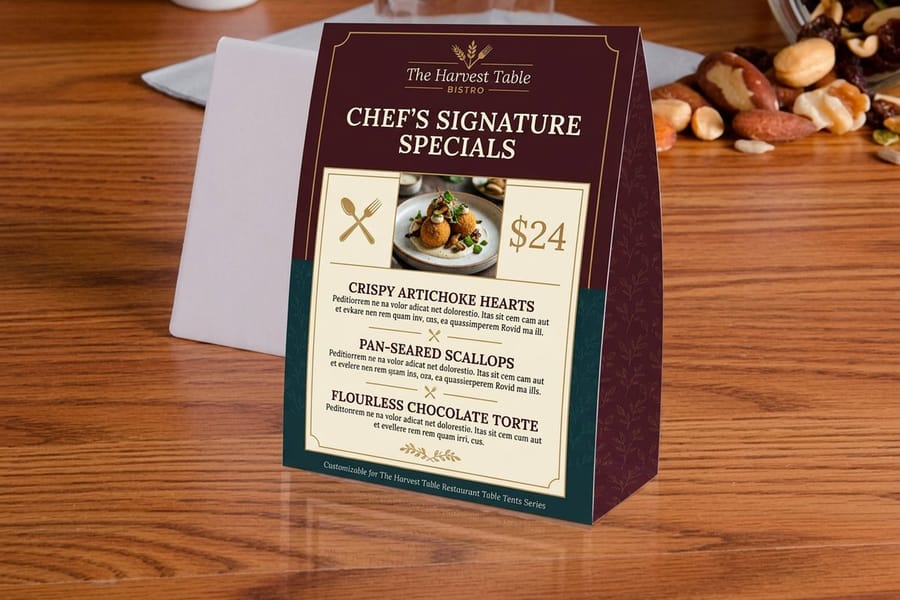
Our table tents print on a coated cardstock with a high gloss UV coating. One stock, one finish, and that is deliberate rather than a limitation we are hiding.
Rigidity is the reason. A tent has no frame. Two panels lean on each other and the base flap keeps them from splaying, so all the structure comes from the stock itself. Light stock leans, then curls in the humidity above a hot plate, then collapses. Heavy coated card stays square through a dinner service. If you want to understand why a caliper number predicts that behavior better than a paper name does, read our paper weight guide.
The gloss UV coating is doing a second job. Table tents live where drinks get knocked over, so the surface has to survive being wiped. A gloss UV layer sheds a splash of sauce and a wet cloth without the ink lifting. That resilience is worth more on a restaurant table than any aesthetic argument for matte.
| What you get | Why it helps on a table | What it costs you |
|---|---|---|
| Coated cardstock | Holds the triangle square through a full service, resists the curl that comes off a hot table. | Heavier stock means a stiffer score is essential, and a home-folded sheet looks softer at the crease. |
| High gloss UV | Wipes clean after a spill and keeps color saturated under warm restaurant lighting. | Shows fingerprints on dark solids and will not accept pen or marker. |
| Machine score and fold | Sharp, repeatable creases that stand straight out of the box. | Setup is a fixed cost, so the run has to be big enough to justify it. |
The honest limit is the third column. If you want a soft matte or an uncoated surface staff can write on, the tent is the wrong product and a flat piece is the right one. Our matte versus gloss comparison lays out where each finish wins, and counter cards give you a flat tabletop display in finishes a tent does not offer.
Setting Up Two Panels That Both Read Upright
Most table tent reprints trace back to three file mistakes, and all three are avoidable in about ten minutes.
- The back panel is not rotated. Build the flat file at 4 by 16.25 inches, place the front panel upright between the 6 and 12 inch marks, then rotate the back panel 180 degrees. If both panels look upright on your screen, one of them will not be upright on the table.
- Type sits on a score. Hold every headline, logo and body line at least an eighth of an inch clear of each score. A fold flexes over its life, and a letterform straddling the crease develops a hairline of exposed white core.
- Background stops at the trim. Any color or image that reaches the edge has to run past the trim line so the cut never exposes paper. Our bleed and trim guide explains the tolerance and how much safety margin to keep inside it.
On layout, treat each panel as a single message. A diner reads a tent from about three feet away, in a fraction of a second, usually while talking to someone. A headline around 30 to 36 point, one offer, one clear next step, and nothing smaller than 12 point. Use the two panels for two different things rather than repeating the same design twice: the front for the offer, the back for the QR code, the loyalty program or the wine list.
Start from a print-ready file rather than a blank artboard. Our table tent blank template already carries the panel divisions, the score positions and the bleed, so the rotation trap is solved before you draw anything. For layout ideas that hold up at that reading distance, 10 daring table tent designs is worth a scroll.
Quantity, Cost, and the Case for Not Ordering Table Tents

Table tents start at $554.39 at 4OVER4.COM, and that number surprises people who priced a flyer last week. The reason is the finishing, not the printing. Scoring, folding and gluing a tent is a machine setup, and a setup costs the same whether it runs 50 pieces or 5,000. So the entry price reflects a production run.
That makes the decision simple in both directions. If you are covering a dining room, a bar and a waiting area, the per piece cost lands where you would expect and one run should carry several promotions. Count your tables, add the bar tops, then add roughly 15 percent for the ones that get knocked over or walk out in a child's coat pocket.
If you need a dozen tents for a class project, a trade show table or a single event, ordering a production run is the wrong move and we would rather say so. Download the blank table tent template, print it on the heaviest cardstock your printer will take, and fold each score over the edge of a metal ruler. It will not look machine made, and for twelve pieces nobody is checking.
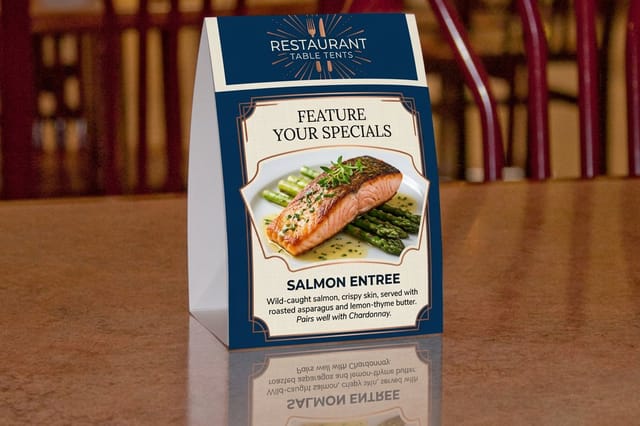
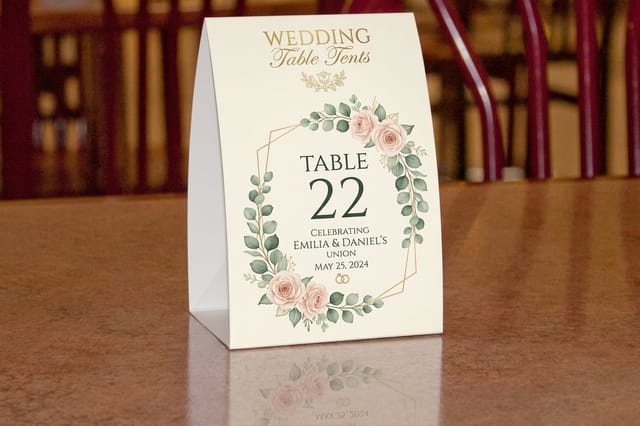
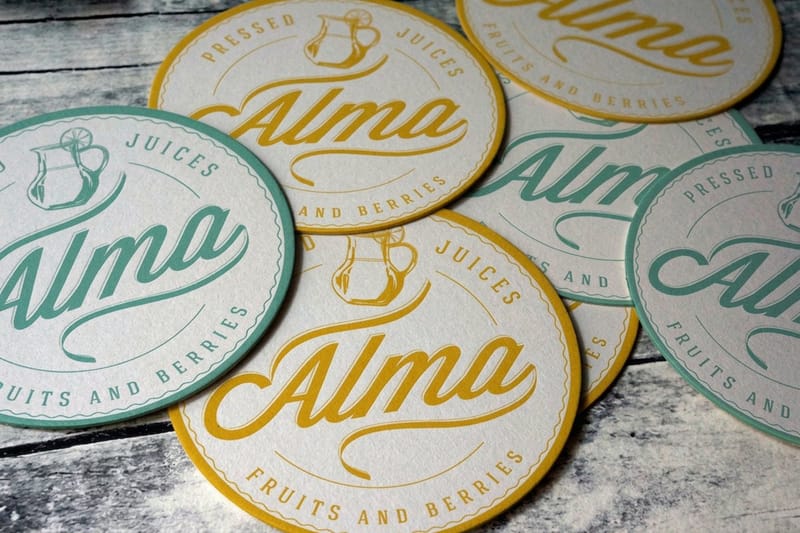
For everything in between, look at what else is going on the table. Restaurant menus start at $57.11 and drink coasters at $10.98, so a tabletop refresh often costs less as a set than a tent run alone. Reordering the same promotion each season is easier from the restaurant printing collection, and restaurant table tents and wedding table tents arrive with the layout already sized for those jobs.
Wally folds a table tent
Six inches, six inches, and a base that keeps it standing
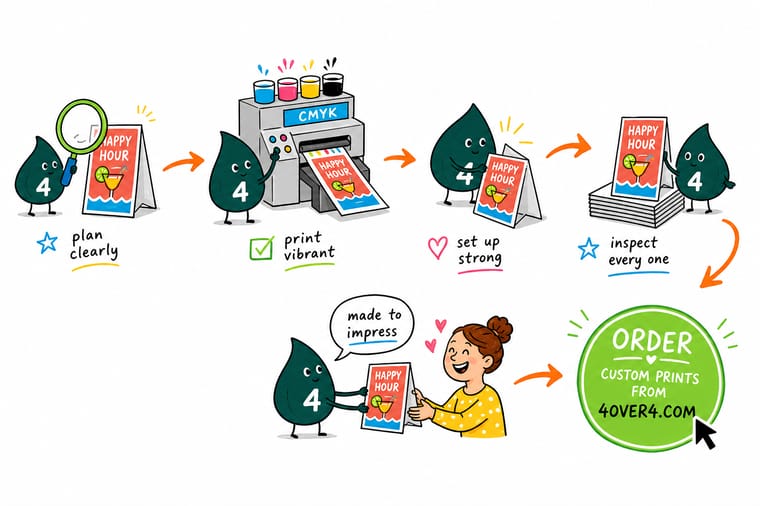
Wally starts with one flat strip, 4 inches wide and 16.25 inches long. He scores it at 6 inches and again at 12 inches, folds it into a triangle, and tucks the base flap under so it cannot splay. The trick he learned the hard way is the back panel: it goes up and over the apex, so it has to be rotated 180 degrees in the file or the message ends up standing on its head. Score before you fold, keep the type clear of the crease, and the tent stands straight on the first try.
Order custom table tents →Specs and pricing
Table tent specs, sizes and starting prices
Flat size, finish options and live starting prices, pulled straight from the 4OVER4.COM configurator alongside the menu that usually ships with them.
Print it
Order table tents that stand straight and wipe clean
Explore more
Where to go next


By the numbers
Tabletop print counted in years and products
Common Questions
Your table tent printing questions, answered
What size do table tents print at?
The finished tent is 4 by 6 inches and the flat printed sheet is 4 by 16.25 inches. Those 16.25 inches break down as a 6 inch back panel, a 6 inch front panel and a 4.25 inch base flap, separated by two score lines at the 6 inch and 12 inch marks. Every layout decision follows from that strip, which is why designing on a 4 by 6 artboard and hoping the printer will work it out is the fastest way to get a proof you do not like.
Why does my back panel come out upside down?
Because it is meant to be upside down on the flat sheet. The back panel folds up and over the apex, so it travels through 180 degrees on its way to standing. If you place both panels upright in the file, the front will read correctly and the back will read inverted on the finished tent. Rotate the back panel 180 degrees before export, then check the proof by imagining the sheet folding at the 6 inch score.
What paper stock and finish do table tents use?
A coated cardstock with a high gloss UV coating, which is the single configuration in the table tent configurator at 4OVER4.COM. The weight matters more than most people expect: a 6 inch panel leaning against another 6 inch panel has almost no structure, so anything lighter than a rigid coated card slumps by the second service. The gloss coating is what lets a server wipe a splash of sauce off the tent instead of replacing it.
Can I write on a table tent or print one at home?
Not on the gloss UV surface. Ballpoint skips, marker beads up and neither dries reliably. If you need a surface staff can write on, use a flat uncoated piece such as an insert or a printed card and clip it to the tent. Printing at home is possible for a small run from a blank template, but a desktop printer cannot score, so fold over a metal ruler and expect the fold line to look softer than a machine score.
How many table tents should I order for a restaurant?
Count your tables, add the bar tops and any waiting area surfaces, then add roughly 15 percent for replacement over the run of the promotion. Tents get knocked over, sat on and taken home by children, and a half empty dining room of tents looks worse than none at all. If a promotion changes monthly, order the whole year of designs in one production run rather than paying the setup four times.
What type size actually gets read across a table?
Treat the headline as a road sign read from about three feet away. On a 4 inch wide panel that means a headline around 30 to 36 point, supporting copy no smaller than 12 point, and one offer per panel. The most common failure on a table tent is not the print, it is a designer fitting a full menu onto a surface the size of a postcard and losing the one thing the diner was supposed to notice.
Get Started
Order 250 table tents from $554.39
Start from the blank template, rotate the back panel, and we score, fold and glue tents that stand straight and wipe clean after the first spill.
Legal Disclaimer
Gold Standard guarantees apply to all standard orders placed through 4over4.com. Price match requires verifiable proof of a competitor's published price for an equivalent product with matching specifications and turnaround time. Satisfaction guarantee covers manufacturing defects and print quality issues. Contact support with order number and documentation. On-time delivery rate based on tracked orders 1999 to 2026. Individual results may vary based on shipping carrier performance.
